基本使用
新建Maven项目,在pom.xml中添加依赖
<!-- 1. 继承父项目,里面有所需的各种版本--><parent><artifactId>spring-boot-starter-parent</artifactId><groupId>org.springframework.boot</groupId><version>2.3.4.RELEASE</version></parent><dependencies><!-- 2. web项目依赖,里面已经集成了各种SpringMVC相关的依赖--><dependency><groupId>org.springframework.boot</groupId><artifactId>spring-boot-starter-web</artifactId></dependency></dependencies>
编写应用入口文件
@SpringBootApplication //标识这个是Springboot的启动类public class Application {public static void main(String[] args) {//可以理解固定写法,启动SpringApplication.run(Application.class,args);}}
具体使用,新建Controller作为测试
@RestControllerpublic class LoginController {@RequestMapping("/login")public String login(){return "Hello SpringBoot";}}
直接点击下图运行即可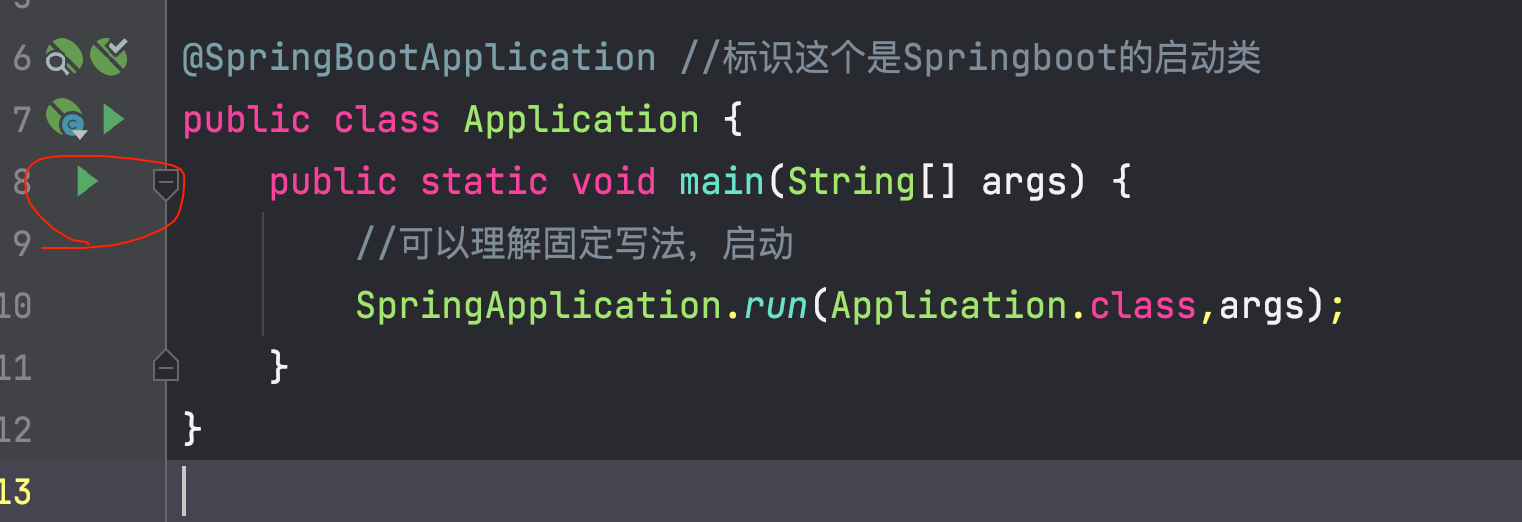
访问http://localhost:8080/login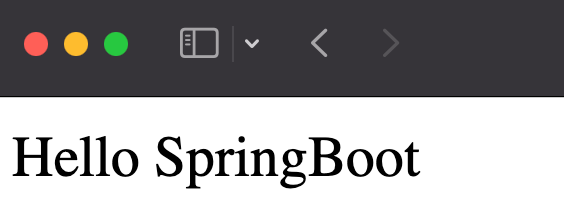
就是这么简单!
SpringBootApplication注解
SpringBootApplication中包含3个注解
- @ComponentScan 默认会扫描当前包以及子包中的所有类
- @EnableAutoConfiguration 这个先作为了解,以后会进行源码分析。可以根据Maven依赖自动构建相关环境
- @SpringBootConfiguration 这个以后讲
打包可运行的jar
因为我们的项目有main方法,我们可以使用如下插件打包可运行的jar
<build><finalName>springBoot_01</finalName><plugins><plugin><groupId>org.springframework.boot</groupId><artifactId>spring-boot-maven-plugin</artifactId></plugin></plugins></build>
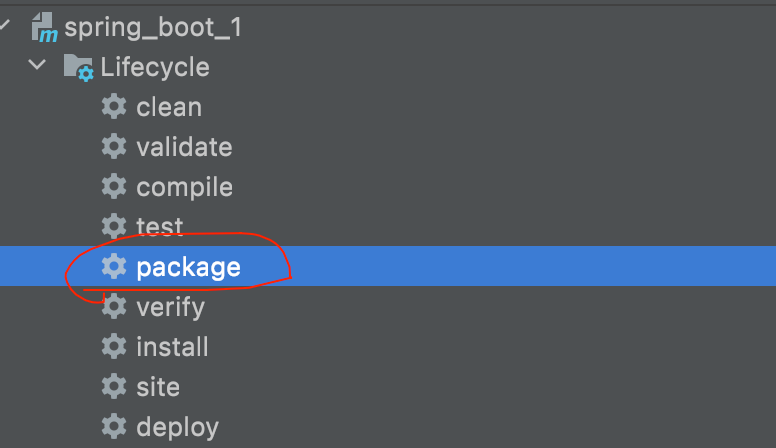
点击package打包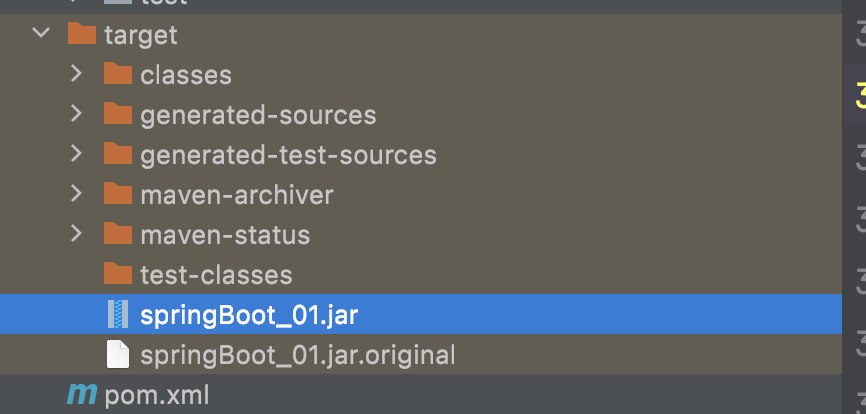
在终端执行如下命令
java -jar springBoot_01.jar
在浏览器访问http://localhost:8080/login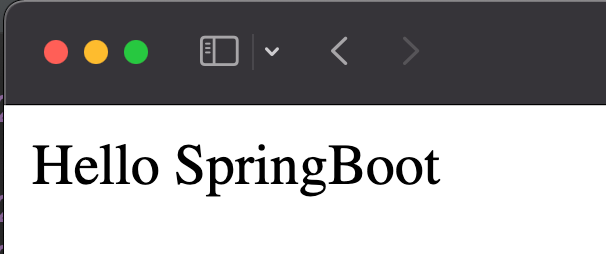
由于上面已经有spring-boot-maven-plugin这个插件,启动springboot应用也可以使用如下方式启动
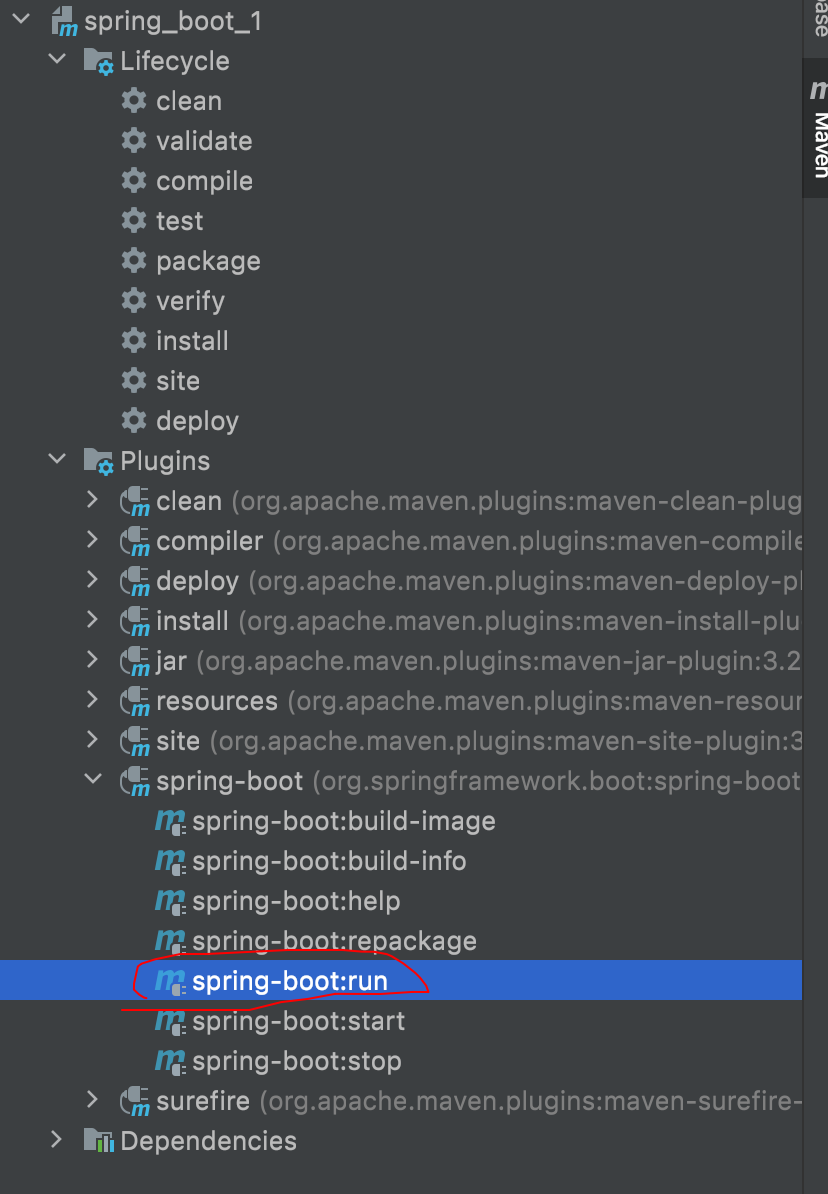
这个效果和直接点击main方法启动是一样的。
热部署
添加如下插件(Debug模式下,可以监控classpath的变化)
<!-- 热部署 --><dependency><groupId>org.springframework.boot</groupId><artifactId>spring-boot-devtools</artifactId></dependency>
改动代码后,只需重新编译即可。可以自己设置喜爱的快捷键,我的是command + b
@Bean小细节
以前我们的@Bean注解只能放在@Configuration修饰的类里面
@Configurationpublic class Person {@Beanpublic Person Person1(){return new Person();}}
在SpringBoot2.2.1开始,@Bean也可以放在@Component修饰的类中,只要该类被扫描到放到IOC容器中即可
@Componentpublic class Person {@Beanpublic Person Person1(){return new Person();}}
应用程序配置文件
SpringBoot默认会加载一个叫application的配置文件。文件扩展名可以为.properties或者.yml。推荐使用.yml这样结构更加清晰。
application.yml的配置文件可以放在如下位置(优先级有高到底)
- 项目根目录下/config/
- 项目根目录下/config/*/
- 项目根目录下/
- classpath:/config/
- classpath:/
注意:上面项目根目录不是模块Module的根目录
对应如下位置,序号表示优先级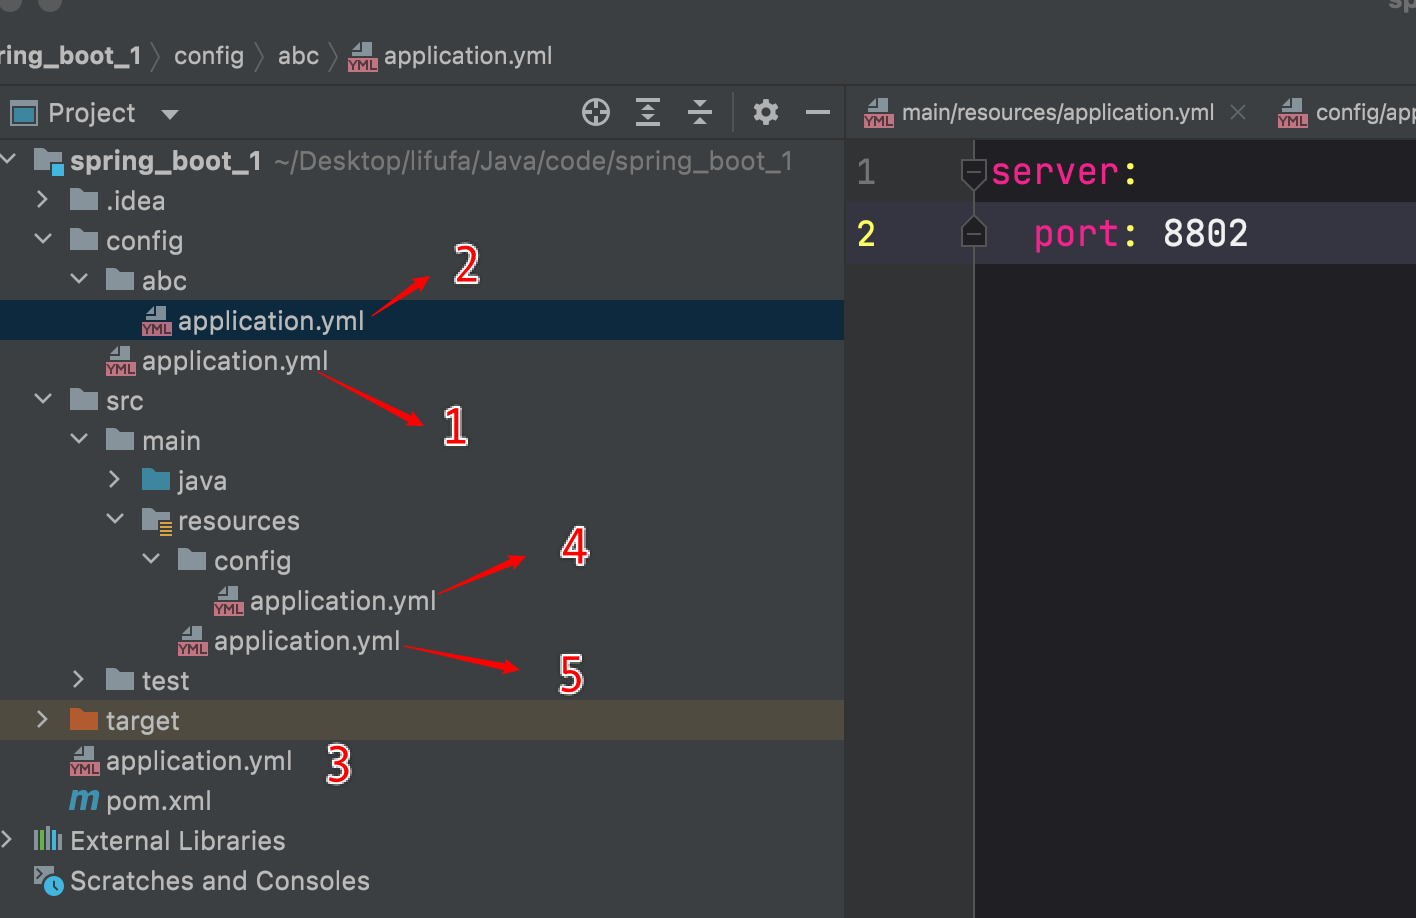
配置文件里面可以配置什么
服务端的配置内容都在如下位置
示例:
server:port: 8801 #设置端口servlet:context-path: /sb #设置contextpath
YAML配置文件使用空格和tab键作为层级缩进,:号后面的内容也要有空格和tab键,字符串可以不加双引号,如果有转义字符可以使用双引号扩住字符串。
属性绑定
application.yml文件里面的内容可以绑定或注入到其他类的属性里面。
示例:application.yml文件里面的内容如下
server:port: 8801 #设置端口servlet:context-path: /sb #设置contextpathname: lffage: 18
如果需要把name和age注入到Person类里面,采用@Value()的方式注入
@Component//@PropertySource("classpath:application.yml") application配置文件里面的内容不需要加这个public class Person {@Value("${name}")String name;@Value("${age}")Integer age;public String getName() {return name;}public void setName(String name) {this.name = name;}public Integer getAge() {return age;}public void setAge(Integer age) {this.age = age;}@Overridepublic String toString() {return "Person{" +"name='" + name + '\'' +", age=" + age +'}';}}
这种方式注入没有问题,但如果配置文件里面有很多东西,都需要进行注入就比较麻烦了,我们可以采用如下方案。
使用@ConfigurationProperties注解即可
修改配置文件为
server:port: 8801 #设置端口servlet:context-path: /sb #设置contextpathperson: #这个叫前缀name: lffage: 18
@Component@ConfigurationProperties("person") //person为在配置文件配置的前缀public class Person {String name;Integer age;public String getName() {return name;}public void setName(String name) {this.name = name;}public Integer getAge() {return age;}public void setAge(Integer age) {this.age = age;}@Overridepublic String toString() {return "Person{" +"name='" + name + '\'' +", age=" + age +'}';}}
这样就OK了。
Lombok
上面person如果有很多属性,需要写很多setter、getter方法,能不能自动给我们生成一些常用的方法呢?我们可以添加Lombok依赖
<!-- 只需在编译期间有即可scope设置成provided--><dependency><groupId>org.projectlombok</groupId><artifactId>lombok</artifactId><scope>provided</scope></dependency>
我们Person类这样写就可以了
@Component@ConfigurationProperties("person") //person为在配置文件配置的前缀@Datapublic class Person {String name;Integer age;}
@Data会为我们生成如下有用的方法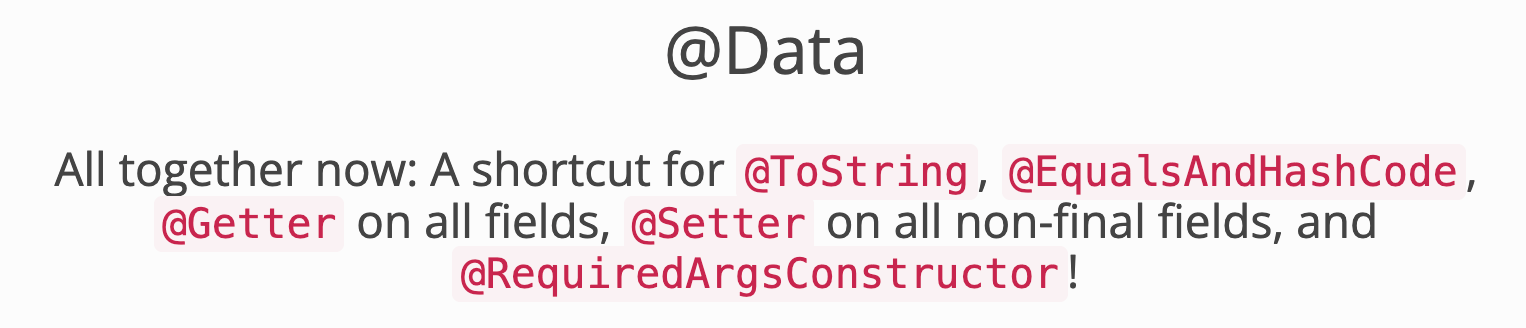
查看官方链接https://projectlombok.org/features/Data
默认情况下是敲不出person对象的自动生成的方法。如果想在IDEA中敲出自动生成的方法需要安装相应的插件
如果想办到在模型文件里面修改属性,对应的配置文件有提示,我们需要加下面依赖
<!-- 当模型文件里面属性修改时,配置文件里面会有提示信息--><dependency><groupId>org.springframework.boot</groupId><artifactId>spring-boot-configuration-processor</artifactId></dependency>
修改模型对象试一下
@Component@ConfigurationProperties("person") //person为在配置文件配置的前缀@Datapublic class Person {String name;Integer age;String[] names;Map<String,String> hobby;List<Dog> dogs;@Datapublic static class Dog{String name;Integer age;}}
修改完要编译一下,对应的配置文件
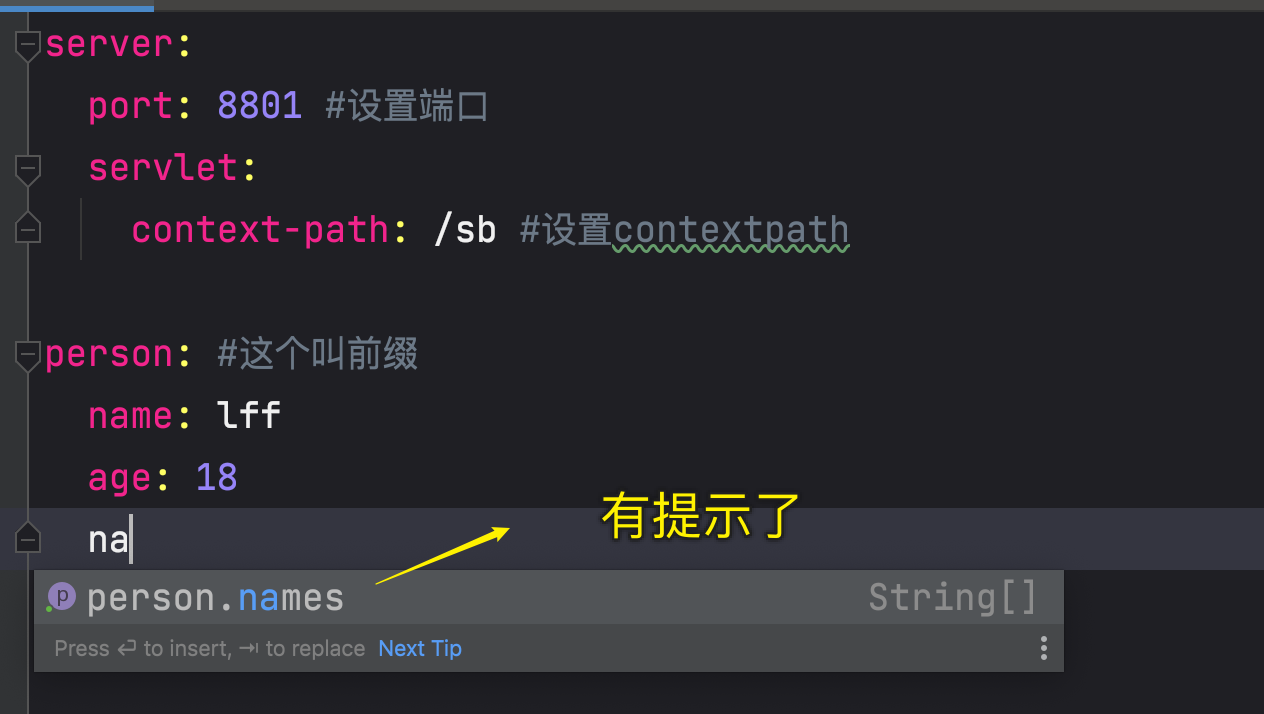
server:port: 8801 #设置端口servlet:context-path: /sb #设置contextpathperson: #这个叫前缀name: lffage: 18# 数组注入有如下几种方式# names: lff,jack,rose# names: [lff,jack,rose]names:-lff-jack-rose# map有如下两种方式写# hobby: {hobbytest1: 篮球,hobbytest2: 足球,hobbytest3: 排球}# 这种写法类似数组hobby:- hobbytest1: 篮球- hobbytest2: 足球- hobbytest3: 排球# 注入数组里面放自定义对象dogs:- name: dog2age: 1- name: dog2age: 1
Person类上面也可以不加@Component,用到时采用@EnableConfigurationProperties(Person.class)方式加到IOC容器里面
Person类
@ConfigurationProperties("person") //person为在配置文件配置的前缀@Datapublic class Person {String name;Integer age;String[] names;Map<String,String> hobby;List<Dog> dogs;@Datapublic static class Dog{String name;Integer age;}}
用到时使用
@RestController@EnableConfigurationProperties(Person.class)public class LoginController {@Autowiredprivate Person person;@RequestMapping("/login")public String login(){return "Hello SpringBoot" + person;}}
上面Person对象是通过setter方法绑定的,也可以通过构造方法绑定
@ConstructorBinding@ConfigurationProperties("person") //person为在配置文件配置的前缀@Datapublic class Person {String name;Integer age;String[] names;Map<String,String> hobby;List<Dog> dogs;public Person(String name,Integer age,String[] names,Map<String,String> hobby,List<Dog> dogs){this.name = name;this.age = age;this.names = names;this.hobby = hobby;this.dogs = dogs;}@Datapublic static class Dog{String name;Integer age;}}
外界使用
@RestController@EnableConfigurationProperties(Person.class)public class LoginController {@Autowiredprivate Person person;@RequestMapping("/login")public String login(){return "Hello SpringBoot" + person;}}
构造方法绑定只能使用@EnableConfigurationProperties注解,不能使用@Component
配置文件的拆分
可以使用—-将配置文件拆分多个文档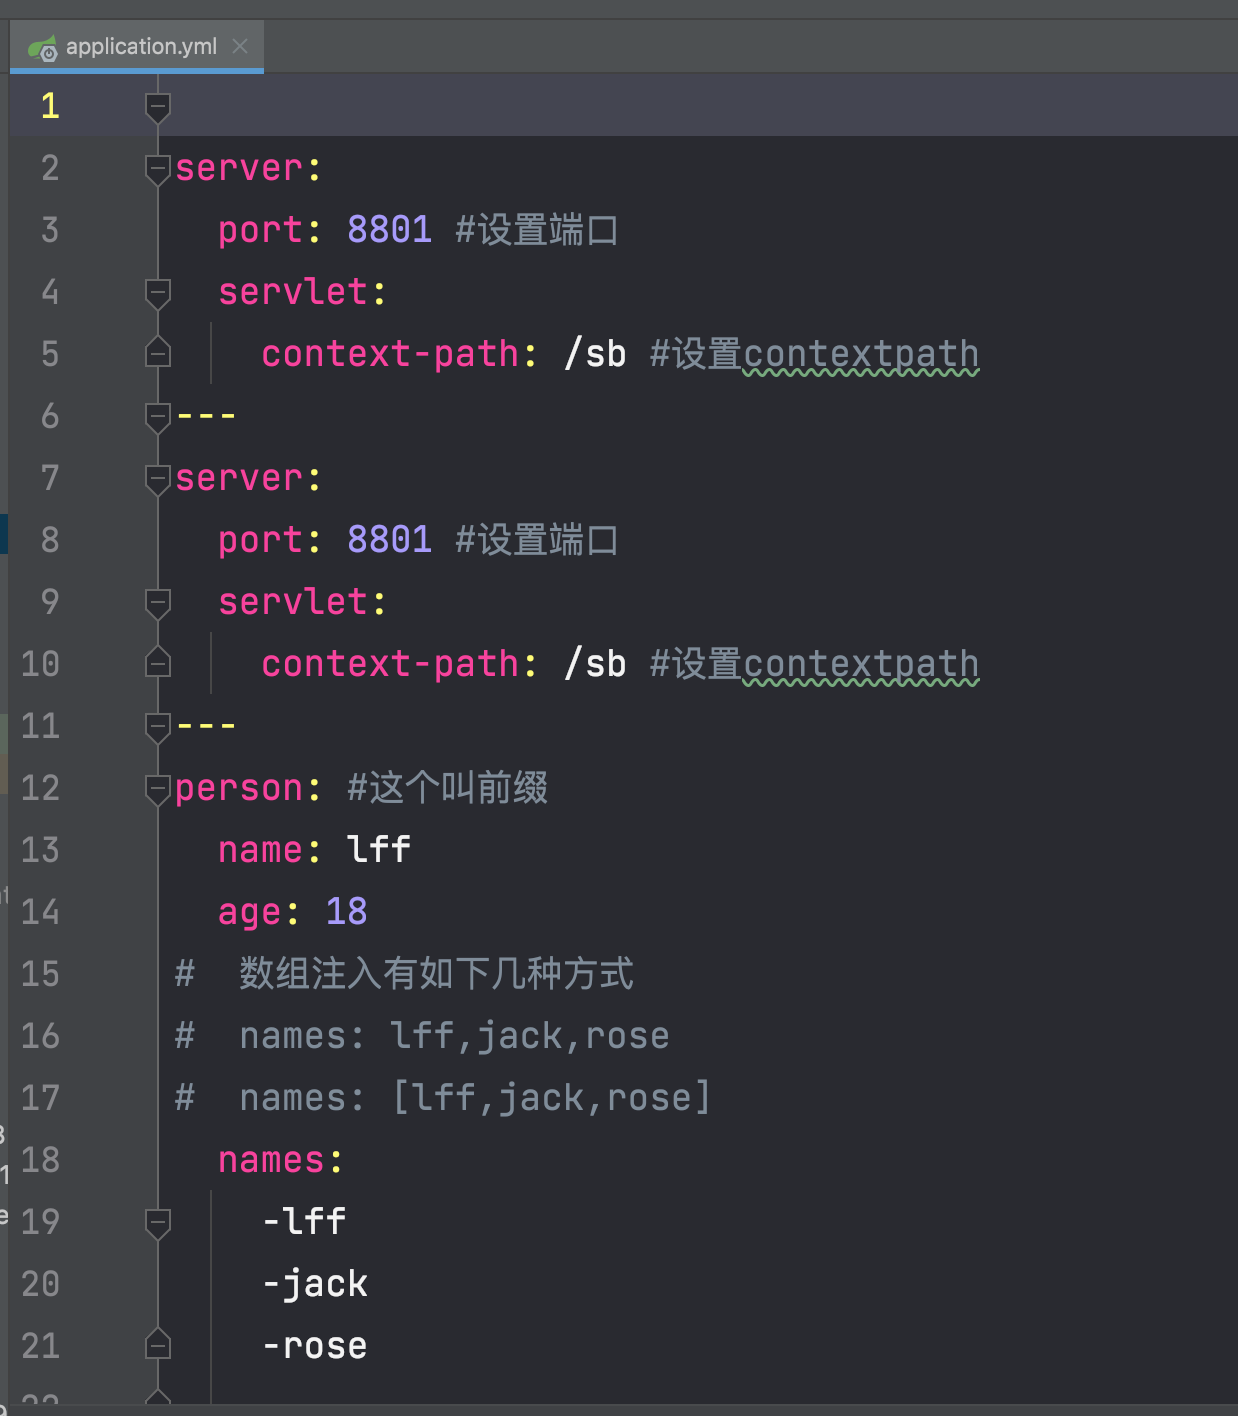
也可以拆分多个配置文件application-* 后面的部分默认就是文档名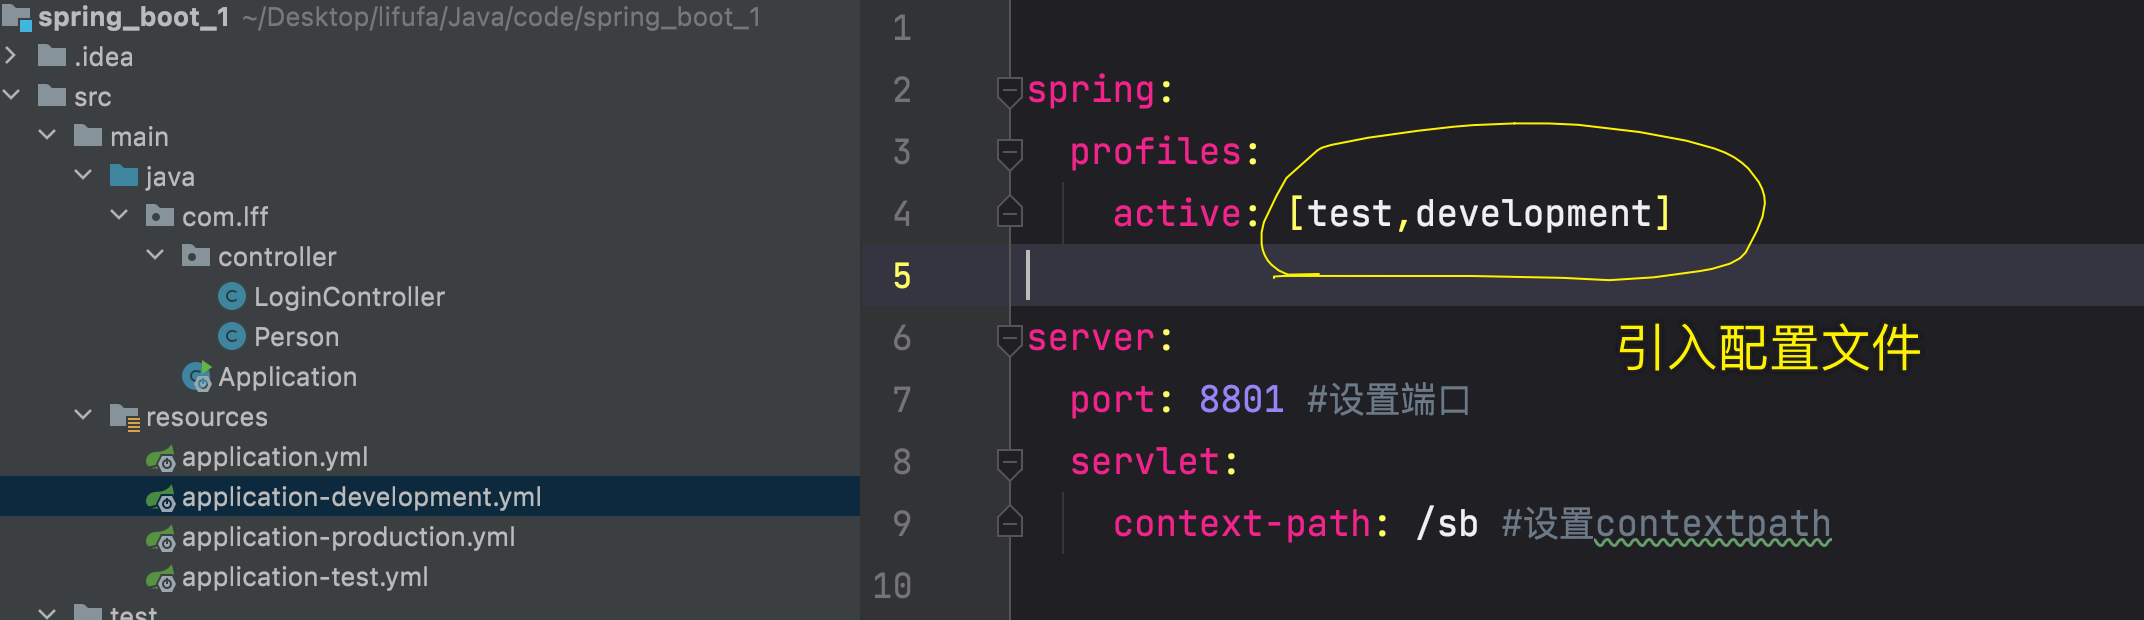
关于starter的命名规范
官方链接:https://docs.spring.io/spring-boot/docs/current/reference/html/using.html#using.build-systems.starters
官方starter的命名方式为:spring-boot-starter-*
第三方starter命名规范:thirdpartyproject-spring-boot-starter.

若有收获,就点个赞吧
0 人点赞
