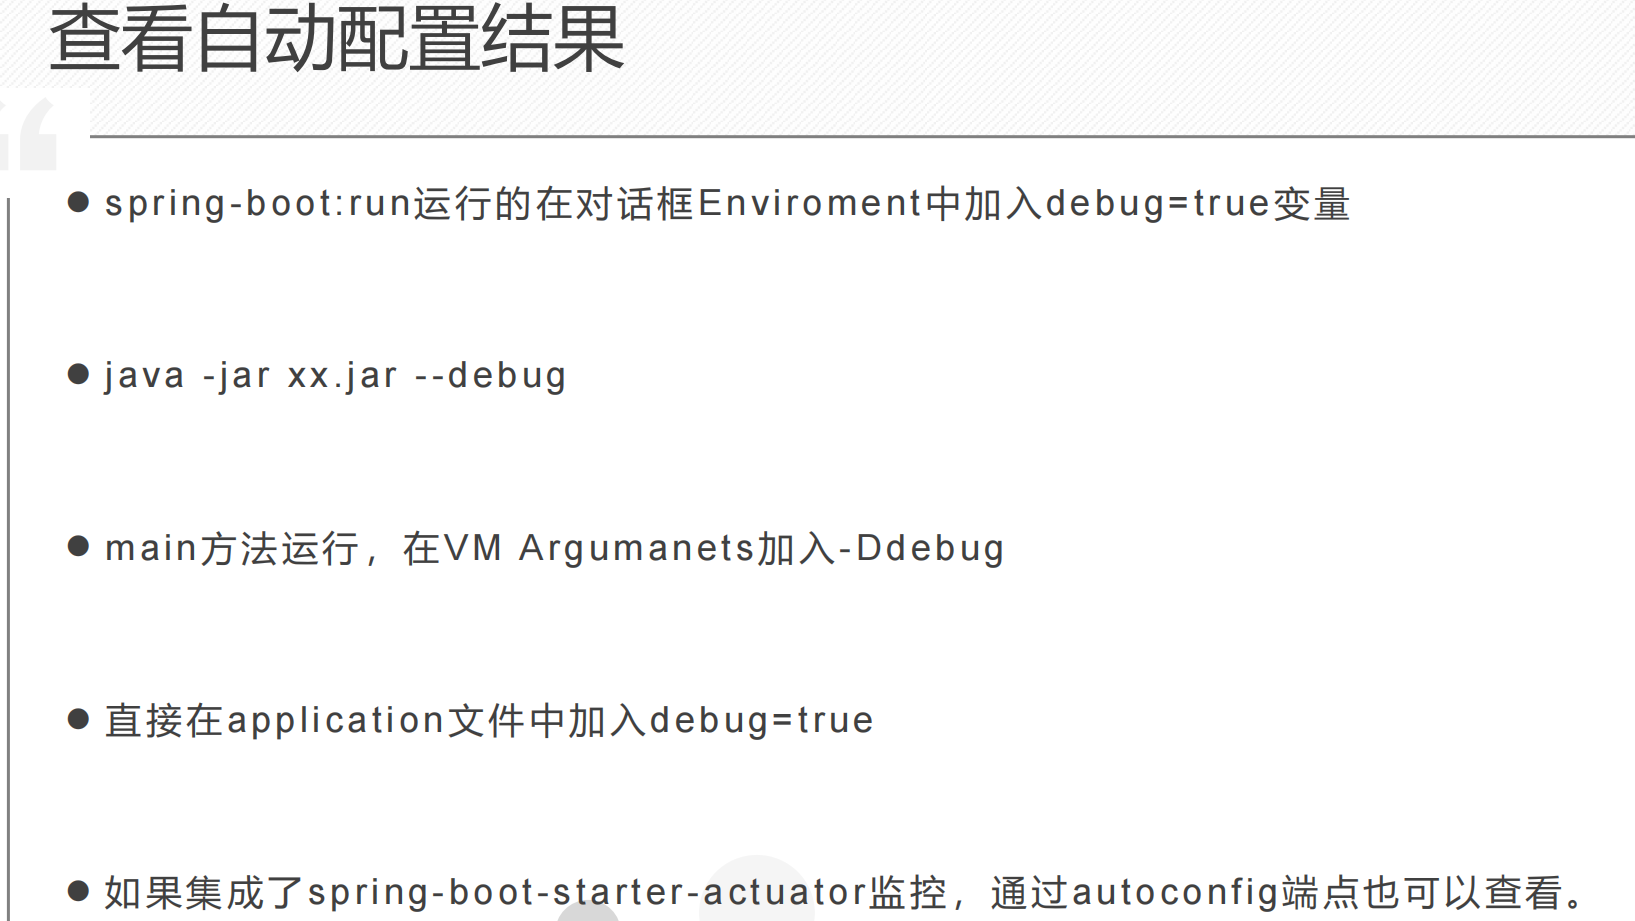
Hello World 探秘
SpringBoot的一大优势就是Starter,由于SpringBoot有很多开箱即用的Starter依赖,使得我们开发变得简单,我们不需要过多的关注框架的配置。可以认为starter是一种服务——使得使用某个功能的开发者不需要关注各种依赖库的处理,不需要具体的配置信息,由Spring Boot自动通过classpath路径下的类发现需要的Bean,并织入bean。
@SpringBootApplication(由三大注解组成)
@SpringBootConfiguration
是对配置的声明注解,配置该注解的类能够以JavaConfig的方式完成配置,不再使用XML配置 ,封装了注解@Configuration
@EnableAutoConfiguration
自动注入配置的注解
由@AutoConfigurationPackage和@Import(AutoConfigurationImportSelector.class)组成
,功能是基于已添加的依赖项,猜测你要如何使用Spring的相关配置。
@ComponentScan
扫描组件 默认扫描入口类的同级类和同级目录下的所有类。相当于Spring XML配置文件中的
执行过程逻辑
//创建了SpringApplication实例 执行run方法public static ConfigurableApplicationContext run(Class<?>[] primarySources, String[] args) {return new SpringApplication(primarySources).run(args);}
//创建实例的方法@SuppressWarnings({ "unchecked", "rawtypes" })public SpringApplication(ResourceLoader resourceLoader, Class<?>... primarySources) {//加载主配置 确定web应用类型等等this.resourceLoader = resourceLoader;Assert.notNull(primarySources, "PrimarySources must not be null");this.primarySources = new LinkedHashSet<>(Arrays.asList(primarySources));this.webApplicationType = WebApplicationType.deduceFromClasspath();//从SpringFactoriesLoader类中的loadSpringFactories方法加载文件META-INF/spring.factoriessetInitializers((Collection) getSpringFactoriesInstances(ApplicationContextInitializer.class));setListeners((Collection) getSpringFactoriesInstances(ApplicationListener.class));//查找主程序的main函数this.mainApplicationClass = deduceMainApplicationClass();}
//run方法的执行过程//加载一系列的配置 准备一系列的环境 打印一系列的日志 开始创建容器启动监听public ConfigurableApplicationContext run(String... args) {//计时器StopWatch stopWatch = new StopWatch();stopWatch.start();//创建应用上下文/容器ConfigurableApplicationContext context = null;Collection<SpringBootExceptionReporter> exceptionReporters = new ArrayList<>();//加载配置configureHeadlessProperty();//获取监听器SpringApplicationRunListeners listeners = getRunListeners(args);listeners.starting();try {//创建默认参数ApplicationArguments applicationArguments = new DefaultApplicationArguments(args);//准备环境ConfigurableEnvironment environment = prepareEnvironment(listeners, applicationArguments);configureIgnoreBeanInfo(environment);//打印bannerBanner printedBanner = printBanner(environment);//创建容器context = createApplicationContext();exceptionReporters = getSpringFactoriesInstances(SpringBootExceptionReporter.class,new Class[] { ConfigurableApplicationContext.class }, context);prepareContext(context, environment, listeners, applicationArguments, printedBanner);refreshContext(context);afterRefresh(context, applicationArguments);stopWatch.stop();//计时结束 启动完成if (this.logStartupInfo) {new StartupInfoLogger(this.mainApplicationClass).logStarted(getApplicationLog(), stopWatch);}listeners.started(context);callRunners(context, applicationArguments);}...try {//启动监听器listeners.running(context);}...//返回容器return context;}
自动配置原理
@EnableAutoConfiguration//注入自动配置//有两大注解组成@AutoConfigurationPackage 查找并注册自动配置包@Import(AutoConfigurationImportSelector.class) 引入资源,自动配置的包选择器相关的逻辑都在spring-boot-antoconfigure.jar里
a)@AutoConfigurationPackage
@Import(AutoConfigurationPackages.Registrar.class)
//引入资源 自动配置的包注册器
@Overridepublic void registerBeanDefinitions(AnnotationMetadata metadata, BeanDefinitionRegistry registry) {register(registry, new PackageImport(metadata).getPackageName());}
//注册bean定义器 包名是主程序入口的所在目录(默认只扫描入口类的当前目录和子目录)
b) @Import(AutoConfigurationImportSelector.class)
-1- AutoConfigurationImportSelector类有一个selectImports方法
-2- selectImports方法执行的逻辑: 加载元数据和具体的配置条目
AutoConfigurationMetadata autoConfigurationMetadata =
    AutoConfigurationMetadataLoader
                .loadMetadata(this.beanClassLoader);
        AutoConfigurationEntry autoConfigurationEntry = getAutoConfigurationEntry(autoConfigurationMetadata,
                annotationMetadata);
-3- getAutoConfigurationEntry调用了getCandidateConfigurations方法,去加载条件配置
-4- getCandidateConfigurations方法的逻辑是通过spring工厂加载器 获取名称
 List<String> configurations = SpringFactoriesLoader.loadFactoryNames(getSpringFactoriesLoaderFactoryClass(),
                getBeanClassLoader());
-5- loadFactoryNames方法的逻辑
加载文件 META-INF/spring.factories 里面的内容
XXXAutoConfiguration命名的一系列配置类 如ThymeleafAutoConfiguration
c) 以ThymeleafAutoConfiguration为例 查看选择注解的机制
四大注解
@Configuration
//声明这是配置类 xml

@EnableConfigurationProperties(ThymeleafProperties.class)
//加载ThymeleafProperties这个配置文件类

@ConditionalOnClass({ TemplateMode.class, SpringTemplateEngine.class })
//控制条件注解  当存在TemplateMode和SpringTemplateEngine的时候   才会执行类的逻辑

@AutoConfigureAfter({ WebMvcAutoConfiguration.class, WebFluxAutoConfiguration.class })
//控制执行顺序  在WebMvcAutoConfiguration和WebFluxAutoConfiguration执行之后再执行
ThymeleafAutoConfiguration注解的执行逻辑:
1 先执行AutoConfigureAfter里面的属性类
2 判断是否存在ConditionalOnClass里面的class文件 (取决于pom是否引入依赖)
    <!--首先引入starter (封装的启动器)-->
    <dependency>
            <groupId>org.springframework.boot</groupId>
            <artifactId>spring-boot-starter-thymeleaf</artifactId>
    </dependency>

     <!-- 启动器引入具体的依赖 -->
    <dependency>
      <groupId>org.springframework.boot</groupId>
      <artifactId>spring-boot-starter</artifactId>
      <version>2.1.8.RELEASE</version>
      <scope>compile</scope>
    </dependency>
    <dependency>
      <groupId>org.thymeleaf</groupId>
      <artifactId>thymeleaf-spring5</artifactId>
      <version>3.0.11.RELEASE</version>
      <scope>compile</scope>
    </dependency>
    <dependency>
      <groupId>org.thymeleaf.extras</groupId>
      <artifactId>thymeleaf-extras-java8time</artifactId>
      <version>3.0.4.RELEASE</version>
      <scope>compile</scope>
    </dependency>

   <!--具体的依赖就存在需要的class -->
   <!--thymeleaf-spring5 jar包中存在SpringTemplateEngine.class -->
3 判断需要执行后 ,开始加载ThymeleafProperties配置文件类
@ConfigurationProperties(prefix = "spring.thymeleaf")
//这是一个配置文件类  并且寻找前缀为spring.thymeleaf开头的配置

spring.thymeleaf.prefix 默认值classpath:/templates/
spring.thymeleaf.suffix 默认值html
spring.thymeleaf.mode   默认值HTML
spring.thymeleaf.encoding 默认值UTF-8
4 执行类里的逻辑
        //注入bean  是spring资源模板解析器
        @Bean
        public SpringResourceTemplateResolver defaultTemplateResolver() {
            //是通过spring-thymeleaf这个粘合器,调用thymeleaf里面的核心逻辑
            SpringResourceTemplateResolver resolver = new SpringResourceTemplateResolver();
            //赋值配置文件中的重要属性
            resolver.setApplicationContext(this.applicationContext);
            resolver.setPrefix(this.properties.getPrefix());
            resolver.setSuffix(this.properties.getSuffix());
            resolver.setTemplateMode(this.properties.getMode());
            if (this.properties.getEncoding() != null) {
                resolver.setCharacterEncoding(this.properties.getEncoding().name());
            }
            resolver.setCacheable(this.properties.isCache());
            Integer order = this.properties.getTemplateResolverOrder();
            if (order != null) {
                resolver.setOrder(order);
            }
            resolver.setCheckExistence(this.properties.isCheckTemplate());
            return resolver;
        }

若有收获,就点个赞吧
0 人点赞
