- curl命令参数
- curl使用案例
- 发起 GET 请求
-A指定 User-Agent 发起 GET 请求-H参数可以自定义Header直接指定标头,更改User-Agent-b参数用来向服务器发送 Cookie-c参数将服务器设置的 Cookie 写入一个文件。-d参数用于发送 POST 请求的数据体。- https://google.com">设置 Referer 为 https://google.com
- 上传图片
- 打印 Response 返回的内容,包括 Header
- 打印 request 请求的信息,包括 Header
- 跳过 SSL 检测
- 模拟弱网请求,10K/s 请求
- 输出通信的整个过程,用于调试
- 使用curl下载文件或网页
- 下载文件并自定义文件名称
- 下载为下载文件指定保存路径
- 使用带有-c选项的curl恢复暂停的下载
--data-urlencode-e参数用来设置 HTTP 的标头Referer,表示请求的来源。-H参数可以通过直接添加标头Referer,达到同样效果。-F参数用来向服务器上传二进制文件。-F参数可以指定 MIME 类型。-F参数也可以指定文件名。-G参数用来构造 URL 的查询字符串。-H参数添加 HTTP 请求的标头。-i参数打印出服务器回应的 HTTP 标头。-I参数向服务器发出 HEAD 请求,然会将服务器返回的 HTTP 标头打印出来。--head参数等同于-I。-k参数指定跳过 SSL 检测。-L参数会让 HTTP 请求跟随服务器的重定向。curl 默认不跟随重定向。--limit-rate用来限制 HTTP 请求和回应的带宽,模拟慢网速的环境。-o参数将服务器的回应保存成文件,等同于wget命令。-O参数将服务器回应保存成文件,并将 URL 的最后部分当作文件名。-s参数将不输出错误和进度信息。-S参数指定只输出错误信息,通常与-o一起使用。-u参数用来设置服务器认证的用户名和密码。-v参数输出通信的整个过程,用于调试。--trace参数也可以用于调试,还会输出原始的二进制数据。-x参数指定 HTTP 请求的代理。-X参数指定 HTTP 请求的方法。
curl命令参数
curl 是常用的命令行工具,用来请求 Web 服务器。
-X参数指定HTTP请求的方法。-H参数添加HTTP请求的标头。-d参数用于发送POST请求的数据体。使用-d参数以后,HTTP请求会自动加上标头Content-Type:application/x-www-form-urlencoded。并且会自动将请求转为POST方法,因此可以省略-X POST-b参数用来向服务器发送Cookie。➜ ~ curl -hUsage: curl [options...] <url>Options: (H) means HTTP/HTTPS only, (F) means FTP only--anyauth Pick "any" authentication method (H)-a, --append Append to target file when uploading (F/SFTP)--basic Use HTTP Basic Authentication (H)--cacert FILE CA certificate to verify peer against (SSL)--capath DIR CA directory to verify peer against (SSL)-E, --cert CERT[:PASSWD] Client certificate file and password (SSL)--cert-type TYPE Certificate file type (DER/PEM/ENG) (SSL)--ciphers LIST SSL ciphers to use (SSL)--compressed Request compressed response (using deflate or gzip)-K, --config FILE Specify which config file to read--connect-timeout SECONDS Maximum time allowed for connection-C, --continue-at OFFSET Resumed transfer offset-b, --cookie STRING/FILE String or file to read cookies from (H)-c, --cookie-jar FILE Write cookies to this file after operation (H)--create-dirs Create necessary local directory hierarchy--crlf Convert LF to CRLF in upload--crlfile FILE Get a CRL list in PEM format from the given file-d, --data DATA HTTP POST data (H)--data-ascii DATA HTTP POST ASCII data (H)--data-binary DATA HTTP POST binary data (H)--data-urlencode DATA HTTP POST data url encoded (H)--delegation STRING GSS-API delegation permission--digest Use HTTP Digest Authentication (H)--disable-eprt Inhibit using EPRT or LPRT (F)--disable-epsv Inhibit using EPSV (F)-D, --dump-header FILE Write the headers to this file--egd-file FILE EGD socket path for random data (SSL)--engine ENGINGE Crypto engine (SSL). "--engine list" for list-f, --fail Fail silently (no output at all) on HTTP errors (H)-F, --form CONTENT Specify HTTP multipart POST data (H)--form-string STRING Specify HTTP multipart POST data (H)--ftp-account DATA Account data string (F)--ftp-alternative-to-user COMMAND String to replace "USER [name]" (F)--ftp-create-dirs Create the remote dirs if not present (F)--ftp-method [MULTICWD/NOCWD/SINGLECWD] Control CWD usage (F)--ftp-pasv Use PASV/EPSV instead of PORT (F)-P, --ftp-port ADR Use PORT with given address instead of PASV (F)--ftp-skip-pasv-ip Skip the IP address for PASV (F)--ftp-pret Send PRET before PASV (for drftpd) (F)--ftp-ssl-ccc Send CCC after authenticating (F)--ftp-ssl-ccc-mode ACTIVE/PASSIVE Set CCC mode (F)--ftp-ssl-control Require SSL/TLS for ftp login, clear for transfer (F)-G, --get Send the -d data with a HTTP GET (H)-g, --globoff Disable URL sequences and ranges using {} and []-H, --header LINE Custom header to pass to server (H)-I, --head Show document info only-h, --help This help text--hostpubmd5 MD5 Hex encoded MD5 string of the host public key. (SSH)-0, --http1.0 Use HTTP 1.0 (H)--ignore-content-length Ignore the HTTP Content-Length header-i, --include Include protocol headers in the output (H/F)-k, --insecure Allow connections to SSL sites without certs (H)--interface INTERFACE Specify network interface/address to use-4, --ipv4 Resolve name to IPv4 address-6, --ipv6 Resolve name to IPv6 address-j, --junk-session-cookies Ignore session cookies read from file (H)--keepalive-time SECONDS Interval between keepalive probes--key KEY Private key file name (SSL/SSH)--key-type TYPE Private key file type (DER/PEM/ENG) (SSL)--krb LEVEL Enable Kerberos with specified security level (F)--libcurl FILE Dump libcurl equivalent code of this command line--limit-rate RATE Limit transfer speed to this rate-l, --list-only List only names of an FTP directory (F)--local-port RANGE Force use of these local port numbers-L, --location Follow redirects (H)--location-trusted like --location and send auth to other hosts (H)-M, --manual Display the full manual--mail-from FROM Mail from this address--mail-rcpt TO Mail to this receiver(s)--mail-auth AUTH Originator address of the original email--max-filesize BYTES Maximum file size to download (H/F)--max-redirs NUM Maximum number of redirects allowed (H)-m, --max-time SECONDS Maximum time allowed for the transfer--metalink Process given URLs as metalink XML file--negotiate Use HTTP Negotiate Authentication (H)-n, --netrc Must read .netrc for user name and password--netrc-optional Use either .netrc or URL; overrides -n--netrc-file FILE Set up the netrc filename to use-N, --no-buffer Disable buffering of the output stream--no-keepalive Disable keepalive use on the connection--no-sessionid Disable SSL session-ID reusing (SSL)--noproxy List of hosts which do not use proxy--ntlm Use HTTP NTLM authentication (H)-o, --output FILE Write output to <file> instead of stdout--pass PASS Pass phrase for the private key (SSL/SSH)--post301 Do not switch to GET after following a 301 redirect (H)--post302 Do not switch to GET after following a 302 redirect (H)--post303 Do not switch to GET after following a 303 redirect (H)-#, --progress-bar Display transfer progress as a progress bar--proto PROTOCOLS Enable/disable specified protocols--proto-redir PROTOCOLS Enable/disable specified protocols on redirect-x, --proxy [PROTOCOL://]HOST[:PORT] Use proxy on given port--proxy-anyauth Pick "any" proxy authentication method (H)--proxy-basic Use Basic authentication on the proxy (H)--proxy-digest Use Digest authentication on the proxy (H)--proxy-negotiate Use Negotiate authentication on the proxy (H)--proxy-ntlm Use NTLM authentication on the proxy (H)-U, --proxy-user USER[:PASSWORD] Proxy user and password--proxy1.0 HOST[:PORT] Use HTTP/1.0 proxy on given port-p, --proxytunnel Operate through a HTTP proxy tunnel (using CONNECT)--pubkey KEY Public key file name (SSH)-Q, --quote CMD Send command(s) to server before transfer (F/SFTP)--random-file FILE File for reading random data from (SSL)-r, --range RANGE Retrieve only the bytes within a range--raw Do HTTP "raw", without any transfer decoding (H)-e, --referer Referer URL (H)-J, --remote-header-name Use the header-provided filename (H)-O, --remote-name Write output to a file named as the remote file--remote-name-all Use the remote file name for all URLs-R, --remote-time Set the remote file's time on the local output-X, --request COMMAND Specify request command to use--resolve HOST:PORT:ADDRESS Force resolve of HOST:PORT to ADDRESS--retry NUM Retry request NUM times if transient problems occur--retry-delay SECONDS When retrying, wait this many seconds between each--retry-max-time SECONDS Retry only within this period-S, --show-error Show error. With -s, make curl show errors when they occur-s, --silent Silent mode. Don't output anything--socks4 HOST[:PORT] SOCKS4 proxy on given host + port--socks4a HOST[:PORT] SOCKS4a proxy on given host + port--socks5 HOST[:PORT] SOCKS5 proxy on given host + port--socks5-basic Enable username/password auth for SOCKS5 proxies--socks5-gssapi Enable GSS-API auth for SOCKS5 proxies--socks5-hostname HOST[:PORT] SOCKS5 proxy, pass host name to proxy--socks5-gssapi-service NAME SOCKS5 proxy service name for gssapi--socks5-gssapi-nec Compatibility with NEC SOCKS5 server-Y, --speed-limit RATE Stop transfers below speed-limit for 'speed-time' secs-y, --speed-time SECONDS Time for trig speed-limit abort. Defaults to 30--ssl Try SSL/TLS (FTP, IMAP, POP3, SMTP)--ssl-reqd Require SSL/TLS (FTP, IMAP, POP3, SMTP)-2, --sslv2 Use SSLv2 (SSL)-3, --sslv3 Use SSLv3 (SSL)--ssl-allow-beast Allow security flaw to improve interop (SSL)--stderr FILE Where to redirect stderr. - means stdout--tcp-nodelay Use the TCP_NODELAY option-t, --telnet-option OPT=VAL Set telnet option--tftp-blksize VALUE Set TFTP BLKSIZE option (must be >512)-z, --time-cond TIME Transfer based on a time condition-1, --tlsv1 Use => TLSv1 (SSL)--tlsv1.0 Use TLSv1.0 (SSL)--tlsv1.1 Use TLSv1.1 (SSL)--tlsv1.2 Use TLSv1.2 (SSL)--tlsv1.3 Use TLSv1.3 (SSL)--tls-max VERSION Use TLS up to VERSION (SSL)--trace FILE Write a debug trace to the given file--trace-ascii FILE Like --trace but without the hex output--trace-time Add time stamps to trace/verbose output--tr-encoding Request compressed transfer encoding (H)-T, --upload-file FILE Transfer FILE to destination--url URL URL to work with-B, --use-ascii Use ASCII/text transfer-u, --user USER[:PASSWORD] Server user and password--tlsuser USER TLS username--tlspassword STRING TLS password--tlsauthtype STRING TLS authentication type (default SRP)--unix-socket FILE Connect through this UNIX domain socket-A, --user-agent STRING User-Agent to send to server (H)-v, --verbose Make the operation more talkative-V, --version Show version number and quit-w, --write-out FORMAT What to output after completion--xattr Store metadata in extended file attributes-q If used as the first parameter disables .curlrc
curl使用案例
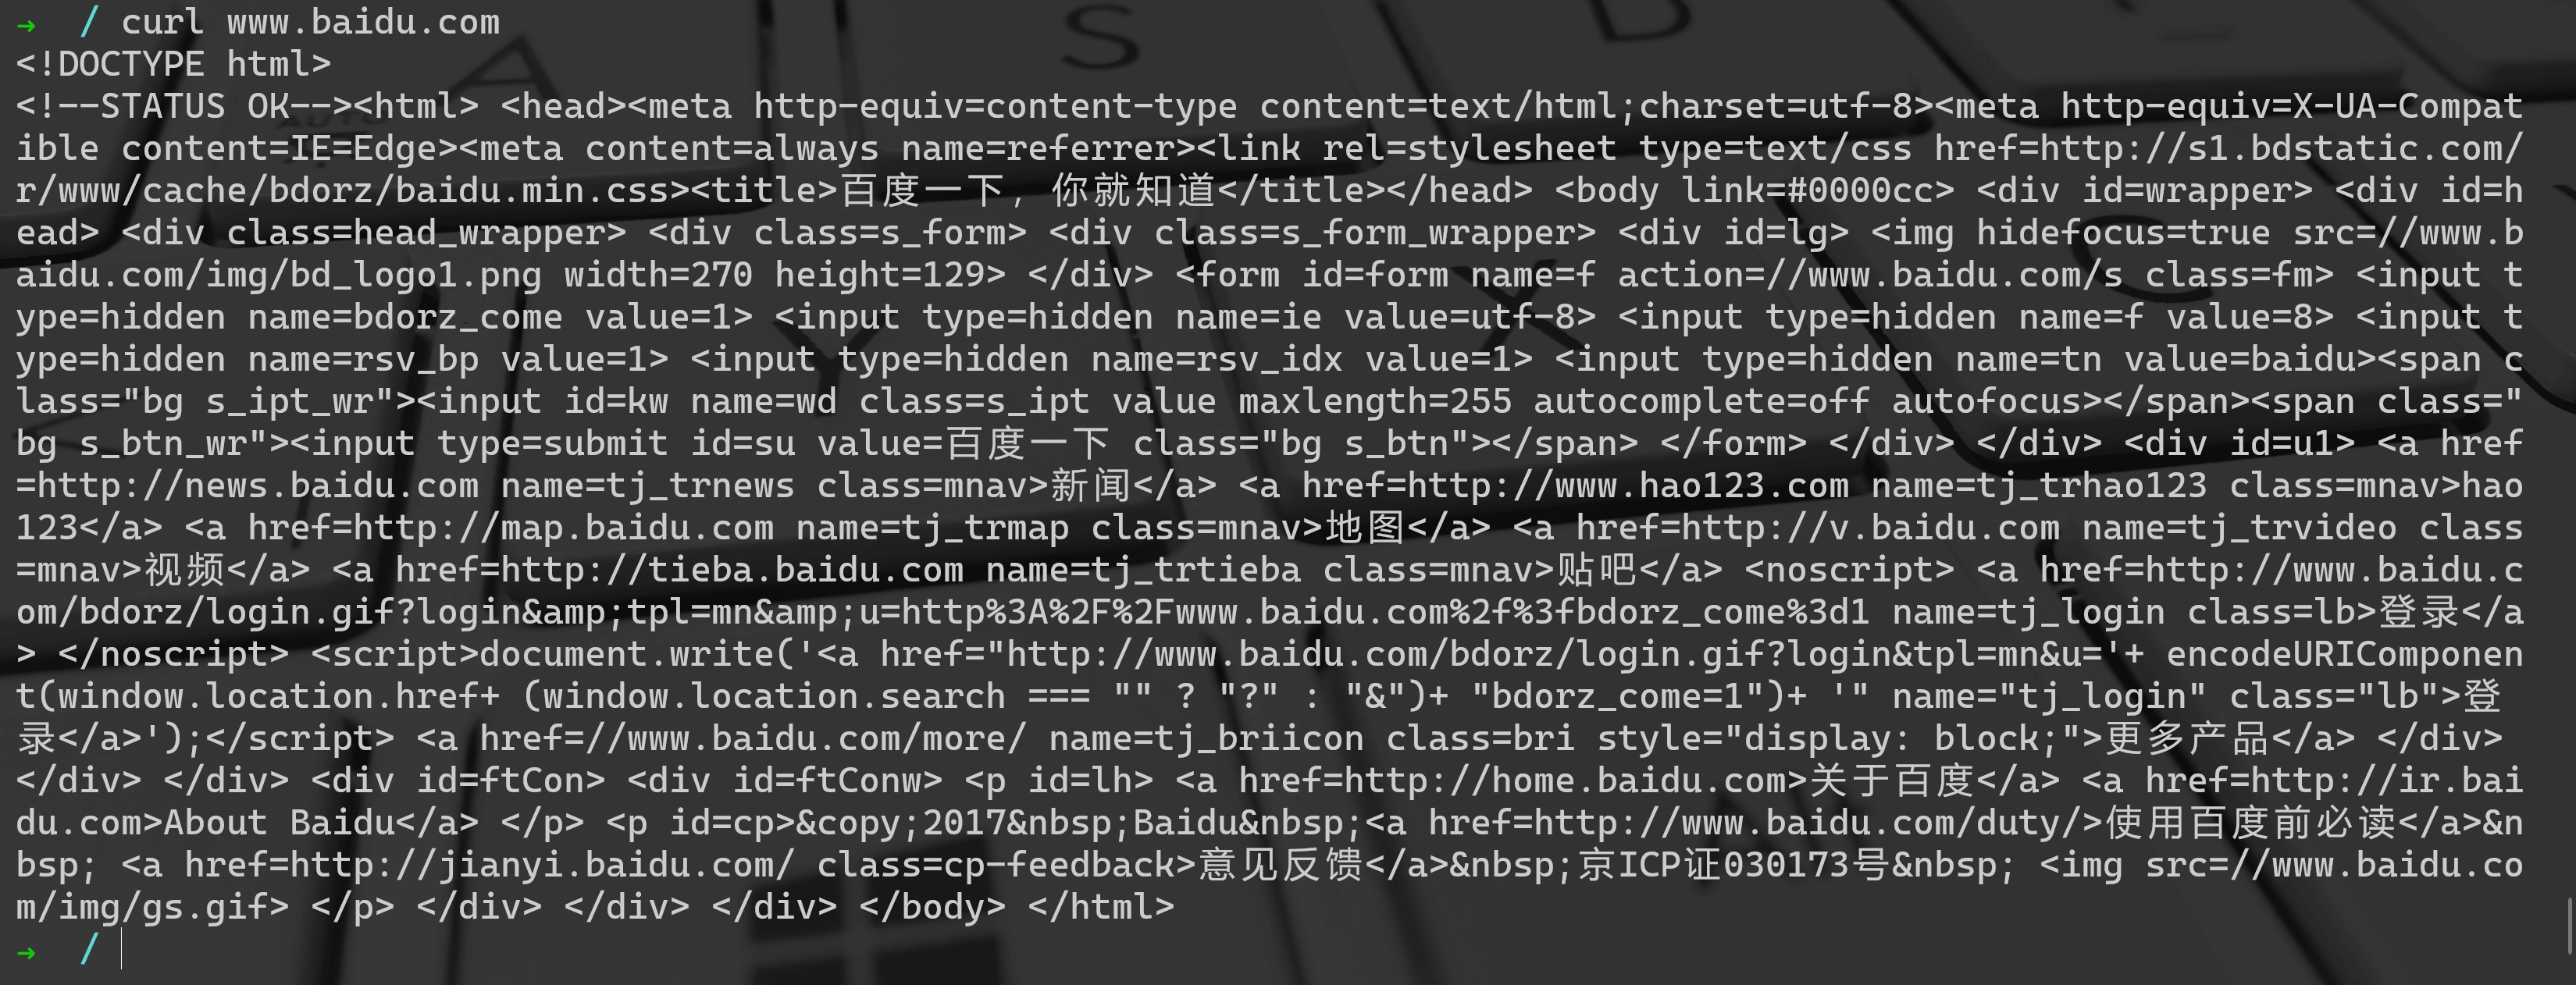
➜ / curl www.baidu.com<!DOCTYPE html><!--STATUS OK--><html> <head><meta http-equiv=content-type content=text/html;charset=utf-8><meta http-equiv=X-UA-Compatible content=IE=Edge><meta content=always name=referrer><link rel=stylesheet type=text/css href=http://s1.bdstatic.com/r/www/cache/bdorz/baidu.min.css><title>百度一下,你就知道</title></head> <body link=#0000cc> <div id=wrapper> <div id=head> <div class=head_wrapper> <div class=s_form> <div class=s_form_wrapper> <div id=lg> <img hidefocus=true src=//www.baidu.com/img/bd_logo1.png width=270 height=129> </div> <form id=form name=f action=//www.baidu.com/s class=fm> <input type=hidden name=bdorz_come value=1> <input type=hidden name=ie value=utf-8> <input type=hidden name=f value=8> <input type=hidden name=rsv_bp value=1> <input type=hidden name=rsv_idx value=1> <input type=hidden name=tn value=baidu><span class="bg s_ipt_wr"><input id=kw name=wd class=s_ipt value maxlength=255 autocomplete=off autofocus></span><span class="bg s_btn_wr"><input type=submit id=su value=百度一下 class="bg s_btn"></span> </form> </div> </div> <div id=u1> <a href=http://news.baidu.com name=tj_trnews class=mnav>新闻</a> <a href=http://www.hao123.com name=tj_trhao123 class=mnav>hao123</a> <a href=http://map.baidu.com name=tj_trmap class=mnav>地图</a> <a href=http://v.baidu.com name=tj_trvideo class=mnav>视频</a> <a href=http://tieba.baidu.com name=tj_trtieba class=mnav>贴吧</a> <noscript> <a href=http://www.baidu.com/bdorz/login.gif?login&tpl=mn&u=http%3A%2F%2Fwww.baidu.com%2f%3fbdorz_come%3d1 name=tj_login class=lb>登录</a> </noscript> <script>document.write('<a href="http://www.baidu.com/bdorz/login.gif?login&tpl=mn&u='+ encodeURIComponent(window.location.href+ (window.location.search === "" ? "?" : "&")+ "bdorz_come=1")+ '" name="tj_login" class="lb">登 录</a>');</script> <a href=//www.baidu.com/more/ name=tj_briicon class=bri style="display: block;">更多产品</a> </div> </div> </div> <div id=ftCon> <div id=ftConw> <p id=lh> <a href=http://home.baidu.com>关于百度</a> <a href=http://ir.baidu.com>About Baidu</a> </p> <p id=cp>©2017 Baidu <a href=http://www.baidu.com/duty/>使用百度前必读</a> <a href=http://jianyi.baidu.com/ class=cp-feedback>意见反馈</a> 京ICP证030173号 <img src=//www.baidu.com/img/gs.gif> </p> </div> </div> </div> </body> </html>
发起 GET 请求
curl https://api.github.com/users/octocat-A指定 User-Agent 发起 GET 请求-A参数指定客户端的用户代理标头,即User-Agent。curl 的默认用户代理字符串是curl/[version]。
$ curl -A 'Mozilla/5.0 (Windows NT 10.0; Win64; x64) AppleWebKit/537.36 (KHTML, like Gecko) Chrome/76.0.3809.100 Safari/537.36' https://google.com上面命令将User-Agent改成 Chrome 浏览器。
$ curl -A '' https://google.com-H参数可以自定义Header直接指定标头,更改User-Agent$ curl -H 'User-Agent: php/1.0' https://google.com-b参数用来向服务器发送 Cookie$ curl -b 'foo=bar' https://google.com上面命令会生成一个标头Cookie: foo=bar,向服务器发送一个名为foo、值为bar的 Cookie。
$ curl -b 'foo1=bar' -b 'foo2=baz' https://google.com上面命令发送两个 Cookie。
$ curl -b cookies.txt https://www.google.com上面命令读取本地文件cookies.txt,里面是服务器设置的 Cookie(参见-c参数),将其发送到服务器。
-c参数将服务器设置的 Cookie 写入一个文件。$ curl -c cookies.txt https://www.google.com上面命令将服务器的 HTTP 回应所设置 Cookie 写入文本文件cookies.txt。
curl -b 'gt=octocat' https://api.github.com/users/octocat这个命令等同于
curl -H 'Cookies:gt=octocat' https://api.github.com/users/octocat-d参数用于发送 POST 请求的数据体。$ curl -d 'login=emma&password=123' -X POST https://google.com/login # 或者 $ curl -d 'login=emma' -d 'password=123' -X POST https://google.com/login使用
-d参数以后,HTTP 请求会自动加上标头Content-Type : application/x-www-form-urlencoded。并且会自动将请求转为 POST 方法,因此可以省略-X POST。-d参数可以读取本地文本文件的数据,向服务器发送。$ curl -d '@data.txt' https://google.com/login上面命令读取data.txt文件的内容,作为数据体向服务器发送。
-d命令会自带Content-Type : application/x-www-form-urlencoded的请求类型。curl -d'username=july' https://api.github.com/users/octocat设置 Referer 为 https://google.com
curl -e 'https://google.com' https://api.github.com/users/octocat上传图片
curl -F 'file=@photo.png;type=image/png' https://api.github.com/users/octocat打印 Response 返回的内容,包括 Header
curl -i https://api.github.com/users/octocat打印 request 请求的信息,包括 Header
curl -I https://api.github.com/users/octocat跳过 SSL 检测
curl -k https://api.github.com/users/octocat模拟弱网请求,10K/s 请求
curl --limit-rate 10k https://api.github.com/users/octocat输出通信的整个过程,用于调试
curl -v https://api.github.com/users/octocat使用curl下载文件或网页
如果在使用curl命令时没有任何带URL的选项,它就会读取文件并打印在终端屏幕上。要在Linux终端中使用curl命令下载文件,必须使用-O(大写O)选项:
curl -O URL在Linux中,用curl下载多个文件是比较简单的。只需要指定多个URL:
curl -O URL1 URL2 URL3下载文件并自定义文件名称
curl不像wget那么简单。当wget将网页保存为index.html时,curl会抱怨远程文件没有网页名称。必须使用自定义名称保存文件。
为下载的文件提供一个自定义的名称(而不是原始的源名称),则必须使用-o(小写O)选项:curl -o filename URL下载为下载文件指定保存路径
curl -L PATH URL使用带有-c选项的curl恢复暂停的下载
curl -c URL
--data-urlencode
--data-urlencode 参数等同于-d,发送 POST 请求的数据体,区别在于会自动将发送的数据进行 URL 编码。
$ curl --data-urlencode 'comment=hello world' https://google.com/login
上面代码中,发送的数据hello world之间有一个空格,需要进行 URL 编码。
-e 参数用来设置 HTTP 的标头Referer,表示请求的来源。
curl -e 'https://google.com?q=example' https://www.example.com
上面命令将Referer标头设为https://google.com?q=example。
-H 参数可以通过直接添加标头Referer,达到同样效果。
curl -H 'Referer: https://google.com?q=example' https://www.example.com
-F 参数用来向服务器上传二进制文件。
$ curl -F 'file=@photo.png' https://google.com/profile
上面命令会给 HTTP 请求加上标头Content-Type: multipart/form-data,然后将文件photo.png作为file字段上传。
-F 参数可以指定 MIME 类型。
$ curl -F 'file=@photo.png;type=image/png' https://google.com/profile
上面命令指定 MIME 类型为image/png,否则 curl 会把 MIME 类型设为application/octet-stream。
-F 参数也可以指定文件名。
$ curl -F 'file=@photo.png;filename=me.png' https://google.com/profile
上面命令中,原始文件名为photo.png,但是服务器接收到的文件名为me.png。
-G 参数用来构造 URL 的查询字符串。
$ curl -G -d 'q=kitties' -d 'count=20' https://google.com/search
上面命令会发出一个 GET 请求,实际请求的 URL 为https://google.com/search?q=kitties&count=20。如果省略—G,会发出一个 POST 请求。
如果数据需要 URL 编码,可以结合--data--urlencode参数。
$ curl -G --data-urlencode 'comment=hello world' https://www.example.com
-H 参数添加 HTTP 请求的标头。
$ curl -H 'Accept-Language: en-US' https://google.com
上面命令添加 HTTP 标头Accept-Language: en-US。
$ curl -H 'Accept-Language: en-US' -H 'Secret-Message: xyzzy' https://google.com
上面命令添加两个 HTTP 标头。
$ curl -d '{"login": "emma", "pass": "123"}' -H 'Content-Type: application/json' https://google.com/login
上面命令添加 HTTP 请求的标头是Content-Type: application/json,然后用-d参数发送 JSON 数据。
-i 参数打印出服务器回应的 HTTP 标头。
$ curl -i https://www.example.com
上面命令收到服务器回应后,先输出服务器回应的标头,然后空一行,再输出网页的源码。
-I 参数向服务器发出 HEAD 请求,然会将服务器返回的 HTTP 标头打印出来。
$ curl -I https://www.example.com
--head 参数等同于-I。
$ curl --head https://www.example.com
-k 参数指定跳过 SSL 检测。
$ curl -k https://www.example.com
-L 参数会让 HTTP 请求跟随服务器的重定向。curl 默认不跟随重定向。
$ curl -L -d 'tweet=hi' https://api.twitter.com/tweet
--limit-rate 用来限制 HTTP 请求和回应的带宽,模拟慢网速的环境。
$ curl --limit-rate 200k https://google.com
-o 参数将服务器的回应保存成文件,等同于wget命令。
$ curl -o example.html https://www.example.com
上面命令将www.example.com保存成example.html。
-O 参数将服务器回应保存成文件,并将 URL 的最后部分当作文件名。
$ curl -O https://www.example.com/foo/bar.html
-s 参数将不输出错误和进度信息。
$ curl -s https://www.example.com
上面命令一旦发生错误,不会显示错误信息。不发生错误的话,会正常显示运行结果。
如果想让 curl 不产生任何输出,可以使用下面的命令。
$ curl -s -o /dev/null https://google.com
-S 参数指定只输出错误信息,通常与-o一起使用。
$ curl -s -o /dev/null https://google.com
-u 参数用来设置服务器认证的用户名和密码。
$ curl -u 'bob:12345' https://google.com/login
上面命令设置用户名为bob,密码为12345,然后将其转为 HTTP 标头Authorization: Basic Ym9iOjEyMzQ1。
curl 能够识别 URL 里面的用户名和密码。
$ curl https://bob:12345@google.com/login
上面命令能够识别 URL 里面的用户名和密码,将其转为上个例子里面的 HTTP 标头。
$ curl -u 'bob' https://google.com/login
上面命令只设置了用户名,执行后,curl 会提示用户输入密码。
-v 参数输出通信的整个过程,用于调试。
$ curl -v https://www.example.com
--trace 参数也可以用于调试,还会输出原始的二进制数据。
$ curl --trace - https://www.example.com
-x 参数指定 HTTP 请求的代理。
$ curl -x socks5://james:cats@myproxy.com:8080 https://www.example.com
上面命令指定 HTTP 请求通过myproxy.com:8080的 socks5 代理发出。
如果没有指定代理协议,默认为 HTTP。
$ curl -x james:cats@myproxy.com:8080 https://www.example.com
-X 参数指定 HTTP 请求的方法。
$ curl -X POST https://www.example.com

若有收获,就点个赞吧
0 人点赞
