- 官方文档
- 安装配置
- https://repo.zabbix.com/zabbix/4.4/ubuntu/pool/main/z/zabbix-release/zabbix-release_4.4-1+bionic_all.deb
# dpkg -i zabbix-release_4.4-1+bionic_all.deb
# apt update">wget https://repo.zabbix.com/zabbix/4.4/ubuntu/pool/main/z/zabbix-release/zabbix-release_4.4-1+bionic_all.deb
# dpkg -i zabbix-release_4.4-1+bionic_all.deb
# apt update - apt install zabbix-server-mysql zabbix-frontend-php zabbix-nginx-conf zabbix-agent
官方文档
https://www.zabbix.com/documentation/current/start
https://www.zabbix.com/download
版本4.4
操作系统Ubuntu18.04
安装配置
1. Install Zabbix repository
wget https://repo.zabbix.com/zabbix/4.4/ubuntu/pool/main/z/zabbix-release/zabbix-release_4.4-1+bionic_all.deb
# dpkg -i zabbix-release_4.4-1+bionic_all.deb
# apt update
2. Install Zabbix server, frontend, agent
apt install zabbix-server-mysql zabbix-frontend-php zabbix-nginx-conf zabbix-agent
3. Create initial database
Run the following on your database host.
# mysql -uroot -p
password
mysql> create database zabbix character set utf8 collate utf8_bin;
mysql> grant all privileges on zabbix.* to zabbix@localhost identified by ‘password’;
On Zabbix server host import initial schema and data. You will be prompted to enter your newly created password.
# zcat /usr/share/doc/zabbix-server-mysql*/create.sql.gz | mysql -uzabbix -p zabbix
4. Configure the database for Zabbix server
Edit file /etc/zabbix/zabbix_server.conf
DBPassword=password
5. Configure PHP for Zabbix frontend
Edit file /etc/zabbix/nginx.conf, uncomment and set ‘listen’ and ‘server_name’ directives.
# listen 9080;
# server_name example.com;
Edit file /etc/zabbix/php-fpm.conf, uncomment and set the right timezone for you.
; php_value[date.timezone] = Asia/Shanghai
6. Start Zabbix server and agent processes
Start Zabbix server and agent processes and make it start at system boot.
# systemctl restart zabbix-server zabbix-agent nginx php7.2-fpm
# systemctl enable zabbix-server zabbix-agent nginx php7.2-fpm
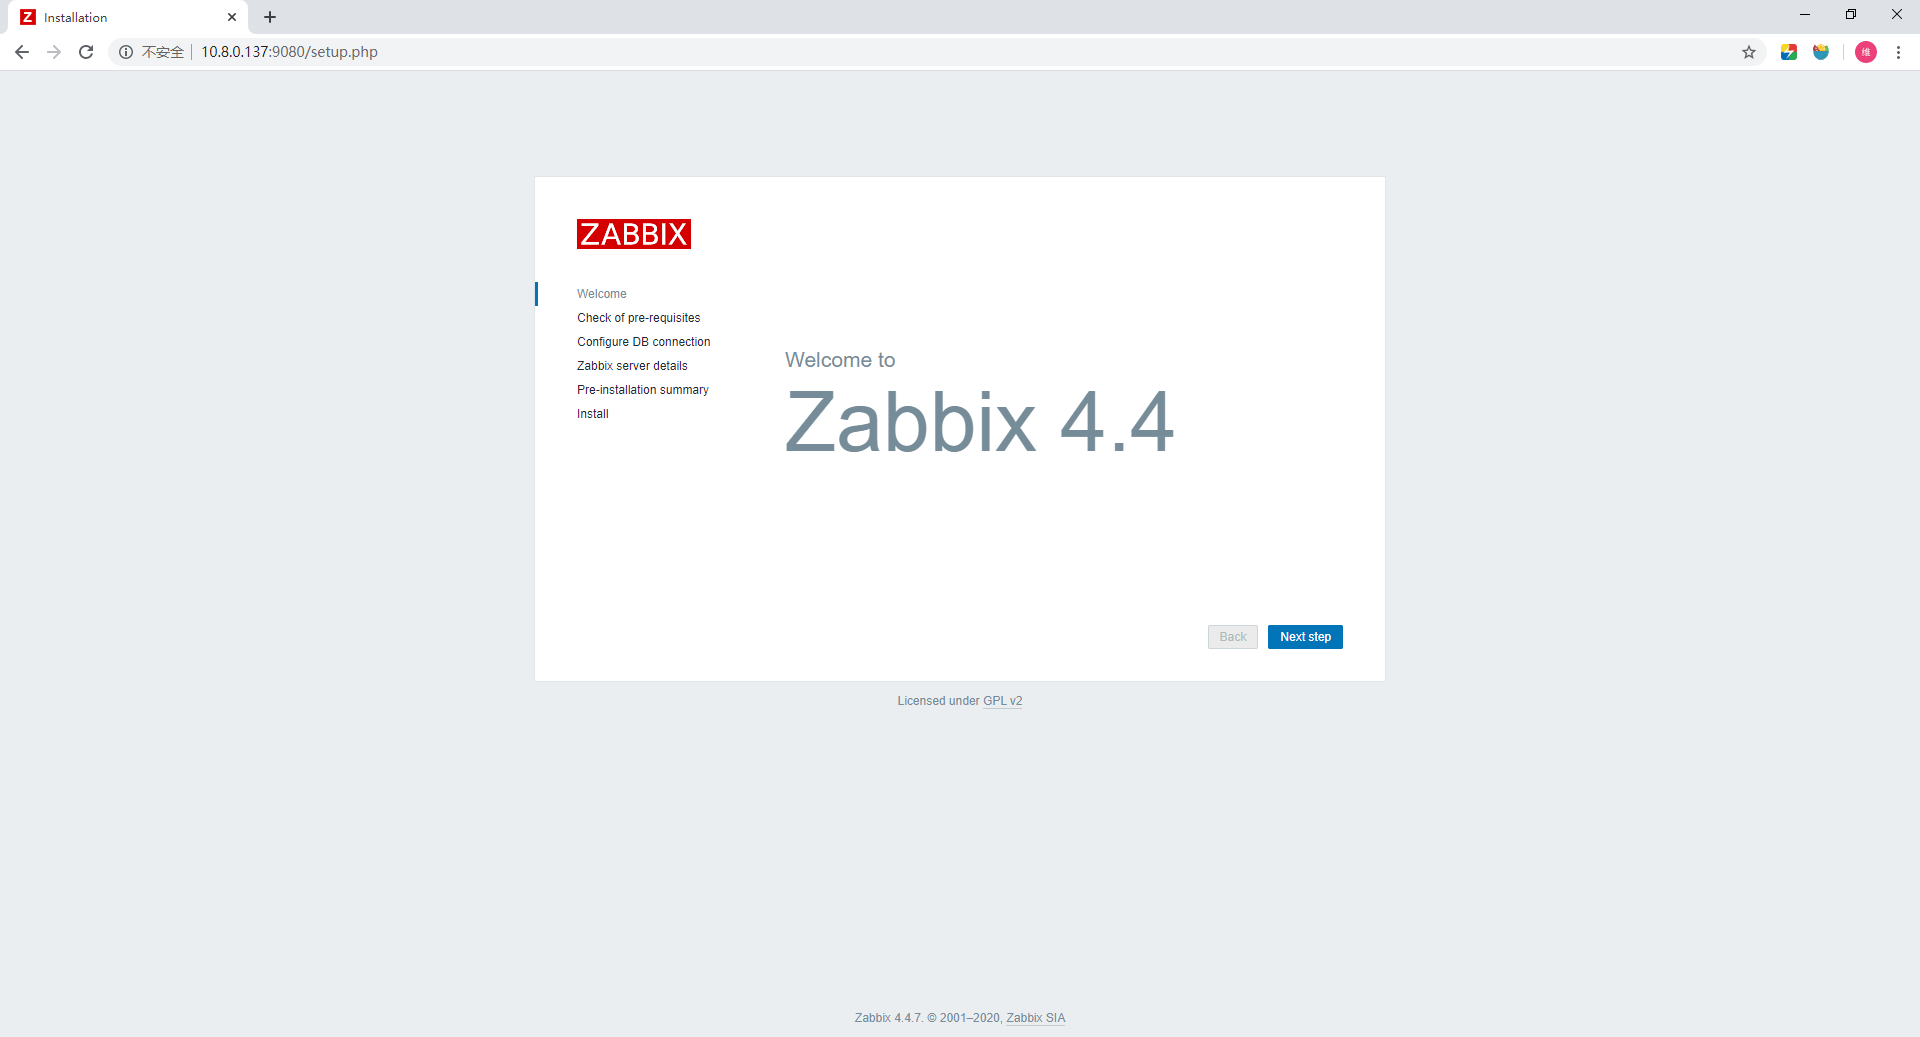
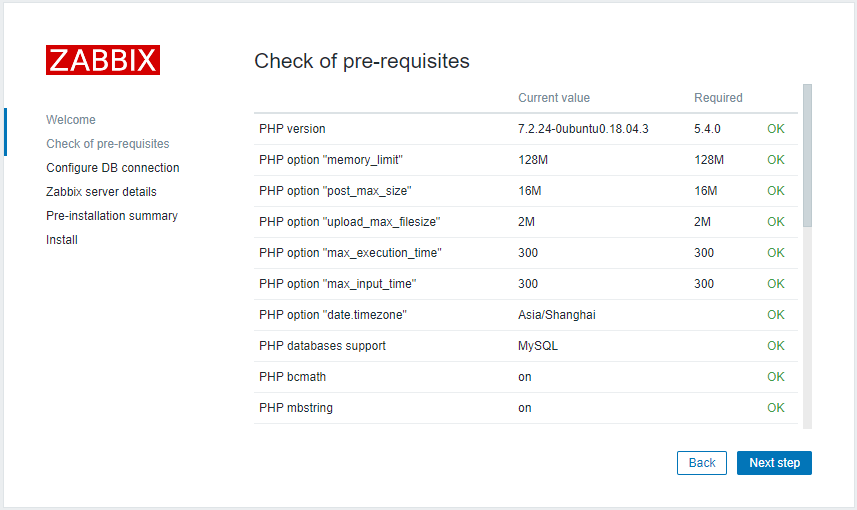
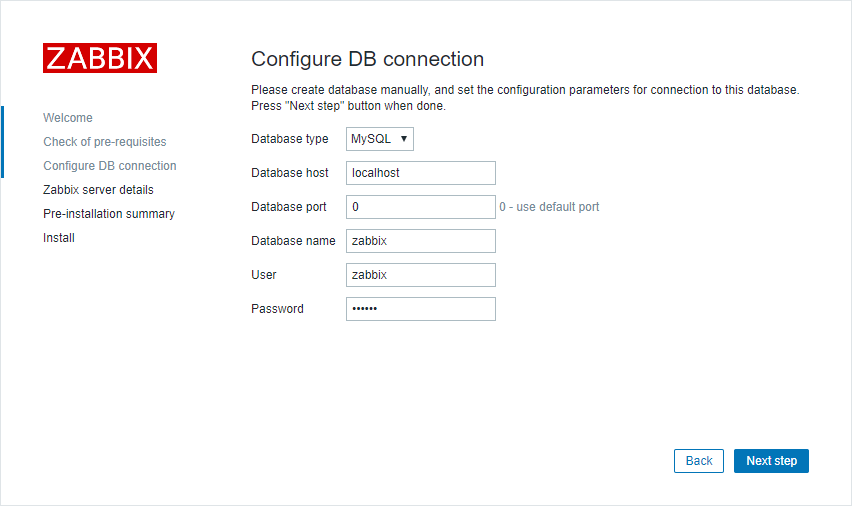
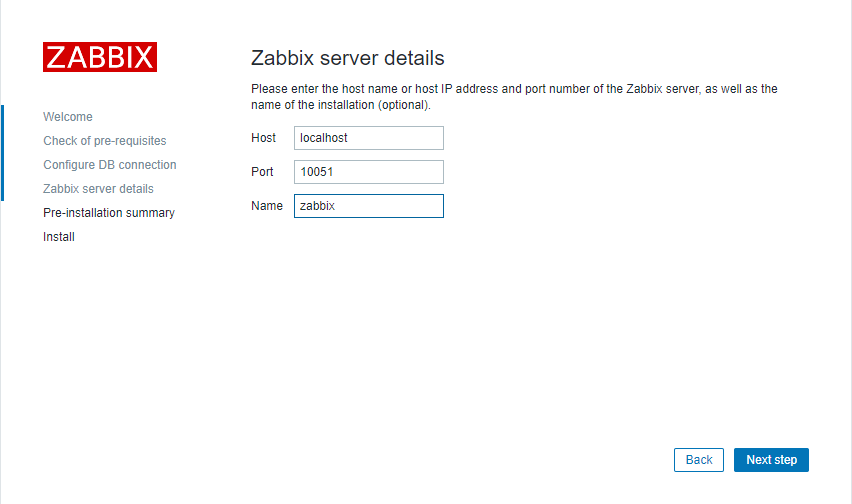
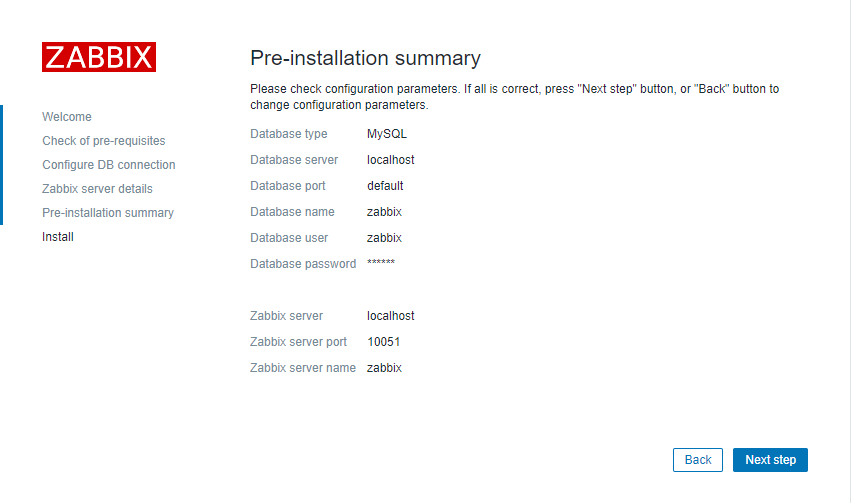
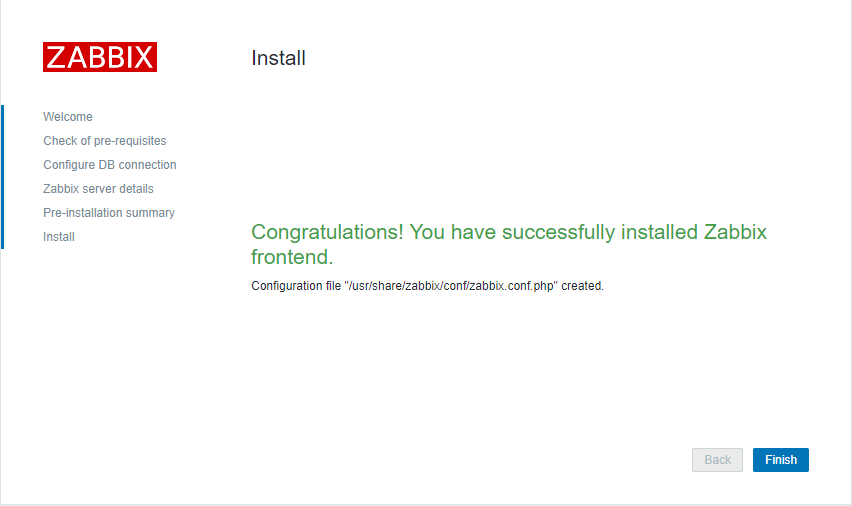
7. Configure Zabbix frontend
Connect to your newly installed Zabbix frontend: http://10.8.0.137::980
Follow steps described in Zabbix documentation: Installing frontend
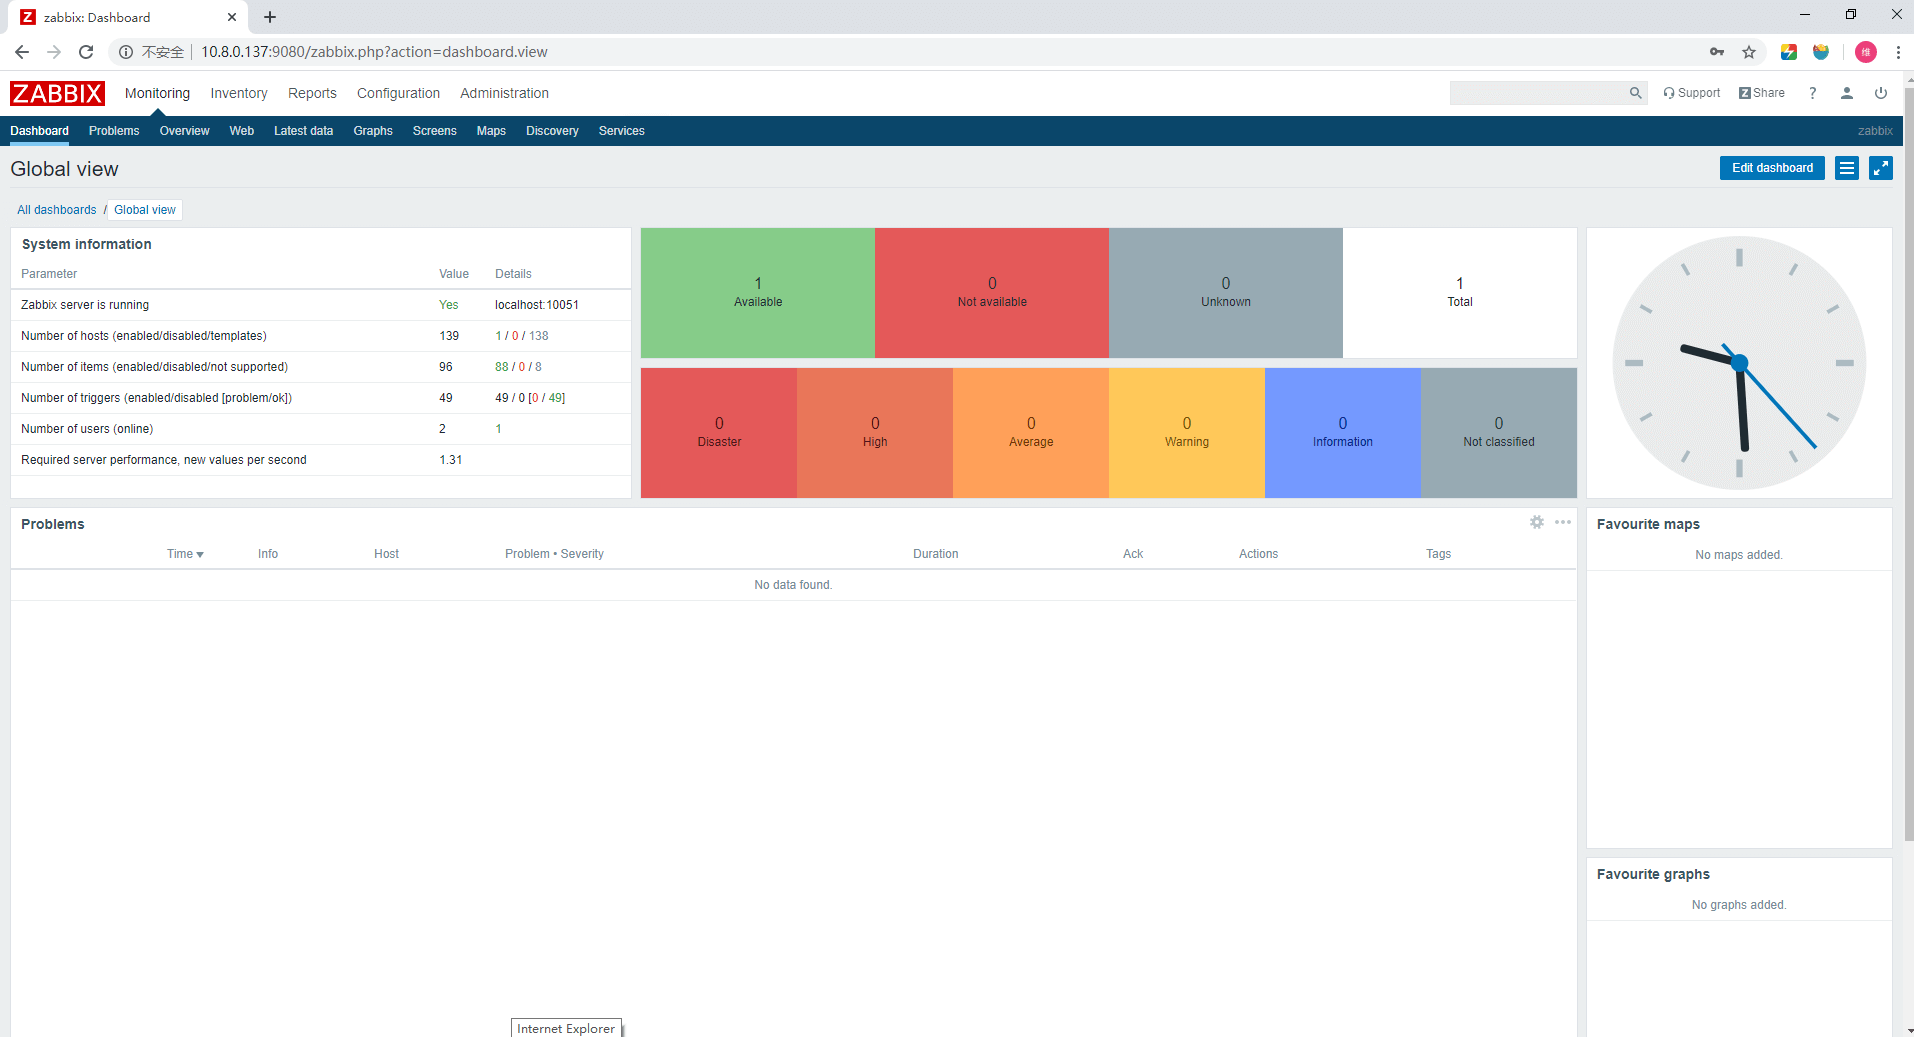
访问
Login

This is the Zabbix “Welcome” screen. Enter the user name Admin with password zabbix to log in as a Zabbix superuser.
Agent installation
在Agent服务器上安装
sudo apt install zabbix-agent
修改配置文件
/etc/zabbix/zabbix_agentd.conf中的
Server=192.168.0.16(server的IP)
ServerActive=192.168.0.16(server的IP)
Hostname=LTSR001(在zabbix中配置的hosts的名称)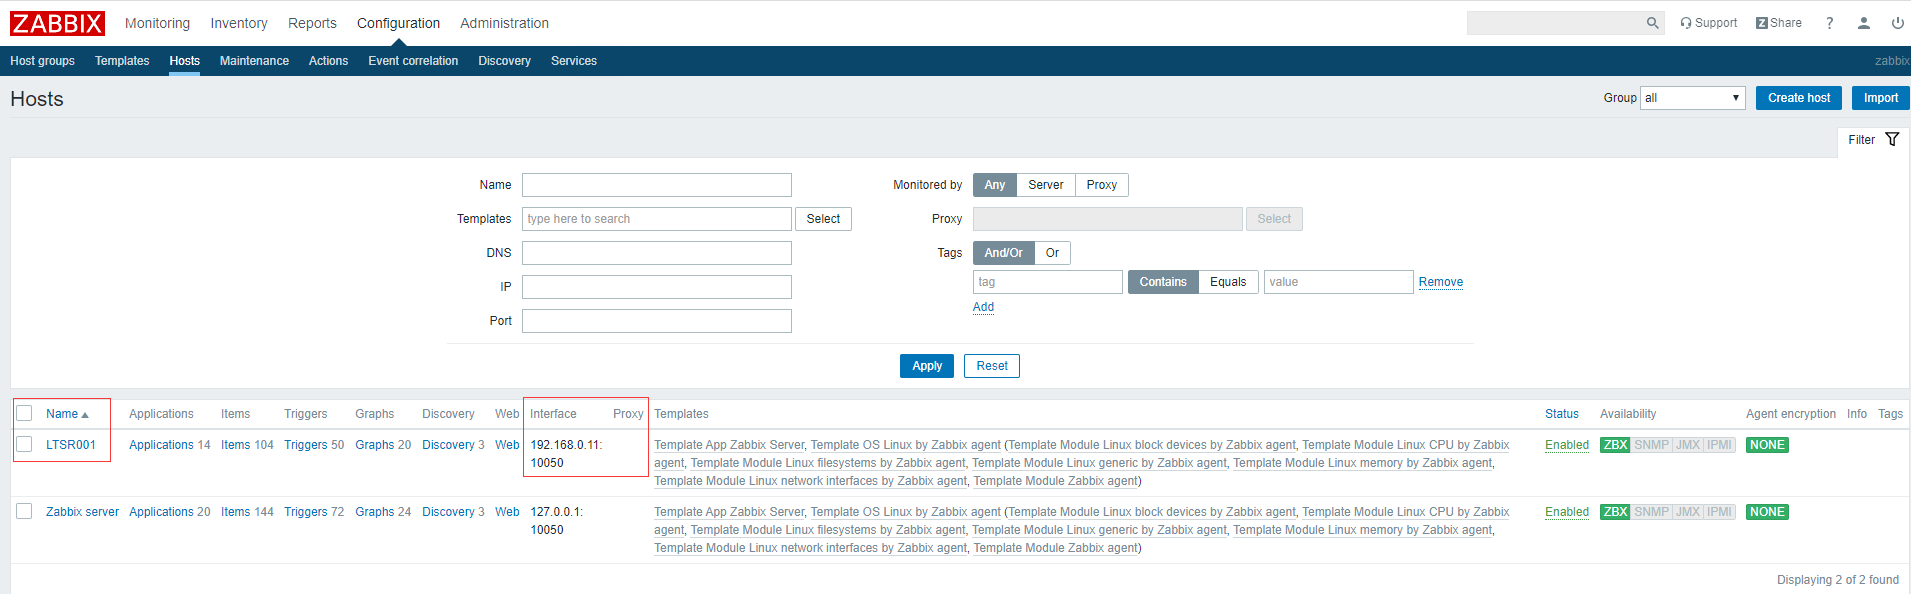
启动Agent服务
sudo service zabbix-agent start

若有收获,就点个赞吧
0 人点赞
