一、下载及安装
PIllow模块需要安装,然后才可以使用。
下载地址: https://pypi.org/project/Pillow/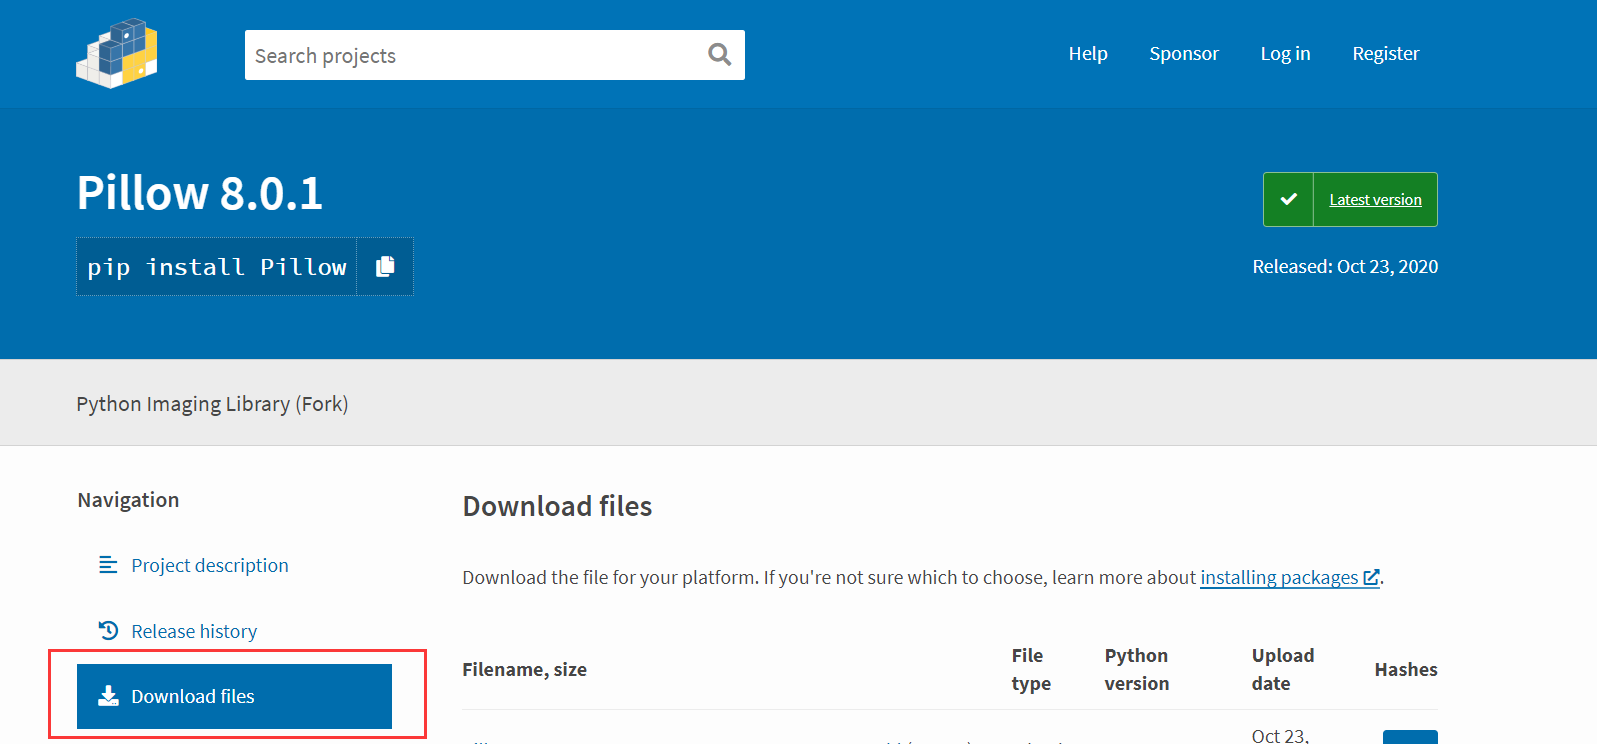
选择合适的版本进行下载
whl格式本质上是一个压缩包,里面包含了py文件,以及经过编译的pyd文件。使得可以在不具备编译环境的情况下,选择合适自己的python环境进行安装。
在安装过程中,报下面的错
原因是下载的pyhook版本与python版本不一致
需要找到合适的版本进行下载
然后进行安装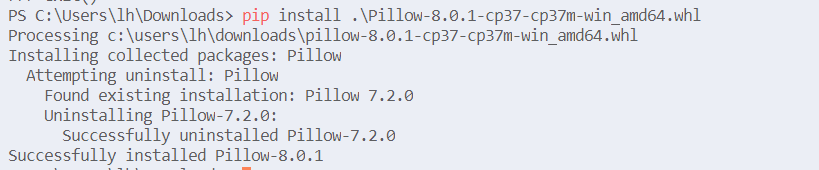
二、加载图像文件
首先需要打开文件,使用open()函数
open(infile [,mode])
infile:打开图像文件的路径
mode:打开文件的模式
from PIL import Imagepath = "E:\\pythonstduy\\image\\"img = Image.open(path+"1.4.jpg")##通过实例属性查看文件内容print(img.format,img.size,img.mode)##显示图像img.show()##结果JPEG (3120, 4160) RGB
from tkinter import *from PIL import Image, ImageTk##创建主窗口win = Tk()win.title(string = '加载图像')path = "E:\\pythonstduy\\image\\"imgFile1 = Image.open(path+"1.1.png")imgFile2 = Image.open(path+"1.2.gif")img1 = ImageTk.PhotoImage(imgFile1)img2 = ImageTk.PhotoImage(imgFile2)canvas = Canvas(win,background='pink',width=600,height=1000)canvas.create_image(40,40,image=img1,anchor=NW)canvas.create_image(600,40,image=img2,anchor=NW)canvas.pack(fill=BOTH)##开始窗口的事件循环win.mainloop()

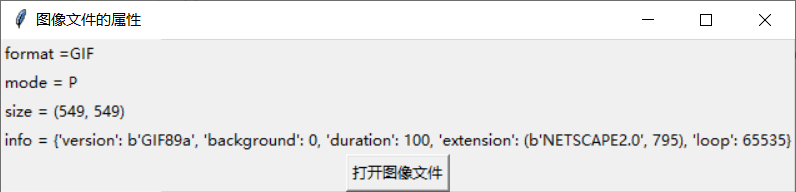
三、图像文件的属性
使用Image模块的open()函数打开的图像文件属性
| 属性 | 说明 |
|---|---|
| format | 图像文件的格式,eg:JPEG、GIF、BMP、TIFF等 |
| mode | 图像文件的色彩表示模式,eg:RGB、P等 |
| size | 图像文件的大小,以像素为单位。 返回值一个含两个元素的元组,格式为(width,height) |
| palette | 图像文件的颜色对照表(color palette table) |
| info | 图像文件的辞典集,返回值是一个列表 |
图像的色彩表示模式
| 模式 | 说明 |
|---|---|
| 1 | 1位的像素,黑和白,存储位8位的像素 |
| L | 8位的像素,黑和白 |
| P | 8位的像素,使用颜色对照表(color palette table) |
| RGB | 3×8位的像素,真实颜色 |
| RGBA | 4×8位的像素,真实颜色加上屏蔽 |
| CMYK | 4×8位的像素,颜色分离 |
| YCbCr | 3×8位的像素,颜色图像格式 |
| I | 32位的整数像素 |
| F | 32位的浮点数像素 |
from tkinter import *import tkinter.filedialogfrom PIL import Image##创建主窗口win = Tk()win.title(string = "图像文件的属性")##打开一个[打开旧文件]对话框def createOpenFileDialog():##返回打开的文件夹filename = myDialog.show()##打开该文件imgFile = Image.open(filename)##输入该文件的属性label1.config(text="format ="+ imgFile.format) ##图像文件的格式label2.config(text="mode = "+ imgFile.mode) ##图像文件的色彩表示模式label3.config(text="size = "+ str(imgFile.size)) ##图像文件的大小,返回值是一个元素,需要转换成字符串label4.config(text="info = "+ str(imgFile.info)) ##图像文件的辞典集,返回值是一个列表,需要转换成字符串##创建Label 控件,用于输入图像label1 = Label(win , text = "format = ")label2 = Label(win , text = "mode = ")label3 = Label(win , text = "size = ")label4 = Label(win , text = "info = ")##靠左边对齐label1.pack(anchor = W)label2.pack(anchor = W)label3.pack(anchor = W)label4.pack(anchor = W)##单击按钮后,即打开对话框Button(win,text = "打开图像文件",command = createOpenFileDialog).pack(anchor = CENTER)##设置对话框打开的文件类型myFileTypes = [('Graphics Interchange Format ',"*.gif"),('Windows bitmap','*bmp'),('JPEG format','*.jpg'),('Tag Iagme File Format',"*.tif"),('ALL image files','*.gif *.jpg *.bmp *.tif ')]##创建一个[打开旧文件]对话框myDialog = tkinter.filedialog.Open(win,filetypes = myFileTypes)##开始程序循环win.mainloop()

四、复制和粘贴图像
使用Image模块的copy()方法复制该图像
使用Image模块的paste()方法粘贴该图像
使用Image模块的crop()方法剪下图像中的矩形方块
语法格式:
copy()
paste(image,box)
crop(box)
paste方法中box是一个含有两个元素的元组,((left,top),(right,bottom))
crop方法中box 是图像中的一个矩形方块,是一个含有4个元素的元组:(left,top,right,bottom),表示矩形左上角和右下角的图标
from tkinter import *import tkinter.filedialogfrom PIL import Image, ImageTk##创建主窗口win = Tk()win.title (string = '复制和粘贴图像')##打开图像文件path = "E:\\pythonstduy\\image\\"imgFile = Image.open(path +"1.4.jpg")##创建第一个图像实例变量img1 = ImageTk.PhotoImage(imgFile)##读取图像文件的宽与高width,height = imgFile.size##设置剪下的区块范围box1 = (0,0,width,int(height/2))##将图像的上半部分剪下part = imgFile.crop(box1)##将剪下的部分旋转180度part = part.transpose(Image.ROTATE_180)##将图像的上半部分粘贴到上半部分imgFile.paste(part,box1)##创建第一个图像实例变量img2 =ImageTk.PhotoImage(imgFile)##创建Label控件,以显示图像label1 = Label(win,width=500,height=1000,image=img1)label2 = Label(win,width=500,height=1000,image=img2)label1.pack(side=LEFT,padx=10)label2.pack(side=LEFT,padx=10)##开始窗口的事件循环win.mainloop()

五、图像的几何变化
| 操作 | 函数及语法格式 |
|---|---|
| 改变图像的大小 | resize((width , height)) ps:里面的(width,height) 是一个元组 |
| 旋转图像 | rotate(angle) |
| 颠倒图像 | transpose(method) method可以是FILP_LEFT_RIGHT(左右翻转)、FILP_TOP_BOTTOM(上下翻转)、ROTATE_90、ROTATE_180、ROTATE_270 |
from tkinter import *from PIL import Image,ImageTk##创建主窗口win = Tk()win.title (string = "图像的几何变换")##打开图像文件path = "E:\\pythonstduy\\image\\"imgFile1 = Image.open(path+"1.5.jpg")##创建第一个图像实例变量img1 = ImageTk.PhotoImage(imgFile1)##创建Label控件,用于显示原始图像label1 = Label(win,width=300,height=300,image=img1)label1.pack(side = LEFT,padx = 10)##旋转图像成45度imgFile2 = imgFile1.rotate(45)img2 = ImageTk.PhotoImage(imgFile2)##创建Label控件,用于显示旋转后的图像label2 = Label(win,width=300,height=300,image=img2)label2.pack(side=LEFT,padx=10)##图像上下翻转imgFile3 = imgFile1.transpose(Image.FLIP_TOP_BOTTOM)img3 = ImageTk.PhotoImage(imgFile3)##创建Label控件,用于显示翻转后的图像label3 = Label(win,width=300,height=300,image=img3)label3.pack(side = LEFT,padx = 10)##将图像改变1/4倍width,height = imgFile1.sizeimgFile4 = imgFile1.resize((int(width/2),int(height/2)))img4 = ImageTk.PhotoImage(imgFile4)##创建Label控件,用于显示缩小后的图像label4 = Label(win,width=300,height=300,image=img4)label4.pack(side = LEFT,padx = 10)##开始窗口的事件循环win.mainloop()

六、存储图像
使用save() 方法存储文件
语法格式:
save(outfile [,options])
options位文件格式的名称
from PIL import Image##打开图像文件path = "E:\\pythonstduy\\image\\"imgFile = Image.open(path+"1.5.jpg")imgFile.save("E:\\pythonstduy\\image\\1.6.png","png")


若有收获,就点个赞吧
0 人点赞
