2. Spring Cloud Gateway快速开始
2.1 环境搭建
1. 引入依赖
<!-- gateway网关 --><dependency><groupId>org.springframework.cloud</groupId><artifactId>spring-cloud-starter-gateway</artifactId></dependency>
注意:会和spring-webmvc的依赖冲突,需要排除spring-webmvc
2.编写yml配置文件
server:port: 8888spring:application:name: api-gatewaycloud:gateway:routes: # 路由数组[路由 就是指定当请求满足什么条件的时候转到哪个微服务]- id: product_route # 当前路由的标识, 要求唯一uri: http://localhost:8081 # 请求要转发到的地址order: 1 # 路由的优先级,数字越小级别越高predicates: # 断言(就是路由转发要满足的条件)- Path=/product-serv/** # 当请求路径满足Path指定的规则时,才进行路由转发filters: # 过滤器,请求在传递过程中可以通过过滤器对其进行一定的修改- StripPrefix=1 # 转发之前去掉1层路径.
集成Nacos
现在在配置文件中写死了转发路径的地址, 前面我们已经分析过地址写死带来的问题, 接下来我们从注册中心获取此地址。
1. 引入依赖
<!-- nacos服务注册与发现 --><dependency><groupId>com.alibaba.cloud</groupId><artifactId>spring-cloud-starter-alibaba-nacos-discovery</artifactId></dependency>
编写yml配置文件
server:port: 8888spring:application:name: api-gatewaycloud:nacos:discovery:server-addr: 127.0.0.1:8848gateway:routes:- id: product_routeuri: lb://service-product # lb指的是从nacos中按照名称获取微服务,并遵循负载均衡策略predicates:- Path=/product-serve/**filters:- StripPrefix=1
简写: 去掉关于路由的配置,自动寻找服务
server:port: 8888spring:application:name: api-gatewaycloud:nacos:discovery:server-addr: 127.0.0.1:8848gateway:discovery:locator:enabled: true
3)测试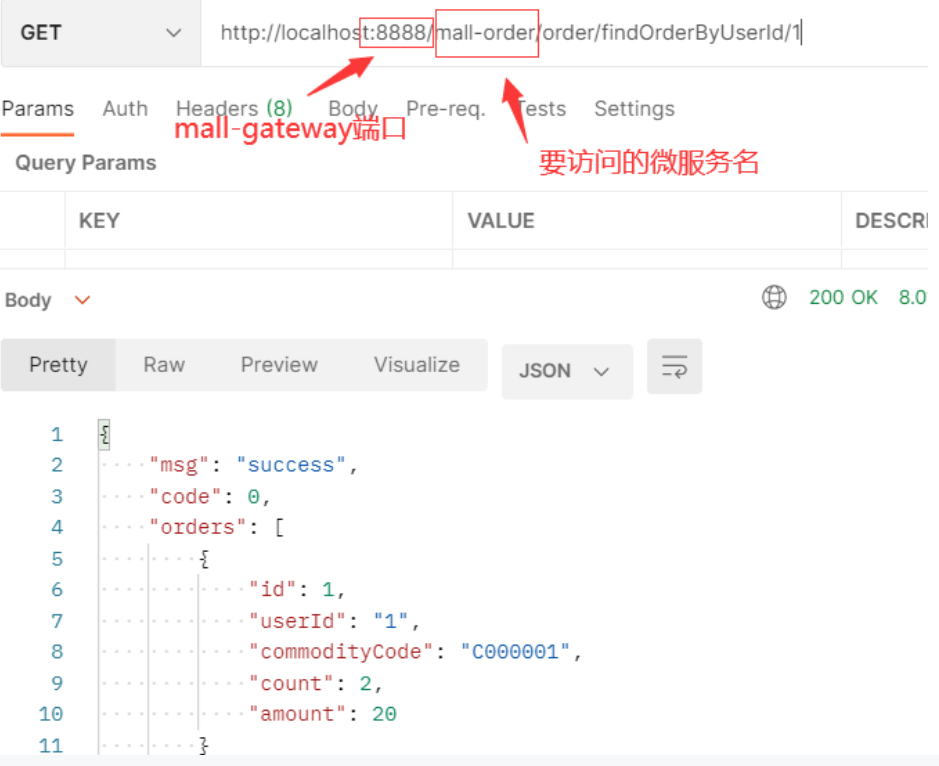
这时候,就发现只要按照网关地址/微服务/接口的格式去访问,就可以得到成功响应。

若有收获,就点个赞吧
0 人点赞
