一、安装
1、下载解压
下载地址:
http://maven.apache.org/download.cgi
下载二进制安装包然后上传到centos服务器上,
或者右键复制下载链接,然后到centos里执行:
cd /usr/local/maven
wget https://dlcdn.apache.org/maven/maven-3/3.8.3/binaries/apache-maven-3.8.3-bin.tar.gz
tar -zxvf apache-maven-3.8.3-bin.tar.gz //解压安装包
2、配置环境
#修改配置
vim /etc/profile
文件末尾添加以下
MAVEN_HOME=/usr/local/maven/apache-maven-3.8.3
export PATH=${MAVEN_HOME}/bin:${PATH}
重载配置
source /etc/profile
查看结果
mvn –version
如果报找不到pom文件的错误,执行完下面配置再试即可。
二、配置阿里镜像
打开maven配置文件,比如:
vim /usr/local/maven/apache-maven-3.8.3/conf/settings.xml
1、在xml中找到标签对,添加以下代码:
<mirror><id>alimaven</id><name>aliyun maven</name><url>http://maven.aliyun.com/nexus/content/groups/public/</url><mirrorOf>central</mirrorOf></mirror>

2、在xml中指定资源下载存放位置
<localRepository>/usr/local/maven/repository</localRepository>
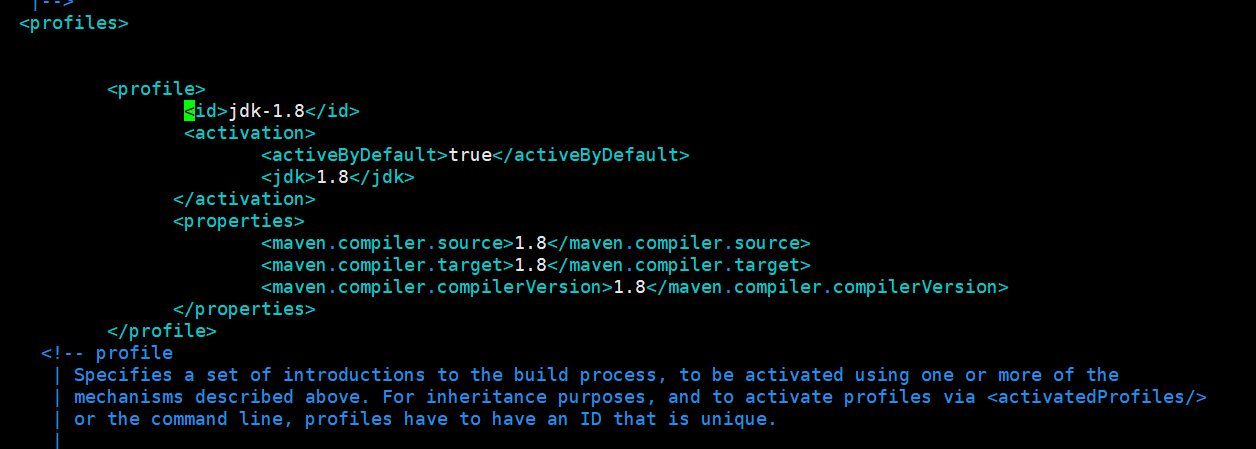
3、在xml中指定jdk1.8
<profile><id>jdk-1.8</id><activation><activeByDefault>true</activeByDefault><jdk>1.8</jdk></activation><properties><maven.compiler.source>1.8</maven.compiler.source><maven.compiler.target>1.8</maven.compiler.target><maven.compiler.compilerVersion>1.8</maven.compiler.compilerVersion></properties></profile>

若有收获,就点个赞吧
0 人点赞
