总父工程
POM
project
module
一、微服务Cloud整体聚合父工程Project
1、父工程步骤
1、NewProject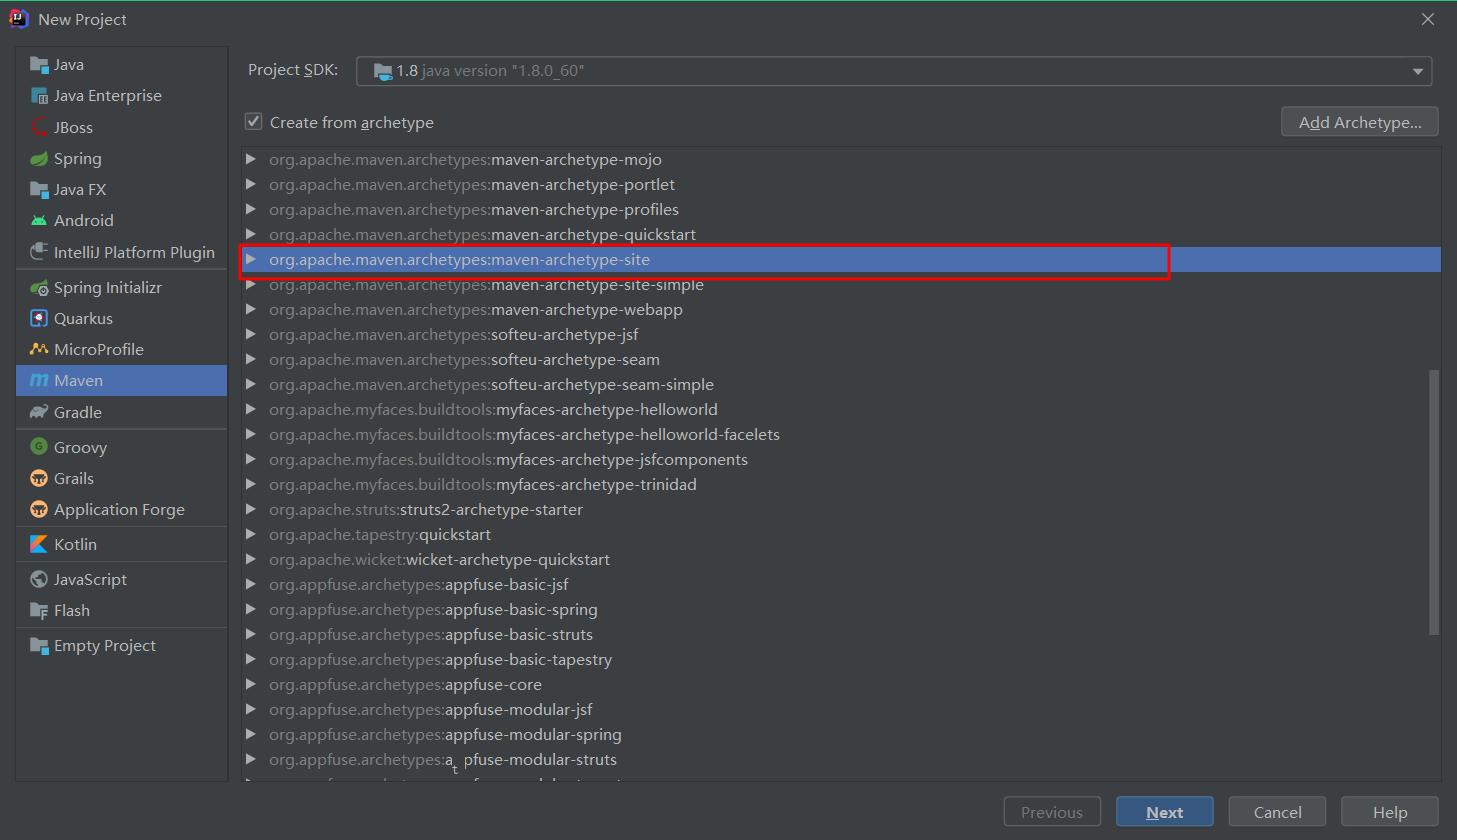
2、聚合总父工程名字
3、Maven选版本
4、工程名字
5、字符编码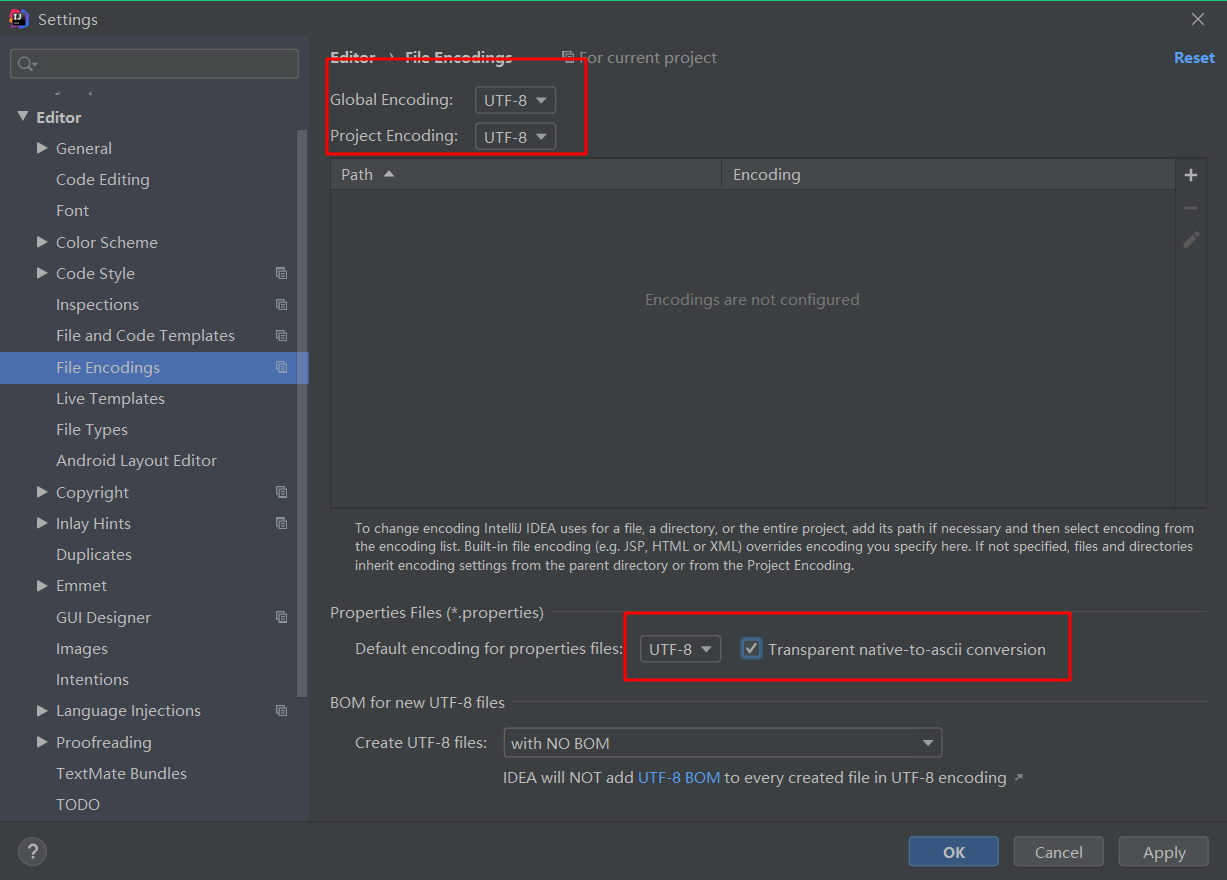
6、注解生效激活
7、java编译版本选8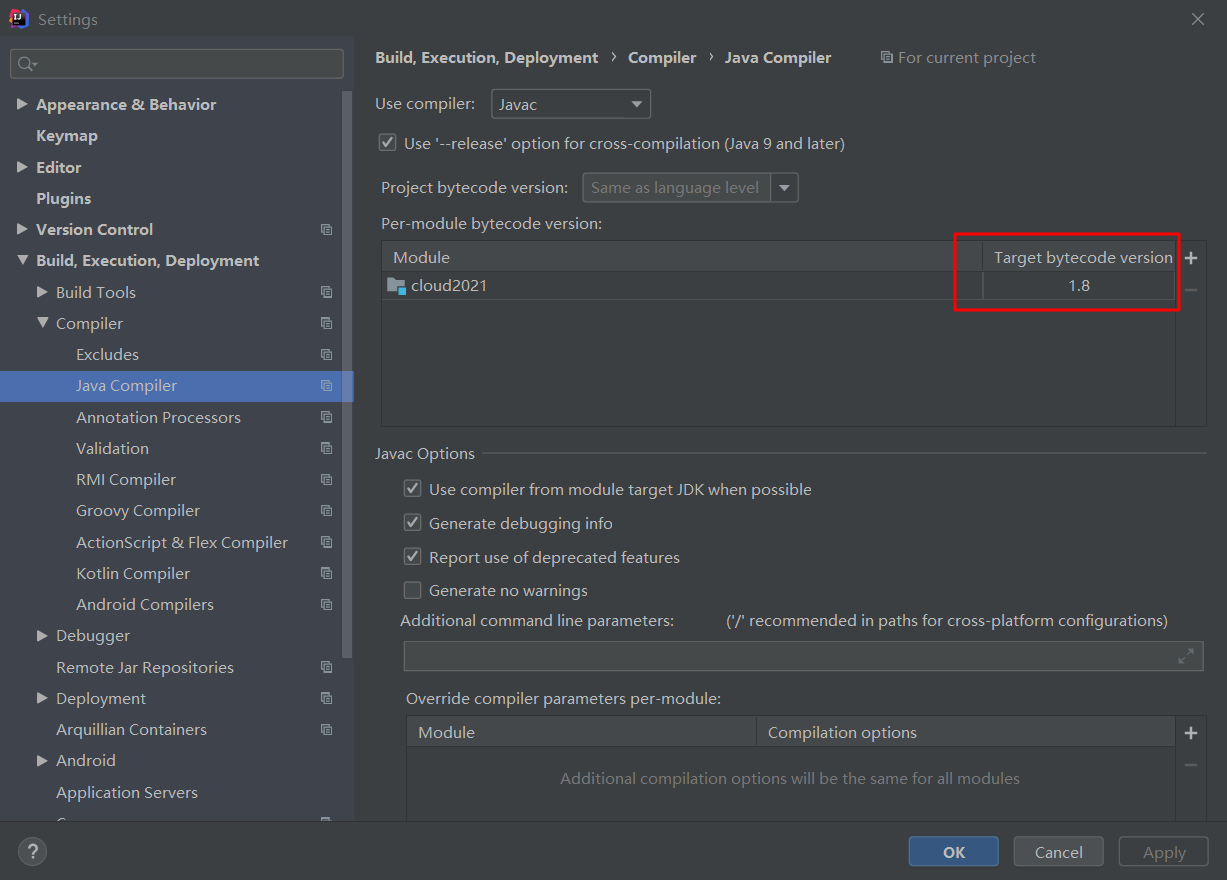
8、File Type过滤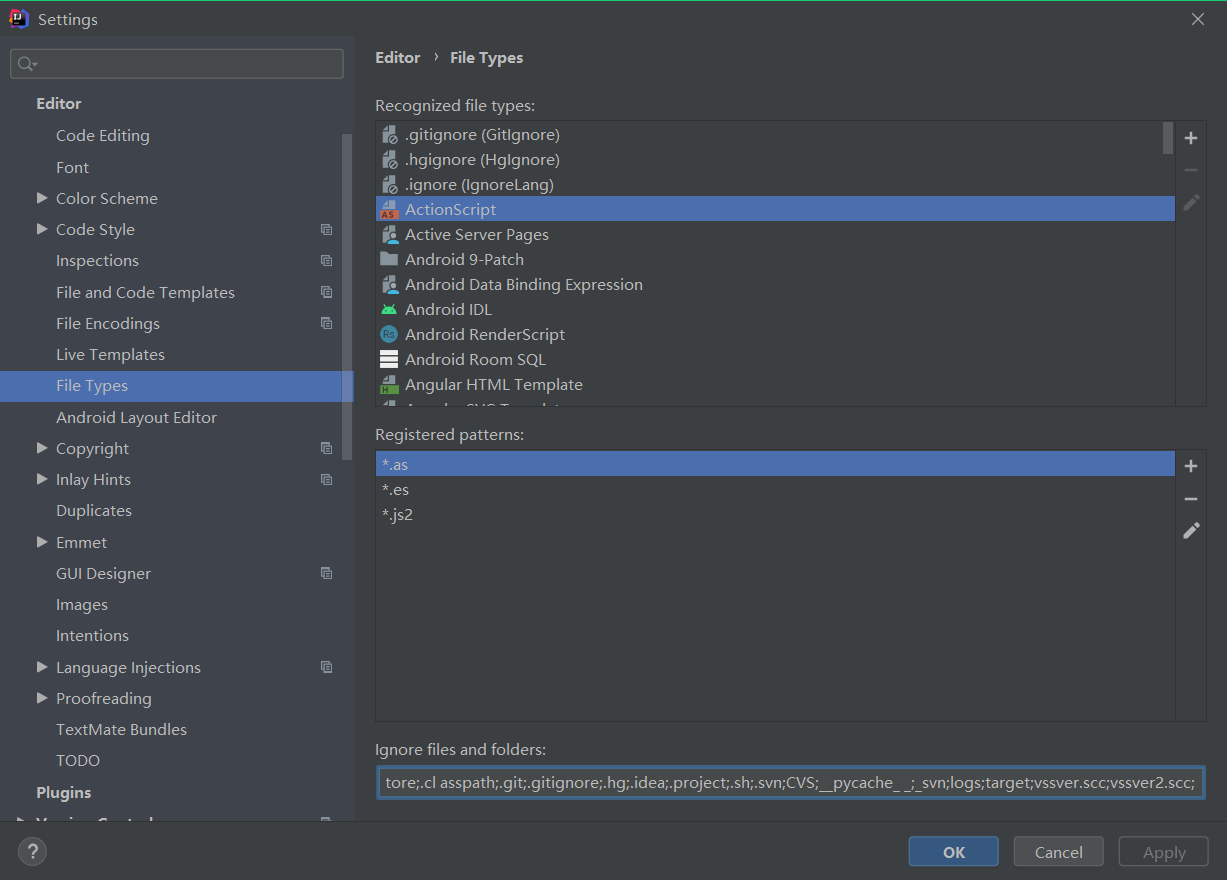
二、父工程pom文件
一、父工程pom文件
1、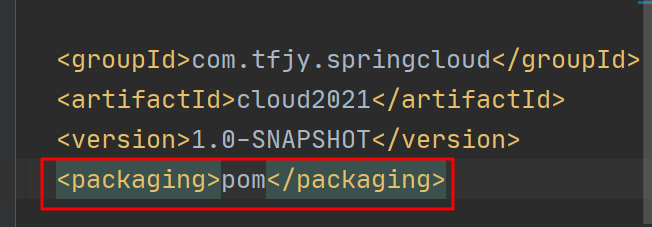
2、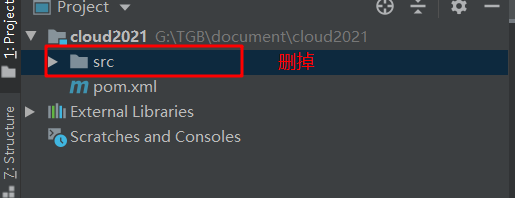
3、
<!-- 统一管理jar包版本 --><properties><project.build.sourceEncoding>UTF-8</project.build.sourceEncoding><maven.compiler.source>1.8</maven.compiler.source><maven.compiler.target>1.8</maven.compiler.target><junit.version>4.12</junit.version><log4j.version>1.2.17</log4j.version><lombok.version>1.16.18</lombok.version><mysql.version>5.1.47</mysql.version><druid.version>1.1.16</druid.version><mybatis.spring.boot.version>1.3.0</mybatis.spring.boot.version></properties><!-- 子模块继承之后,提供作用:锁定版本+子modlue不用写groupId和version --><dependencyManagement><dependencies><!--spring boot 2.2.2--><dependency><groupId>org.springframework.boot</groupId><artifactId>spring-boot-dependencies</artifactId><version>2.2.2.RELEASE</version><type>pom</type><scope>import</scope></dependency><!--spring cloud Hoxton.SR1--><dependency><groupId>org.springframework.cloud</groupId><artifactId>spring-cloud-dependencies</artifactId><version>Hoxton.SR1</version><type>pom</type><scope>import</scope></dependency><!--spring cloud alibaba 2.1.0.RELEASE--><dependency><groupId>com.alibaba.cloud</groupId><artifactId>spring-cloud-alibaba-dependencies</artifactId><version>2.1.0.RELEASE</version><type>pom</type><scope>import</scope></dependency><dependency><groupId>mysql</groupId><artifactId>mysql-connector-java</artifactId><version>${mysql.version}</version></dependency><dependency><groupId>com.alibaba</groupId><artifactId>druid</artifactId><version>${druid.version}</version></dependency><dependency><groupId>org.mybatis.spring.boot</groupId><artifactId>mybatis-spring-boot-starter</artifactId><version>${mybatis.spring.boot.version}</version></dependency><dependency><groupId>junit</groupId><artifactId>junit</artifactId><version>${junit.version}</version></dependency><dependency><groupId>log4j</groupId><artifactId>log4j</artifactId><version>${log4j.version}</version></dependency><dependency><groupId>org.projectlombok</groupId><artifactId>lombok</artifactId><version>${lombok.version}</version><optional>true</optional></dependency></dependencies></dependencyManagement><build><plugins><plugin><groupId>org.springframework.boot</groupId><artifactId>spring-boot-maven-plugin</artifactId><configuration><fork>true</fork><addResources>true</addResources></configuration></plugin></plugins></build>
二、Maven中的dependencyManagement和dependencies的区别
Maven中的dependencyManagement和dependencies的区别?
Maven使用dependencyManagement元素来提供一种管理依赖版本号的方式。
通常会在一个组织或者项目的最顶层的父POM中看到dependencyManagement元素。
使用pom.xml中的dependencyManagement元素能让所有在子项目中引用一个依赖而不用显示列出版本号。
Maven会沿着父子层向上走,直到找到一个拥有dependencyManagement元素的项目,然后它就会使用这个dependencyManagement元素的项目,然后它就会使用这个dependencyManagement元素中指定的版本号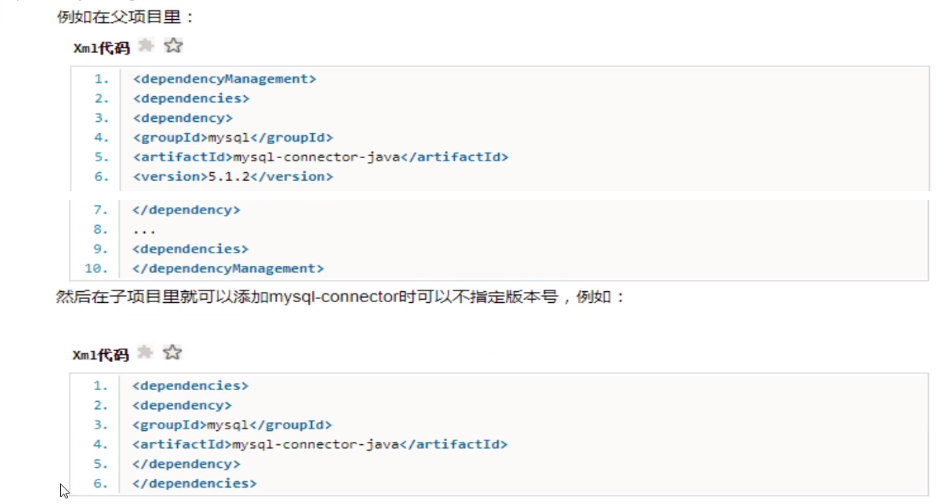
就是:如果有多个子项目都引用同一样的依赖,则可以避免在每个使用的子项目里都声明一个版本号,这样想升级或切换到另一个版本时,只需在顶层父容器里更新,而不需要一个一个子项目的修改,另外如果某个子项目需要另一个版本,只需声明version版本。
dependencyManagement里只是声明依赖,并不实现引入,因此子项目需要显示的声明需要用的依赖。
三、Maven如何跳过单元测试
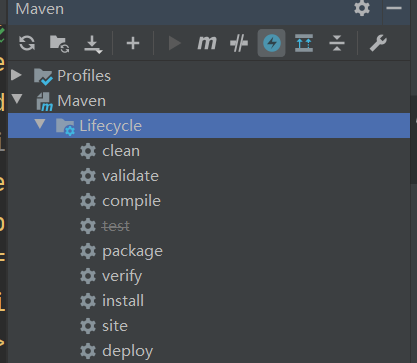
父工程创建完成执行mvn:install将父工程发布到仓库方便子工程继承

若有收获,就点个赞吧
0 人点赞
