1、用自己的账号在GitHub新建一个springcloud-config的新Repository
2、由上一步获得新建的git地址
3、在本地硬盘目录上新建git仓库并clone
4、此时在本地盘符下的文件
5、新建Module模块cloud-config-center-3344,它即为cloud的配置中心模块cloudConfig Center
6、POM
<dependencies><!--添加消息总线RabbitMQ支持--><dependency><groupId>org.springframework.cloud</groupId><artifactId>spring-cloud-starter-bus-amqp</artifactId></dependency><dependency><groupId>org.springframework.cloud</groupId><artifactId>spring-cloud-config-server</artifactId></dependency><dependency><groupId>org.springframework.cloud</groupId><artifactId>spring-cloud-starter-netflix-eureka-client</artifactId></dependency><dependency><groupId>org.springframework.boot</groupId><artifactId>spring-boot-starter-web</artifactId></dependency><dependency><groupId>org.springframework.boot</groupId><artifactId>spring-boot-starter-actuator</artifactId></dependency><dependency><groupId>org.springframework.boot</groupId><artifactId>spring-boot-devtools</artifactId><scope>runtime</scope><optional>true</optional></dependency><dependency><groupId>org.projectlombok</groupId><artifactId>lombok</artifactId><optional>true</optional></dependency><dependency><groupId>org.springframework.boot</groupId><artifactId>spring-boot-starter-test</artifactId><scope>test</scope></dependency></dependencies>
7、YML
8、主启动
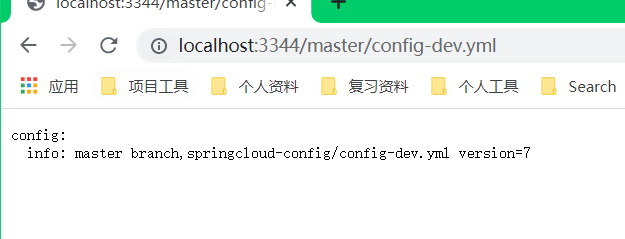
9、测试通过Config微服务是否可以从GitHub是否可以从GitHub上获取配置内容
1、启动服务3344
2、http://localhost:3344/master/config-dev.yml
10、读取配置规则
第一种:
/{label}/{application}-{profile}.yml
/{application}-{profile}.yml
/{application}-{profile}.yml
/{application}/{profile}/{/label}
第二种:
/{application}-{profile}.yml
第三种:
/{application}/{profile}[/{lable}]
lable:分支(branch)
name:服务名
profiles:环境(dev/test/prod)

若有收获,就点个赞吧
0 人点赞
