1、生成ssh密钥
ssh-keygen -t rsa -b 4096 -f ~/.ssh/JumpServer
后面的-f代表生成的文件,回车之后会让你输入密码,这个密码会在使用的时候调用。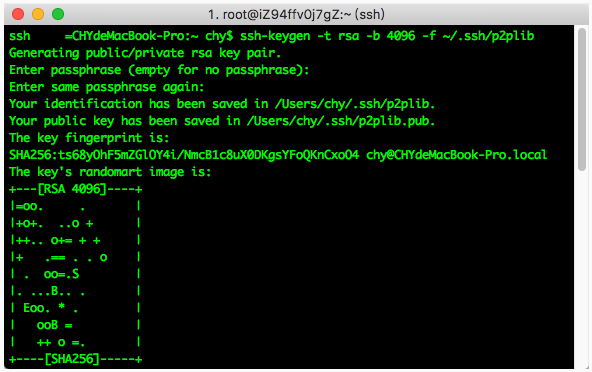
2、拷贝公钥文件到剪切板
pbcopy < ~/.ssh/JumpServer.pub
3、上传公钥到服务器
ssh-copy-id -i ~/.ssh/JumpServer root@1.1.1.1
4、写入完成之后就可以在本地使用对应的ssh私钥登陆。
ssh -i ~/.ssh/JumpServer root@1.1.1.1修改config文件vim /etc/ssh/sshd_configPasswordAuthentication yes改成no
案例:
//生成rsa的证书,长度为4096,保存在~/.ssh/目录下
ssh-keygen -t rsa -b 4096 -f ~/.ssh/57_aliyun
Generating public/private rsa key pair.
Enter passphrase (empty for no passphrase):
Enter same passphrase again:
Your identification has been saved in /Users/chy/.ssh/57_aliyun.
Your public key has been saved in /Users/chy/.ssh/57_aliyun.pub.
The key fingerprint is:
SHA256:/ax/AwbkmTBni9p3UwZGDncO8Be4PP4MfdNtWCek5SI chy@CHYdeMacBook-Pro.local
The key's randomart image is:
+---[RSA 4096]----+
| oo+.o |
| o +=++o. |
| O *oBo |
| ..E *.= o|
| oS .+ * ++|
| . . .oB o.=|
| . oo* o.|
| . = |
| .... . |
+----[SHA256]-----+
//拷贝证书到剪切板
pbcopy < ~/.ssh/57_aliyun.pub
//把证书登陆服务器
ssh-copy-id -i ~/.ssh/57_aliyun root@116.62.159.57
/usr/bin/ssh-copy-id: INFO: Source of key(s) to be installed: "/Users/chy/.ssh/57_aliyun.pub"
/usr/bin/ssh-copy-id: INFO: attempting to log in with the new key(s), to filter out any that are already installed
/usr/bin/ssh-copy-id: INFO: 1 key(s) remain to be installed -- if you are prompted now it is to install the new keys
root@116.62.159.57's password:
输入密码
Number of key(s) added: 1
Now try logging into the machine, with: "ssh 'root@1.1.1.1'"
and check to make sure that only the key(s) you wanted were added.
//使用证书登陆无需输入密码
➜ ~ ssh -i ~/.ssh/57_aliyun root@1.1.1.1

若有收获,就点个赞吧
0 人点赞
