Centos7.6搭建nginx 1.16.1并使用upstream_check_module模块
环境说明:
| 主机名 | 操作系统版本 | ip | nginx版本 | httpd版本 | 备注 |
|---|---|---|---|---|---|
| nginx | Centos 7.6.1810 | 172.27.34.41 | 1.16.1 | / | nginx服务器 |
| web01 | Centos 7.6.1810 | 172.27.34.161 | / | 2.4.6 | web服务器 |
| web02 | Centos 7.6.1810 | 172.27.34.162 | / | 2.4.6 | web服务器 |
| web03 | Centos 7.6.1810 | 172.27.34.163 | / | 2.4.6 | web服务器 |
一、nginx_upstream_check_module简介
1. 模块出处
2. 模块意义
nginx自带的针对后端节点健康检查的功能比较简单,无法主动识别后端节点状态,后端即使有不健康节点, 负载均衡器依然会把该请求转发给该不健康节点,只能等待超时时间后转发到其他节点,这样就会造成响应延迟性能降低的问题。
二、nginx安装
1. nginx下载
nginx版本查看:https://nginx.org/en/download.html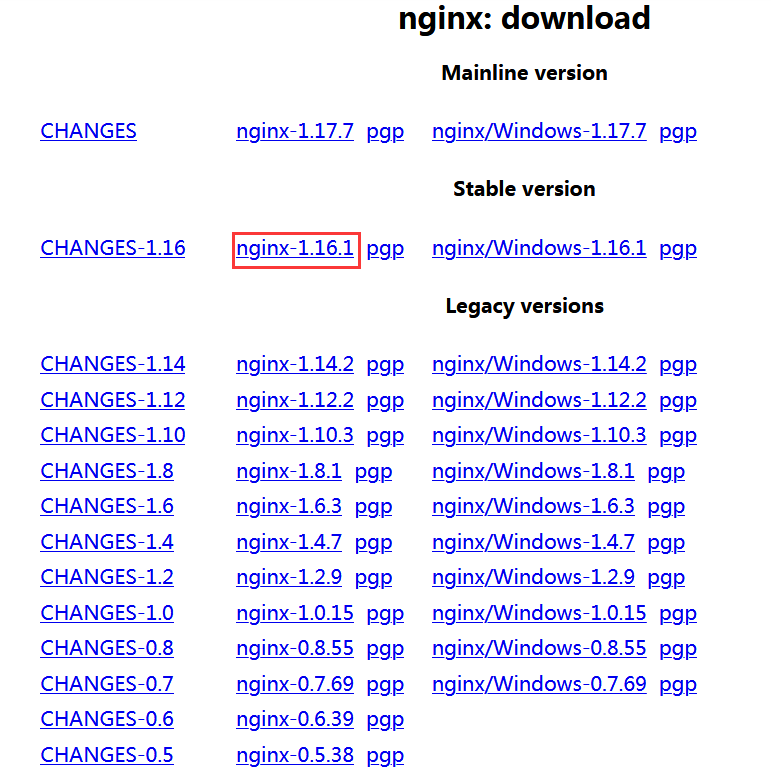
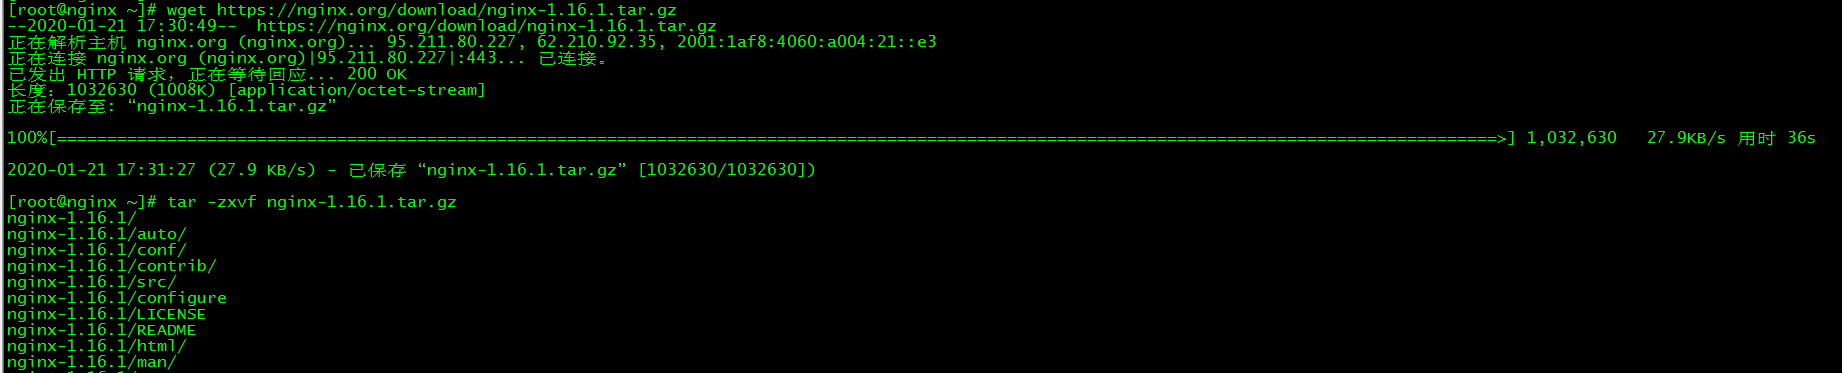
下载最新的稳定版本nginx-1.16.1源码包并解压
[root@nginx ~]# wget https://nginx.org/download/nginx-1.16.1.tar.gz [root@nginx ~]# tar -zxvf nginx-1.16.1.tar.gz
2. nginx_upstream_check_module模块下载
[root@nginx ~]# wget https://github.com/yaoweibin/nginx_upstream_check_module/archive/master.zip [root@nginx ~]# yum -y install unzip [root@nginx ~]# unzip master.zip

下载nginx_upstream_check_module模块并解压,如果没有unzip命令可以通过’yum -y install unzip’安装。
3. 安装准备
[root@nginx ~]# yum -y install gcc-c++ pcre pcre-devel zlib zlib-devel openssl openssl-devel
分别安装依赖包gcc、pcre、zlib、OpenSSL。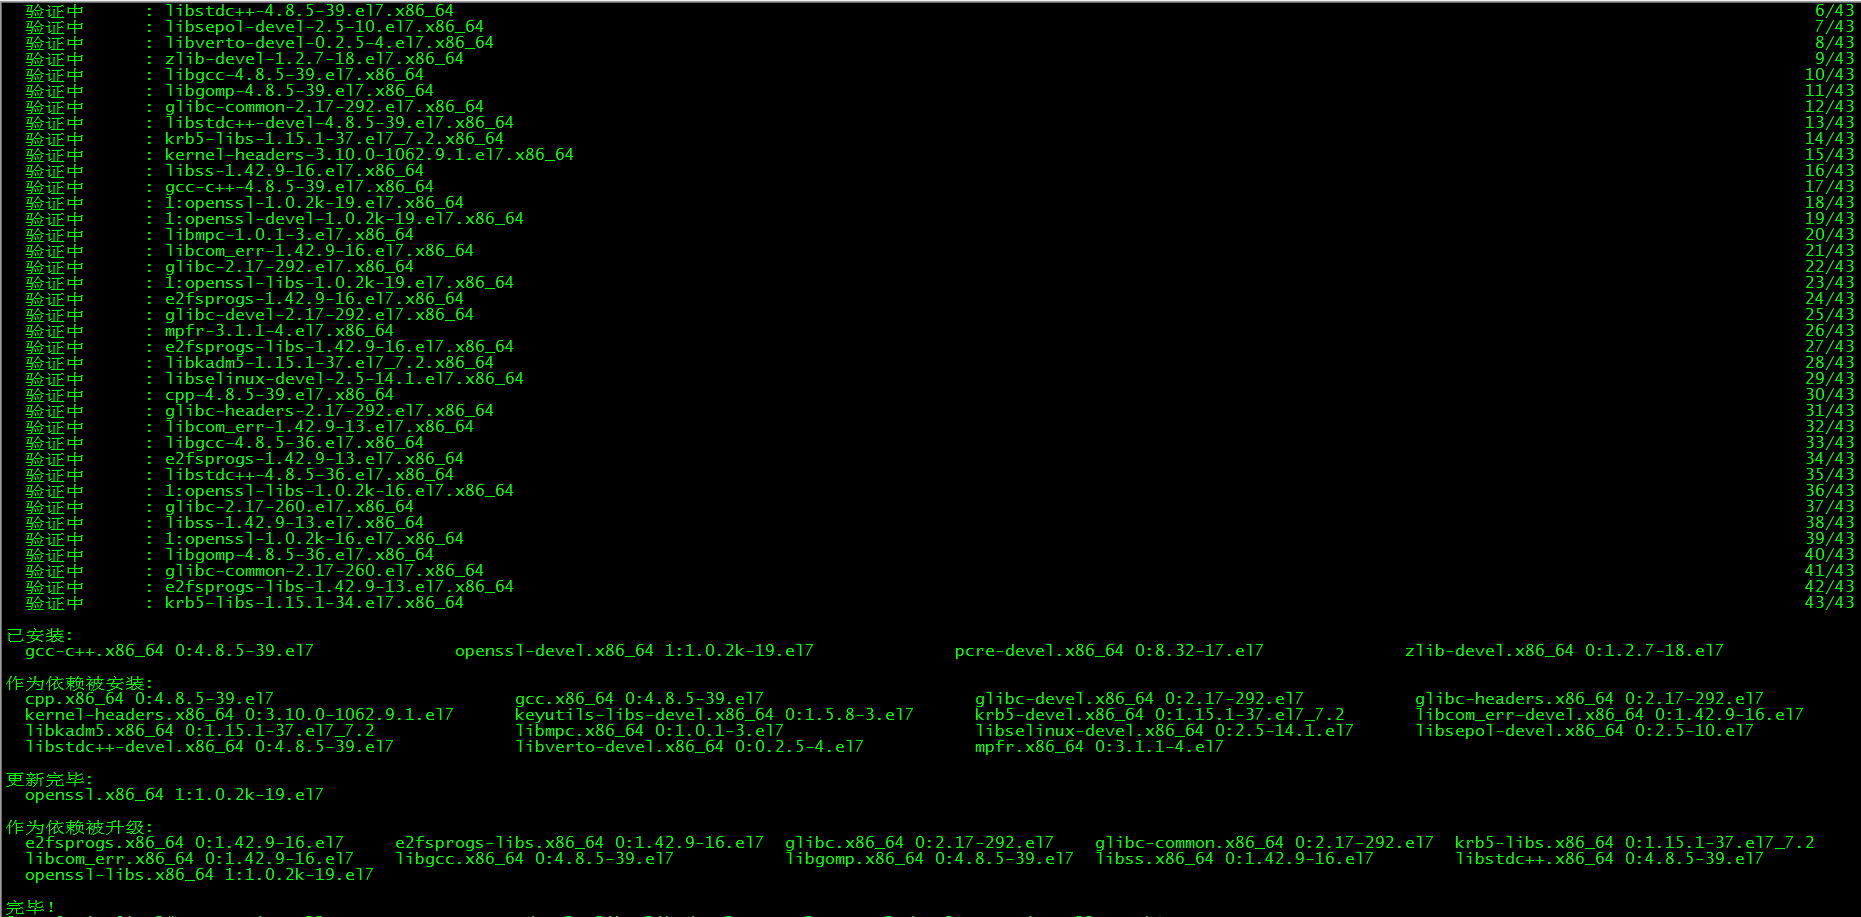
| 依赖包 | 作用 |
|---|---|
| gcc | 编译依赖 gcc 环境 |
| pcre | PCRE(Perl Compatible Regular Expressions) 是一个Perl库,包括 perl 兼容的正则表达式库。nginx 的 http 模块使用 pcre 来解析正则表达式,所以需要在 linux 上安装 pcre 库,pcre-devel 是使用 pcre 开发的一个二次开发库,nginx也需要此库。 |
| zlib | zlib 库提供了很多种压缩和解压缩的方式, nginx 使用 zlib 对 http 包的内容进行 gzip ,所以需要在 Centos 上安装 zlib 库。 |
| OpenSSL | OpenSSL 是一个强大的安全套接字层密码库,囊括主要的密码算法、常用的密钥和证书封装管理功能及 SSL 协议,并提供丰富的应用程序供测试或其它目的使用。 nginx 不仅支持 http 协议,还支持 https(即在ssl协议上传输http),所以需要在 Centos 安装 OpenSSL 库。 |
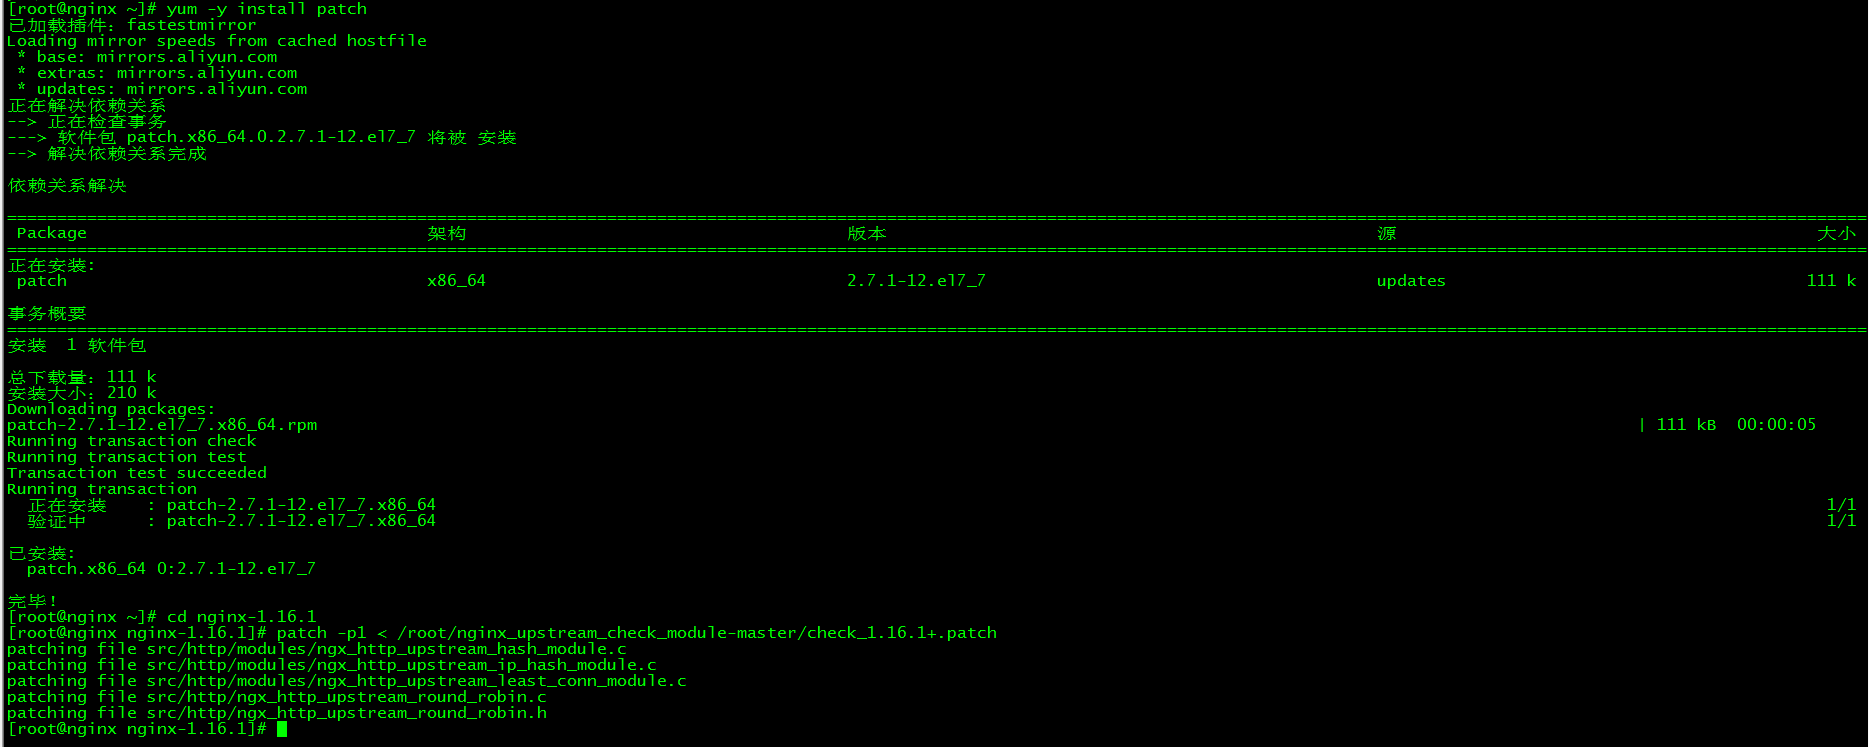
4. 打补丁
[root@nginx ~]# yum -y install patch [root@nginx ~]# cd nginx-1.16.1 [root@nginx nginx-1.16.1]# patch -p1 < /root/nginx_upstream_check_module-master/check_1.16.1+.patch patching file src/http/modules/ngx_http_upstream_hash_module.c patching file src/http/modules/ngx_http_upstream_ip_hash_module.c patching file src/http/modules/ngx_http_upstream_least_conn_module.c patching file src/http/ngx_http_upstream_round_robin.c patching file src/http/ngx_http_upstream_round_robin.h
5. 编译安装
5.1 安装nginx
[root@nginx nginx-1.16.1]# ./configure --add-module=/root/nginx_upstream_check_module-master
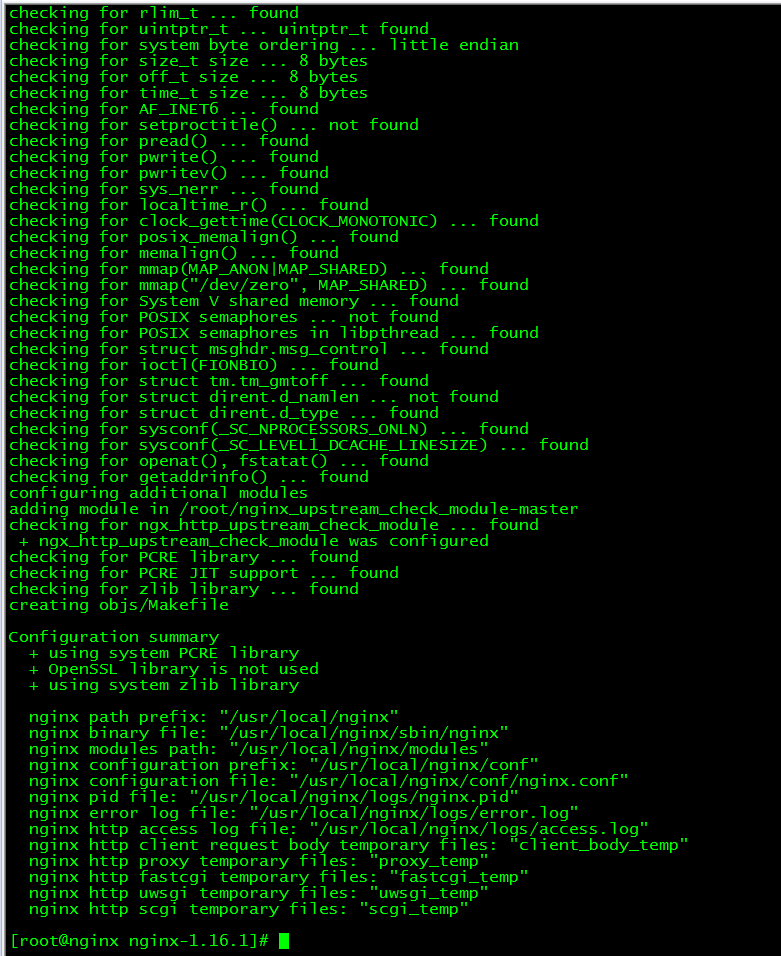
5.2 编译
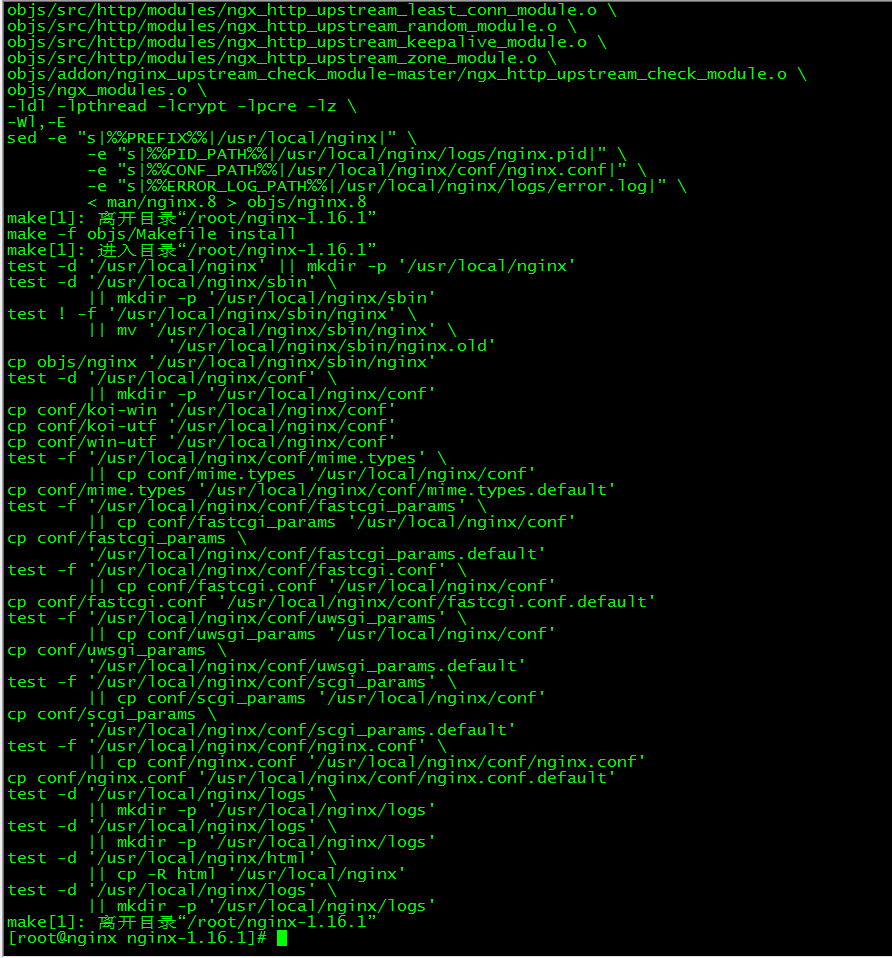
[root@nginx nginx-1.16.1]# make && make install
Tip:如果需要安装多个模块用如下命令
./configure \
--prefix=/usr/local/nginx \
--with-http_stub_status_module \
--with-http_ssl_module \
--add-module=/root/nginx_upstream_check_module-master


 make
执行make命令,但是不要执行make install,因为make是用来编译的,而make install是安装,不然你整个nginx会重新覆盖的
5.3 安装检查
[root@nginx nginx-1.16.1]# ll /usr/local/nginx/ 总用量 0 drwxr-xr-x 2 root root 333 1月 22 15:15 conf drwxr-xr-x 2 root root 40 1月 22 15:15 html drwxr-xr-x 2 root root 6 1月 22 15:15 logs drwxr-xr-x 2 root root 19 1月 22 15:15 sbin
安装完成后/usr/local路径下有nginx目录,该目录为nginx的默认目录。
5.4 nginx命令全局执行
[root@nginx nginx-1.16.1]# ln -s /usr/local/nginx/sbin/nginx /usr/local/bin/nginx [root@nginx nginx-1.16.1]# nginx -v nginx version: nginx/1.16.1 [root@nginx nginx-1.16.1]# nginx -V nginx version: nginx/1.16.1 built by gcc 4.8.5 20150623 (Red Hat 4.8.5-39) (GCC) configure arguments: --add-module=/root/nginx_upstream_check_module-master [root@nginx nginx-1.16.1]# nginx -t nginx: the configuration file /usr/local/nginx/conf/nginx.conf syntax is ok nginx: configuration file /usr/local/nginx/conf/nginx.conf test is successful
‘nginx -v’可查看nginx的版本,’nginx -V’可查看加载的模块,’nginx -t’可检查配置文件是否正确配置。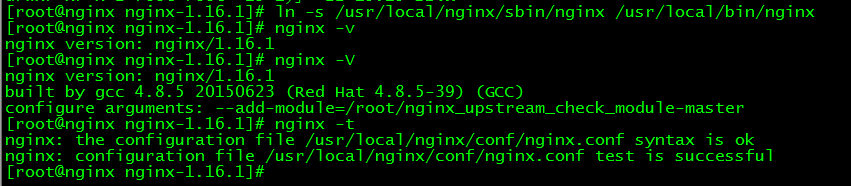
6. nginx配置文件
[root@nginx ~]# cd /usr/local/nginx/conf/ [root@nginx conf]# more nginx.conf worker_processes 1; events { worker_connections 1024; } http { include mime.types; default_type application/octet-stream; sendfile on; keepalive_timeout 65; upstream web-test { server 172.27.34.161:8001 weight=5; server 172.27.34.162:8001 weight=5; server 172.27.34.163:8001 weight=5; check interval=3000 rise=2 fall=5 timeout=1000 type=http; check_http_send "HEAD / HTTP/1.0\r\n\r\n"; check_http_expect_alive http_2xx http_3xx; } server { listen 81; location / { proxy_pass http://web-test; } location /status { check_status; } error_page 500 502 503 504 /50x.html; location = /50x.html { root html; } } }
各参数意义:
interval:向后端发送的健康检查包的间隔。fall(fall_count): 如果连续失败次数达到fall_count,服务器就被认为是down。rise(rise_count): 如果连续成功次数达到rise_count,服务器就被认为是up。timeout: 后端健康请求的超时时间。default_down: 设定初始时服务器的状态,如果是true,就说明默认是down的,如果是false,就是up的。默认值是true,也就是一开始服务器认为是不可用,要等健康检查包达到一定成功次数以后才会被认为是健康的。type:健康检查包的类型,现在支持以下多种类型tcp:简单的tcp连接,如果连接成功,就说明后端正常。ssl_hello:发送一个初始的SSL hello包并接受服务器的SSL hello包。http:发送HTTP请求,通过后端的回复包的状态来判断后端是否存活。mysql: 向mysql服务器连接,通过接收服务器的greeting包来判断后端是否存活。ajp:向后端发送AJP协议的Cping包,通过接收Cpong包来判断后端是否存活。
port: 指定后端服务器的检查端口。你可以指定不同于真实服务的后端服务器的端口,比如后端提供的是443端口的应用,你可以去检查80端口的状态来判断后端健康状况。默认是0,表示跟后端server提供真实服务的端口一样。该选项出现于Tengine-1.4.0。
三、 apache服务器安装
在web01、web02和web03上分别安装配置apache
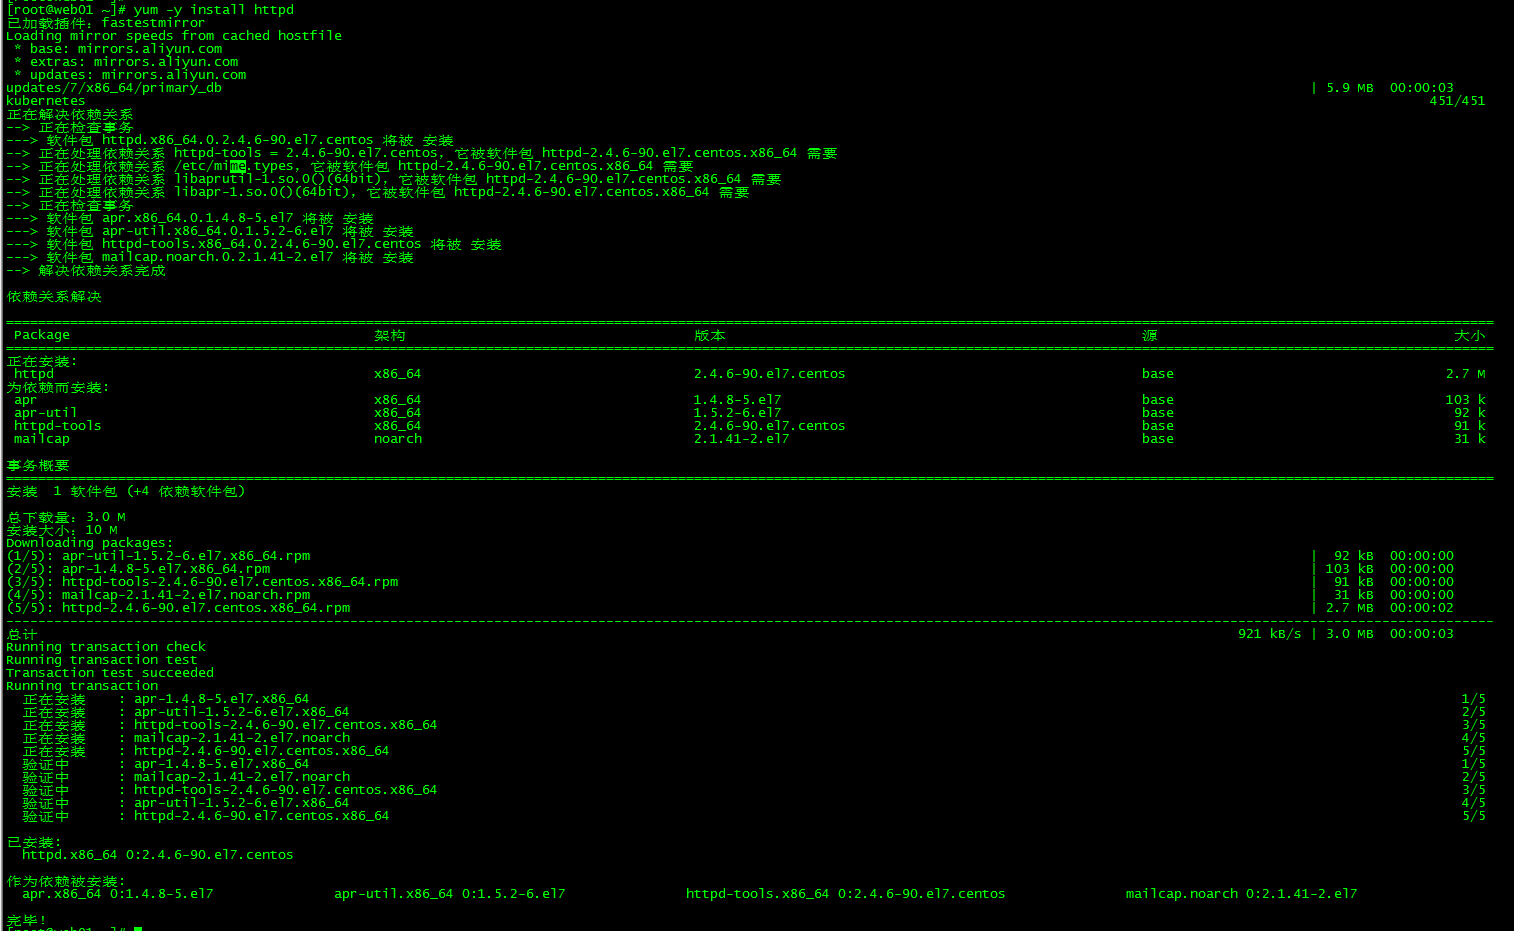
1. 安装apache
[root@web01 ~]# yum -y install httpd
2. 配置修改
2.1 修改默认端口
[root@web01 ~]# sed -i 's/Listen 80/Listen 8001/g' /etc/httpd/conf/httpd.conf
2.2 修改首页输出
[root@web03 ~]# echo `hostname`>/var/www/html/index.html
3. 启动apache并设置开机启动
[root@web01 ~]# systemctl start httpd [root@web01 ~]# systemctl enable httpd Created symlink from /etc/systemd/system/multi-user.target.wants/httpd.service to /usr/lib/systemd/system/httpd.service.
四、 启动nginx并设置开启启动
[root@nginx conf]# nginx [root@nginx conf]# sed -i '$a /usr/local/nginx/sbin/nginx' /etc/rc.d/rc.local [root@nginx conf]# chmod u+x /etc/rc.d/rc.local
测试:
[root@client ~]# for i in {1..100};do sleep 1; curl http://172.27.34.28:82/;done
五、测试
1. 访问测试
[root@nginx ~]# for i in {1..100};do sleep 1; curl http://172.27.34.41:81;done
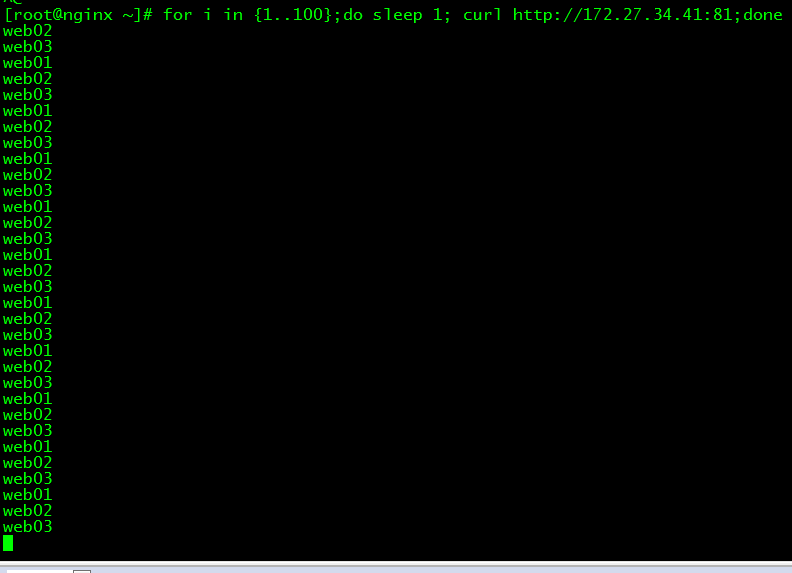
访问nginx服务器 http://172.27.34.41:81,发现请求被平均的分配到后端的3台web服务器。
2. 后端状态检查
浏览器输入 http://172.27.34.41:81/status 检查后端web服务器状态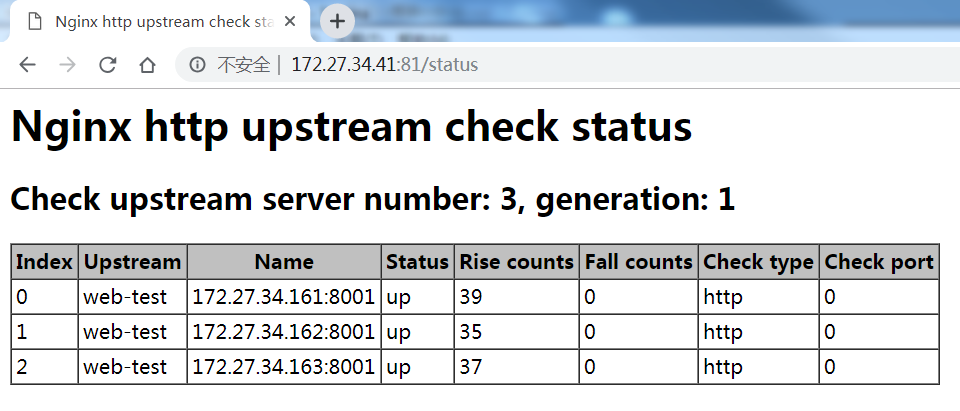
| 参数 | 意义 |
|---|---|
| server number | 后端服务器的数量 |
| generation | Nginx reload的次数 |
| Index | 服务器的索引 |
| Upstream | 在配置中upstream的名称 |
| Name | 服务器IP |
| Status | 服务器的状态 |
| Rise | 服务器连续检查成功的次数 |
| Fall | 连续检查失败的次数 |
| Check type | 检查的方式 |
| Check port | 后端专门为健康检查设置的端口 |
3. 模拟后端服务不可用
[root@nginx ~]# for i in {1..100};do sleep 1; curl http://172.27.34.41:81;done [root@web01 ~]# systemctl stop httpd
nginx服务器上持续访问nginx,同时停止web01的httpd服务.

请求没有被分配到web01,同时后端检测web01也异常。
4. 启动web01
[root@nginx ~]# for i in {1..100};do sleep 1; curl http://172.27.34.41:81;done [root@web01 ~]# systemctl start httpd
重新启动web01上的httpd服务,发现请求重新被分配到web01上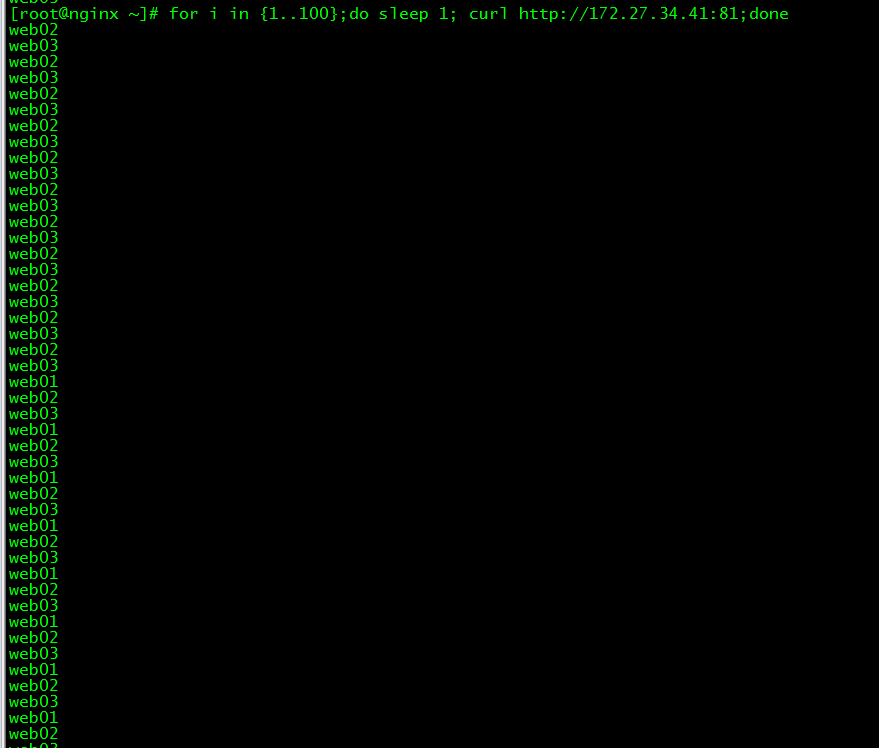

后端检查web01也恢复正常。
六、nginx卸载
1. 停进程
[root@nginx ~]# ps -ef|grep nginx root 17746 1 0 16:54 ? 00:00:00 nginx: master process nginx nobody 17747 17746 0 16:54 ? 00:00:00 nginx: worker process root 17784 17750 0 16:55 pts/0 00:00:00 grep --color=auto nginx [root@nginx ~]# pkill nginx [root@nginx ~]# ps -ef|grep nginx root 17791 17750 0 16:55 pts/0 00:00:00 grep --color=auto nginx
2. 删除文件
[root@nginx ~]# find /* -name "nginx*"|xargs rm -rf
nginx各模块说明:健康检查模块功能
nginx_upstream_check_module模块源码nginx_upstream_check_module

若有收获,就点个赞吧
0 人点赞
