比较喜欢用VSCode做编辑器,所以这就是如何配置VSCode用来刷Leetcode题目
环境配置:
- 首先下载
VSCode,安装插件Leetcode、C++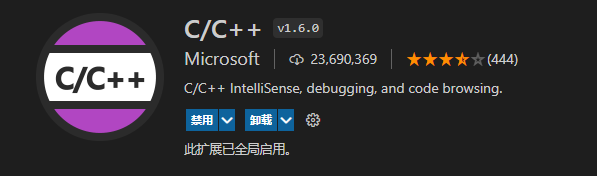

- 使用这个插件记得切换成中国站cn,否则登录有问题
- 然后配置一下C++编译环境
- 使用WinBuid工具直接下载所有安装包
- 配置Path
- Leetcode的插件需要Node.js支持去官网下载一个,默认安装即可、
- C++的插件也需要配置一下

vscode配置文件
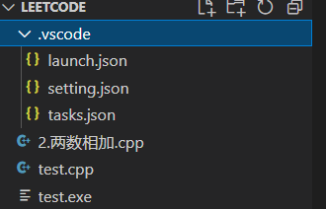
这是启动项配置 launch.json
{// Use IntelliSense to learn about possible attributes.// Hover to view descriptions of existing attributes.// For more information, visit: https://go.microsoft.com/fwlink/?linkid=830387"version": "0.2.0","configurations": [{"name": "g++.exe - 生成和调试活动文件","type": "cppdbg","request": "launch","program": "${fileDirname}\\${fileBasenameNoExtension}.exe","args": [],"stopAtEntry": false,"cwd": "${workspaceFolder}","environment": [],"externalConsole": true, // 调试时是否显示控制台窗口,一般设置为true显示控制台"MIMode": "gdb","miDebuggerPath": "C:\\sooooft\\WinBuild\\files\\bin\\gdb.exe","setupCommands": [{"description": "为 gdb 启用整齐打印","text": "-enable-pretty-printing","ignoreFailures": true}],"preLaunchTask": "g++"}]}
修改编译任务,tasks.json
{// See https://go.microsoft.com/fwlink/?LinkId=733558// for the documentation about the tasks.json format"version": "2.0.0","tasks": [{"type": "shell","label": "g++", //必须与 launch.json 文件中 "preLaunchTask"的值一致。值的设置看个人喜好。"command": "C:\\sooooft\\WinBuild\\files\\bin\\g++.exe","args": ["-g","${file}","-o","${fileDirname}\\${fileBasenameNoExtension}.exe"],"options": {"cwd": "C:\\sooooft\\WinBuild\\files\\bin"},"problemMatcher": ["$gcc"]}]}
配置项
{"files.defaultLanguage": "cpp","editor.formatOnType": true,"editor.suggest.snippetsPreventQuickSuggestions": false,"editor.acceptSuggestionOnEnter": "off","code-runner.runInTerminal": true,"code-runner.executorMap": {"c": "cd $dir && gcc '$fileName' -o '$fileNameWithoutExt.exe' -Wall -g -O2 -static-libgcc -std=c11 -fexec-charset=GBK && &'$dir$fileNameWithoutExt'","cpp": "cd $dir && g++ '$fileName' -o '$fileNameWithoutExt.exe' -Wall -g -O2 -static-libgcc -std=c++11 -fexec-charset=GBK && &'$dir$fileNameWithoutExt'"},"code-runner.saveFileBeforeRun": true,"code-runner.preserveFocus": true,"code-runner.clearPreviousOutput": false,"code-runner.ignoreSelection": true,"C_Cpp.clang_format_sortIncludes": true}
测试程序试试
看能不能成功
#include <stdio.h>#include <Windows.h>int main(){printf("Hello World!"); //c的语法好像vscode不喜欢system("pause"); //避免调试模式下自动关闭窗口return 0;}
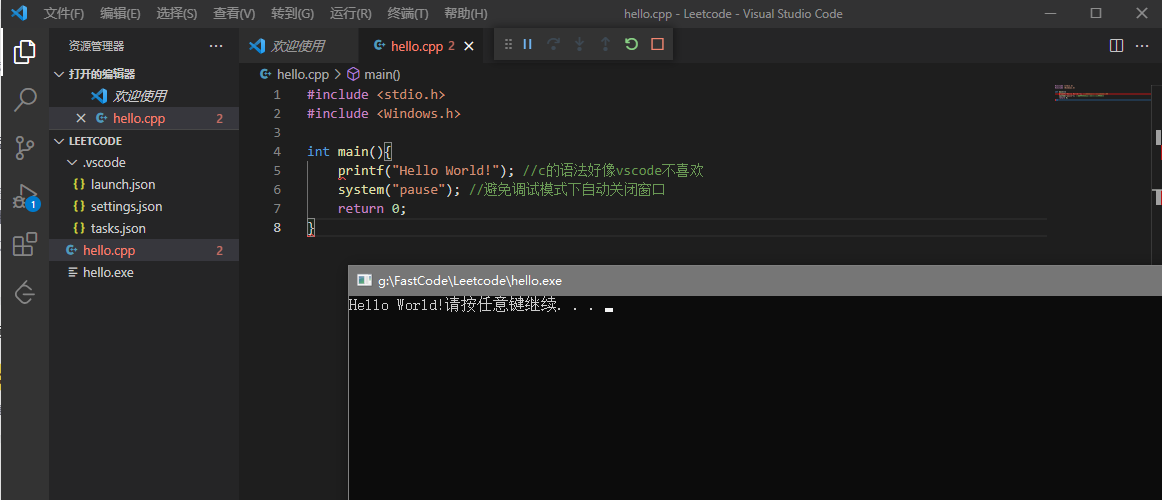
ok
VSCode写Leetcode并且可调试
分析一下这个插件的用法,可以发现真正提交的部分是红色框选的
我们如果在其
- 上面写一些头文件include
- 下方写一下测试入口mian
就可以直接在本地进行调试,这样岂不是方便得很。
配合VSCode的“用户代码片段”/snippet 就可以很方便把这个做成模板,快速调用。
这里因为文件名是中文还有符号,所以g++没法识别
可以直接复制到一个新的cpp中,一样可以点击测试啥的,因为题目的信息写在注释里面了。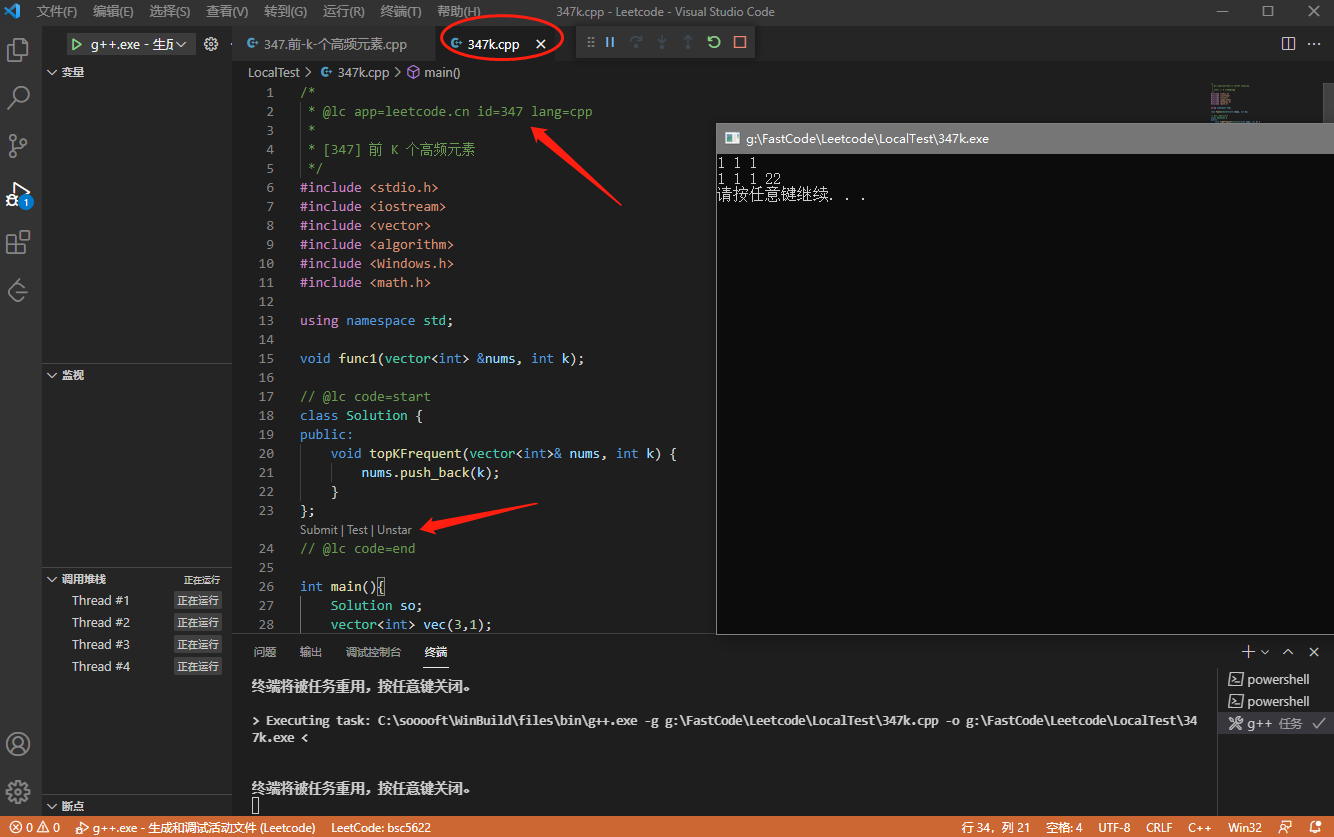
这里我随便写了个测试
snippet可以用这个,在使用过程中可以不断更新。
{"include for leetcode": {"prefix": "l-head","body": ["#include <stdio.h>","#include <iostream>","#include <vector>","#include <algorithm>","#include <math.h>","#include <Windows.h>","using namespace std;","","void func1(vector<int> &nums, int k);",],"description": "head of leetcode"},"entrance for leetcode": {"prefix": "l-entrance","body": ["int main(){","\tSolution so;","\tvector<int> vec(3,1);","\tint sz = 0;","\tfunc1(vec, sz);","\tso.topKFrequent(vec, 22);","\tfunc1(vec, sz);","","\tsystem(\"pause\");","\treturn 0;","}","void func1(vector<int> &nums, int k){","\tfor (size_t i = 0; i < nums.size(); ++i)","\t{","\t\tcout << nums[i] << \" \";","\t}","\tcout << endl;","}",],"description": "entrance of leetcode"},}

若有收获,就点个赞吧
0 人点赞
