概述
create-react-app脚手架中的react-scripts能够(1)自动下载需要的webpack依赖;(2)自己写了一个nodejs服务端脚本代码;(3)使用express的Http服务器;(4)并隐藏了配置文件。
那么如果需要额外配置webpack该怎么办呢?比如添加md的loader。
总结了如下2种方法:
方法一:显示隐藏的配置文件进行更改
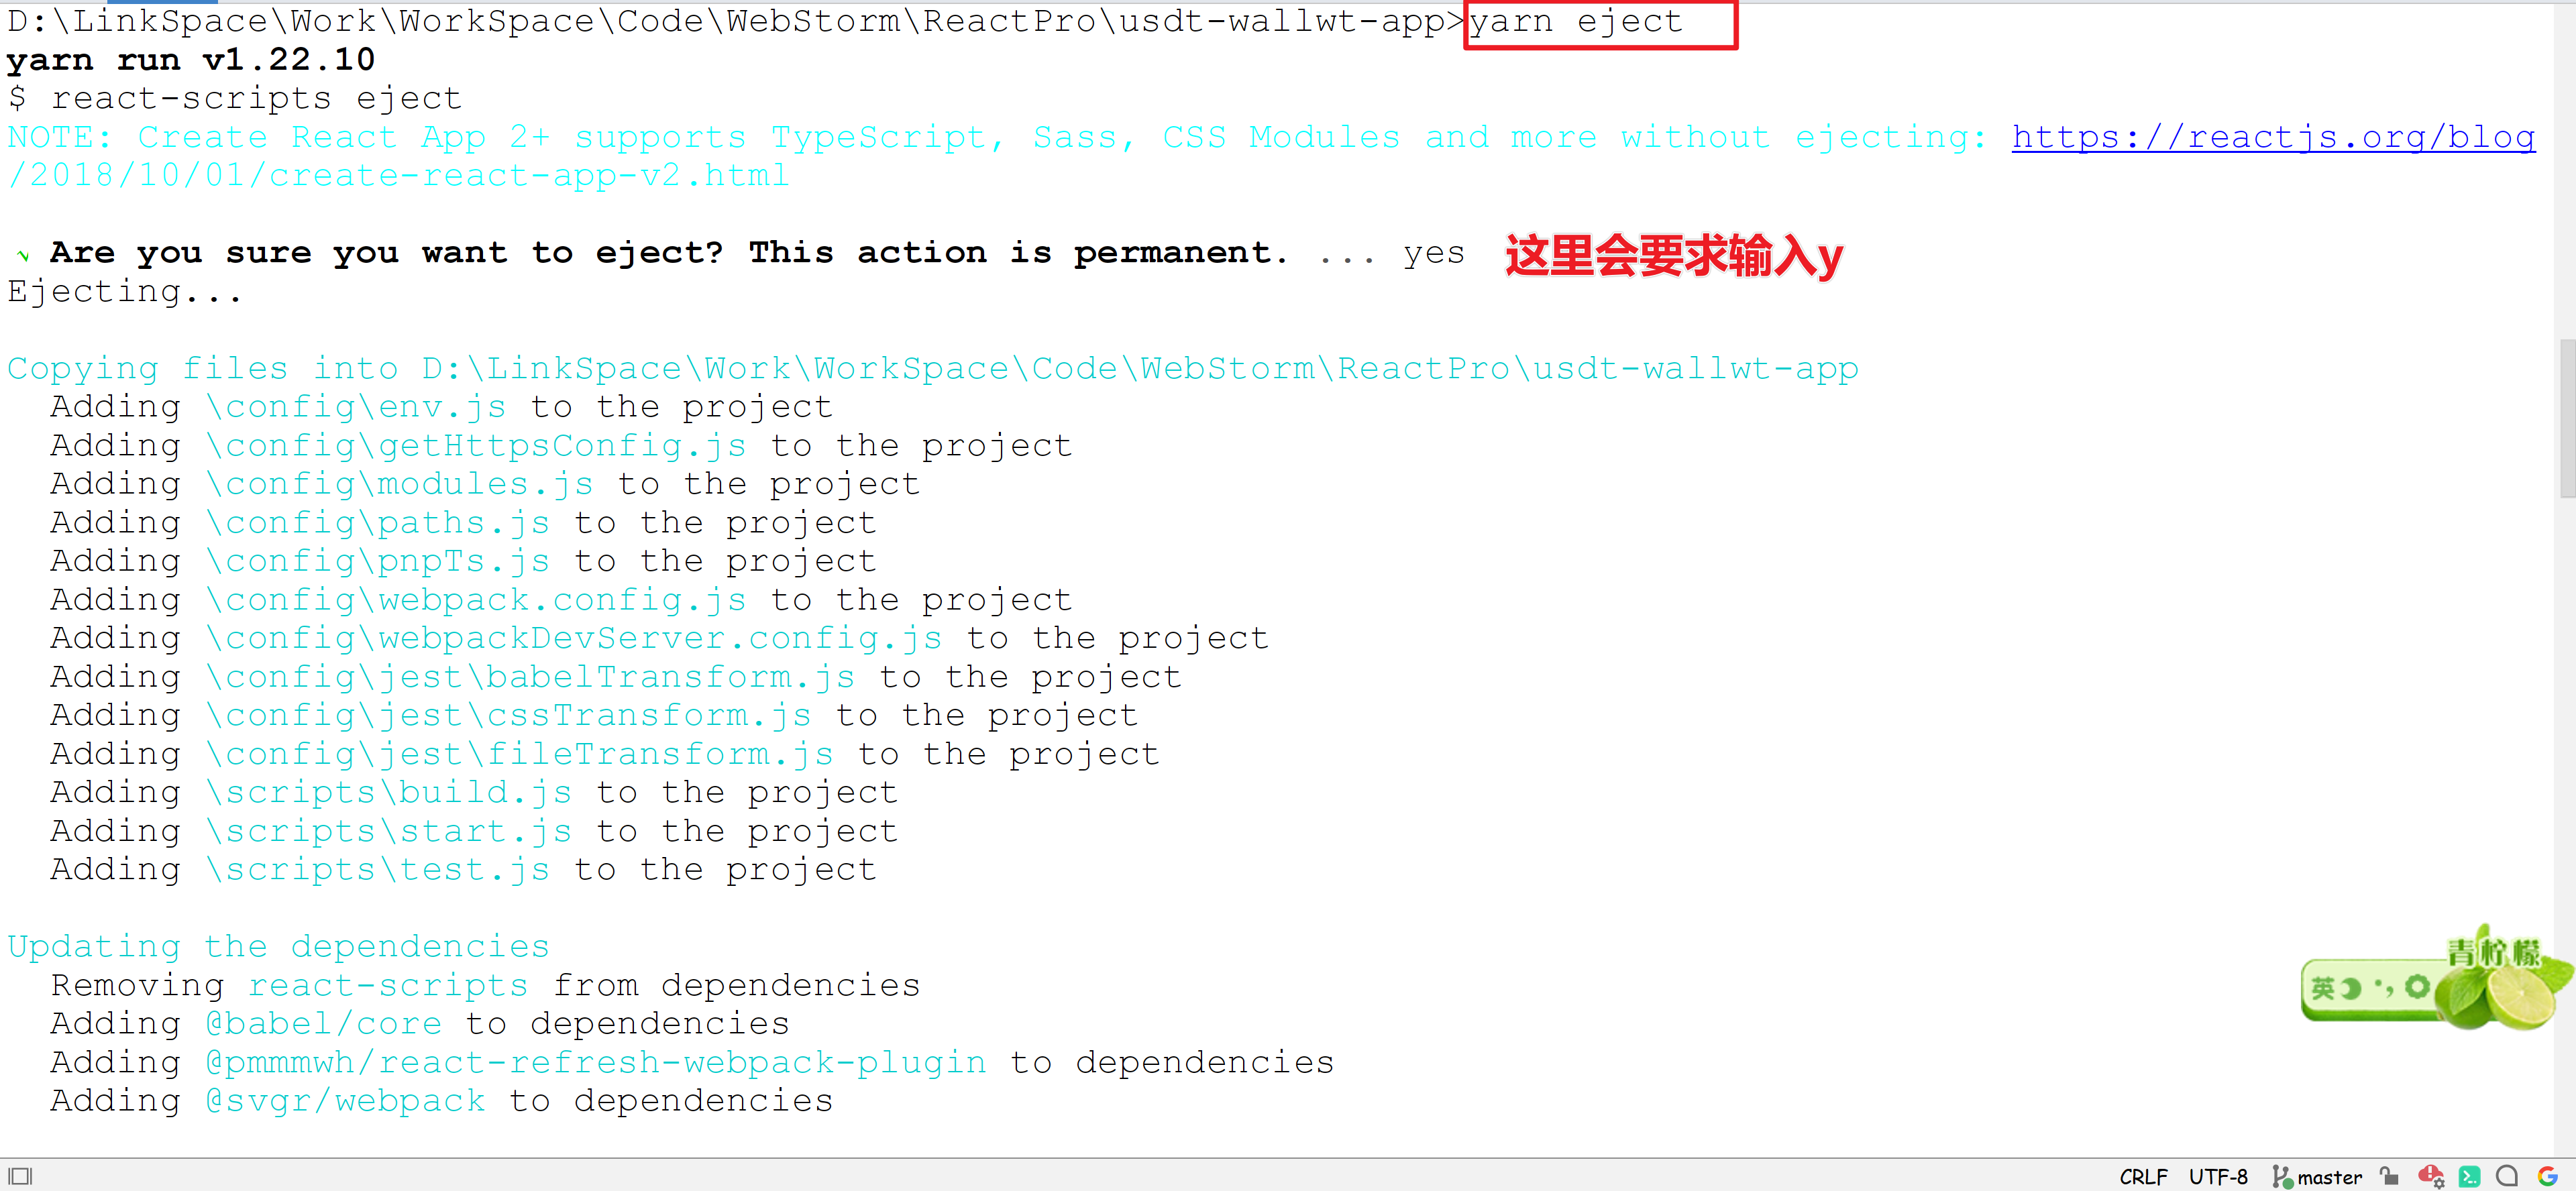
运行如下命令即可把配置文件显示出来:
npm run ejectyarn eject//然后输入Y
输入后项目目录会多出一个congfig文件夹,里面就有webpack的配置文件。 :::tips
但是此过程不可逆,所以显现回来后就不能再隐藏回去了。
:::
引入less支持+antd按需加载+自定义主题
1、添加less 在项目根目录 使用 npm 或者 yarn 来安装antd less 和 less-loader
yarn add babel-plugin-importyarn add antdyarn add less less-loader
2、修改package.json:添加antd库的样式
"babel": {"presets": ["react-app"],"plugins": [["import",{"libraryName": "antd","style": "css"}]]}
3、复制代码修改配置环境(webpack.config.js) 定义全局变量
// style files regexesconst cssRegex = /\.css$/;const cssModuleRegex = /\.module\.css$/;const lessRegex = /\.less$/;const lessModuleRegex = /\.module\.less$/;const sassRegex = /\.(scss|sass)$/;const sassModuleRegex = /\.module\.(scss|sass)$/;
4、复制代码配置less-loader
//在大概466行会看到如下代码{test: sassModuleRegex,use: getStyleLoaders({importLoaders: 2,sourceMap: isEnvProduction && shouldUseSourceMap,modules: true,getLocalIdent: getCSSModuleLocalIdent,},'sass-loader'),},//在此代码后添加如下代码{test: lessRegex,exclude: lessModuleRegex,use: getStyleLoaders({importLoaders: 2},'less-loader'),},{test: lessModuleRegex,use: getStyleLoaders({importLoaders: 2,modules: true,getLocalIdent: getCSSModuleLocalIdent,},'less-loader'),},
5、复制代码定义全局样式
//注释掉大概114行// if (preProcessor) {// loaders.push({// loader: require.resolve(preProcessor),// options: {// sourceMap: isEnvProduction && shouldUseSourceMap,// },// });// }// return loaders;//替换为如下if (preProcessor) {let loader = require.resolve(preProcessor)if (preProcessor === "less-loader") {loader = {loader,options: {modifyVars: { //自定义主题'primary-color': ' #1890ff ',},javascriptEnabled: true,}}}loaders.push(loader);}return loaders;
6、复制代码修改package.json
"babel": {"presets": ["react-app"],"plugins": [["import",{"libraryName": "antd","style": true //修改处}]]}
方法二:修改babel插件处理
以修改babel插件实现按需加载antd为例,修改其它配置可以仿照这个方法来做。
(1)使用 react-app-rewired (一个对 create-react-app 进行自定义配置的社区解决方案)和babel-plugin-import(一个babel的管理加载的插件)。
$ yarn add react-app-rewired --dev$ yarn add babel-plugin-import --dev//或者使用npmnpm install react-app-rewired --devnpm install babel-plugin-import --dev
(2)修改package.json 里的启动配置。
/* package.json */"scripts": {"start": "react-app-rewired start","build": "react-app-rewired build","test": "react-app-rewired test --env=jsdom",}
(3)在项目根目录创建一个 config-overrides.js 用于修改默认配置。
/* config-overrides.js */const { injectBabelPlugin } = require('react-app-rewired');module.exports = function override(config, env) {config = injectBabelPlugin(['import', { libraryName: 'antd', libraryDirectory: 'es', style: 'css' }], config);return config;};

