Use case
Let’s assume your device is controlling temperature and you would like to use it as an external MQTT broker with the help of Thingsboard.
In this tutorial we will configure ThingsBoard Rule Engine to automatically send messages using MQTT protocol. You can use this tutorial as a basis for much more complex tasks.
MQTT Integration allows to convert existing protocols and payload formats to ThingsBoard message format and is useful in several deployment scenarios:
- stream device and/or asset data from external system, IoT platform or connectivity provider back-end.
- stream device and/or asset data from your custom application running in the cloud.
- connect the existing device with custom MQTT based protocol to ThingsBoard.
Please review the integration diagram to learn more.
Prerequisites
We assume you have completed the following guides and reviewed the articles listed below:
- Getting Started guide.
- Rule Engine Overview.
- MQTT Integration.
-
Model definition
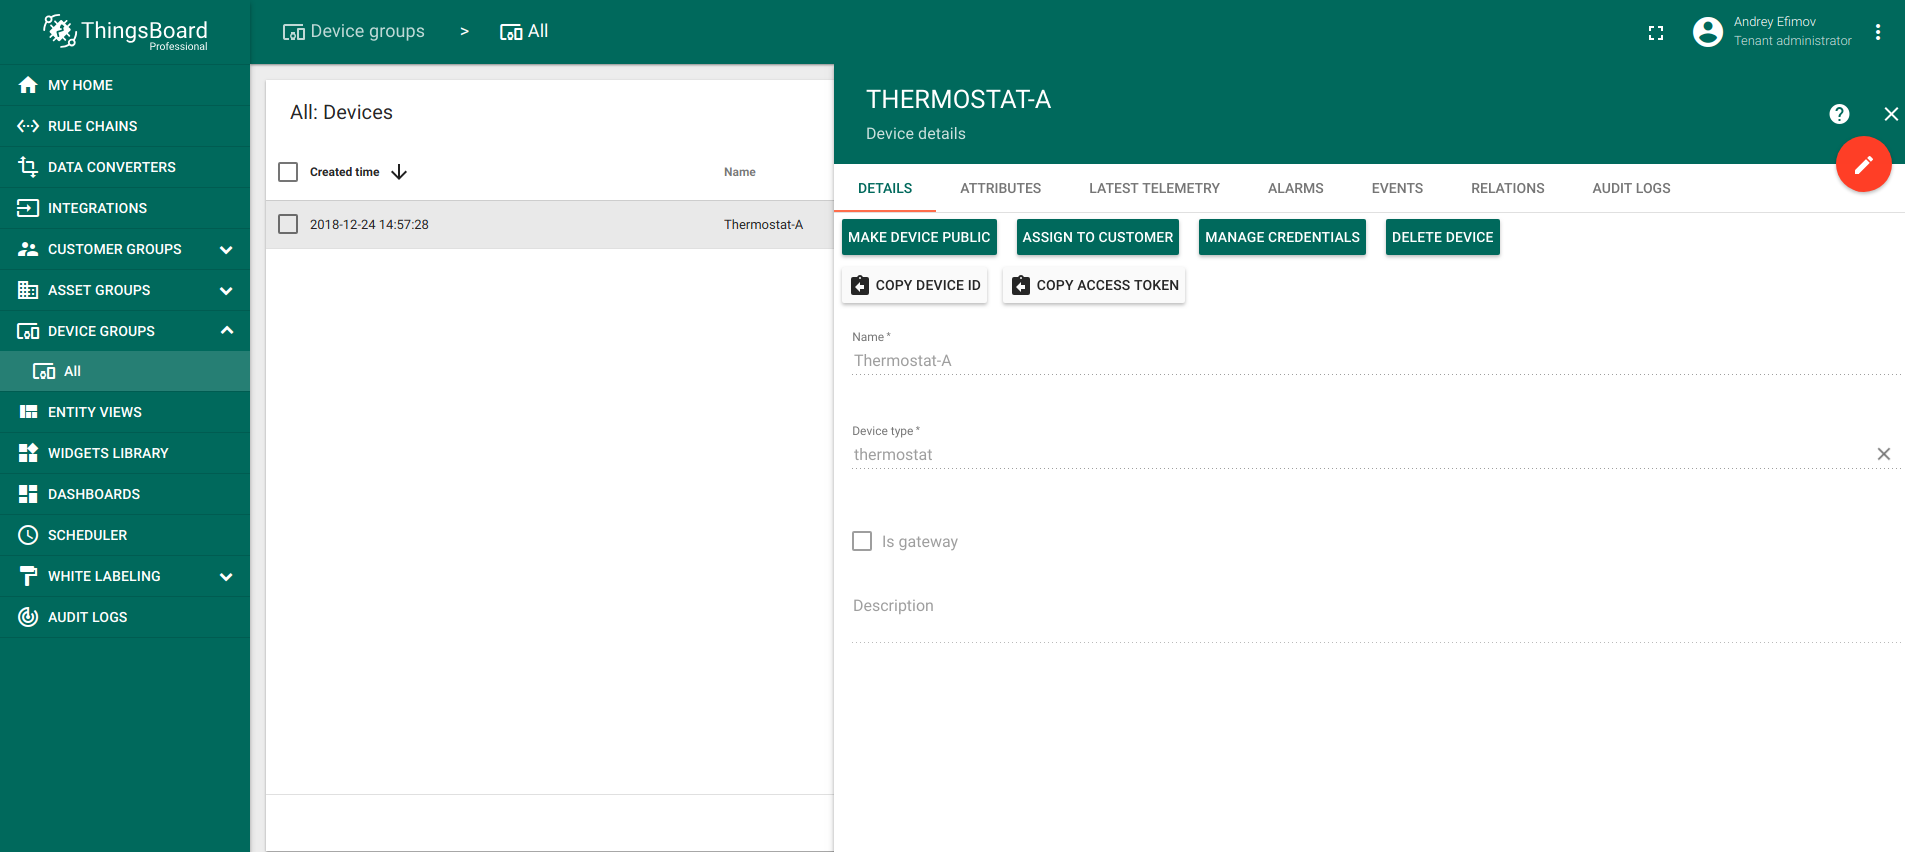
We will operate with Temperature sensor device that has name “Thermostat-A” and type “thermostat” which will be automatically created in the process of integration work.
Getting started
Creating converters
In order for integration to work, downlink and uplink converters should be created.
Go to Data Converters -> Add new Data Converter -> Import Converter

- Import following files: uplink converter, downlink converter.
You can check them like this:
Uplink converter should look like this: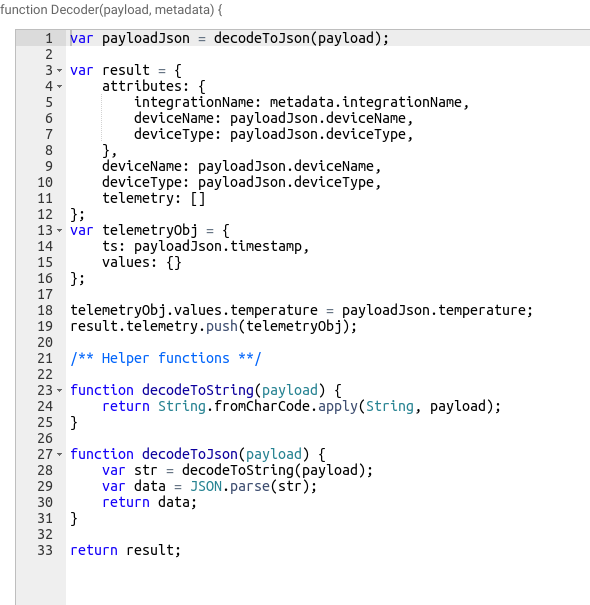
Downlink converter should look like this: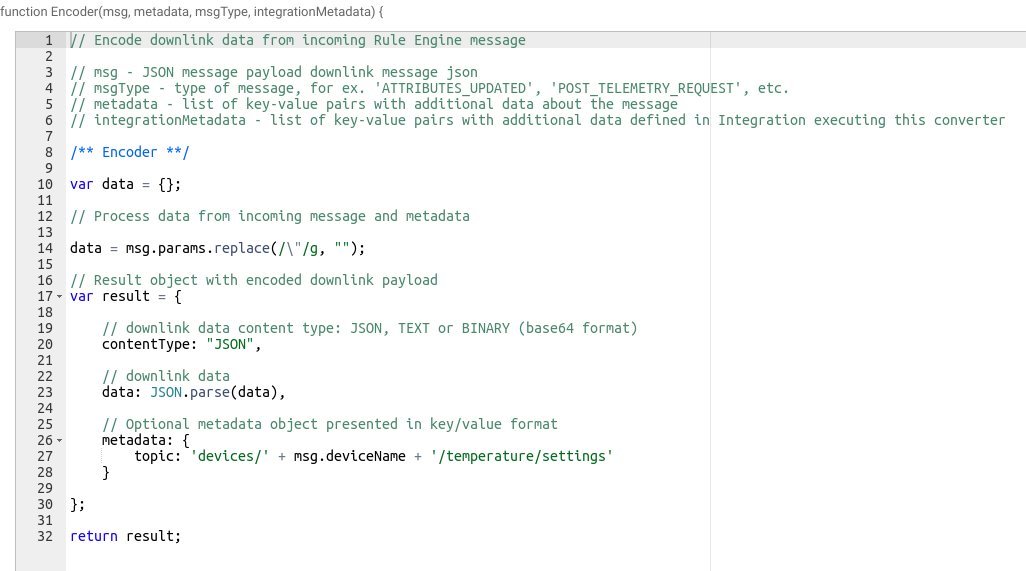
Creating integration
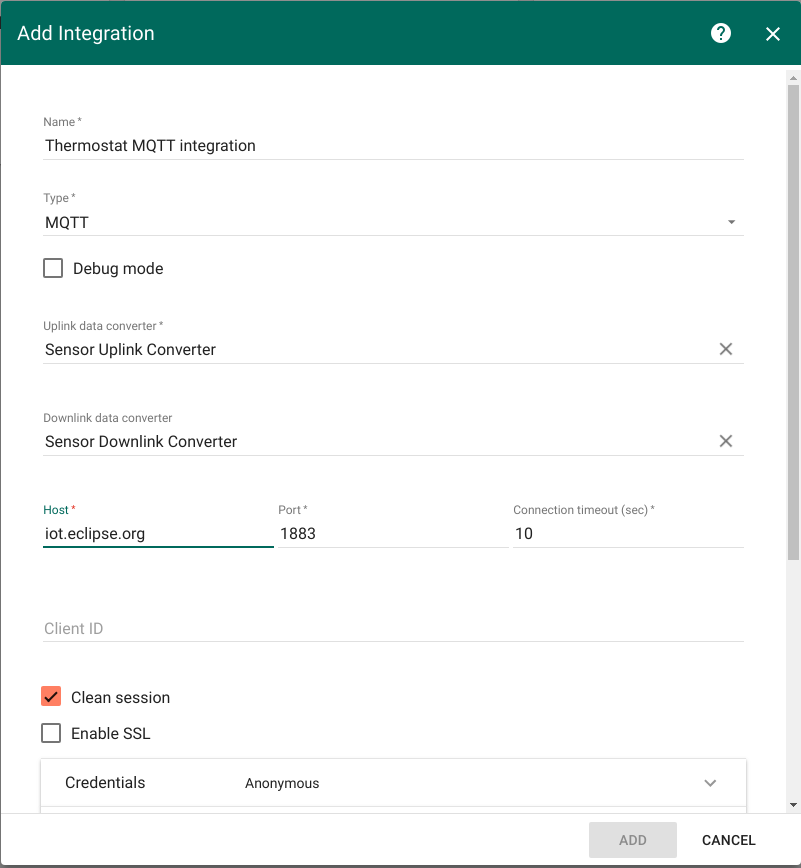
For integration to work a remote server should be used. In this case you can use iot.eclipse.org for your MQTT data. Integration should look like this:
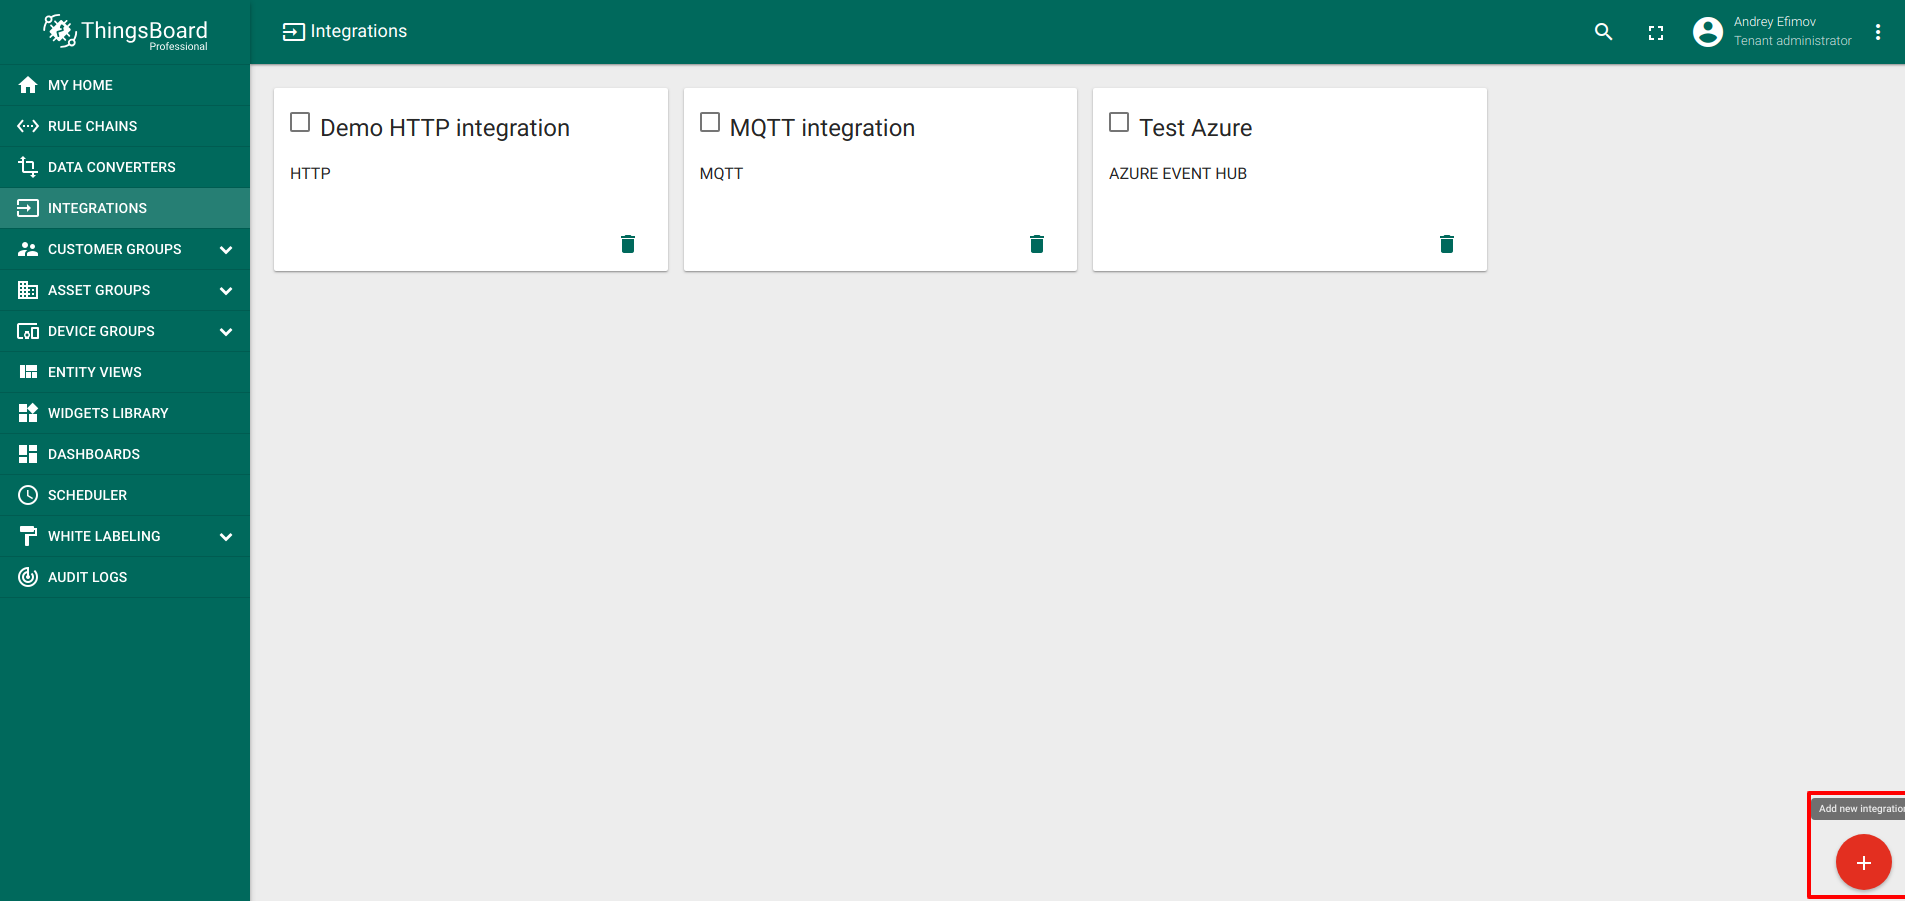
- Go to Integrations -> Add new Integration
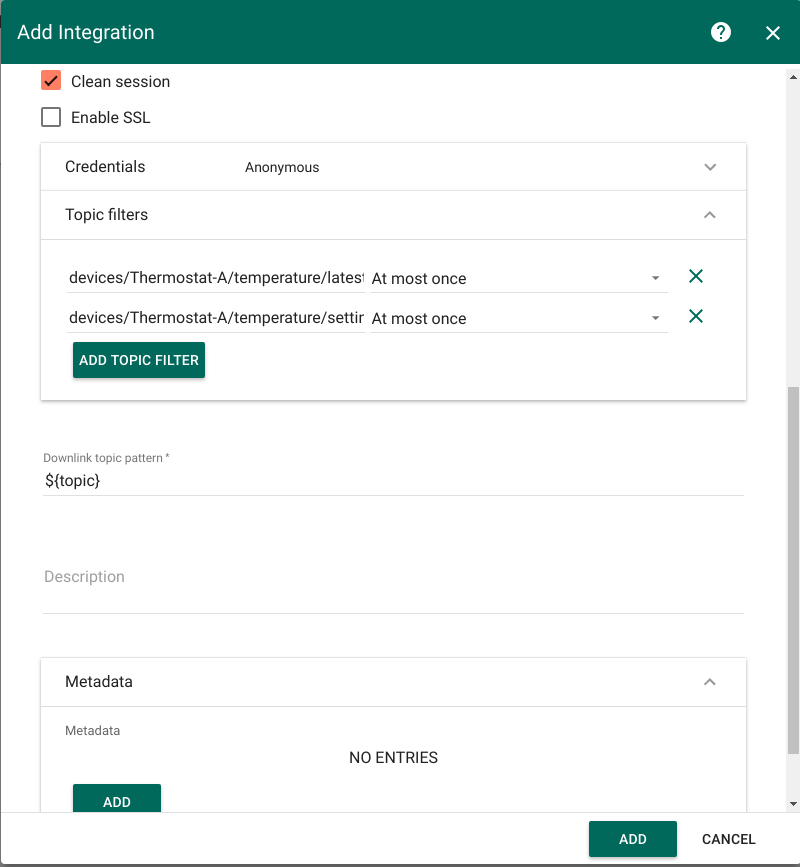
Fill in the fields with the input data shown in the following table: | Field | Input Data | | :—- | :—- | | Name | Thermostat MQTT integration | | Type | MQTT | | Debug mode | False | | Uplink data converter | Sensor Uplink Converter | | Downlink data converter | Sensor Downlink Converter | | Host | iot.eclipse.org | | Port | 1883 | | Connection timeout(sec) | 10 | | Client ID | (empty) | | Clean session | True | | Enable SSL | False | | Credentials | Anonymous | | Topic filters | devices/Thermostat-A/temperature/latest | | QOS | At most once | | Topic filters | devices/Thermostat-A/temperature/settings/ | | QOS | At most once | | Downlink topic pattern | ${topic} | | Description | (empty) | | Metadata | (empty) |
After filling all fields click the ADD button.
Setting up dashboard
Download and import attached json file with a dashboard for this tutorial.
Turning on device emulator
In order for widget to work without a real device, emulator should be turned on.
First, you should check if node, npm and npm module mqtt are installed by using following commands:
#to display node versionnode -v#to display npm versionnpm -v#to display npm mqtt module versionnpm list mqtt
If you don’t have npm, you can install it from here, and npm MQTT module with following command:
sudo npm install mqtt --save
and node from here.
Download the file and run it with following command to launch device emulator:
node mqtt-downlink-virtual-device.js
Note: device emulator should be put in the folder where node-modules is situated.
Work demonstration

Using a control widget (in this case, a knob) leads to value change on the dashboard.
Dashboard can be found here and imported like this.
Message Flow
In this section, we explain the purpose of each node in this tutorial.
Modifying rule chain
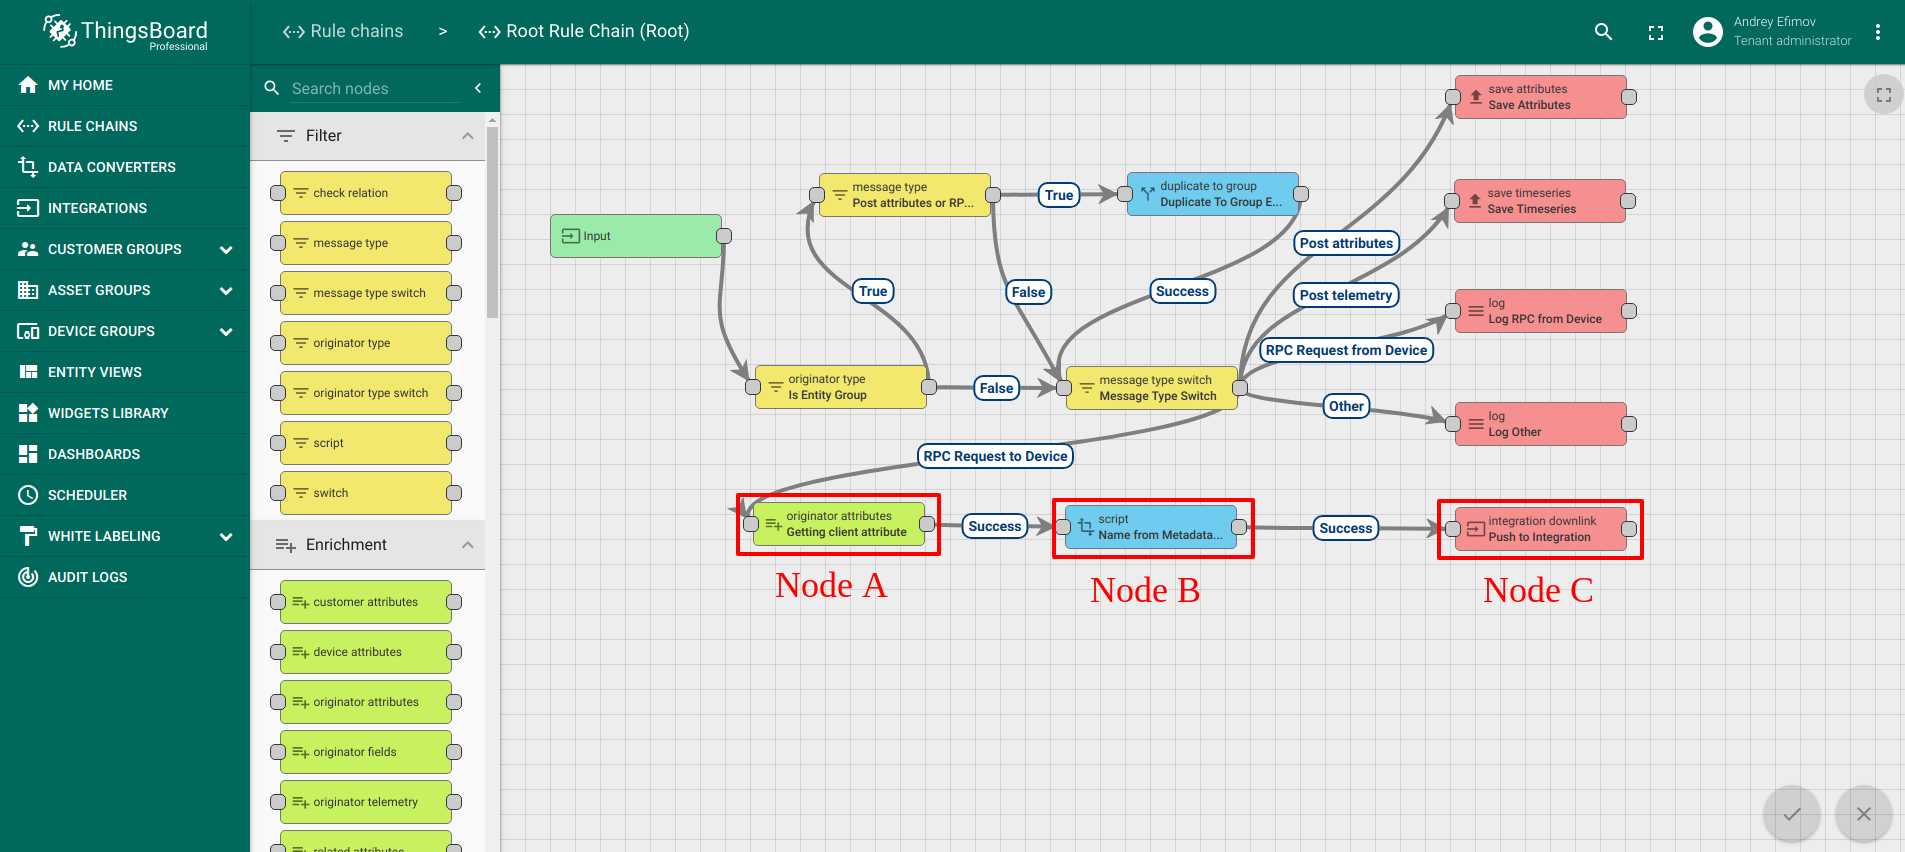
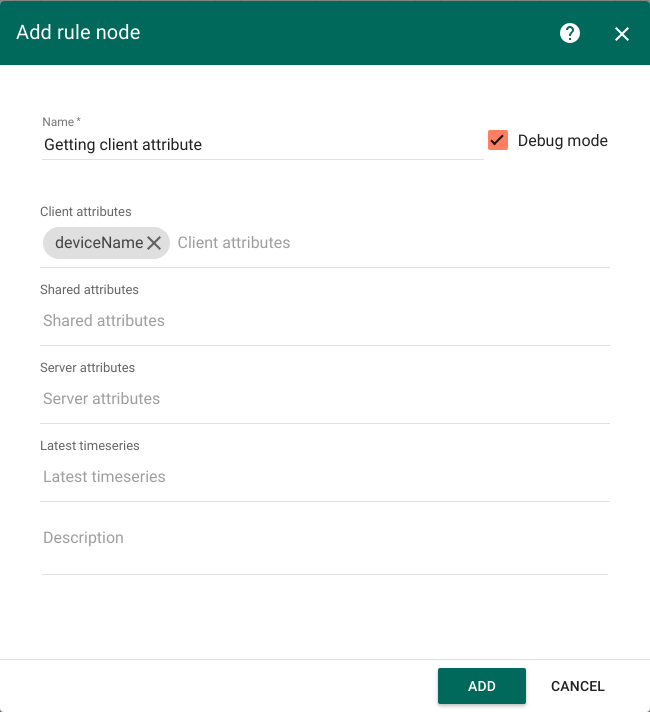
- Node A: Originator attributes enrichment node
- Puts client attribute deviceName into metadata
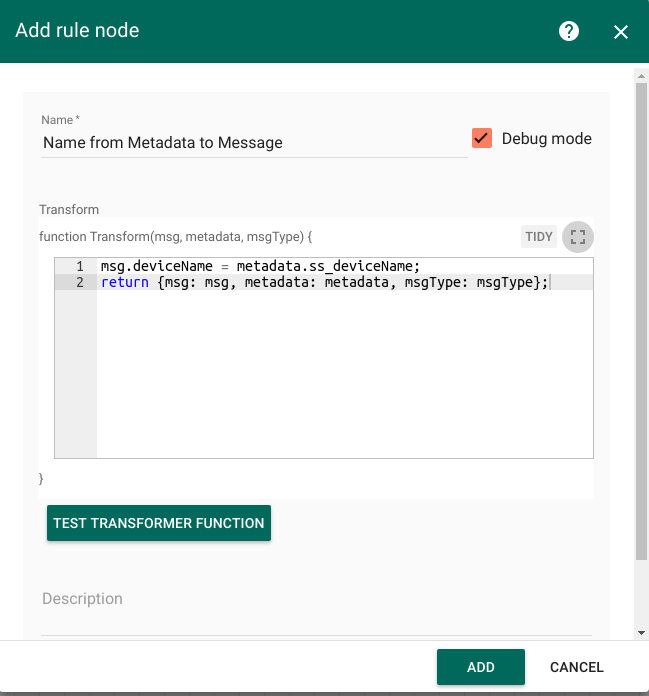
- Node B: Script Transformation Node
- Puts deviceName from metadata to message parameters
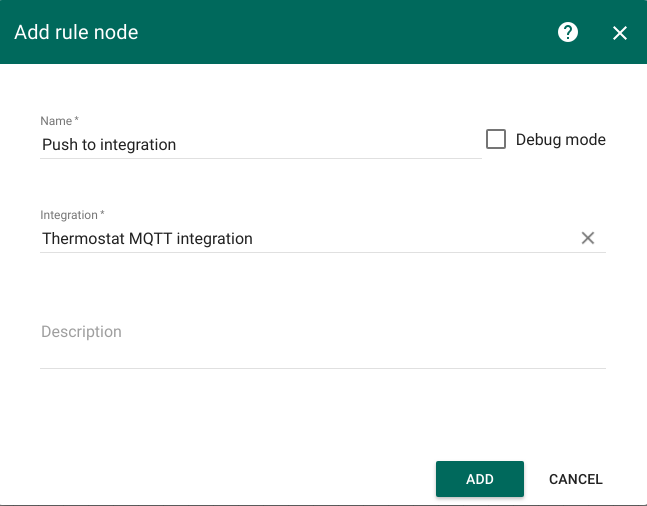
- Node C: Integration Downlink node
- Sends message to integration
You can download and import attached json file with a rule chain for this tutorial. It should be marked as root.

若有收获,就点个赞吧
0 人点赞
