在使用之前我们需要先搭建Nacos和Sentinel,再准备一个被调用的服务,使用之前的nacos-user-service即可。
首先从官网下载Nacos,这里下载的是nacos-server-1.3.0.zip文件,下载地址:github.com/alibaba/nac…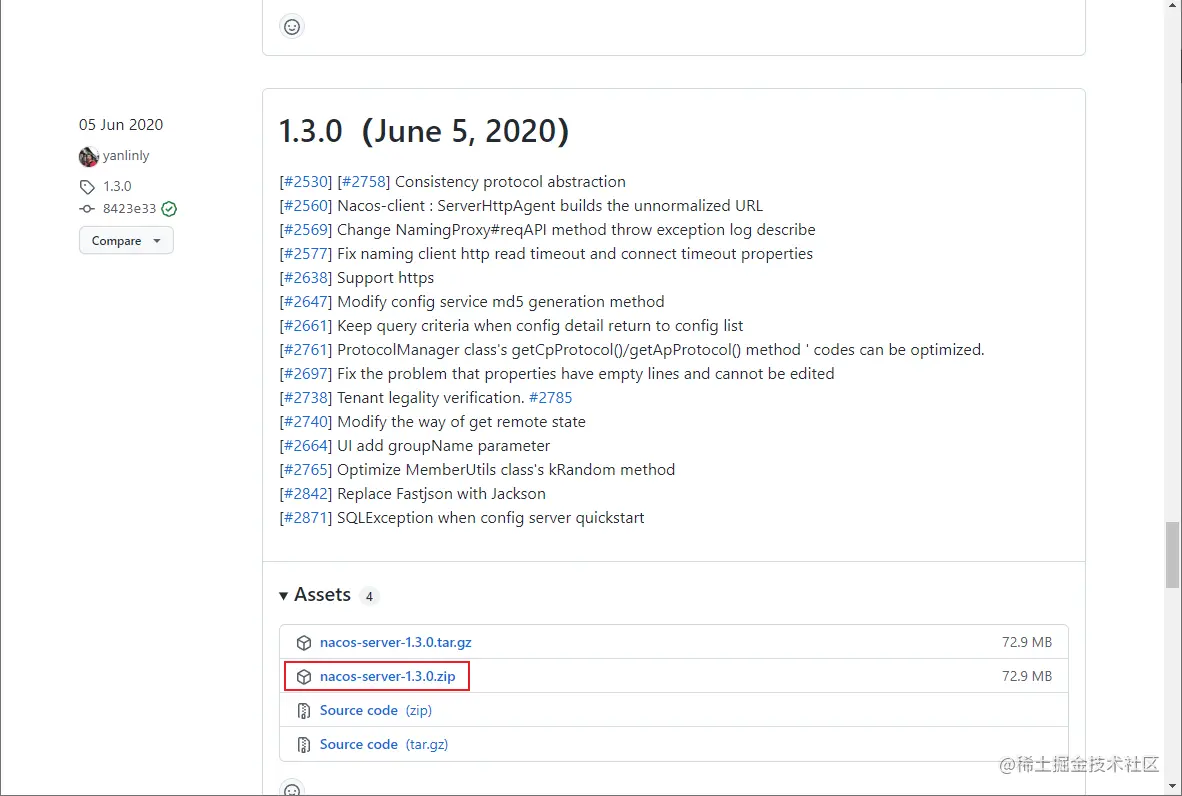
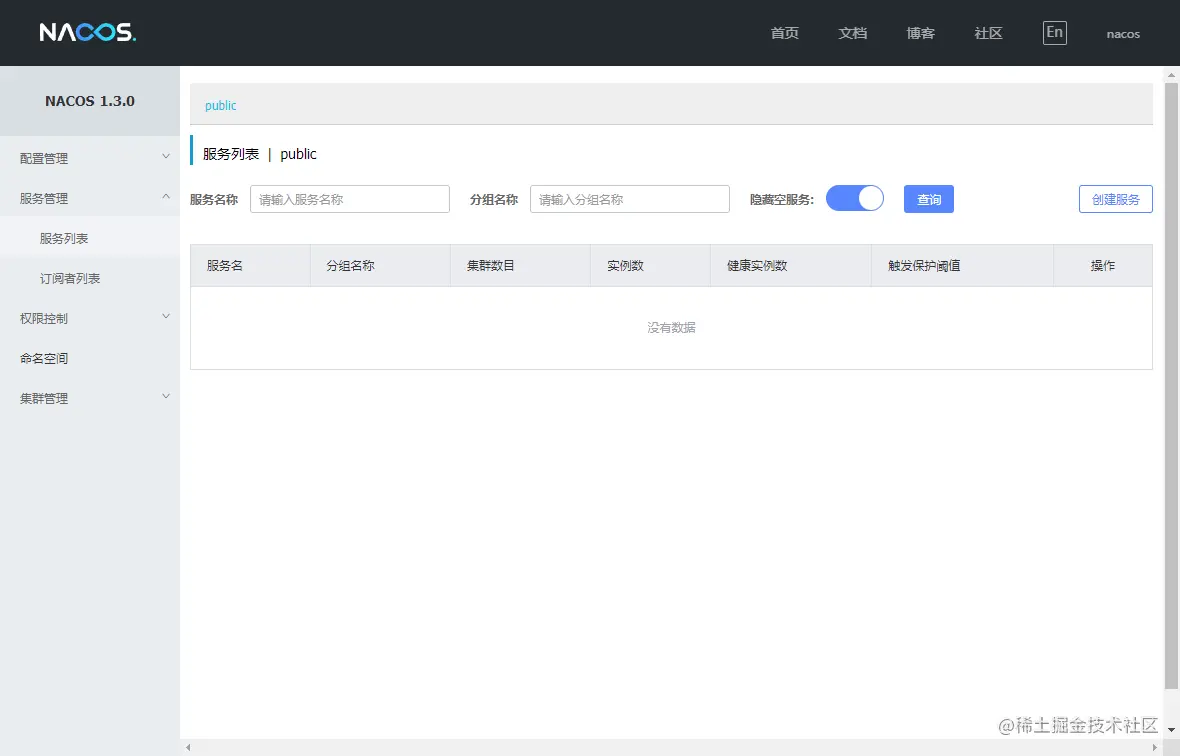
- 解压安装包到指定目录,直接运行bin目录下的startup.cmd,运行成功后访问Nacos,账号密码均为nacos,访问地址:http://localhost:8848/nacos
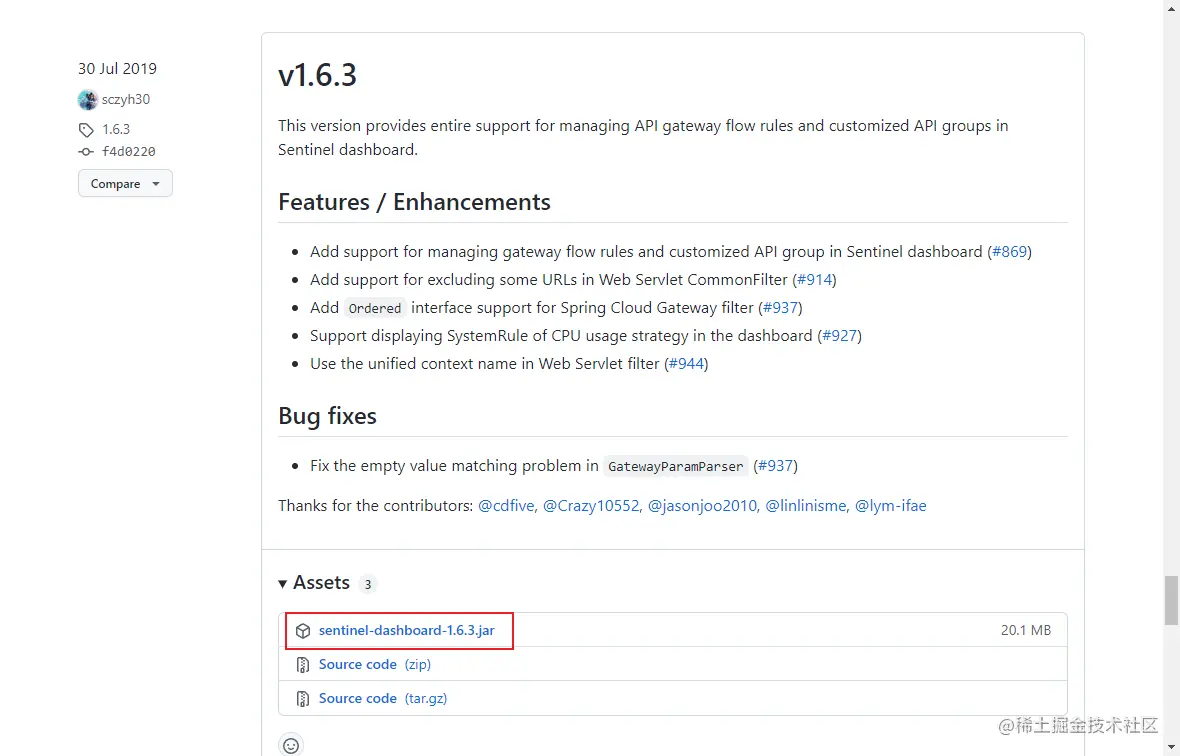
- 接下来从官网下载Sentinel,这里下载的是sentinel-dashboard-1.6.3.jar文件,下载地址:github.com/alibaba/Sen…
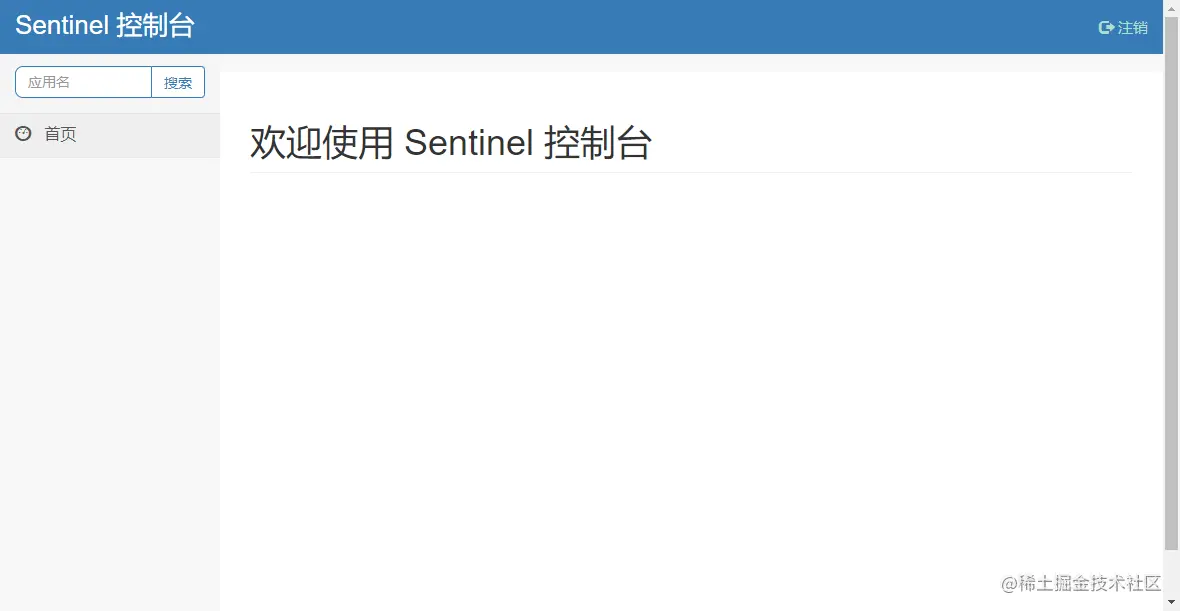
下载完成后输入如下命令运行Sentinel控制台;
java -jar sentinel-dashboard-1.6.3.jar
Sentinel控制台默认运行在8080端口上,登录账号密码均为sentinel,通过如下地址可以进行访问:http://localhost:8080
接下来启动nacos-user-service服务,该服务中包含了对User对象的CRUD操作接口,启动成功后它将会在Nacos中注册。 ```go /**
Created by macro on 2019/8/29. */ @RestController @RequestMapping(“/user”) public class UserController {
private Logger LOGGER = LoggerFactory.getLogger(this.getClass());
@Autowired private UserService userService;
@PostMapping(“/create”) public CommonResult create(@RequestBody User user) {
userService.create(user);return new CommonResult("操作成功", 200);
}
@GetMapping(“/{id}”) public CommonResult
getUser(@PathVariable Long id) { User user = userService.getUser(id);LOGGER.info("根据id获取用户信息,用户名称为:{}",user.getUsername());return new CommonResult<>(user);
}
@GetMapping(“/getUserByIds”) public CommonResult
ids) { List<User> userList= userService.getUserByIds(ids);LOGGER.info("根据ids获取用户信息,用户列表为:{}",userList);return new CommonResult<>(userList);
}
@GetMapping(“/getByUsername”) public CommonResult
getByUsername(@RequestParam String username) { User user = userService.getByUsername(username);return new CommonResult<>(user);
}
@PostMapping(“/update”) public CommonResult update(@RequestBody User user) {
userService.update(user);return new CommonResult("操作成功", 200);
}
@PostMapping(“/delete/{id}”) public CommonResult delete(@PathVariable Long id) {
userService.delete(id);return new CommonResult("操作成功", 200);
} }
<a name="Jkn4k"></a>## 使用接下来我们来介绍下Retrofit的基本使用,包括服务间调用、服务限流和熔断降级。<a name="Tq9WD"></a>### 集成与配置- 首先在pom.xml中添加Nacos、Sentinel和Retrofit相关依赖;```go<dependencies><!--Nacos注册中心依赖--><dependency><groupId>com.alibaba.cloud</groupId><artifactId>spring-cloud-starter-alibaba-nacos-discovery</artifactId></dependency><!--Sentinel依赖--><dependency><groupId>com.alibaba.cloud</groupId><artifactId>spring-cloud-starter-alibaba-sentinel</artifactId></dependency><!--Retrofit依赖--><dependency><groupId>com.github.lianjiatech</groupId><artifactId>retrofit-spring-boot-starter</artifactId><version>2.2.18</version></dependency></dependencies>
然后在application.yml中对Nacos、Sentinel和Retrofit进行配置,Retrofit配置下日志和开启熔断降级即可;
server:port: 8402spring:application:name: nacos-retrofit-servicecloud:nacos:discovery:server-addr: localhost:8848 #配置Nacos地址sentinel:transport:dashboard: localhost:8080 #配置sentinel dashboard地址port: 8719retrofit:log:# 启用日志打印enable: true# 日志打印拦截器logging-interceptor: com.github.lianjiatech.retrofit.spring.boot.interceptor.DefaultLoggingInterceptor# 全局日志打印级别global-log-level: info# 全局日志打印策略global-log-strategy: body# 熔断降级配置degrade:# 是否启用熔断降级enable: true# 熔断降级实现方式degrade-type: sentinel# 熔断资源名称解析器resource-name-parser: com.github.lianjiatech.retrofit.spring.boot.degrade.DefaultResourceNameParser
再添加一个Retrofit的Java配置,配置好选择服务实例的Bean即可。 ```go /**
- Retrofit相关配置
Created by macro on 2022/1/26. */ @Configuration public class RetrofitConfig {
@Bean @Autowired public ServiceInstanceChooser serviceInstanceChooser(LoadBalancerClient loadBalancerClient) {
return new SpringCloudServiceInstanceChooser(loadBalancerClient);
} }
<a name="cEMqt"></a>### 服务间调用- 使用Retrofit实现微服务间调用非常简单,直接使用@RetrofitClient注解,通过设置serviceId为需要调用服务的ID即可;```go/*** 定义Http接口,用于调用远程的User服务* Created by macro on 2019/9/5.*/@RetrofitClient(serviceId = "nacos-user-service", fallback = UserFallbackService.class)public interface UserService {@POST("/user/create")CommonResult create(@Body User user);@GET("/user/{id}")CommonResult<User> getUser(@Path("id") Long id);@GET("/user/getByUsername")CommonResult<User> getByUsername(@Query("username") String username);@POST("/user/update")CommonResult update(@Body User user);@POST("/user/delete/{id}")CommonResult delete(@Path("id") Long id);}
- 我们可以启动2个nacos-user-service服务和1个nacos-retrofit-service服务,此时Nacos注册中心显示如下;

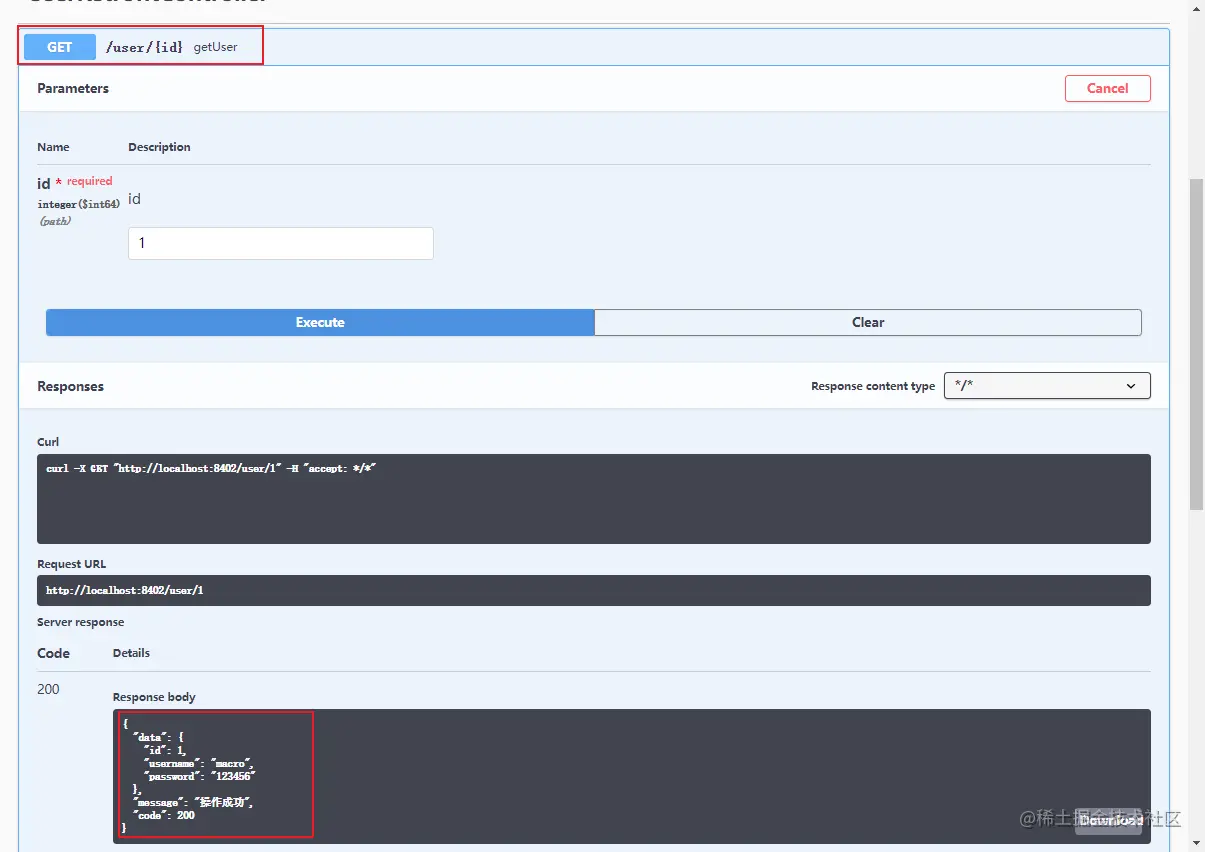
- 然后通过Swagger进行测试,调用下获取用户详情的接口,发现可以成功返回远程数据,访问地址:http://localhost:8402/swagger-ui/
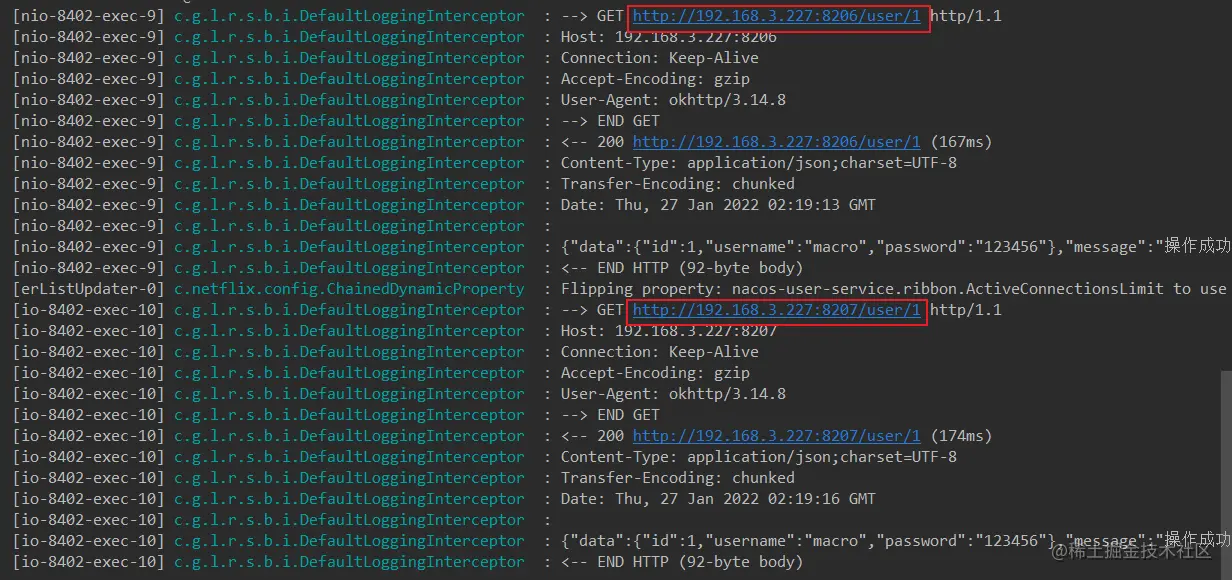
- 查看nacos-retrofit-service服务打印的日志,两个实例的请求调用交替打印,我们可以发现Retrofit通过配置serviceId即可实现微服务间调用和负载均衡。
服务限流
Retrofit的限流功能基本依赖Sentinel,和直接使用Sentinel并无区别,我们创建一个测试类RateLimitController来试下它的限流功能; ```go /**
- 限流功能
Created by macro on 2019/11/7. */ @Api(tags = “RateLimitController”,description = “限流功能”) @RestController @RequestMapping(“/rateLimit”) public class RateLimitController {
@ApiOperation(“按资源名称限流,需要指定限流处理逻辑”) @GetMapping(“/byResource”) @SentinelResource(value = “byResource”,blockHandler = “handleException”) public CommonResult byResource() {
return new CommonResult("按资源名称限流", 200);
}
@ApiOperation(“按URL限流,有默认的限流处理逻辑”) @GetMapping(“/byUrl”) @SentinelResource(value = “byUrl”,blockHandler = “handleException”) public CommonResult byUrl() {
return new CommonResult("按url限流", 200);
}
@ApiOperation(“自定义通用的限流处理逻辑”) @GetMapping(“/customBlockHandler”) @SentinelResource(value = “customBlockHandler”, blockHandler = “handleException”,blockHandlerClass = CustomBlockHandler.class) public CommonResult blockHandler() {
return new CommonResult("限流成功", 200);
}
public CommonResult handleException(BlockException exception){
return new CommonResult(exception.getClass().getCanonicalName(),200);
}
}
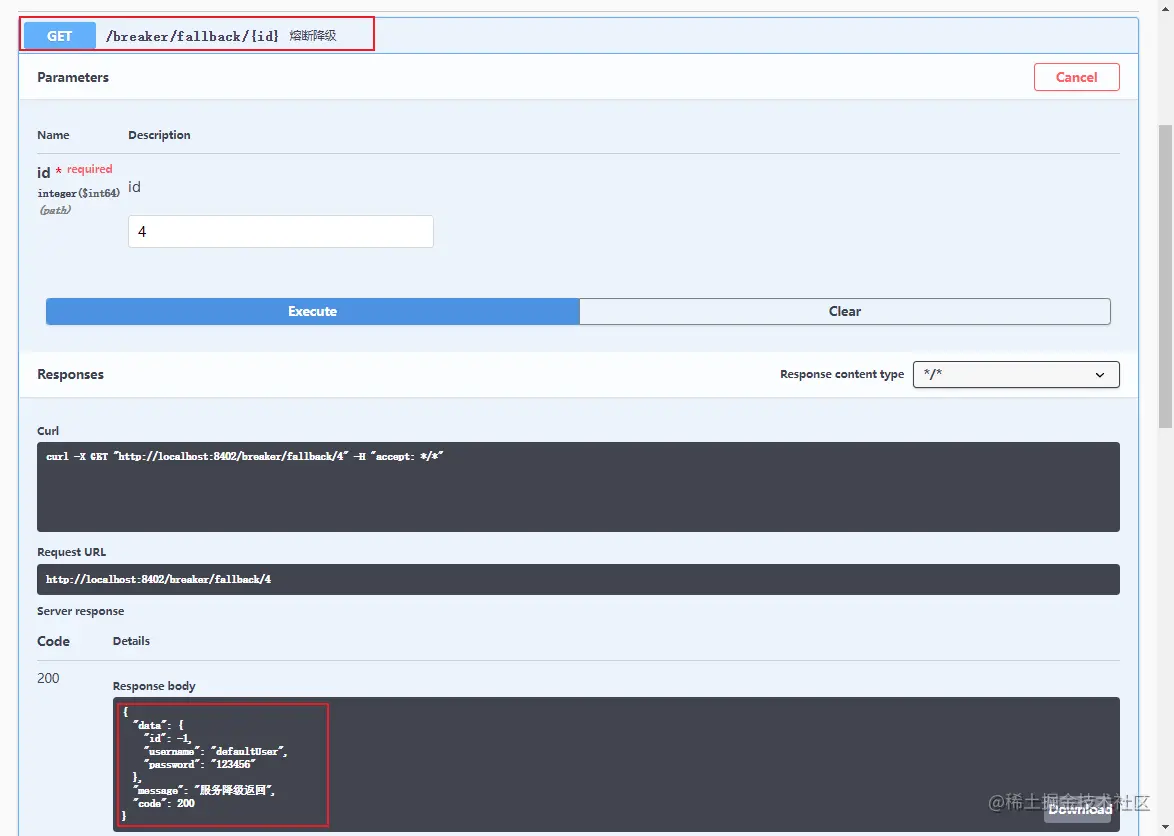
- 接下来在Sentinel控制台创建一个根据资源名称进行限流的规则;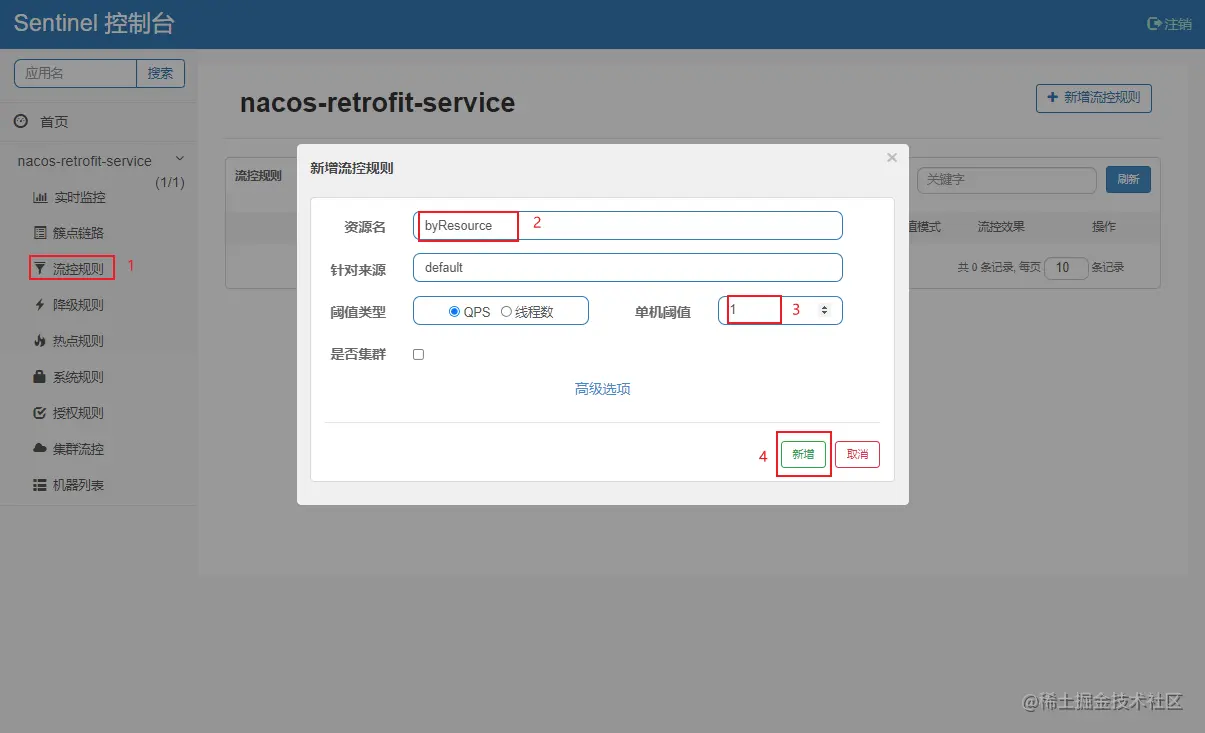- 之后我们以较快速度访问该接口时,就会触发限流,返回如下信息。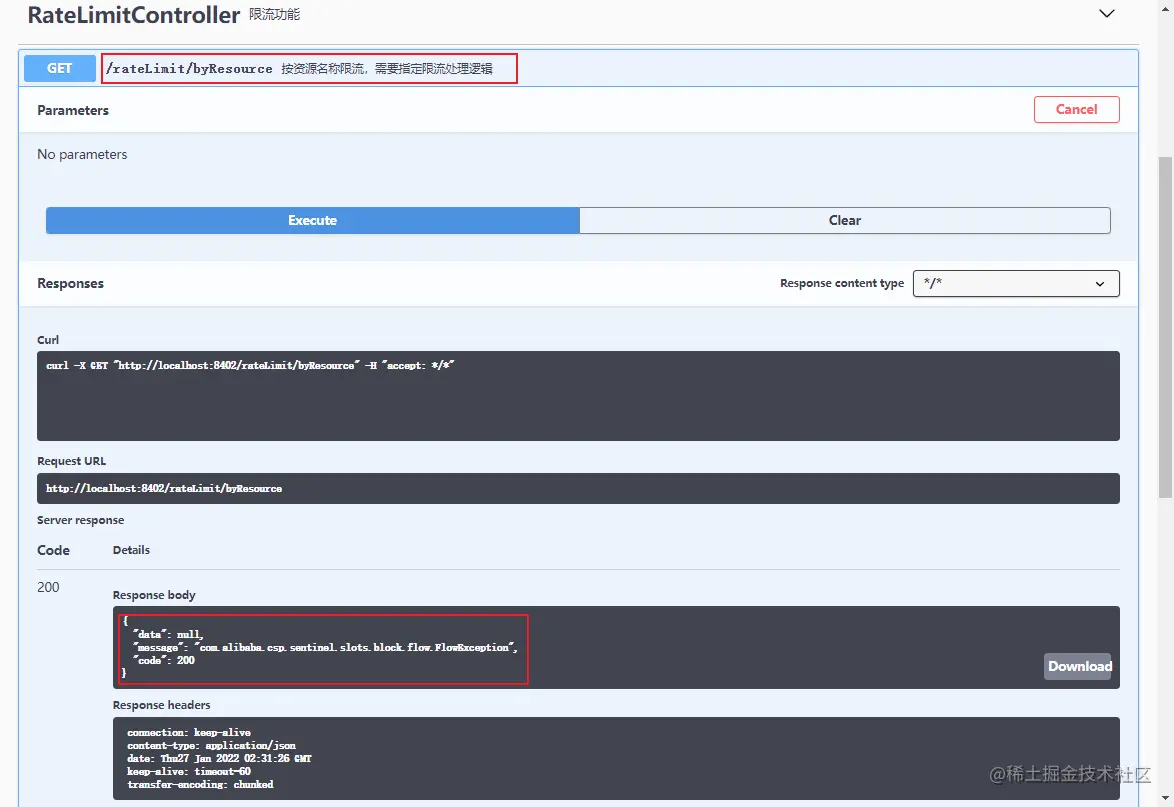<a name="KklUg"></a>### 熔断降级- Retrofit的熔断降级功能也基本依赖于Sentinel,我们创建一个测试类CircleBreakerController来试下它的熔断降级功能;```go/*** 熔断降级* Created by macro on 2019/11/7.*/@Api(tags = "CircleBreakerController",description = "熔断降级")@RestController@RequestMapping("/breaker")public class CircleBreakerController {private Logger LOGGER = LoggerFactory.getLogger(CircleBreakerController.class);@Autowiredprivate UserService userService;@ApiOperation("熔断降级")@RequestMapping(value = "/fallback/{id}",method = RequestMethod.GET)@SentinelResource(value = "fallback",fallback = "handleFallback")public CommonResult fallback(@PathVariable Long id) {return userService.getUser(id);}@ApiOperation("忽略异常进行熔断降级")@RequestMapping(value = "/fallbackException/{id}",method = RequestMethod.GET)@SentinelResource(value = "fallbackException",fallback = "handleFallback2", exceptionsToIgnore = {NullPointerException.class})public CommonResult fallbackException(@PathVariable Long id) {if (id == 1) {throw new IndexOutOfBoundsException();} else if (id == 2) {throw new NullPointerException();}return userService.getUser(id);}public CommonResult handleFallback(Long id) {User defaultUser = new User(-1L, "defaultUser", "123456");return new CommonResult<>(defaultUser,"服务降级返回",200);}public CommonResult handleFallback2(@PathVariable Long id, Throwable e) {LOGGER.error("handleFallback2 id:{},throwable class:{}", id, e.getClass());User defaultUser = new User(-2L, "defaultUser2", "123456");return new CommonResult<>(defaultUser,"服务降级返回",200);}}
- 由于我们并没有在nacos-user-service中定义id为4的用户,调用过程中会产生异常,所以访问如下接口会返回服务降级结果,返回我们默认的用户信息。
总结
Retrofit给了我们除Feign和Dubbo之外的第三种微服务间调用选择,使用起来还是非常方便的。记得之前在使用Feign的过程中,实现方的Controller经常要抽出一个接口来,方便调用方来实现调用,接口实现方和调用方的耦合度很高。如果当时使用的是Retrofit的话,这种情况会大大改善。总的来说,Retrofit给我们提供了更加优雅的HTTP调用方式,不仅是在单体应用中,在微服务应用中也一样!

若有收获,就点个赞吧
0 人点赞
