1.准备工作
我这里选择用springboot-2.2.5.RELEASE版本,因为最新版的springboot没有对应的nacos版本,这里选择使用Nacos Spring Cloud,需要导入的依赖有:
<dependency><groupId>org.springframework.boot</groupId><artifactId>spring-boot-starter-web</artifactId></dependency><dependency><groupId>com.alibaba.cloud</groupId><artifactId>spring-cloud-starter-alibaba-nacos-discovery</artifactId><version>2.2.5.RELEASE</version></dependency>
2.服务注册
首先创建一个Maven项目,然后新增两个Module,一个为提供者一个为消费者(provider、consumer),目录如下: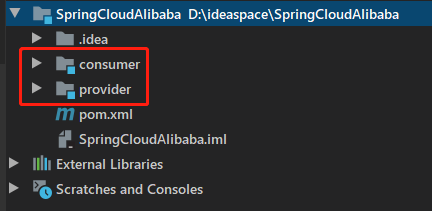
然后我们分别配置提供者与消费者的配置文件:
提供者:
server.port=8070spring.application.name=service-providerspring.cloud.nacos.discovery.server-addr=127.0.0.1:8848
消费者:
server.port=8080spring.application.name=service-consumerspring.cloud.nacos.discovery.server-addr=127.0.0.1:8848
然后在提供者与消费者的启动类都加上@EnableDiscoveryClient注解
提供者关键代码:
package com.zym.controller;import org.springframework.web.bind.annotation.PathVariable;import org.springframework.web.bind.annotation.RequestMapping;import org.springframework.web.bind.annotation.RequestMethod;import org.springframework.web.bind.annotation.RestController;@RestControllerpublic class TestController {@RequestMapping(value = "/echo/{string}", method = RequestMethod.GET)public String echo(@PathVariable String string) {return "Hello Nacos Discovery " + string;}@RequestMapping(value = "test",method = RequestMethod.GET)public String test(){return "success";}}
消费者关键代码:
package com.zym.consumer;import org.springframework.beans.factory.annotation.Autowired;import org.springframework.boot.SpringApplication;import org.springframework.boot.autoconfigure.SpringBootApplication;import org.springframework.cloud.client.discovery.EnableDiscoveryClient;import org.springframework.cloud.client.loadbalancer.LoadBalanced;import org.springframework.context.annotation.Bean;import org.springframework.web.bind.annotation.PathVariable;import org.springframework.web.bind.annotation.RequestMapping;import org.springframework.web.bind.annotation.RequestMethod;import org.springframework.web.bind.annotation.RestController;import org.springframework.web.client.RestTemplate;@SpringBootApplication@EnableDiscoveryClientpublic class ConsumerApplication {@LoadBalanced@Beanpublic RestTemplate restTemplate() {return new RestTemplate();}public static void main(String[] args) {SpringApplication.run(ConsumerApplication.class, args);}@RestControllerpublic class TestController {private final RestTemplate restTemplate;@Autowiredpublic TestController(RestTemplate restTemplate) {this.restTemplate = restTemplate;}@RequestMapping(value = "/echo/{str}", method = RequestMethod.GET)public String echo(@PathVariable String str) {return restTemplate.getForObject("http://service-provider/echo/" + str, String.class);}@RequestMapping(value = "/test",method = RequestMethod.GET)public String test(){return restTemplate.getForObject("http://service-provider/test",String.class);}}}
然后我们分别启动提供者与消费者,登录Nacos监控页面查看: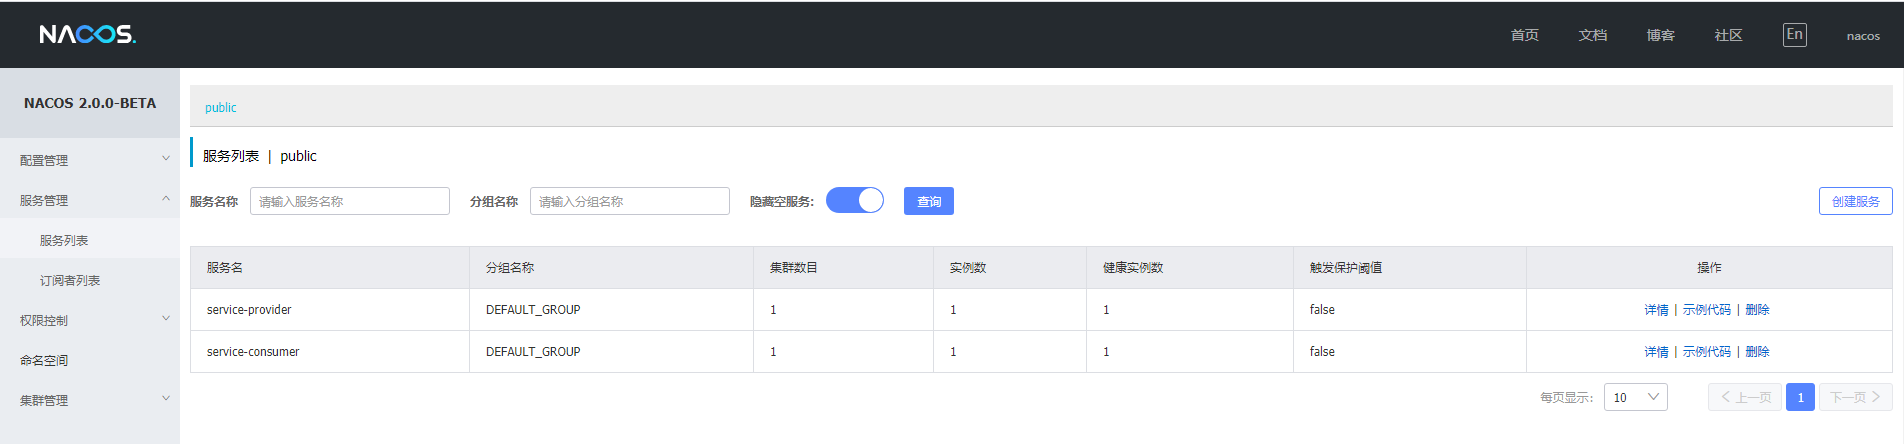
可以看到两个服务都注册到Nacos中了,然后我们分别在浏览器页面的url输入:
http://localhost:8080/echo/2021
测试一下是否能调通: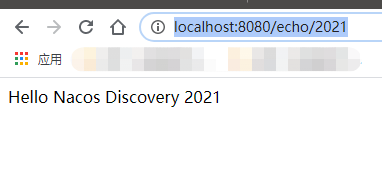
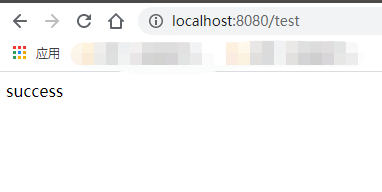
至此,Nacos的简单服务注册发现就已经完成~

若有收获,就点个赞吧
0 人点赞
