1.前期准备
1.1安装jdk
1.2安装maven
cd /export/software/tar -zxvf apache-maven-3.0.5-bin.tar.gz -C ../server/vim /etc/profileexport MAVEN_HOME=/export/server/apache-maven-3.0.5export MAVEN_OPTS="-Xms4096m -Xmx4096m"export PATH=:$MAVEN_HOME/bin:$PATHsource /etc/profile#本地路径可以不设置cd /export/server/apache-maven-3.0.5/confvim settings.xml<mirror><id>mirrorId</id><mirrorOf>repositoryId</mirrorOf><name>Human Readable Name for this Mirror.</name><url>http://my.repository.com/repo/path</url></mirror><mirror><id>alimaven</id><name>aliyun maven</name><url>http://maven.aliyun.com/nexus/content/groups/public/</url><mirrorOf>central</mirrorOf></mirror>
1.3linux安装依赖
yum -y install autoconf automake libtool cmakeyum -y install ncurses-develyum -y install openssl-develyum -y install lzo-devel zlib-devel gcc gcc-c++yum -y install bzip2-devel
1.4安装protobuf
cd /export/softwaretar -zxvf protobuf-2.5.0.tar.gz -C ../server/cd /export/server/protobuf-2.5.0./configuremake && make install
1.5安装snappy
cd /export/software/tar -zxvf snappy-1.1.1.tar.gz -C ../server/cd ../server/snappy-1.1.1/./configuremake && make install验证ll /usr/local/lib/ | grep snappy
1.6开始编译
解压文件后,进入文件执行mvn package -DskipTests -Pdist,native -Dtar -Drequire.snappy -e -X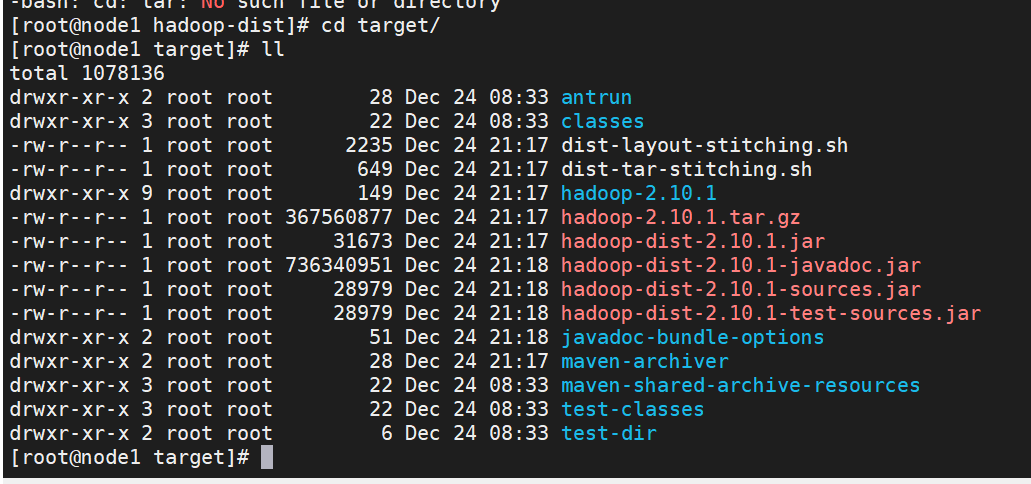

若有收获,就点个赞吧
0 人点赞
