一、项目结构
建议将目录结构创建为以下结构:
src+-com.example.demo+- Application.java+- controller| +- TestController.java+-pom.xml
修改 pom.xml, 添加支持web的模块:
<dependency><groupId>org.springframework.boot</groupId><artifactId>spring-boot-starter-web</artifactId></dependency>
pom.xml文件中默认有两个模块:
- spring-boot-starter 核心模块,包括自动配置支持、日志和YAML;
- spring-boot-starter-test 测试模块,包括JUnit、Hamcrest、Mockito。
创建 TestController.java
package com.example.demo;

import org.springframework.boot.SpringApplication;
import org.springframework.boot.autoconfigure.SpringBootApplication;

@SpringBootApplication
public class Application {
    public static void main(String[] args) {
        SpringApplication.run(Application.class, args);
    }
}
@SpringBootApplication
我们可以注意到 Spring Boot 支持 main 方法启动,在我们需要启动的主类中加入此注解,告诉 Spring Boot,这个类是程序的入口。其等效于同时加入以下三个注解:
@SpringBootConfiguration
@EnableAutoConfiguration
@ComponentScan
其中,SpringBootConfiguration 表示 Spring Boot 的配置注解,EnableAutoConfiguration 表示自动配置,ComponentScan 表示 Spring Boot 扫描 Bean 的规则,比如扫描哪些包。
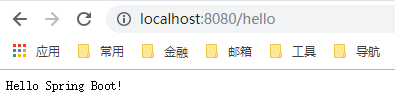
此时, 已经可以运行项目了, 通过IDE直接运行或使用命令 mvn spring-boot:run, 运行后, 浏览器输入 http://localhost:8080/hello, 将看到输出。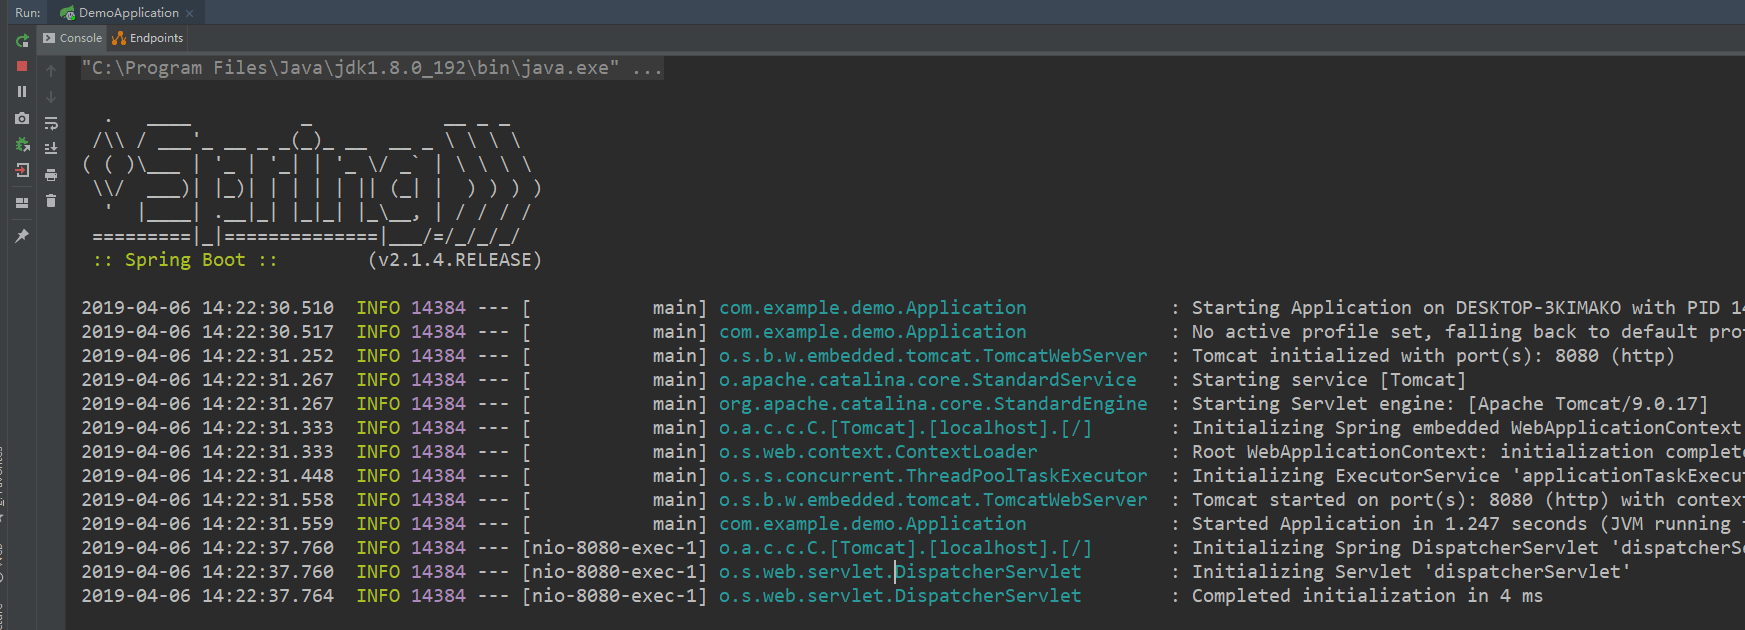
二、静态资源
在 Spring Boot 中,默认情况下,一共有5个位置可以放静态资源,五个路径分别是如下5个:
classpath:/META-INF/resources/classpath:/resources/classpath:/static/classpath:/public//
三、Spring Boot 应用
一个 Spring Boot 应用结构如下:
@RestController
@SpringBootApplication
public class HelloController {
    @RequestMapping("hello")
    String hello() {
        return "Hello World!";
    }

    public static void main(String[] args) {
        SpringApplication.run(HelloController.class, args);
    }
}
运行 main 方法,Spring Boot 默认会启动自带的 Tomcat 容器,启动成功后,浏览器访问:http://localhost:8080/hello,则会看到浏览器输出 Hello World!
@RestController告诉程序这是一个支持REST控制器@RequestMapping提供路由信息
@SpringBootApplication
@SpringBootApplication指定这是一个Spring Boot应用
很多Spring Boot开发者经常使用 @Configuration,@EnableAutoConfiguration,@ComponentScan 注解他们的main类,由于这些注解如此频繁地一块使用(特别是遵循以上最佳实践的时候),Spring Boot就提供了一个方便的@SpringBootApplication注解作为代替。
@SpringBootApplication 注解等价于以默认属性使用 @Configuration,@EnableAutoConfiguration 和 @ComponentScan
@RestController
应用程序退出
每个 SpringApplication 注册了一个 JVM 关闭钩子,以确保 ApplicationContext 在退出时可以优雅关闭。所有标准的 Spring 生命周期回调(比如 DisposableBean 接口,或者 @PreDestroy 注解)都可以使用。
此外,如果希望在调用 SpringApplication.exit() 时返回特定的退出码,则 bean 可以实现 org.springframework.boot.ExitCodeGenerator 接口。之后退出码将传递给 System.exit() 以将其作为状态码返回,如示例所示:
@SpringBootApplication
public class ExitCodeApplication {
    @Bean
    public ExitCodeGenerator exitCodeGenerator() {
        return () -> 42;
    }

    public static void main(String[] args) {
        System.exit(SpringApplication
                .exit(SpringApplication.run(ExitCodeApplication.class, args)));
    }
}
此外,ExitCodeGenerator 接口可以通过异常实现。遇到这类异常时,Spring Boot 将返回实现的 getExitCode() 方法提供的退出码。

若有收获,就点个赞吧
0 人点赞
