一、Spring Cloud Consul简介
Spring Cloud Consul 为 SpringBoot 应用提供了 Consul的支持,Consul既可以作为注册中心使用,也可以作为配置中心使用。
Consul是HashiCorp公司推出的开源软件,提供了微服务系统中的服务治理、配置中心、控制总线等功能。这些功能中的每一个都可以根据需要单独使用,也可以一起使用以构建全方位的服务网格,总之Consul提供了一种完整的服务网格解决方案。
Spring Cloud Consul 具有如下特性:
- 支持服务治理:Consul作为注册中心时,微服务中的应用可以向Consul注册自己,并且可以从Consul获取其他应用信息;
- 支持客户端负责均衡:包括Ribbon和Spring Cloud LoadBalancer;
- 支持Zuul:当Zuul作为网关时,可以从Consul中注册和发现应用;
- 支持分布式配置管理:Consul作为配置中心时,使用键值对来存储配置信息;
- 支持控制总线:可以在整个微服务系统中通过 Control Bus 分发事件消息。
二、下载及安装Consul
首先我们从官网下载Consul,地址:https://www.consul.io/downloads.html
常用命令:
consul --version # 查看版本号信息consul agent -dev # 使用开发模式启动
启动后,访问Consul的首页:http://localhost:8500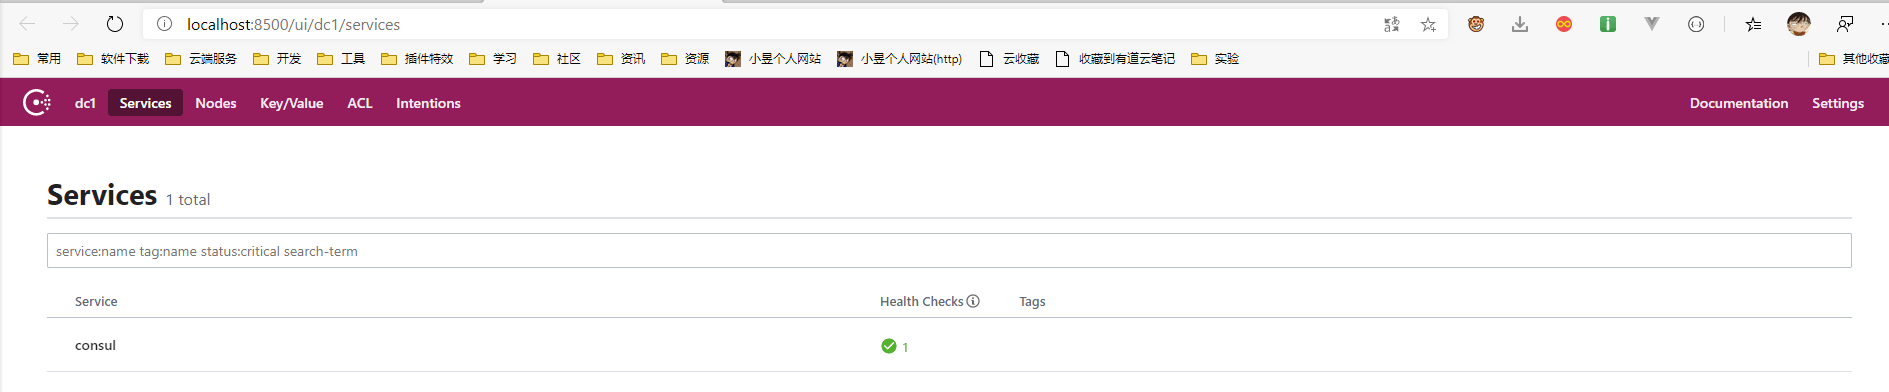
三、添加应用到Consul注册中心
添加依赖:
<dependency><groupId>org.springframework.cloud</groupId><artifactId>spring-cloud-starter-consul-discovery</artifactId></dependency><dependency><groupId>org.springframework.boot</groupId><artifactId>spring-boot-starter-actuator</artifactId></dependency>
添加配置:
server:
  port: 9101
spring:
  application:
    name: consul-client
  cloud:
    consul: #Consul服务注册发现配置
      host: localhost
      port: 8500
      discovery:
        service-name: ${spring.application.name}
management:
  endpoints:
    web:
      exposure:
        include: "health" #health端点用于consul进行健康检查
启动类中添加@EnableDiscoveryClient注解:
@EnableDiscoveryClient
@SpringBootApplication
public class ConsulClientApplication {
    public static void main(String[] args) {
        SpringApplication.run(ConsulClientApplication.class, args);
    }
}
暴露端点health是用于consul进行健康检查
启动三个consul-client分别运行到9101、9102、9103: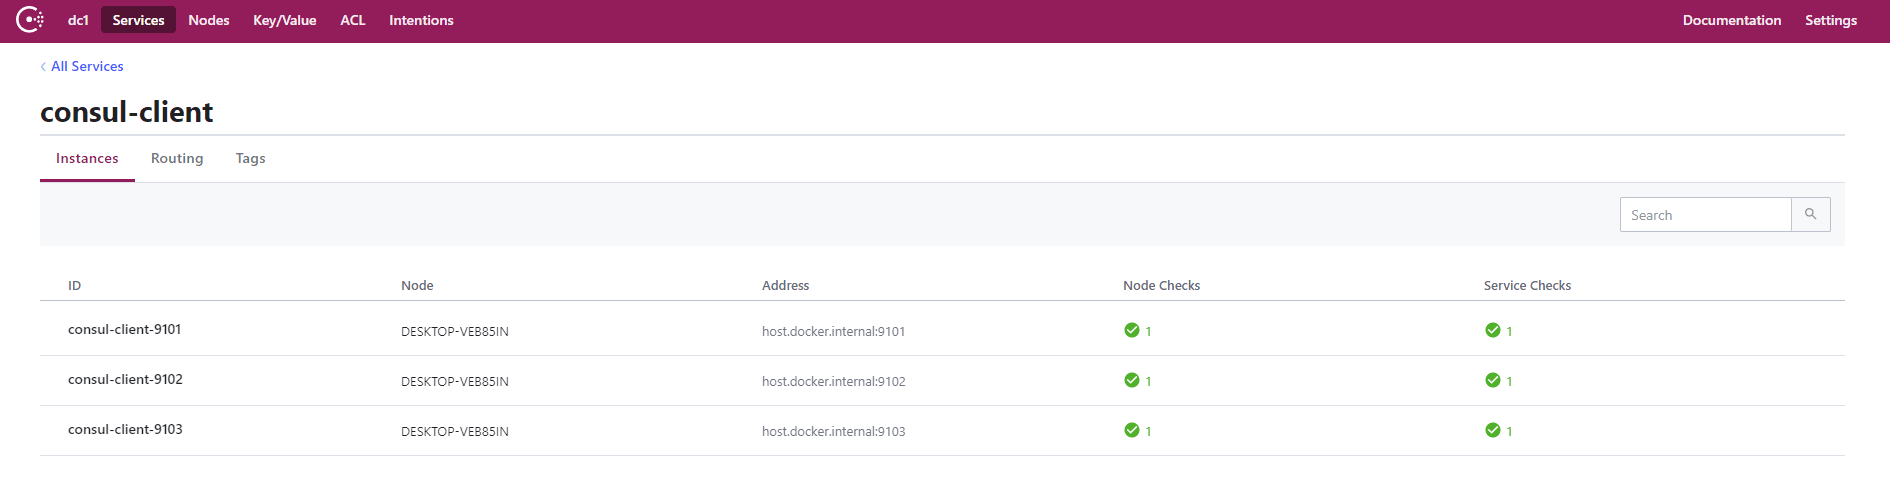
四、结合ribbon实现负载均衡
创建一个consul-ribbon-service模块,添加依赖:
<dependency>
    <groupId>org.springframework.cloud</groupId>
    <artifactId>spring-cloud-starter-consul-discovery</artifactId>
</dependency>
<dependency>
    <groupId>org.springframework.cloud</groupId>
    <artifactId>spring-cloud-starter-netflix-ribbon</artifactId>
</dependency>
<dependency>
    <groupId>org.springframework.boot</groupId>
    <artifactId>spring-boot-starter-actuator</artifactId>
</dependency>
添加配置:
server:
  port: 9201
spring:
  application:
    name: consul-ribbon-service
  cloud:
    consul:
      host: localhost
      port: 8500
      discovery:
        service-name: ${spring.application.name}
management:
  endpoints:
    web:
      exposure:
        include: "health"
同样地,启动类中需要添加@EnableDiscoveryClient注解,不赘述。
创建Ribbon配置:
@Configuration
public class RibbonConfig {
    @Bean
    @LoadBalanced
    public RestTemplate restTemplate(){
        return new RestTemplate();
    }
}
在控制器中调用远程服务:
@RestController
@RequestMapping("/test")
public class TestController {
    @Autowired
    private RestTemplate restTemplate;

    @GetMapping("/test")
    public Object test() {
        return restTemplate.getForObject("http://consul-client/test/test", Object.class);
    }
}
这里使用了RestTemplate调用consul-client的接口,我们在consul-client中加入控制器:
@RestController
@RequestMapping("/test")
public class TestController {
    private Logger LOGGER = LoggerFactory.getLogger(this.getClass());

    @GetMapping("/test")
    @ResponseBody
    public Object test() {
        Map<String, Object> map = new HashMap<>();
        map.put("code", "1");
        map.put("message", "ok");
        map.put("data", "");
        return map;
    }
}
访问http://localhost:9201/test/test以测试其负载均衡能力。
其实跟之前的Ribbon注册到Eureka一样,不过是将注册中心改为了Consul而已。
五、将Consul作为配置中心使用
创建consul-config-client模块,添加依赖:
<dependency>
    <groupId>org.springframework.cloud</groupId>
    <artifactId>spring-cloud-starter-consul-config</artifactId>
</dependency>
<dependency>
    <groupId>org.springframework.cloud</groupId>
    <artifactId>spring-cloud-starter-consul-discovery</artifactId>
</dependency>
<dependency>
    <groupId>org.springframework.boot</groupId>
    <artifactId>spring-boot-starter-actuator</artifactId>
</dependency>
添加配置文件application.yml,启用的是dev环境的配置:
spring:
  profiles:
    active: dev
添加配置文件bootstrap.yml,主要是对Consul的配置功能进行配置:
server:
  port: 9001
spring:
  application:
    name: consul-config-client
  cloud:
    consul:
      host: localhost
      port: 8500
      discovery:
        serviceName: consul-config-client
      config:
        enabled: true #是否启用配置中心功能
        format: yaml #设置配置值的格式
        prefix: config #设置配置所在目录
        profile-separator: ':' #设置配置的分隔符
        data-key: data #配置key的名字,由于Consul是K/V存储,配置存储在对应K的V中
management:
  endpoints:
    web:
      exposure:
        include: "health"
同样地,启动类中需要添加@EnableDiscoveryClient注解,不赘述。
添加控制器:
@RestController
@RefreshScope
public class ConfigClientController {
    @Value("${config.info}")
    private String configInfo;

    @GetMapping("/configInfo")
    public String getConfigInfo() {
        return configInfo;
    }
}
在Consul中添加配置
key:
config/consul-config-client:dev/data
value:
config:
  info: "config info for dev"
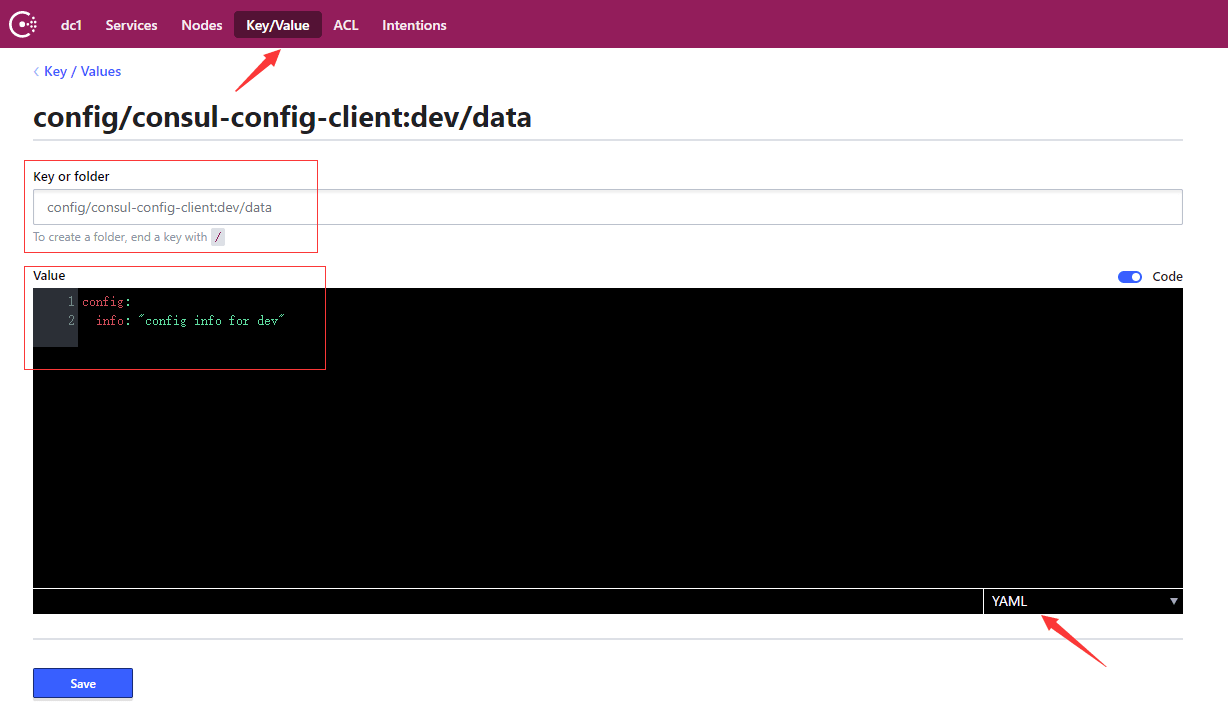
启动consul-config-client,访问 http://localhost:9001/configInfo,可以看到屏幕上打印:config info for dev
更新配置
我们只要修改下Consul中的配置信息,再次调用查看配置的接口,就会发现配置已经刷新。回想下在使用Spring Cloud Config的时候,我们需要调用接口,通过Spring Cloud Bus才能刷新配置。Consul使用其自带的Control Bus实现了一种事件传递机制,从而实现了动态刷新功能。
修改配置config/consul-config-client:dev/data,将其value改为:
config:
  info: "update config info for dev"
再次访问 http://localhost:9001/configInfo,可以看到屏幕上打印:update config info for dev
参考资料

若有收获,就点个赞吧
0 人点赞
