阿里图库
简介
Flutter 中,可以像 web 开发一样使用 iconfont,iconfont 即“字体图标”,它是将图标做成字体文件,然后通过指定不同的字符而显示不同的图片。用于显示 iconfont 的就是 Icon Widget。
iconfont 和图片相比有如下优势:
- 体积小:可以减小安装包大小。
- 矢量的:iconfont 都是矢量图标,放大不会影响其清晰度。
- 可以应用文本样式:可以像文本一样改变字体图标的颜色、大小对齐等。
- 可以通过 TextSpan 和文本混用。
实例
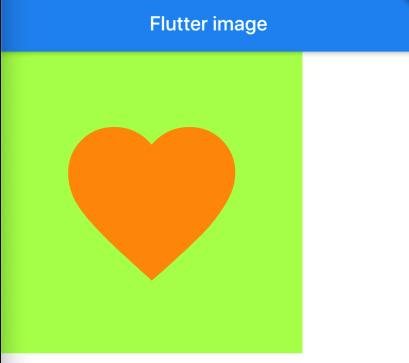
1. Icon
class Icon extends StatelessWidget {/// Creates an icon.////// The [size] and [color] default to the value given by the current [IconTheme].const Icon(this.icon, {Key key,this.size, //大小this.color, //颜色this.semanticLabel, //语义标签this.textDirection, //icon文字方向}) : super(key: key);
列子:
Container(width: 300,height: 300,color: Colors.lightGreenAccent,child: Icon(Icons.favorite,color: Colors.orange,size: 200,),),
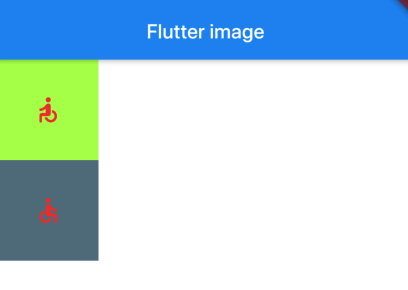
2. IconData
class IconData {const IconData(this.codePoint, { //该图标在字体中的编码this.fontFamily, //所属字体this.fontPackage, //字体所属的包this.matchTextDirection = false, //是否启用镜像,向左还是向右});
列子:
Container(width: 100,height: 100,color: Colors.lightGreenAccent,child: Icon(IconData(0xe914,fontFamily: 'MaterialIcons',matchTextDirection: true),color: Colors.red,size: 30,textDirection: TextDirection.rtl,),),Container(width: 100,height: 100,color: Colors.blueGrey,child: Icon(IconData(0xe914,fontFamily: 'MaterialIcons',matchTextDirection: true),color: Colors.red,size: 30,textDirection: TextDirection.ltr,),),
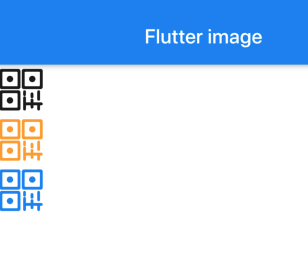
3. ImageIcon
class ImageIcon extends StatelessWidget {const ImageIcon(this.image, { //ImageProvider类型 用于加载具体的图片Key key,this.size, //大小this.color, //想要显示的颜色this.semanticLabel,}) : super(key: key);
ImageProvider是一个抽象类,其子类包括
- AssetImage 资源图片
- FileImage 文件图片
- NetworkImage 网络图片
- MemoryImage 内存图片
加载如Image一样
ImageIcon(AssetImage("image/flutter1.png"),size: 50,//默认黑色),ImageIcon(AssetImage("image/flutter1.png"),size: 50,color: Colors.orangeAccent,),ImageIcon(AssetImage("image/flutter1.png"),size: 50,color: Colors.blue,),
4. IconButton
const IconButton({Key key,this.iconSize = 24.0, //默认大小this.padding = const EdgeInsets.all(8.0), //内间距this.alignment = Alignment.center, //对齐方式@required this.icon,this.color,this.focusColor,this.hoverColor,this.highlightColor, //长按后不松手时显示的颜色this.splashColor, //点击一下时闪烁的颜色this.disabledColor, //不可用时的颜色@required this.onPressed, //点击后触发的方法this.focusNode,this.autofocus = false,this.tooltip, //长按后的提示语this.enableFeedback = true,}) : assert(iconSize != null),assert(padding != null),assert(alignment != null),assert(autofocus != null),assert(icon != null),super(key: key);
例子:
IconButton(iconSize: 50,icon: Icon(Icons.android,color: Colors.deepPurple,),onPressed: () {print(234);},highlightColor: Colors.green,//长按后不松手时显示的颜色splashColor: Colors.blue,//点击一下时闪烁的颜色disabledColor: Colors.grey,//不可用时的颜色tooltip: "copy",//长按后的提示语),
我发现这个有的时候在iOS 模拟器中不好使,先留着,以后再研究下~

若有收获,就点个赞吧
0 人点赞
