1、建立注册中心、用于管理服务
新建一个SpringBoot项目、加入 spring-cloud-starter-netflix-eureka-server依赖jar包
在SpringBoot的启动类上采用 @EnableEurekaServer 注解声明用于管理服务的注册中心。配置yml文件
配置Spring.Application.Name (重要),后续通过这个配置的Name进行调用服务。
package com.example.eurekaserver;import org.springframework.boot.SpringApplication;import org.springframework.boot.autoconfigure.SpringBootApplication;import org.springframework.cloud.netflix.eureka.server.EnableEurekaServer;@SpringBootApplication@EnableEurekaServerpublic class EurekaserverApplication {public static void main(String[] args) {SpringApplication.run(EurekaserverApplication.class, args);}}
配置yml文件 端口等信息
server:
  port: 8761 #程序启动端口

eureka:
  instance:
    hostname: localhost
  client:
    registerWithEureka: false
    fetchRegistry: false
    serviceUrl:
      defaultZone: http://${eureka.instance.hostname}:${server.port}/eureka/
   #通过eureka.client.registerWithEureka:false和fetchRegistry:false来表明自己是一个eureka server.
spring:
  application:
    name: eurka-server #配置name值后续通过name进行调用服务
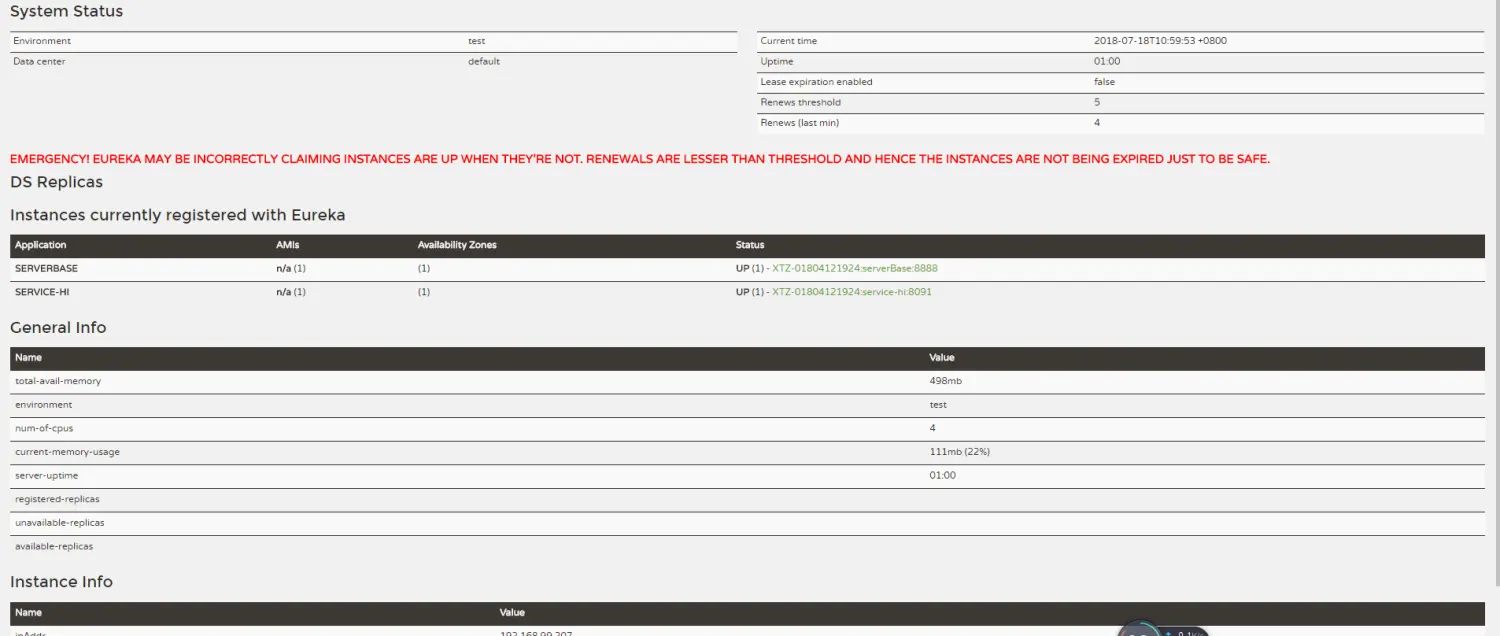
图片中出现红色的警告,是因为关闭了其中一个子节点,e服务器开启了自动保护模式,不希望出现的话我们可以增加如下配置在yml文件当中
   eureka:
      server:
        enable-self-preservation: false
        eviction-interval-timer-in-ms: 30 # 设置心跳时间

若有收获,就点个赞吧
0 人点赞
