在上一章的时候解析启动流程源码的时候,已经提到security的配置文件主要来自SpringBootWebSecurityConfiguration里面的WebSecurityConfigurerAdapter类,默认security是创建了一个,那么我们需要自定义可以去创建一个类去继承WebSecurityConfigurerAdapter
@Configurationpublic class WebSecurityConfig extends WebSecurityConfigurerAdapter {//配置绕过security验证 不走Spring security@Overridepublic void configure(WebSecurity web) throws Exception {super.configure( web );//web.ignoring().antMatchers( "/hello" );}//配置@Overrideprotected void configure(AuthenticationManagerBuilder auth) throws Exception {// super.configure( auth );//通过IDEA自带的Java类图看出了UserDetailService的子类InMemoryUserDetailsManager//测试方式 给密码添加的时候必须加上{noop} authorities 或者roles必须添加//authorities 此用户的权限//roles 此用户的角色auth.userDetailsService(new InMemoryUserDetailsManager(User.builder().username("jsbintask1").password("{noop}123456").authorities("jsbintask1").build(),User.builder().username("jsbintask2").password("{noop}123456").authorities("jsbintask2").build()));}//默认配置 是拦截所有的 不采用默认配置 则重写@Overrideprotected void configure(HttpSecurity http) throws Exception {//super.configure( http );//loginPage 自定义配置页面//loginProcessinUrl登录拦截的URL security有一个自带的login页面 如果需要自定义登陆页面则重写//successForwardUrl 成功登录之后跳转http.formLogin()//.loginPage("/index")//.loginProcessingUrl("/login").successForwardUrl("/hello").and().authorizeRequests()//permitAll不饶过安全验证.antMatchers( "/login", "/error", "/favicon.ico").permitAll()//定义哪些请求需要Url需要被保护.anyRequest().authenticated().and().csrf().disable();}}
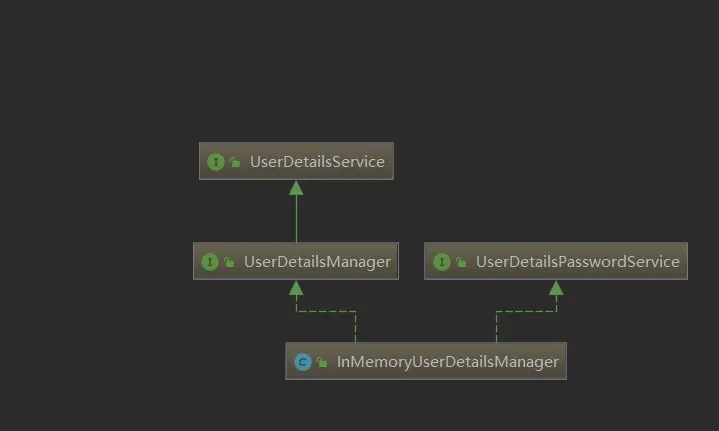
阅读源码:可通过IDEA查看类图
结合实际应用example
在原有基础上pom文件引入对mysql支持
 <dependency>
            <groupId>org.springframework.boot</groupId>
            <artifactId>spring-boot-starter-data-jpa</artifactId>
        </dependency>
        <dependency>
            <groupId>mysql</groupId>
            <artifactId>mysql-connector-java</artifactId>
        </dependency>
yml文件编写
注意:yml文件最好不要有中文!!因为可能会让你启动报错 input length
server:
  port: 8080
spring:
  freemarker:
    enabled: true
    cache: false
    template-loader-path: classpath:/templates/
    suffix: .html
  security:
    user:
      name: user
      password: user
      roles: user,admin
  datasource:
    driver-class-name: com.mysql.cj.jdbc.Driver
    url: jdbc:mysql://localhost:3306/security_db?useSSL=false&serverTimezone=UTC
    username: root
    password: root
#打印sql
  jpa:
    show-sql: true
#update  jpa的表和数据库的表是对应的  如果实体类有 字段数据库没有字段那么则会修改数据库表结构
#ID必须有! 实体类 userName  那么数据库对应的就是user_name带下划线的!
    hibernate:
      ddl-auto: update
    properties:
      hibernate:
        formate_sql: true
    #open-in-view 一个小警告无关紧要 但是 强迫症开启了 这样避免了控制台warn提示 作用也就是禁用OSIV (Open Session in View)
    open-in-view: false
编写所需实体类
User表
@Entity
@Table
@Data
public class User {
//声明主键策略 自增长
@Id
@GeneratedValue(strategy = GenerationType.IDENTITY)
private Integer id;
private String username;
private String password;
private Integer age;
private String address;
private Integer roleId;
}
@Entity
@Table
@Data
public class Role {
//声明主键策略 自增长
@Id
@GeneratedValue(strategy = GenerationType.IDENTITY)
private Integer id;
private String roleName;
private String description;
}
//因为实际开发中我们的数据都是来自数据库 。security在之前源码中讲解在启动流程的时候会loadinMemory到内存当中 我们在这边重写一下
@Data
@AllArgsConstructor //生成全参构造函数
@NoArgsConstructor //生成无参构造函数
public class AuthUser implements UserDetails {
private String userName;
private String password;
private List <Role> roleList;
//返回用户的权限
@Override
public Collection <? extends GrantedAuthority> getAuthorities() {
return roleList.isEmpty() ? Collections.EMPTY_LIST : (
roleList.parallelStream().map( role ->
new SimpleGrantedAuthority(
role.getRoleName() ) ).collect( Collectors.toList() ));
}
@Override
public String getPassword() {
return password;
}
@Override
public String getUsername() {
return userName;
}
//账户未过期 true 过期false
@Override
public boolean isAccountNonExpired() {
return true;
}
//账户是否锁定
//如果为Ture表示用户未被锁定
@Override
public boolean isAccountNonLocked() {
return true;
}
//凭据是否过期 如果为True表示用户的凭据依旧有效
@Override
public boolean isCredentialsNonExpired() {
return true;
}
//指定用户是启用还是禁用 True表示启用 false表示已停用
@Override
public boolean isEnabled() {
return true;
}
}
//编写dao对数据库进行访问
public interface UserRepository extends JpaRepository<User,Integer> {
//根据用户名查找对象
User findByUsername(String username);
}
//Role
public interface RoleRepository extends JpaRepository<Role,Integer> {
}
//重写UserDetailService 前面启动流程的讲解已经说明 如果要自定义实现那么也必须要实现UserDetailService
@Service
@Primary
public class CustomUserDetailsServiceImpl implements UserDetailsService {
private final UserRepository userRepository;
private final RoleRepository roleRepository;
@Autowired
public CustomUserDetailsServiceImpl(UserRepository userRepository, RoleRepository roleRepository) {
this.userRepository = userRepository;
this.roleRepository = roleRepository;
}
@Override
public UserDetails loadUserByUsername(String username) throws UsernameNotFoundException {
//
Function <String, User> findByUserName = userRepository::findByUsername;
User users = findByUserName.apply( username );
if(users==null){
throw new UsernameNotFoundException("user is not found");
}
//返回自定义的usersDetails
return new AuthUser( users.getUsername(),users.getPassword(),
roleRepository.findAllById(Collections.singletonList(users.getRoleId())));
}
}
编写对web端的控制
@Configuration
public class WebSecurityConfig extends WebSecurityConfigurerAdapter {
//配置绕过security验证 不走Spring security
@Override
public void configure(WebSecurity web) throws Exception {
super.configure( web );
web.ignoring().antMatchers( "/hello" );
}
//配置
@Override
protected void configure(AuthenticationManagerBuilder auth) throws Exception {
super.configure( auth );
//通过IDEA自带的Java类图看出了UserDetailService的子类InMemoryUserDetailsManager
//测试方式 给密码添加的时候必须加上{noop} authorities 或者roles必须添加
//authorities 此用户的权限
//roles 此用户的角色
/* auth.userDetailsService(new InMemoryUserDetailsManager(
User.builder().username("jsbintask1").password("{noop}123456").authorities("jsbintask1").build(),
User.builder().username("jsbintask2").password("{noop}123456").authorities("jsbintask2").build()));
*/ }
//默认配置 是拦截所有的 不采用默认配置 则重写
@Override
protected void configure(HttpSecurity http) throws Exception {
//super.configure( http );
//loginPage 自定义配置页面
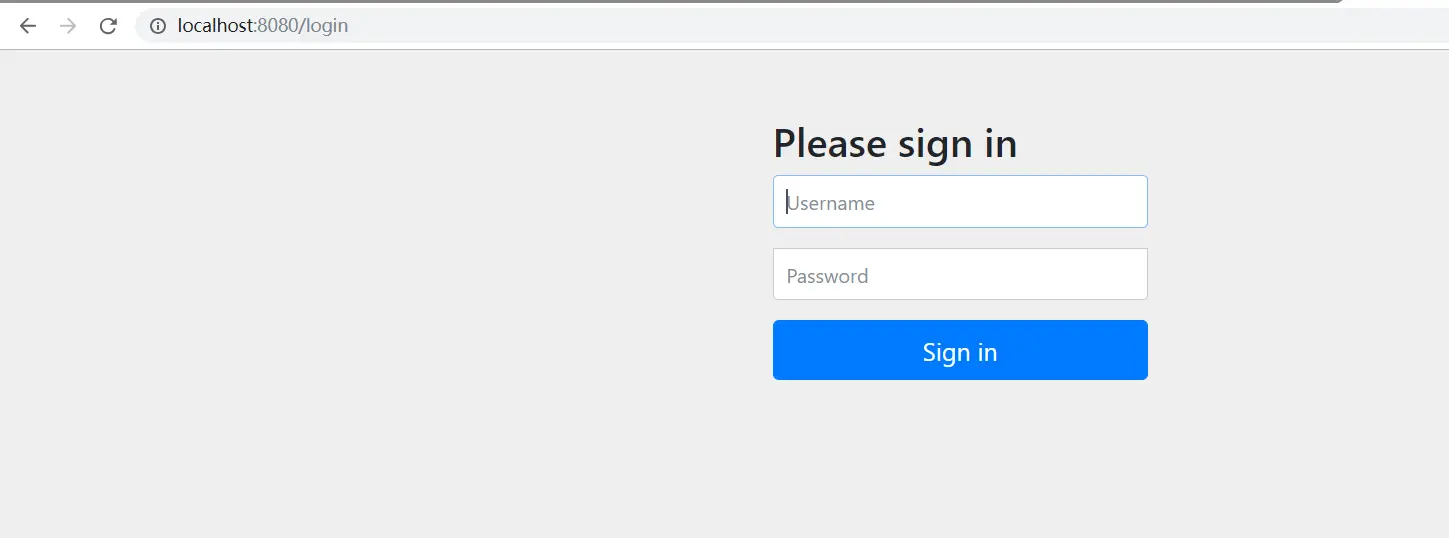
//loginProcessinUrl登录拦截的URL security有一个自带的login页面 如果需要自定义登陆页面则重写
//successForwardUrl 成功登录之后跳转
http.formLogin()
//.loginPage("/index")
//.loginProcessingUrl("/login")
.successForwardUrl("/hello")
.and()
.authorizeRequests()
//permitAll不饶过安全验证
.antMatchers( "/login", "/error", "/favicon.ico").permitAll()
//定义哪些请求需要Url需要被保护
.anyRequest()
.authenticated()
.and()
.csrf()
.disable();
}
}
然后可以输入数据库录入的用户信息和密码
发现启动报错
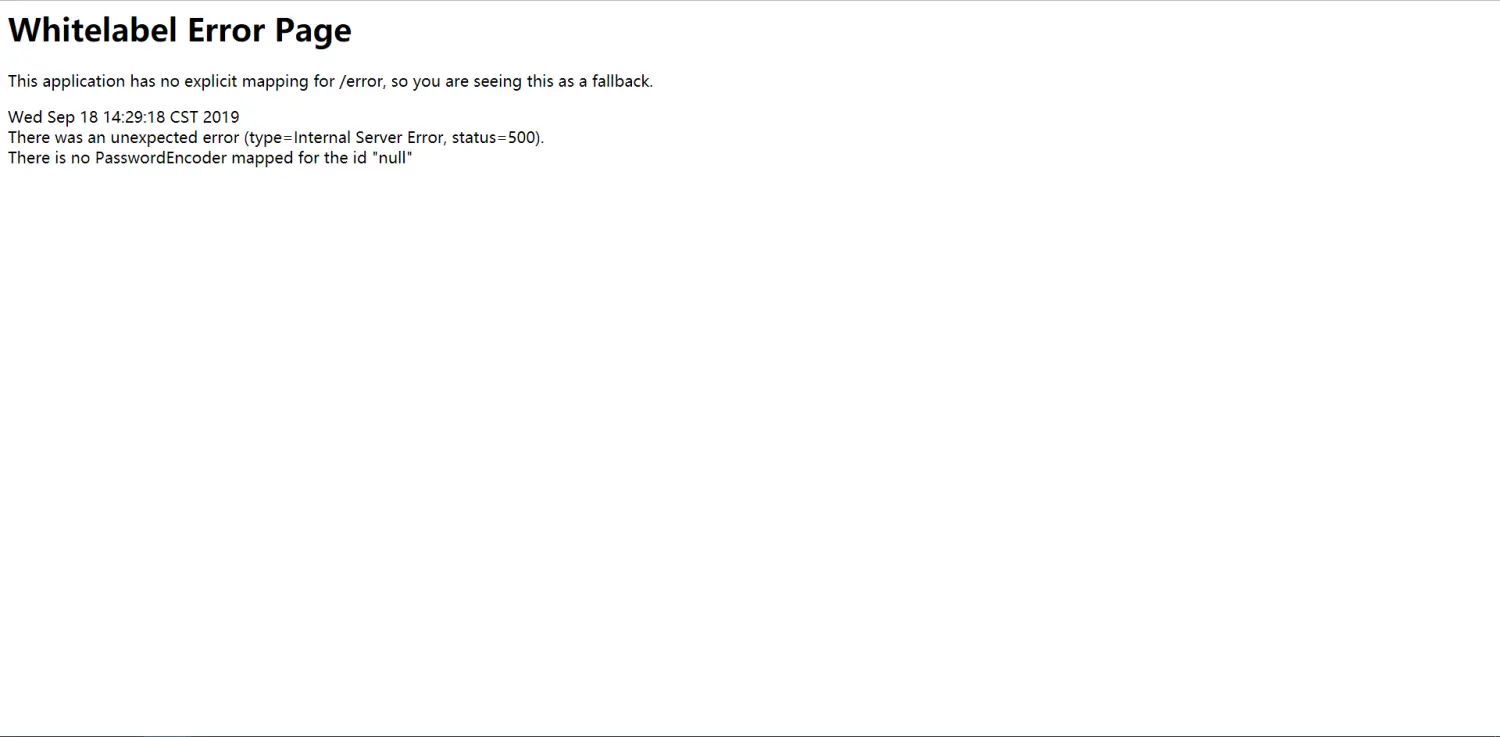

原因是security的密码是加过密的!!!加过密的!
所以我们需要注入一个加密Bean进去
@Configuration
public class Security_Other_Bean {

    //密码加密配置
    @Bean
    public BCryptPasswordEncoder bCryptPasswordEncoder(){
        return new BCryptPasswordEncoder(  );
    }
}
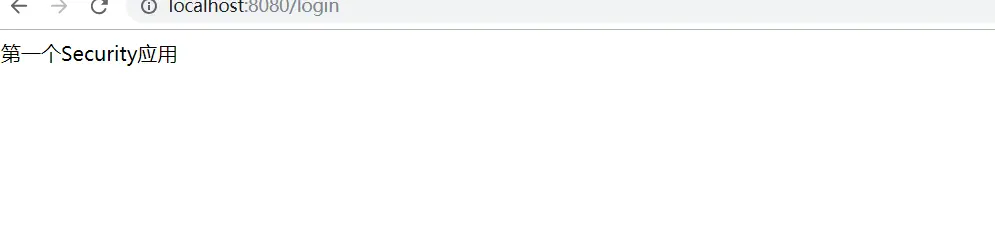
重新登陆搞定 OK !

若有收获,就点个赞吧
0 人点赞
