该快速入门介绍了如何同时使用Spring Cloud Config Server的服务器和客户端。
1.创建GIT仓库
由于SpringCloud Config默认使用Git来存储配置文件(也有其它方式,比如支持svn和本地文件,但最推荐的还是Git,而且使用的是http/https访问的形式)
官网文档:https://cloud.spring.io/spring-cloud-static/spring-cloud-config/2.2.3.RELEASE/reference/html/
用你自己的账号在Github/gitee上新建一个名为springcloud-config的Repository
在仓库中添加文件 config-dev.yml、config-prod.yml、config-test.yml,最终效果图如下: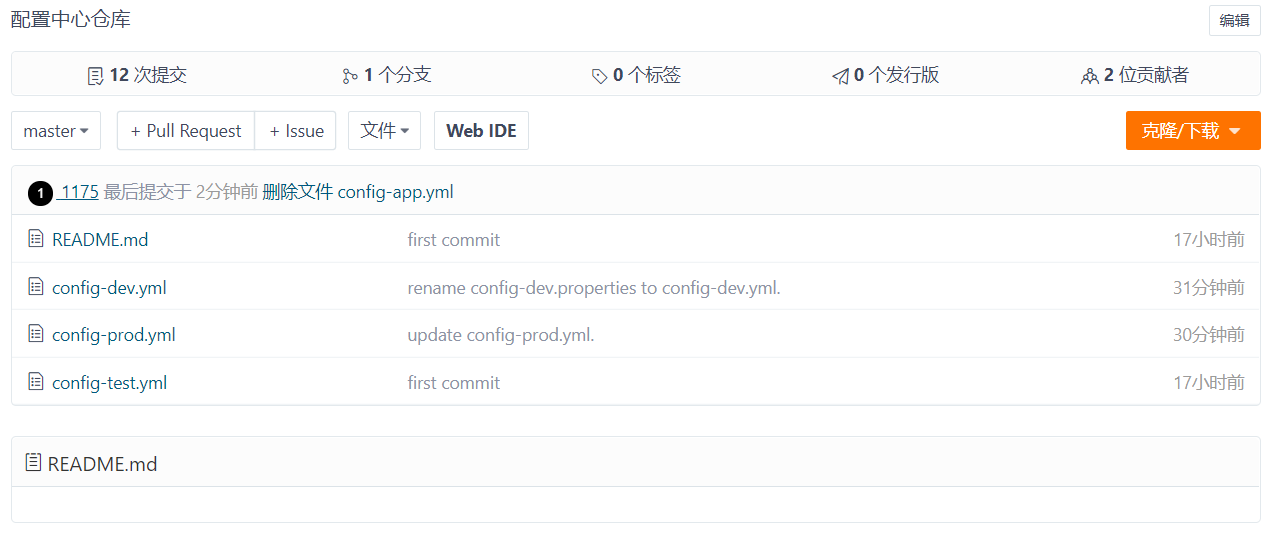
编辑config-dev.yml 添加如下内容,并提交到仓库中
server:port: 9999test:name: 测试
/{application}/{profile}[/{label}]
/{application}-{profile}.yml
/{label}/{application}-{profile}.yml
/{application}-{profile}.properties
/{label}/{application}-{profile}.properties
2.新建配置中心模块
项目名称:cloud-config-center-3344
鼠标点击父工程项目右击 —> New —> Module
具体创建步骤参考【搭建EurekaServer端服务注册中心】
1.添加pom.xml
    <dependencies>
          <!-- 新增spring-cloud-config-server -->
        <dependency>
            <groupId>org.springframework.cloud</groupId>
            <artifactId>spring-cloud-config-server</artifactId>
        </dependency>
        <dependency>
            <groupId>org.springframework.cloud</groupId>
            <artifactId>spring-cloud-starter-netflix-eureka-client</artifactId>
        </dependency>
        <dependency>
            <groupId>org.springframework.boot</groupId>
            <artifactId>spring-boot-starter-web</artifactId>
        </dependency>

        <dependency>
            <groupId>org.springframework.boot</groupId>
            <artifactId>spring-boot-starter-actuator</artifactId>
        </dependency>

        <dependency>
            <groupId>org.springframework.boot</groupId>
            <artifactId>spring-boot-devtools</artifactId>
            <scope>runtime</scope>
            <optional>true</optional>
        </dependency>

        <dependency>
            <groupId>org.projectlombok</groupId>
            <artifactId>lombok</artifactId>
            <optional>true</optional>
        </dependency>
        <dependency>
            <groupId>org.springframework.boot</groupId>
            <artifactId>spring-boot-starter-test</artifactId>
            <scope>test</scope>
        </dependency>
    </dependencies>
2.添加application.yml
server:
  port: 3344
spring:
  application:
    name: cloud-config-center
  cloud:
    config:
      server:
        git:
          uri: https://gitee.com/zc6637/springcloud-config.git # 配置git仓库的地址(最后不需要带/,否则会出现:No custom http config found for URL: XXX)
          search-paths: # git仓库地址下的相对搜索地址(可用使用通配符),可以配置多个,用,分割。可以{application}实现按应用查配置
            - springcloud-config
          username: 1175250848@qq.com
          password: lmyzc520.
      label: master
  http:
    encoding:
      force: true #解决springCloud-config返回中文乱码

eureka:
  client:
    # 表示是否将自己注册进EurekaServer默认为true
    register-with-eureka: true
    # 是否从EurekaServer抓取已有的注册信息,默认为true。单节点无所谓,集群必须设置为true才能配合ribbon使用负载均衡
    fetch-registry: true
    service-url:
      defaultZone: http://eureka7001.com:7001/eureka,http://eureka7002.com:7002/eureka
  instance:
    instance-id: cloudConfig3344
    #访问路径可以显示IP地址
    prefer-ip-address: true
    #Eureka客户端向服务端发送心跳的时间间隔,单位为秒(默认是30秒)
    #lease-renewal-interval-in-seconds: 1
    #Eureka服务端在收到最后一次心跳后等待时间上限,单位为秒(默认是90秒),超时将剔除服务
    #lease-expiration-duration-in-seconds: 2
3.添加主启动类
@EnableConfigServer 表示启用ConfigServer
@SpringBootApplication
@EnableConfigServer
public class ConfigCenterApplication {

    public static void main(String[] args) {
        SpringApplication.run(ConfigCenterApplication.class, args);
    }

}
4.修改spring默认配置文件编码
spring 默认使用 org.springframework.boot.env.PropertiesPropertySourceLoader 来加载配置,底层是通过调用 Properties 的 load 方法,而load方法输入流的编码是 ISO 8859-1 ,所以会出现中文乱码问题
自定义属性源加载器,实现 PropertySourceLoader 接口口
/**
 * 编码处理类,转换内置的编码ISO 8859-1 为 UTF-8 ,解决springCloud配置中心配置文件中文乱码
 * @author 11752
 * @version 1.0
 * @date 2020/6/3 17:51
 */
@Slf4j
public class CustomPropertySourceLoader implements PropertySourceLoader {

    @Override
    public String[] getFileExtensions() {
        return new String[]{"properties", "xml"};
    }

    @Override
    public List<PropertySource<?>> load(String name, Resource resource) throws IOException {
        Properties properties = loadProperties(resource);
        if (properties.isEmpty()) {
            return Collections.emptyList();
        }
        return Collections
                .singletonList(new OriginTrackedMapPropertySource(name, properties));
    }

    private Properties loadProperties(Resource resource) {
        Properties properties = new Properties();
        InputStream inputStream = null;
        try {
            inputStream = resource.getInputStream();
            properties.load(new InputStreamReader(inputStream, StandardCharsets.UTF_8));
            inputStream.close();
        } catch (IOException e) {
            log.error("load inputstream failure...", e);
        } finally {
            if (inputStream != null) {
                try {
                    inputStream.close();
                } catch (IOException e) {
                    log.error("close IO failure ....", e);
                }
            }
        }
        return properties;
    }
}
在 resources 文件件件夹下,创建 META-INF 文件夹,再创建 spring.factories 文件
# 指定自定义的编码处理类路径
org.springframework.boot.env.PropertySourceLoader=com.springcloud.config.CustomPropertySourceLoader
在application.yml配置文件中增加如下内容:
spring:
  http:
    encoding:
      force: true #解决springCloud-config返回中文乱码
3.启动测试
启动Eureka注册中心:cloud-eureka-server7001,cloud-eureka-server7002
启动配置中心:cloud-config-center-3344
浏览器输入:http://localhost:3344/config-dev.yml
返回如下内容:
server:
  port: 9999
test:
  name: 测试
资源文件读取规则
推荐使用:/{label}/{application}-{profile}.yml
label:githup/gitee中的分支名
application:配置文件名称
profile:环境(dev/prod/test)
/{application}/{profile}[/{label}]
/{application}-{profile}.yml
/{label}/{application}-{profile}.yml
/{application}-{profile}.properties
/{label}/{application}-{profile}.properties

若有收获,就点个赞吧
0 人点赞
