下面直接就是集群版的Eureka服务搭建
项目名称:eureka-server7001


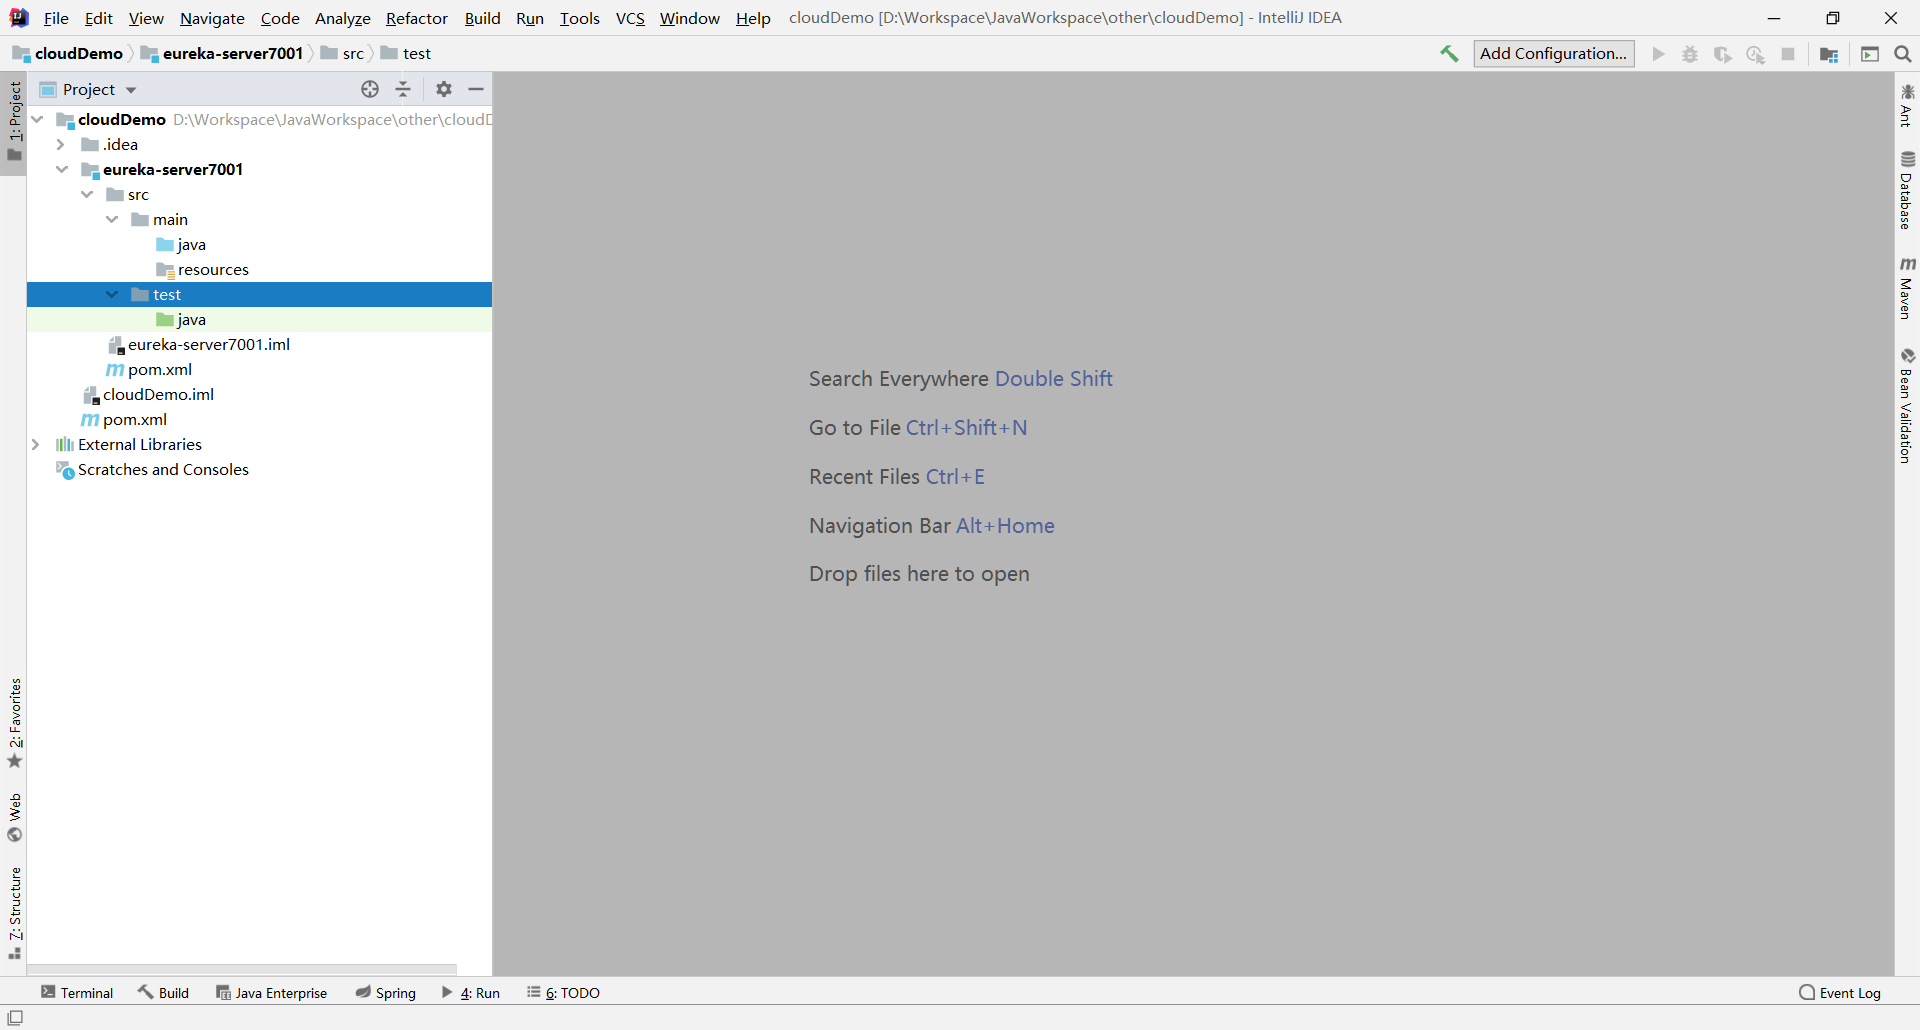
1.项目结构
2.eureka-server7001项目的完整pom.xml
<?xml version="1.0" encoding="UTF-8"?><project xmlns="http://maven.apache.org/POM/4.0.0"xmlns:xsi="http://www.w3.org/2001/XMLSchema-instance"xsi:schemaLocation="http://maven.apache.org/POM/4.0.0 http://maven.apache.org/xsd/maven-4.0.0.xsd"><parent><artifactId>cloudDemo</artifactId><groupId>com.cloud</groupId><version>1.0-SNAPSHOT</version></parent><modelVersion>4.0.0</modelVersion><artifactId>eureka-server7001</artifactId><dependencies><!--eureka-server--><dependency><groupId>org.springframework.cloud</groupId><artifactId>spring-cloud-starter-netflix-eureka-server</artifactId></dependency><!--boot web actuator--><dependency><groupId>org.springframework.boot</groupId><artifactId>spring-boot-starter-web</artifactId></dependency><dependency><groupId>org.springframework.boot</groupId><artifactId>spring-boot-starter-actuator</artifactId></dependency><!--一般通用配置--><dependency><groupId>org.springframework.boot</groupId><artifactId>spring-boot-devtools</artifactId><scope>runtime</scope><optional>true</optional></dependency><dependency><groupId>org.projectlombok</groupId><artifactId>lombok</artifactId></dependency><dependency><groupId>org.springframework.boot</groupId><artifactId>spring-boot-starter-test</artifactId><scope>test</scope></dependency><dependency><groupId>junit</groupId><artifactId>junit</artifactId></dependency></dependencies></project>
3.在window系统中修改hosts文件
路径:C:\Windows\System32\drivers\etc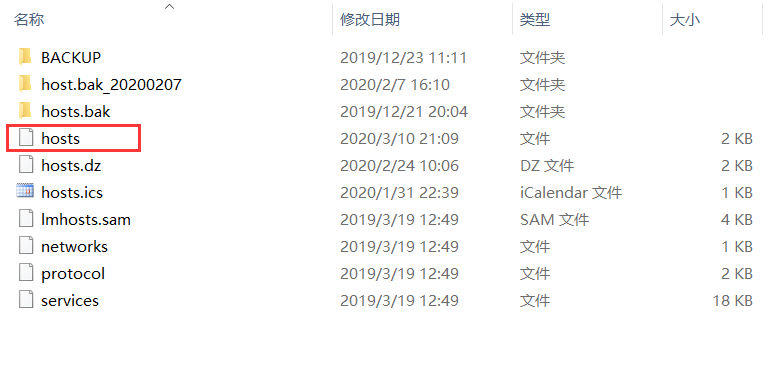
添加如下配置
127.0.0.1 eureka7001.com
127.0.0.1 eureka7002.com
4.添加application.yml配置文件
server:
  port: 7001

eureka:
  instance:
    hostname: eureka7001.com   #eureka服务端的实例名称
  client:
    register-with-eureka: false   #false表示不向注册中心注册自己
    fetch-registry: false   #false表示自己端就是注册中心
    service-url:
      # defaultZone: http://eureka7001.com:7001/eureka/   #单机
      defaultZone: http://eureka7002.com:7002/eureka/  #集群
  #server:
    # 关闭自我保护机制,保证不可用服务被及时剔除
    #enable-self-preservation: false
    #eviction-interval-timer-in-ms: 2000
5.添加主启动类
@SpringBootApplication
@EnableEurekaServer
public class EurekaServer7001Application {
    public static void main(String[] args) {
        SpringApplication.run(EurekaServer7001Application.class,args);
    }
}
6.搭建eureka-server7002项目作为Eureka第二个注册中心
参考步骤 【搭建EurekaServer端服务注册中心】创建一个eureka-server7002项目,主要修改如下内容:
eureka-server7002项目中的application.yml配置文件
server:
  port: 7002

eureka:
  instance:
    hostname: eureka7002.com   #eureka服务端的实例名称
  client:
    register-with-eureka: false   #false表示不向注册中心注册自己
    fetch-registry: false   #false表示自己端就是注册中心
    service-url:
      #单机就是7001自己
      #defaultZone: http://eureka7001.com:7001/eureka/   #单机
      #集群指向其它eureka
      defaultZone: http://eureka7002.com:7002/eureka/  #集群
  #server:
    # 关闭自我保护机制,默认是开启的,保证不可用服务被及时剔除
    #enable-self-preservation: false
    #eviction-interval-timer-in-ms: 2000
主启动类:
@SpringBootApplication
@EnableEurekaServer
public class EurekaServer7002Application {
    public static void main(String[] args) {
        SpringApplication.run(EurekaServer7002Application.class,args);
    }
}

若有收获,就点个赞吧
0 人点赞
