- Reveal
- debugserver
- USB启动debugserver
- process connect connect://localhost:12346
- c
- which class-dump
- import
- import “AppDelegate.h”
- scp -P 12345 ./FuncDemo root@localhost:~/
- ./FuncDemo -v
- otool -l WeChat | grep crypt
- ps -A | grep WeChat
- scp -P 12345 root@localhost:/var/containers/Bundle/Application/454EA887-EB3B-43B3-ABFD-B9B2CA006981/WeChat.app/WeChat ./
- otool -l WeChat | grep crypt
- class-dump -H WeChat -o ./header
- image list
- memory read —force —outfile ~/Downloads/WeChat.bin —binary —count 154255360 0x00000001008e0000+16384
- dd seek=16384 bs=1 conv=notrunc if=./WeChat.bin of=WeChat
- ps -A | grep SpringBoard
- scp -P 12345 root@127.0.0.1:/System/Library/CoreServices/SpringBoard.app/SpringBoard ./
- otool -l SpringBoard | grep crypt
- 0x10145e3a0.view.recursiveDescription() .toString ()
- 0x10a623710.hidden=YES
- import
调试一款应用,使用重签名方案,很容易被第三方察觉。在越狱环境中,我们可以在不污染App的情况下,对第三方程序进行动态调试。
Reveal
Reveal是一款UI调试神器,对iOS逆向开发非常有帮助。这里使用Version 4(8796)版本在
Mac电脑中,安装Reveal软件
在手机中,安装
Reveal插件打开
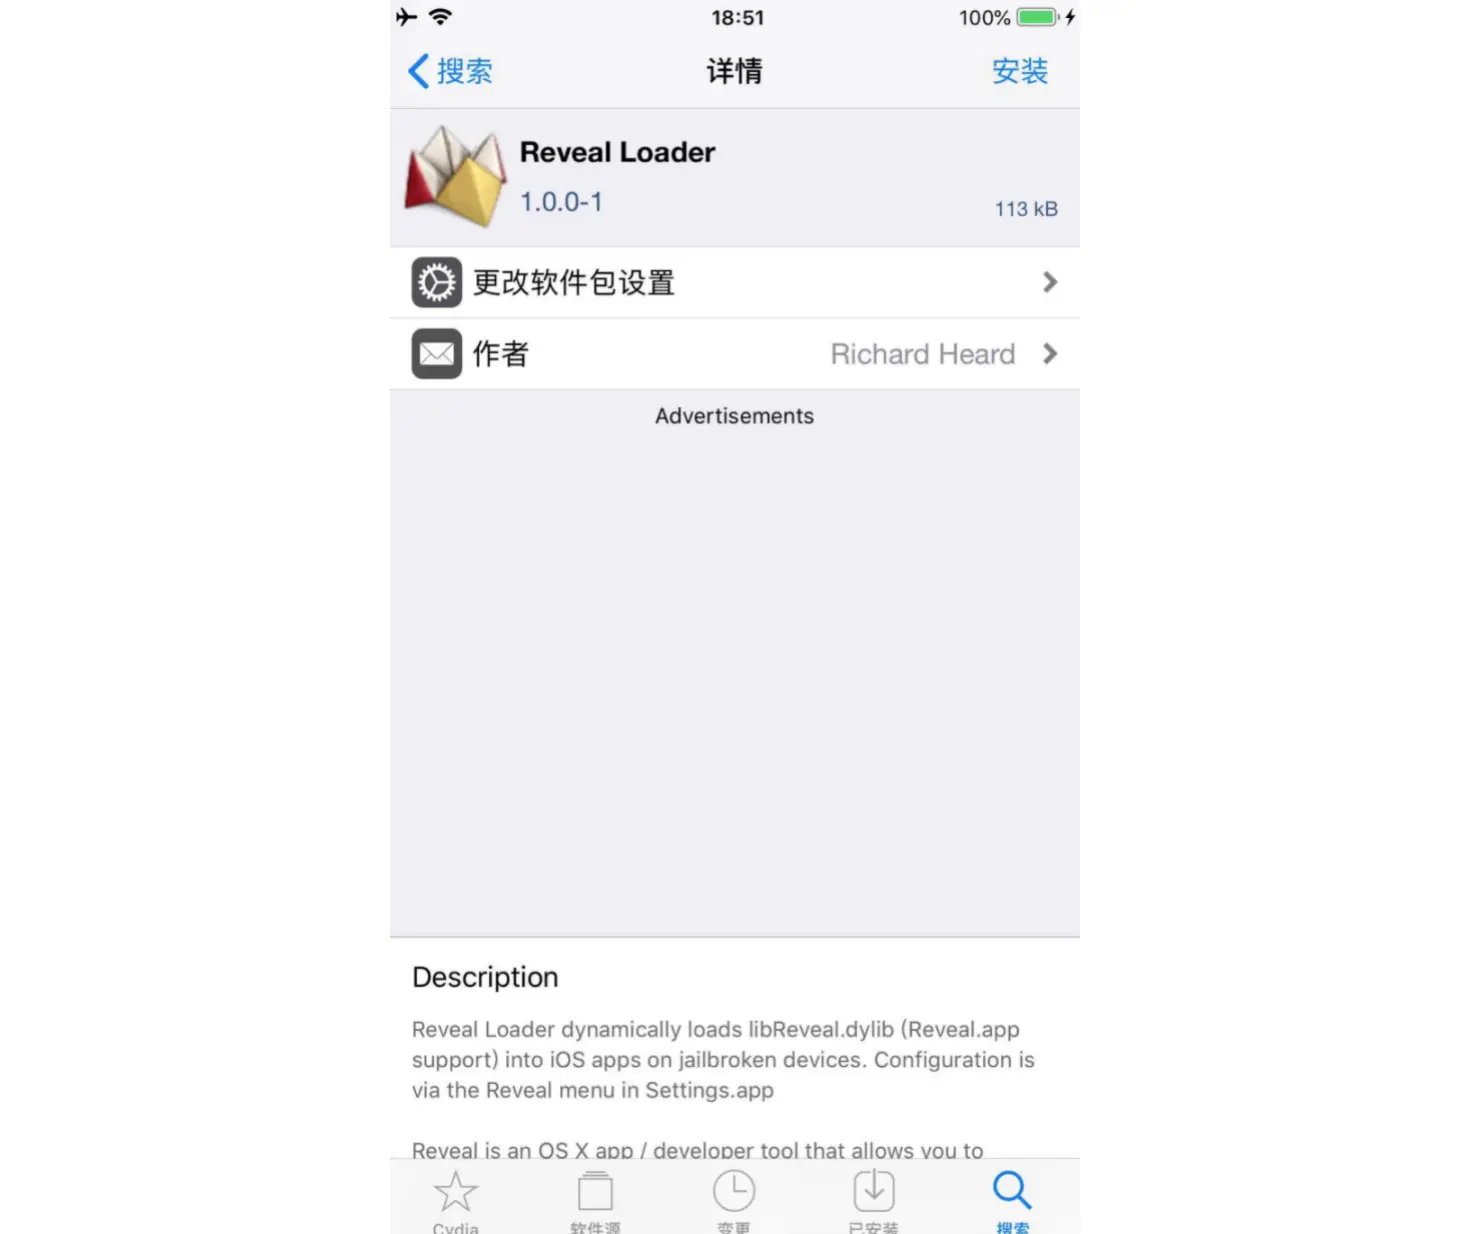
Cydia,安装Reveal Loader插件
导入
dylib文件在手机上,进入
/Library,创建RHRevealLoader目录
mkdir RHRevealLoader在
Mac电脑上,打开Reveal,找到iOS Library选项
找到
RevealServer路径
打开终端,将
RevealServer拷贝到手机的/Library/RHRevealLoader目录下,重命名为libReveal.dylib
scp -P 12345 ./RevealServer root@localhost:/Library/RHRevealLoader/libReveal.dylib-------------------------RevealServer 100% 9100KB 35.5MB/s 00:00开启允许调试的应用
打开设置,找到
Reveal选项
开启允许调试的应用,例如
使用
Reveal进行UI调式在
Mac电脑上,打开Reveal软件。手机上,重新启动在电脑的
Reveal中,出现两个WiFi连接和USB连接
点击
USB连接的UI调式,并且不会阻塞


debugserver
在越狱环境中,使用
Xcode进行lldb附加打开
Xcode,随意打开一个项目,空工程也可以选择真机,在
Debug菜单中,选择Attach to Process,选择
显示
Running,表示附加成功
使用
lldb将应用暂停
使用
Debug View进行UI调试
lldb原理
Xcode中的lldb可以调试手机中的应用,是因为手机中的debugserver开启了相关服务
所以在越狱环境中,我们只需要开启
debugserver服务,就可以利用lldb远程调试三方应用了探索
debugserver找到
Mac电脑中的debugserver,进入以下目录:
/Applications/Xcode.app/Contents/Developer/Platforms/iPhoneOS.platform/DeviceSupport可以找到不同
iOS系统版本,所对应的镜像文件
进入设备对应的系统目录,找到
dmg文件
打开
dmg文件,进入usr/bin目录可以看到debugserver。这就是Xcode安装到真机中的文件
手机设备中的
debugserver在手机系统中,已经存在一个
debugserver。当Xcode第一次连接手机,就会将对应版本的debugserver安装到手机系统中进入手机的
/Developer/usr/bin目录下
将手机中的
debugserver拷贝到Mac电脑中
scp -P 12345 root@localhost:/Developer/usr/bin/debugserver ./-------------------------debugserver 100% 9505KB 33.8MB/s 00:00将拷贝后的
debugserver生成md5值
md5 debugserver-------------------------MD5 (debugserver) = b771aad8917de2ff41feb5acfe4a9b15找到
Mac电脑中的debugserver
cd /Volumes/DeveloperDiskImage/usr/bin将
Mac电脑中的debugserver生成md5值
md5 debugserver-------------------------MD5 (debugserver) = b771aad8917de2ff41feb5acfe4a9b15两个文件的
Hash一致,说明手机中的debugserver,就是Mac电脑中指定系统目录下的debugserver


USB启动debugserver
iPhone中开启debugserver服务
Mac电脑中的lldb连接手机上的debugserver,需要配置IP和端口号在手机中,查看
debugserver命令
./debugserver-------------------------debugserver-@(#)PROGRAM:LLDB PROJECT:lldb-900.3.87for arm64.Usage:debugserver host:port [program-name program-arg1 program-arg2 ...]debugserver /path/file [program-name program-arg1 program-arg2 ...]debugserver host:port --attach=<pid>debugserver /path/file --attach=<pid>debugserver host:port --attach=<process_name>debugserver /path/file --attach=<process_name>
debugserver 主机地址:端口号 –a 应用进程- 由于主机地址是当前手机,可以使用
localhost代替- 端口号:启动
server服务,开放端口,让远程的lldb通过sever调试进程使用手机上的
debugserver,附加找到
9651 ?? 0:08.88 /var/containers/Bundle/Application/454EA887-EB3B-43B3-ABFD-B9B2CA006981/WeChat.app/WeChat使用
debugserver附加
./debugserver localhost:12346 -a 9651-------------------------debugserver-@(#)PROGRAM:LLDB PROJECT:lldb-900.3.87for arm64.Attaching to process 9651...Listening to port 12346 for a connection from localhost...Failed to get connection from a remote gdb process.Exiting.遇到错误:
Failed to get connection from a remote gdb process.解决办法:使用
ldid对debugserver配置权限进入手机中
debugserver拷贝到Mac电脑的目录导出
debugserver的权限
ldid -e debugserver > debugserver.entitlements删除三项权限
seatbelt-profilescom.apple.security.network.servercom.apple.security.network.client添加四项权限
<key>task_for_pid-allow</key><true/><key>get-task-allow</key><true/><key>platform-application</key><true/><key>run-unsigned-code</key><true/>修改后的
debugserver.entitlements文件
导入权限文件到
debugserver
ldid -Sdebugserver.entitlements debugserver手机中的
/Developer/usr/bin目录,有权限问题,不能直接拷贝将
debugserver拷贝到手机的/usr/bin目录,拷贝后可全局使用
scp -P 12345 ./debugserver root@localhost:/usr/bin/debugserver-------------------------debugserver 100% 9544KB 35.9MB/s 00:00找到
ps -A | grep WeChat-------------------------9727 ?? 0:07.27 /var/containers/Bundle/Application/454EA887-EB3B-43B3-ABFD-B9B2CA006981/WeChat.app/WeChat使用
debugserver,附加
debugserver localhost:12346 -a 9727-------------------------debugserver-@(#)PROGRAM:LLDB PROJECT:lldb-900.3.87for arm64.Attaching to process 9727...Listening to port 12346 for a connection from localhost...使用
lldb连接debugserver在
Mac电脑上,进入lldb环境
lldb连接
debugserver
process connect connect://10.165.45.19:12346遇到错误:
error: Failed to connect port解决办法:使用
USB端口映射修改
usbConnect.sh脚本
python /Users/zang/Zang/Tools/python-client/tcprelay.py -t 22:12345 12346:12346
- 增加
12346的端口映射使用
USB连接
usbConnect.sh-------------------------Forwarding local port 12345 to remote port 22Forwarding local port 12346 to remote port 12346手机上,使用
debugserver,附加
./debugserver localhost:12346 -a 9727
Mac电脑上,进入lldb环境
lldb使用
lldb连接debugserver```
process connect connect://localhost:12346
Process 9752 stopped
- thread #1, queue = ‘com.apple.main-thread’, stop reason = signal SIGSTOP frame #0: 0x00000001a3e740f4 libsystem_kernel.dylib
mach_msg_trap + 8
libsystem_kernel.dylib
mach_msg_trap: -> 0x1a3e740f4 <+8>: ret

libsystem_kernel.dylib`mach_msg_overwrite_trap: 0x1a3e740f8 <+0>: mov x16, #-0x20 0x1a3e740fc <+4>: svc #0x80 0x1a3e74100 <+8>: ret Target 0: (WeChat) stopped.
> 连接成功,输入`c`,继续运行>
c
Process 9752 resuming
> 输入`process interrupt`,暂停>
process interrupt
> 使用`command + w`,停止`WeChat`附加,但不杀掉应用#####class-dump> `class-dump`是一个命令行工具,最高版本为`class-dump 3.5 (64 bit)`,已经停止更新> 查看`class-dump`的路径>
which class-dump
/Users/zang/Zang/Tools/MonkeyDev/bin/class-dump
> - 来自`MonkeyDev`框架> 在`MonkeyDev`中,`class-dump`的使用> 搭建`MonkeyDev`项目> 在`Build Settings`中,将`MONKEYDEV_CLASS_DUMP`默认为`NO`> 将其修改为`YES`<br />> 编译项目,主工程下生成`Headers`目录,自动导出头文件<br />> 工程目录下不要包含中文,否则`Headers`目录以及头文件无法生成#####命令行工具> 搭建自定义的命令行工具> 创建`App`项目,命名`FuncDemo`> 打开`main.m`文件,写入以下代码:>
import
import “AppDelegate.h”
int main(int argc, char * argv[]) {
for (int intIndex=0; intIndex<argc; intIndex++) { printf(“参数%i:%s\n”,intIndex, argv[intIndex]); }
return 0; }
> - `argc`:参数个数> - `argv`:参数数组> 编译项目,将`MachO`文件,拷贝到手机上>
scp -P 12345 ./FuncDemo root@localhost:~/
FuncDemo 100% 150KB 5.9MB/s 00:00
> `USB`连接手机设备>
usb-6p.sh
> 使用自定义命令行工具>
./FuncDemo -v
参数0:./FuncDemo 参数1:-v
> - `参数0`为默认,显示当前`MachO`#####lldb手动砸壳> 逆向分析一个应用,第一步就是应用砸壳> 查看`MachO`文件中的`crypt`信息>
otool -l WeChat | grep crypt
cryptoff 16384
cryptsize 178356224 cryptid 0
> - `cryptid`:为`0`表示应用已砸壳> - `cryptoff`:表示开始加密的偏移位置> - `cryptsize`:表示加密长度> 将应用砸壳后,才能使用`class-dump`导出头文件> 查看加壳的`MachO`文件> `USB`连接手机设备,找到`WeChat`的沙盒路径>
ps -A | grep WeChat
9806 ?? 0:03.88 /var/containers/Bundle/Application/454EA887-EB3B-43B3-ABFD-B9B2CA006981/WeChat.app/WeChat
> 将`WeChat`拷贝到`Mac`电脑>
scp -P 12345 root@localhost:/var/containers/Bundle/Application/454EA887-EB3B-43B3-ABFD-B9B2CA006981/WeChat.app/WeChat ./
WeChat 100% 184MB 39.0MB/s 00:04
> 查看`MachO`文件中的`crypt`信息>
otool -l WeChat | grep crypt
cryptoff 16384
cryptsize 154255360 cryptid 1
> 尝试不砸壳,只修改`cryptid`,能否使用`class-dump`导出头文件> 使用`MachOView`打开`WeChat`> 在`Load Commands`中,找到`LC_ENCRYPTION_INFO_64`,修改`Crypt ID`为`0`<br />> 使用`class-dump`导出头文件>
class-dump -H WeChat -o ./header
2021-05-31 17:59:37.344 class-dump[70836:43071318] Warning: Parsing method types failed, ¨ …
> 导出失败。不砸壳,仅修改`cryptid`,无法导出头文件。所以砸壳的关键,并不是`cryptid`,而是将加密的代码段进行解密> 使用`lldb`手动砸壳> 砸壳的逻辑,从内存中,读取`cryptoff`位置到`cryptsize`长度的数据,然后将其覆盖原始`MachO`文件> 使用`Xcode`打开工程,选择设备,附加`WeChat`进程> 获取`MachO`的首地址>
image list
[ 0] 2B07ABCB-9885-3FF1-943C-B88A763C03C5 0x00000001008e0000 /var/containers/Bundle/Application/454EA887-EB3B-43B3-ABFD-B9B2CA006981/WeChat.app/WeChat (0x00000001008e0000) …
> - `MachO`首地址为`0x1008e0000`> 从内存中,将加密部分的代码段,导出到`WeChat.bin`文件。因为已读取到内存中,相当于已解密>
memory read —force —outfile ~/Downloads/WeChat.bin —binary —count 154255360 0x00000001008e0000+16384
154255360 bytes written to ‘/Users/zang/Downloads/WeChat.bin’
> - 代码段加密的开始位置:`MachO首地址 + 加密偏移地址`> 将`WeChat.bin`文件,写入到`MachO`文件中相同位置,相当于用解密后的数据,覆盖原始的加密数据>
dd seek=16384 bs=1 conv=notrunc if=./WeChat.bin of=WeChat
154255360+0 records in 154255360+0 records out 154255360 bytes transferred in 768.025931 secs (200847 bytes/sec)
> - `seek`:从输出文件开头跳过`x`个块后再开始复制> - `bs`:同时设置读入/输出的块大小为`x`个字节> - `conv=notrunc`:不截断输出文件> - `if`:输入文件名,默认为标准输入。即指定源文件> - `of`:输出文件名,默认为标准输出。即指定目的文件> 文件写入成功,将`MachO`文件的`cryptid`修改为`0`,成功导出头文件<br />#####Tweak修改系统行为> 搭建`Tweak`插件,屏蔽应用的红点气泡> 屏蔽应用的红点气泡,需要附加的应用是系统的桌面程序`SpringBoard`> `USB`连接手机,找到`SpringBoard`进程>
ps -A | grep SpringBoard
10262 ?? 0:10.04 /System/Library/CoreServices/SpringBoard.app/SpringBoard
> 将`SpringBoard`拷贝到`Mac`电脑>
scp -P 12345 root@127.0.0.1:/System/Library/CoreServices/SpringBoard.app/SpringBoard ./
SpringBoard 100% 7374KB 38.9MB/s 00:00
> 查看`MachO`文件中的`crypt`信息>
otool -l SpringBoard | grep crypt
> - `MachO`中找不到加密信息,说明`SpringBoard`原本就没有加壳> 使用`class-dump`导出头文件>
class-dump -H SpringBoard -o ./header
> 成功导出`SpringBoard`应用的头文件<br />> 动态调试> 我们可以使用的动态调试工具有三种:> - `Reveal`> - `Cycript`> - `lldb`> 使用`Reveal`无法动态调试,因为在手机设置页的`Reveal`选项中,并没有`SpringBoard`应用> 使用`Cycript`,可以成功附加`SpringBoard`进程,但定位红点`UI`,并不直观> 最简单的方式,使用`lldb`附加`SpringBoard`进程,通过`Debug View`找到红点对象<br />> - 红点对象:`SBIconParallaxBadgeView`> 在`cy`环境中验证> 导入自定义`cy`脚本>
@import com.zang.cur_vc currentVC()
0x10145e3a0.view.recursiveDescription() .toString ()
> 在结果中搜索`SBIconParallaxBadgeView`<br />> `3`个红点,刚好对应`3`个控件<br />> 选择其中一个对象,将其设置为隐藏>
0x10a623710.hidden=YES
> `App Store`上的红点被成功隐藏<br />> 在导出的头文件中,找到`SBIconParallaxBadgeView.h`文件<br />> - 对`SBIconParallaxBadgeView`进行`HOOK`,破坏它的`init`方法,即可隐藏红点气泡> 搭建`Tweak`插件> 使用`nic.pl`→`15`,创建`Tweak`插件> 在`Makefile`文件中,增加`IP`和端口> 为了一劳永逸,将这两项配置在环境变量中>
vim ~/.zshrc export THEOS_DEVICE_IP=localhost export THEOS_DEVICE_PORT=12345
> 打开`Tweak.x`文件,写入以下代码:>
%hook SBIconParallaxBadgeView
- (id)init { return nil; }
%end
> 编译、打包、安装插件>
cd reddemo make make package;make install
> 成功安装`Tweak`插件,红点气泡全部隐藏<br />#####MonkeyDev搭建Tweak插件> 使用`MonkeyDev`创建`Tweak`插件<br />> 项目命名:`BadgeTweakDemo`<br />> - `BadgeTweakDemo.xm`:代码> - `control`:配置信息,版本号、作者名称等> - `BadgeTweakDemo.plist`:附加应用的包名称> 在`Build Settings`中,搜索`Monkey`,找到`Tweak`的设置<br />> - `MonkeyDevBuildPackageOnAnyBuild`:每次编译时打包> - `MonkeyDevClearUiCacheOnInstall`:安装时清除缓存> - `MonkeyDevCopyOnBuild`:编译时拷贝包到目录> - `MonkeyDevDeviceIP`:设备`IP`> - `MonkeyDevDevicePassword`:设备密码> - `MonkeyDevDevicePort`:设备端口> - `MonkeyDevInstallOnAnyBuild`:每次编译时安装> - `MonkeyDevkillProcessOnInstall`:安装成功后杀掉的进程> 设置`IP`和端口,同样将这两项配置在环境变量中>
vim ~/.zshrc export MonkeyDevDeviceIP=localhost export MonkeyDevDevicePort=12345
> 打开`BadgeTweakDemo.xm`文件,写入以下代码:>
import
%hook SBIconParallaxBadgeView
- (id)init { return nil; }
%end ```
在
Build Settings中,搜索signing,设置签名
Code Signing Identity:设置为iOS Developer编译项目时,如果遇到
CydiaSubstrate.tbd的built for iOS Simulator和for architecture arm64问题,按目录找到CydiaSubstrate.tbd文件,删除里面的i386和x86_64
编译项目,成功安装
Tweak插件,红点气泡全部隐藏


总结
Reveal
iOS安装插件Mac安装App- 将动态库导入
iPhone
USB启动debugserver
终端附加
◦ 手机,使用debugserver 主机名称:端口 -a 进程id
◦Mac电脑,启动lldb,使用process connect connect://主机名称:端口
◦USB端口映射
Xcode附加
◦ 打开工程
◦ 选择设备
◦ 附加进程
debugserver权限问题
导出权限文件,查看文件
◦ldid -e debugserver > debugserver.entitlements删除权限
◦seatbelt-profiles
◦com.apple.security.network.server
◦com.apple.security.network.client添加权限
◦task_for_pid-allow设置为YES
◦get-task-allow设置为YES
◦platform-application设置为YES
◦run-unsigned-code设置为YES设置权限
◦ldid -Sdebugserver.entitlements debugserver
class-dump
class-dump -H MachO文件路径 -o 头文件路径MonkeyDev中,可以快速使用class-dump命令行工具
argc:参数个数argv:参数数组
lldb手动砸壳
memory read命令
◦ 通过--outfile参数,导出文件。lldb的环境在Mac端
◦ 通过--count参数,指定导出的大小
dd命令
◦ 写入源文件
◦seek指定偏移,也就是跳过多少开始写入
◦conv保留没有替换的部分
Tweak修改系统行为
Reveal无法使用,在手机设置页的Reveal选项中,没有SpringBoard应用Cycript可以使用,但定位UI不直观lldb可以使用,最简单的方式
MonkeyDev搭建Tweak插件
- 在
Build Settings中,配置参数- 设置签名
- 编译项目并安装插件

若有收获,就点个赞吧
0 人点赞
