步骤
1)在gmall-flink项目下新建模块gmall-publisher
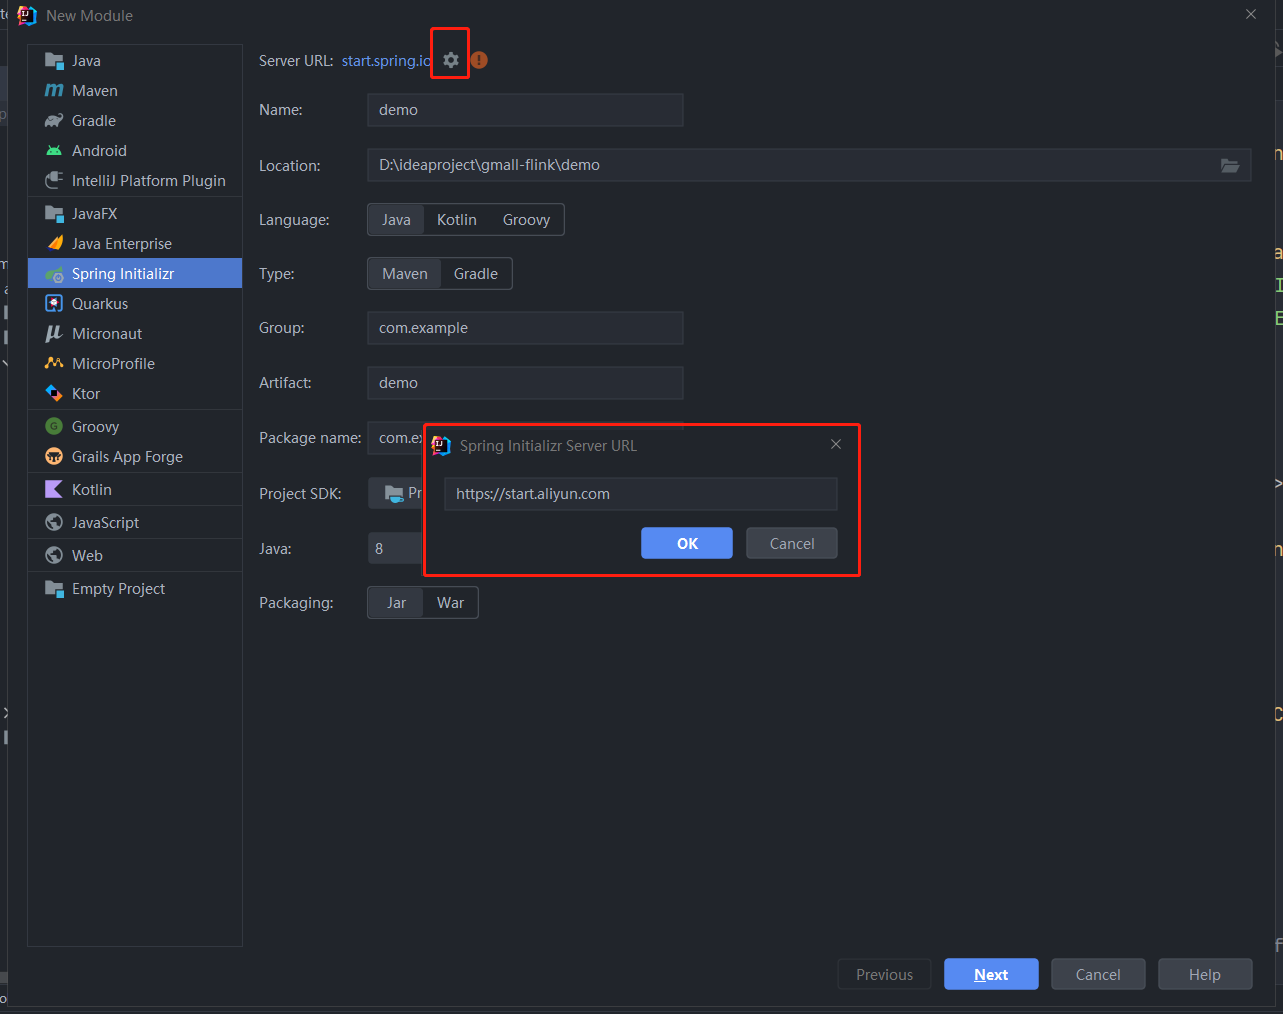
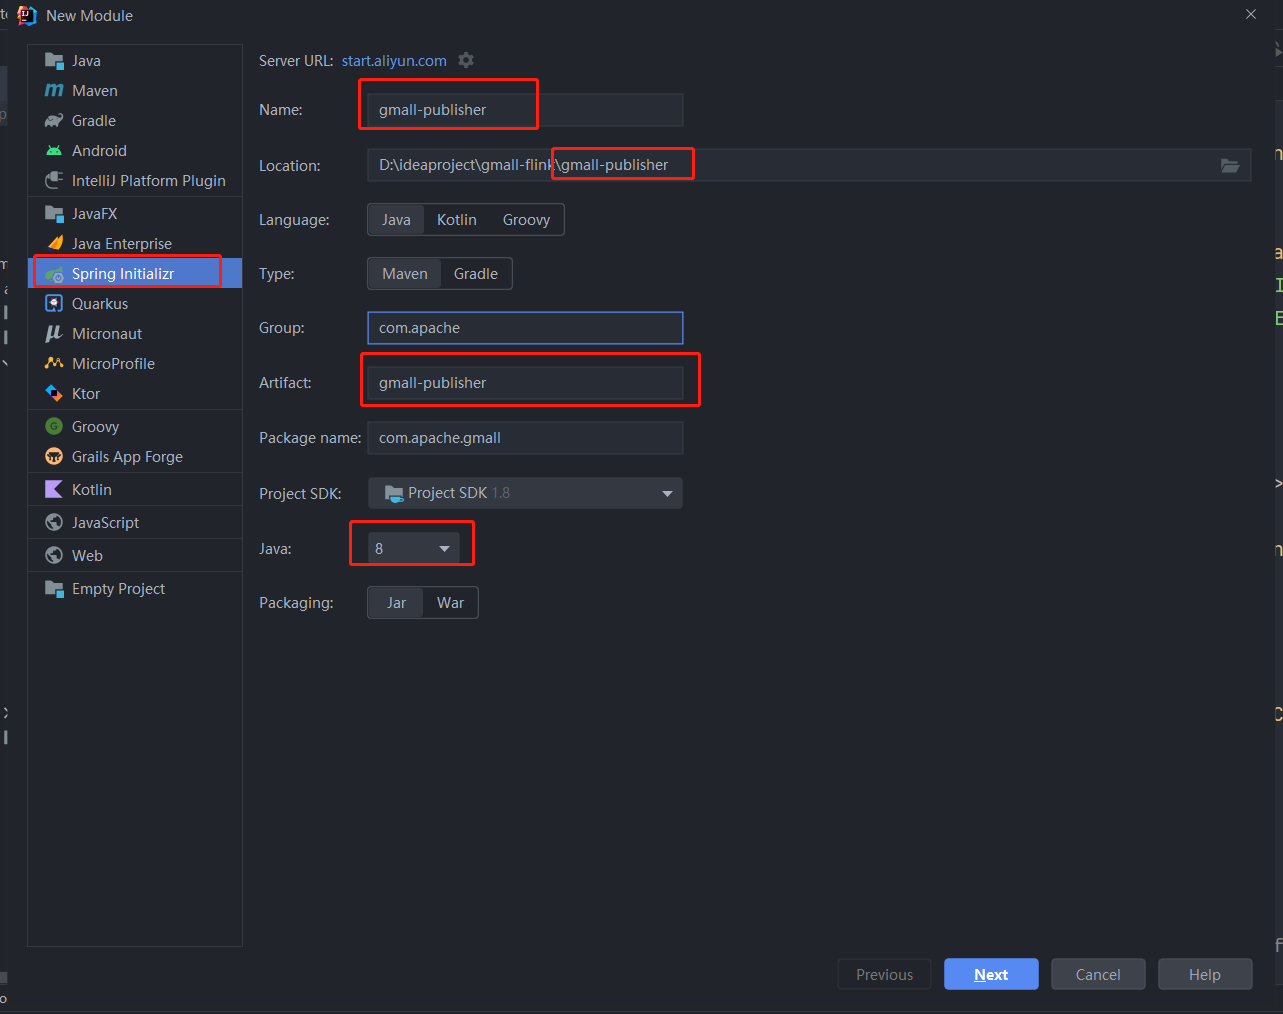
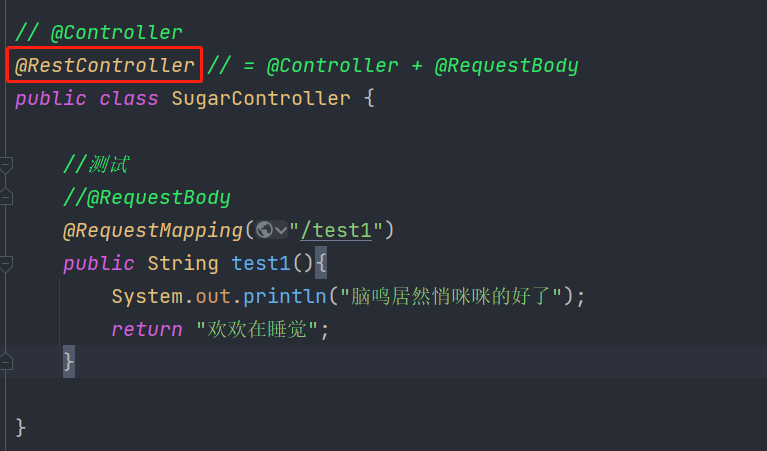
什么都不选,直接确定。

红圈的删掉,添加如下依赖
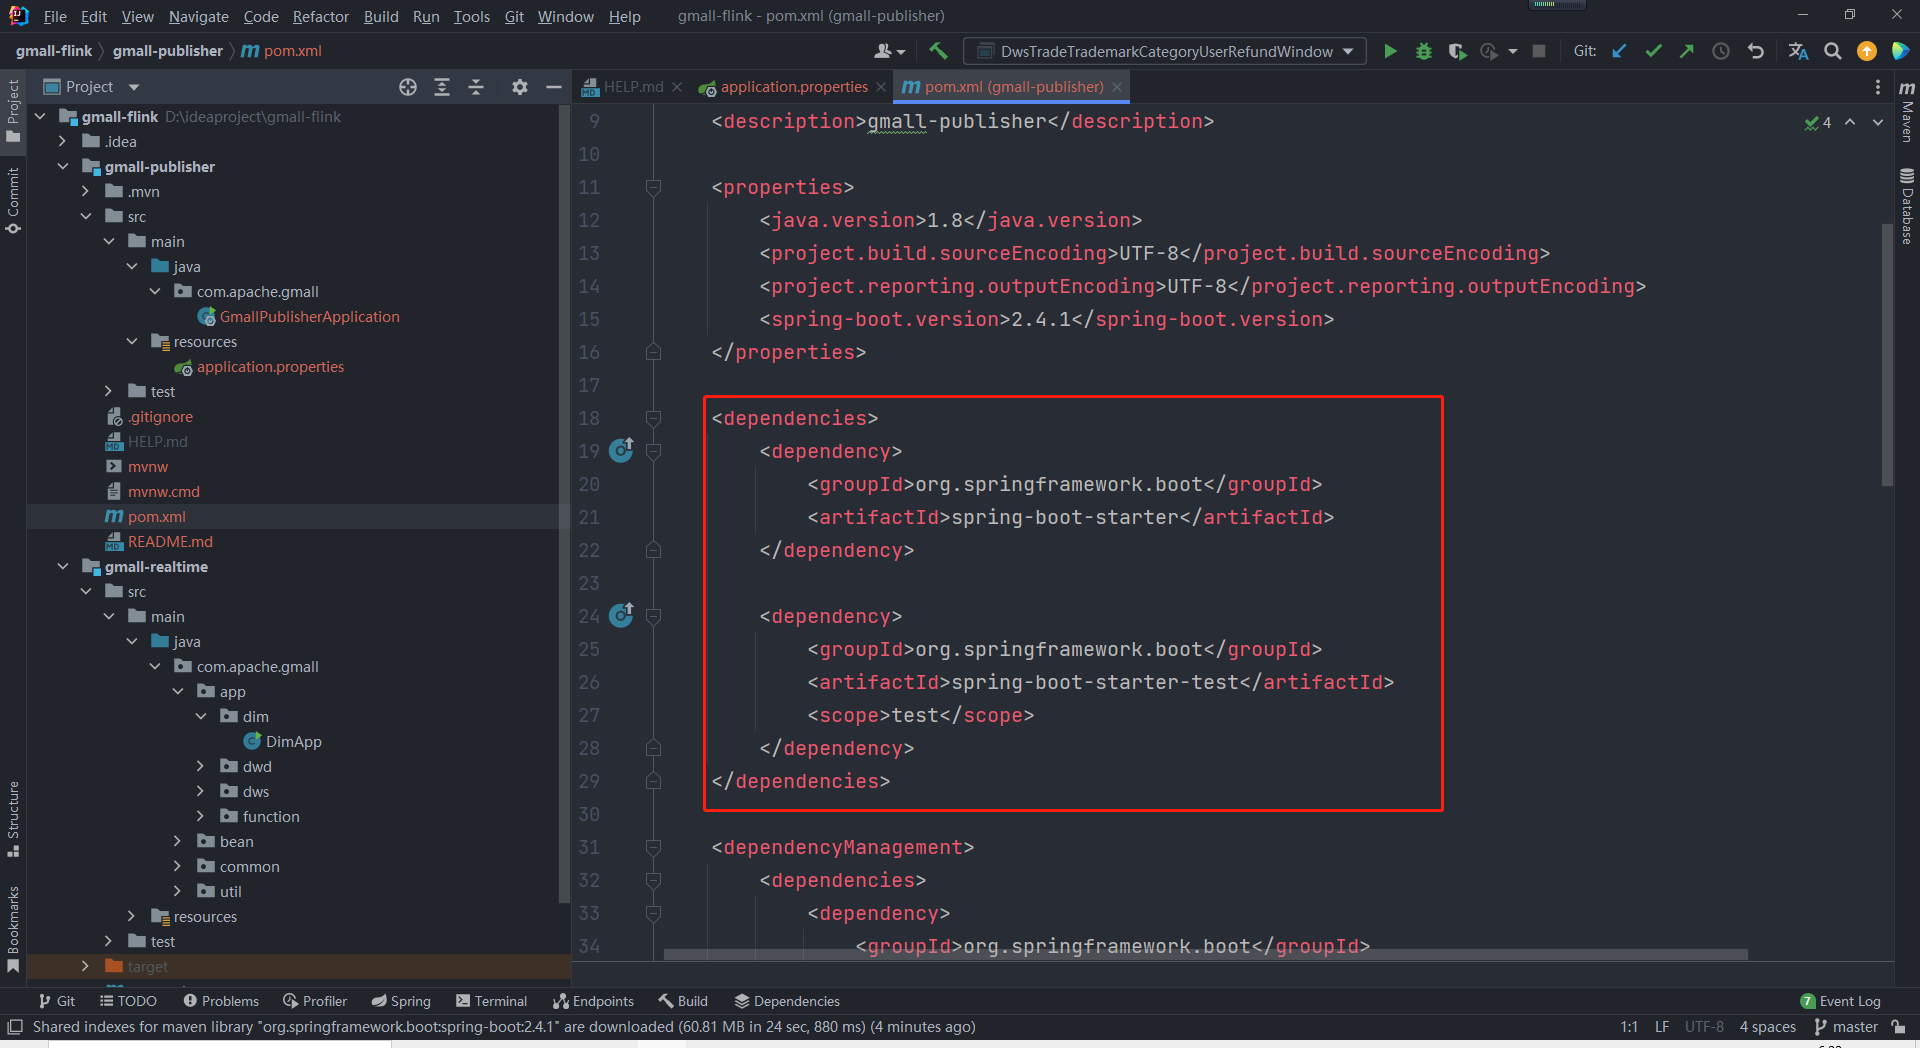
2)添加依赖
<dependencies><dependency><groupId>org.springframework.boot</groupId><artifactId>spring-boot-starter-jdbc</artifactId></dependency><dependency><groupId>org.springframework.boot</groupId><artifactId>spring-boot-starter-web</artifactId></dependency><dependency><groupId>org.mybatis.spring.boot</groupId><artifactId>mybatis-spring-boot-starter</artifactId><version>2.1.3</version></dependency><dependency><groupId>org.projectlombok</groupId><artifactId>lombok</artifactId><optional>true</optional></dependency><dependency><groupId>org.springframework.boot</groupId><artifactId>spring-boot-starter-test</artifactId><scope>test</scope><exclusions><exclusion><groupId>org.junit.vintage</groupId><artifactId>junit-vintage-engine</artifactId></exclusion></exclusions></dependency><dependency><groupId>org.apache.commons</groupId><artifactId>commons-lang3</artifactId><version>3.11</version></dependency><dependency><groupId>ru.yandex.clickhouse</groupId><artifactId>clickhouse-jdbc</artifactId><version>0.1.55</version></dependency></dependencies>
3)在 application.properties 内添加如下内容
SpringBoot 内嵌了Tomact,默认端口为 8080。集群Zookeeper 版本为3.5.7,该版本提供的AdminServer 服务端口号也是8080,为了避免端口冲突,此处将SpringBoot 内嵌的Tomcat 容器端口号修改为8070。
接口对接的数据库为ClickHouse,需要指定驱动及 url。
server.port=8070#配置ClickHouse驱动以及URLspring.datasource.driver-class-name=ru.yandex.clickhouse.ClickHouseDriverspring.datasource.url=jdbc:clickhouse://hadoop102:8123/gmall_rebuild
测试
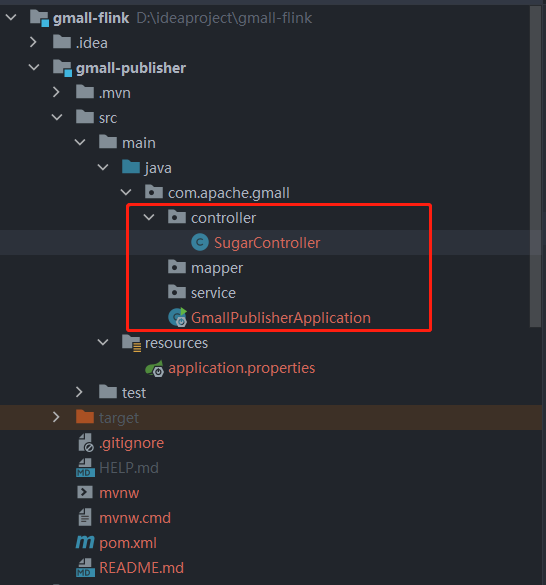
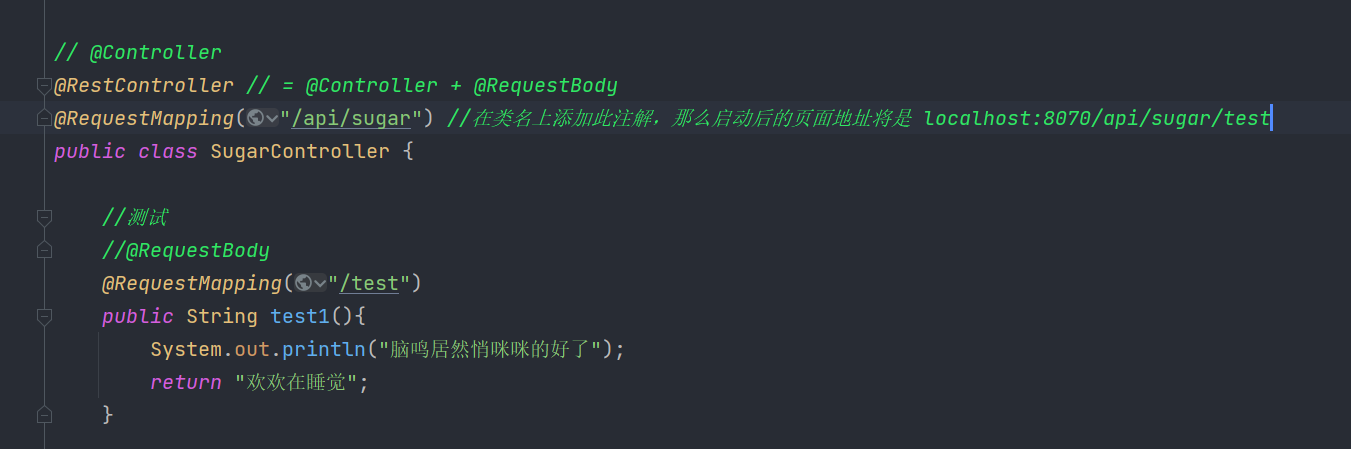
构建好项目模块之后,新建SugarController 进行测试
测试代码如下
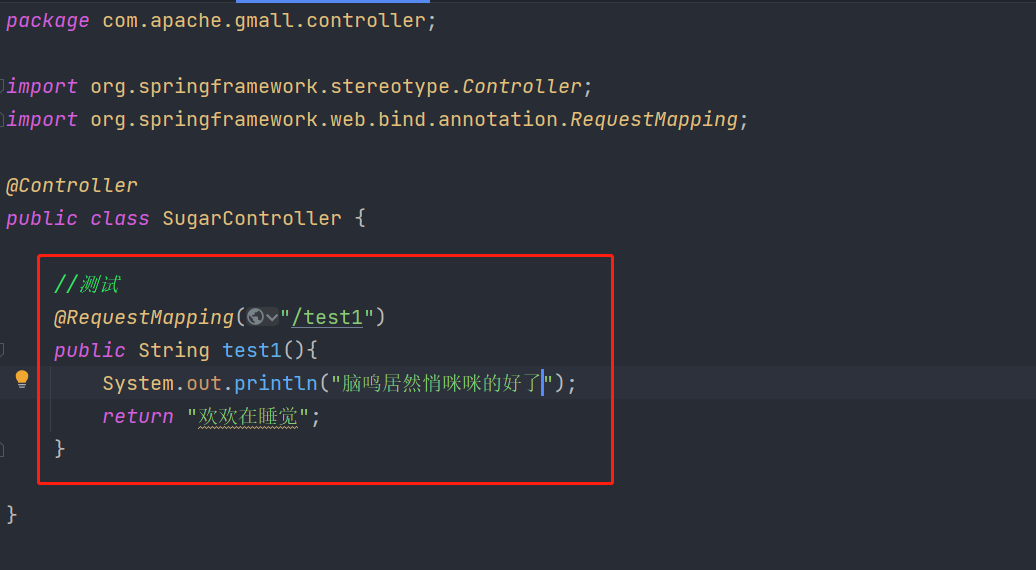
启动,找不到对象
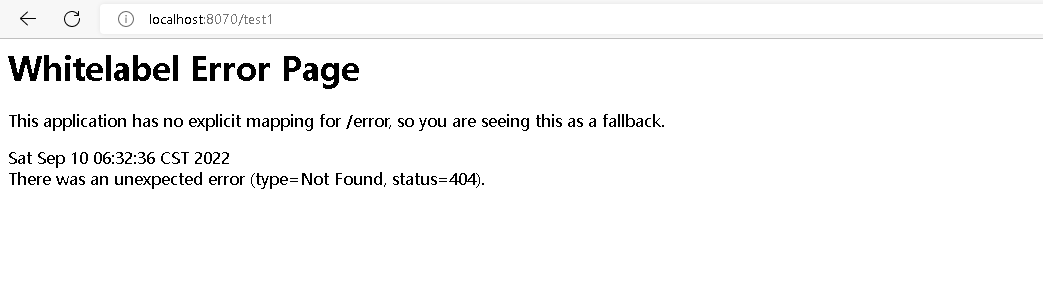
修改代码
再次启动

再次测试一次
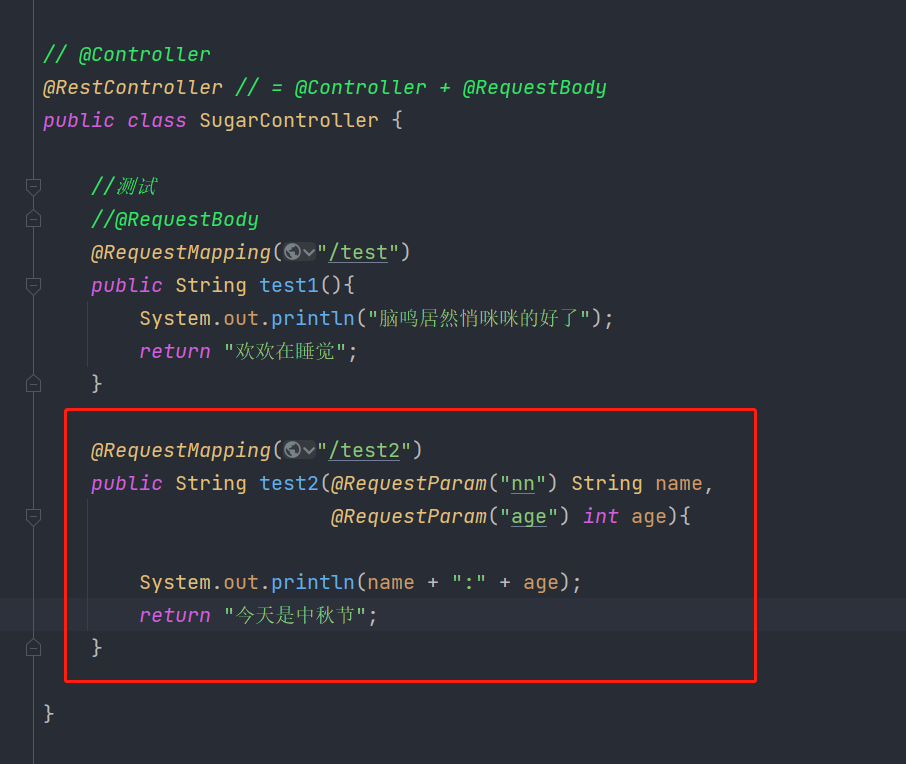
再次启动

增加默认值
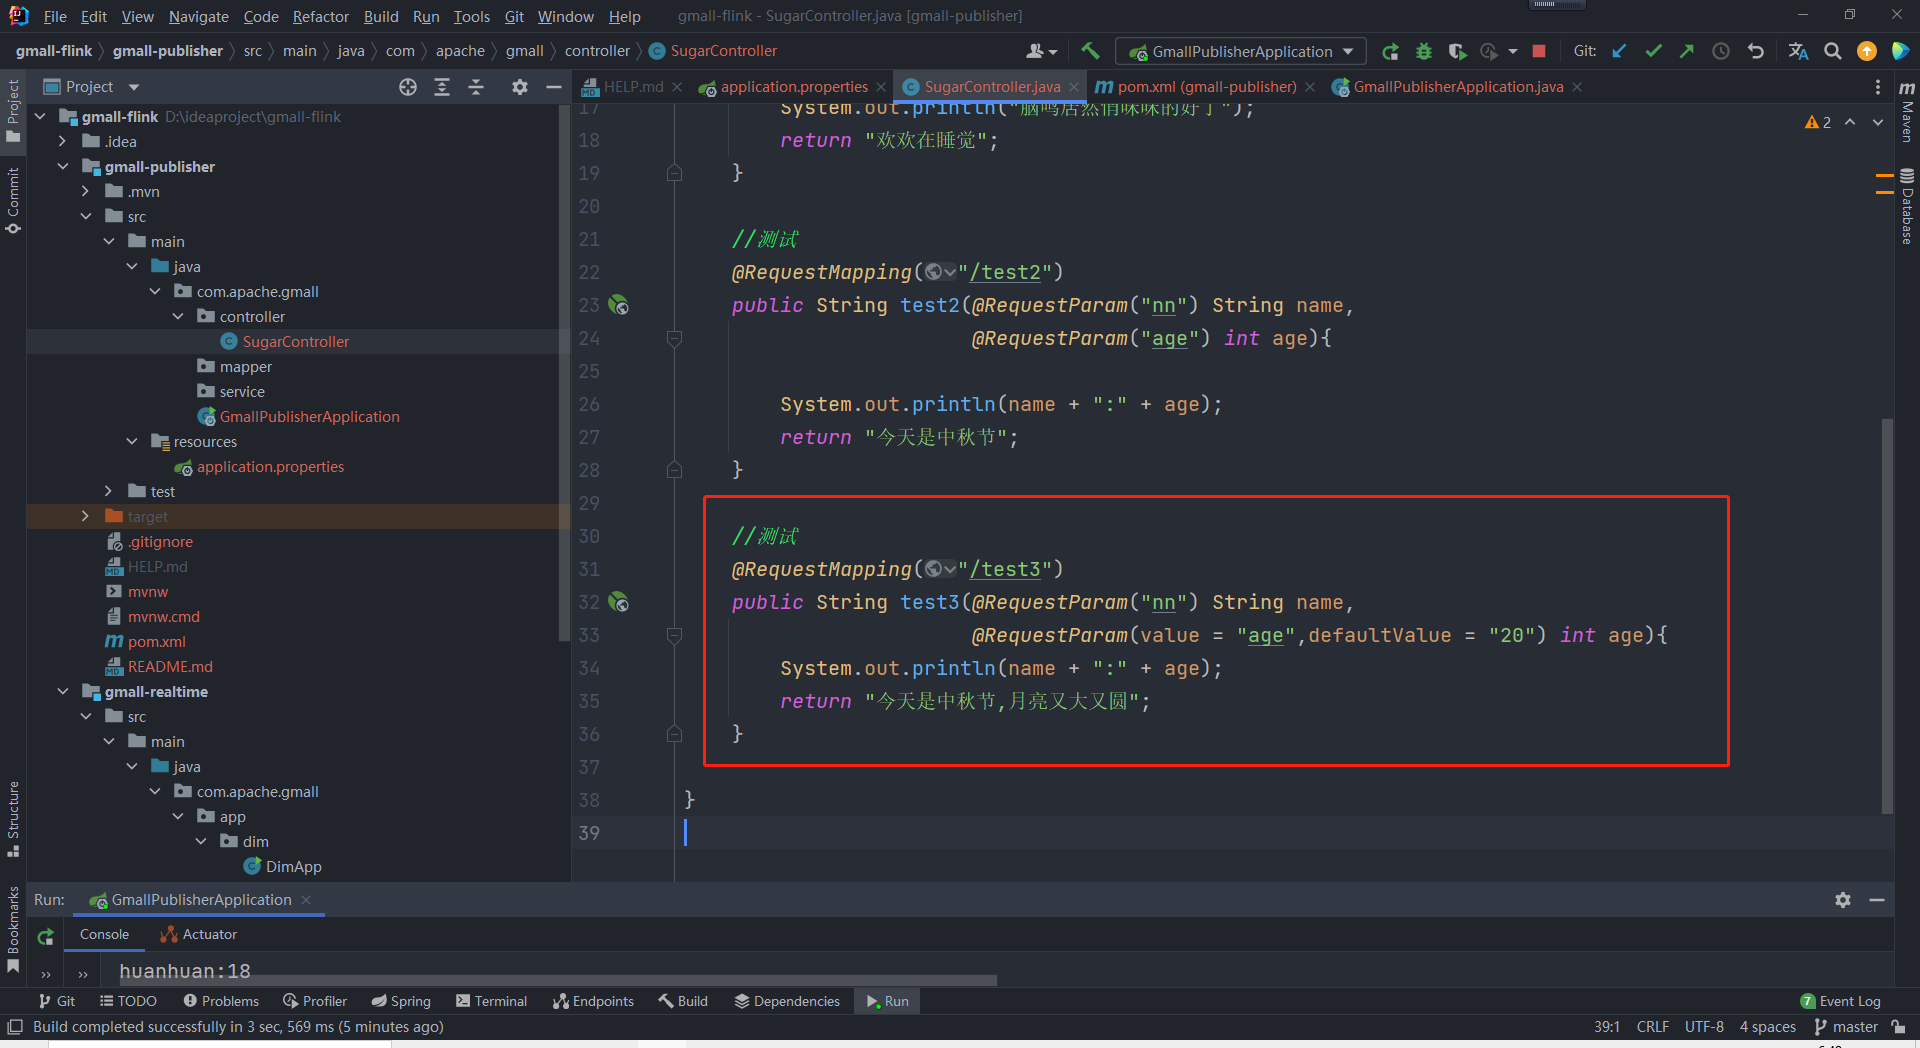
再次启动

增加一个注解
启动

SpringBoot 项目分层
1)表示层(也叫控制层)
主要任务是拦截并处理请求。表示层代码通常在controller 包下。
2**)业务层**
业务层代码通常在service 包下。
service 下会有个名为impl 的子包,里面放置 service 层接口的实现类。
实现类类名规范:接口名后面加Impl
3**)持久层**
和数据库交互,最常用的框架是Mybatis,所以也叫 Mapper 层。
持久层代码通常在mapper 包下。
内网穿透
内网穿透简介
内网即局域网。假设局域网中有一台电脑部署了web服务,现在希望所有人都能访问它。很显然,这台电脑只有一个局域网ip,没有公网ip。同一局域网内的设备可以通过局域网ip访问此电脑,而局域网之外的设备无法访问。
内网穿透可以将 ip + 端口唯一标识的本机服务映射为公网域名,局域网之外的设备可以通过该域名访问本机服务。
实现步骤
本项目将使用钉钉提供的内网穿透工具。
Github 地址为https://github.com/open-dingtalk/dingtalk-pierced-client
1)原理
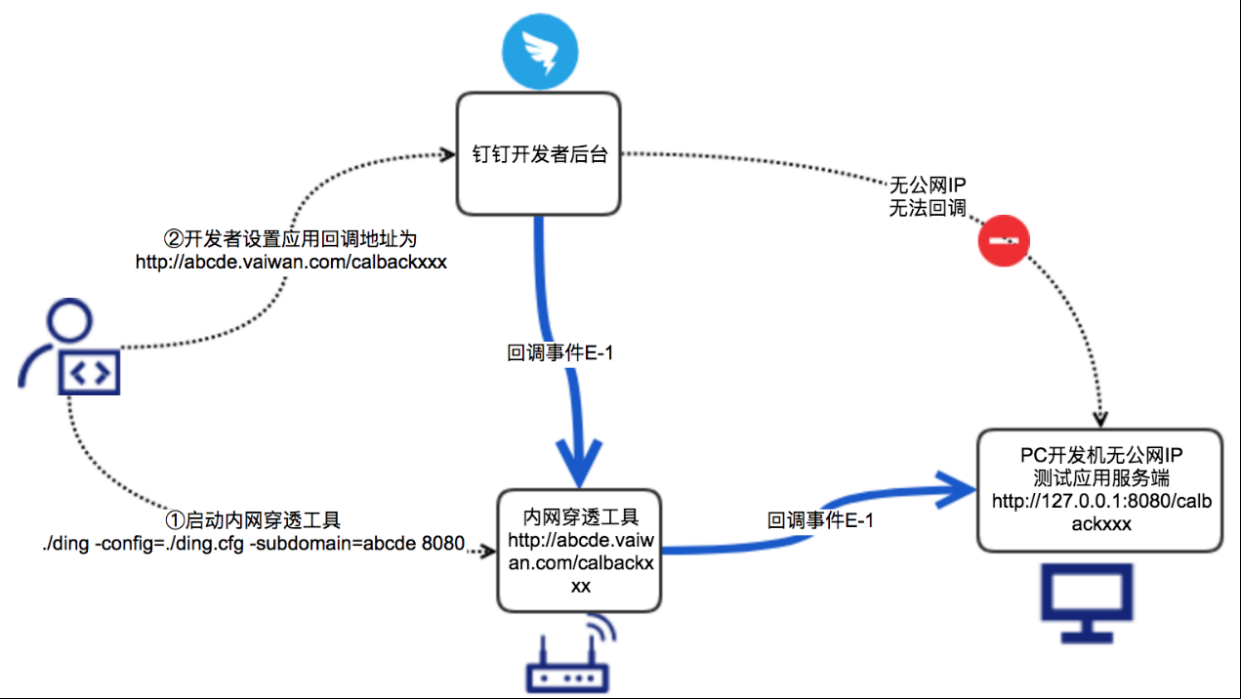
2)步骤
(1)下载工具确保本机已安装git。① 在任意目录右键空白处,单击Git Bash Here。
② 在弹出的窗口中执行以下命令
git clone https://github.com/open-dingtalk/dingtalk-pierced-client.git③ 查看目录,多了dingtalk-pierced-client 文件。
④ 进入 windows_64 目录
⑤ 在地址栏输入cmd,回车
⑥ 在弹出的cmd 窗口中执行以下命令
ding —config ding.cfg —subdomain dinghhh 8070Ø —config 指定内网穿透的配置文件,固定为钉钉提供的./ding.cfg,无需修改。
Ø —subdomain 指定需要使用的域名前缀,该前缀将会匹配到“vaiwan.cn”前面,此处 subdomain 是 dinghhh,启动工具后会将dinghhh.vaiwan.cn 映射到本地。
Ø 8070 为需要代理的本地服务http-server 端口。
执行完毕后,局域网之外的设备可以通过http://dinghhh.vaiwan.cn 访问本地8070 端口的web 服务。
⑦ 启动客户端后http://dinghhh.vaiwan.cn/xxx 的请求会映射到http://localhost:8070/xxx。
备用内网穿透
https://blog.csdn.net/weixin_45417821/article/details/126794034?

若有收获,就点个赞吧
0 人点赞
