RabbitMQ整合SpringBoot
SpringBoot想整合RabbitMQ那肯定先导入依赖的啦!SpringBoot内部就有RabbitMQ的AMQP协议
<dependency><groupId>org.springframework.boot</groupId><artifactId>spring-boot-starter-amqp</artifactId></dependency>
或者在新建SpirngBoot项目时,勾选上Spring for RabbitMQ的依赖
然后添加配置,我们这里用yml配置,properties同理
spring:application:name: SpringBoot-RabbitMQrabbitmq:host: xx.xx.xx.xxx #此处为你的rabbitmq的ip地址port: 5672username: adminpassword: 123456virtual-host: /ems
SpringBoot提供了一个模板对象,RabbitTemplate用来简化操作,如同RedisTemplate,使用的话直接在项目中注入即可,接下来我们将之前的五种模型都模拟一下:
1、helloworld模型
测试代码如下:
模拟生产者,但是当没有消费者时,该队列无法创建出来,因为没有意义
package com.zym.springboot_rabbitmq;import org.junit.Test;import org.junit.runner.RunWith;import org.springframework.amqp.rabbit.core.RabbitTemplate;import org.springframework.beans.factory.annotation.Autowired;import org.springframework.boot.test.context.SpringBootTest;import org.springframework.test.context.junit4.SpringRunner;@SpringBootTest(classes = SpringbootRabbitmqApplication.class)@RunWith(SpringRunner.class)public class TestRabbitMQ {//注入@Autowiredprivate RabbitTemplate rabbitTemplate;//helloworld模型@Testpublic void test(){//参数1:队列名称 参数2:消息内容rabbitTemplate.convertAndSend("hello","hello,world");}}
消费者:
package com.zym.springboot_rabbitmq;import org.springframework.amqp.rabbit.annotation.Queue;import org.springframework.amqp.rabbit.annotation.RabbitHandler;import org.springframework.amqp.rabbit.annotation.RabbitListener;import org.springframework.stereotype.Component;@Component@RabbitListener(queuesToDeclare = @Queue("hello"))public class Cutomer {@RabbitHandler //代表取出消息的回调方法public void receivel(String message){System.out.println("消息为:"+message);}}
执行生产者,产生一条消息,观察后台打印语句: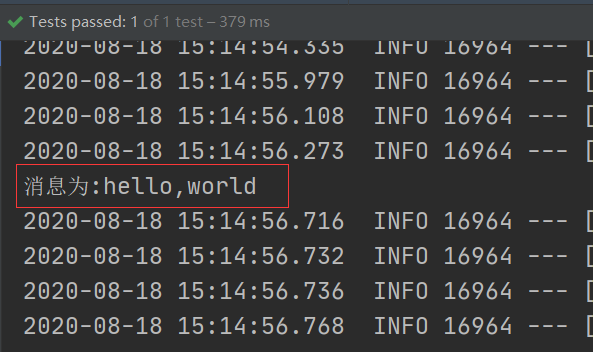
没毛病,已经拿到了,再看管理页面: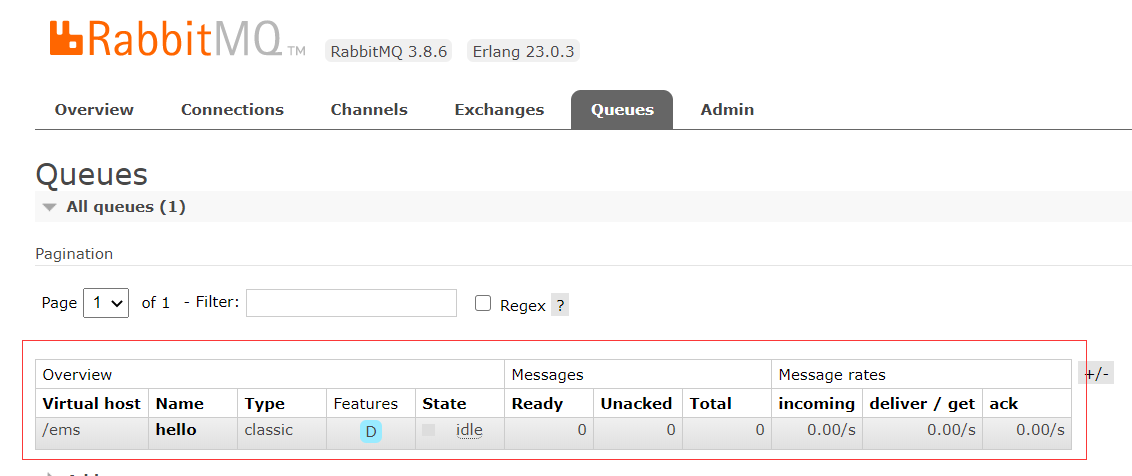
也存在对应的队列,并且默认该队列持久化。当然如果想让他不持久呢?自动删除呢?
当然可以做到啦,我们要修改声明队列时的注解:
@RabbitListener(queuesToDeclare = @Queue(value = "hello",declare = "true",autoDelete = "true"))
先将之前创建好的队列删除,我们再执行一次,观察管理页面: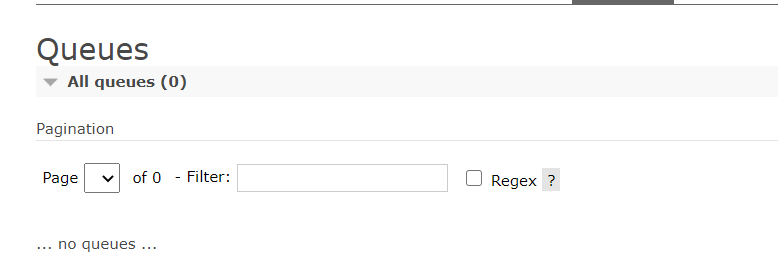
再次执行过后发现队列为空,说明我们的自动删除生效了。
2、workquene(工作队列)
生产者:
@Testpublic void testWorkQuene(){for (int i = 0 ; i < 10 ; i++){rabbitTemplate.convertAndSend("work","第"+i+"条hello,workquene");}}
消费者(整合springboot后,我们不需要用两个类来代表两个消费者,可以利用@RabbitListener这个注解来进行模拟):
package com.zym.springboot_rabbitmq.work;import org.springframework.amqp.rabbit.annotation.Queue;import org.springframework.amqp.rabbit.annotation.RabbitListener;import org.springframework.stereotype.Component;@Componentpublic class WorkQueneCutomer {@RabbitListener(queuesToDeclare = @Queue("work"))public void Cutomer1(String message){System.out.println("消费者1消费了:"+message+"这条消息");}@RabbitListener(queuesToDeclare = @Queue("work"))public void Cutomer2(String message){System.out.println("消费者2消费了:"+message+"这条消息");}}
执行一次生产者,查看后台输出与管理页面:
管理页面:
后台输出页面: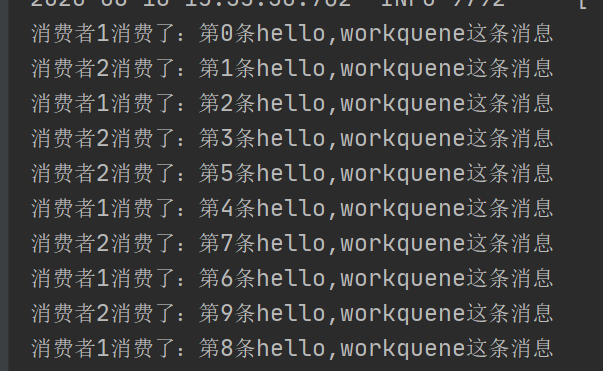
如果要实现能者多劳的模式,需要额外的配置:
# 在我们的配置文件中,添加如下配置:listener:simple:prefetch: 1 #每个消费者每次只消费一个
添加完成后我们让消费者1每执行一个睡2s,Thread.sleep(2000);
查看后台:
可以看到,实现了“能者多劳”!
3、fanout(广播模式)
生产者:
@Testpublic void testFanOut(){rabbitTemplate.convertAndSend("logs","","hello,fanout");}
没有消费者的情况下,执行多少次也不会创建该交换机
消费者:
package com.zym.springboot_rabbitmq.fanout;import org.springframework.amqp.rabbit.annotation.Exchange;import org.springframework.amqp.rabbit.annotation.Queue;import org.springframework.amqp.rabbit.annotation.QueueBinding;import org.springframework.amqp.rabbit.annotation.RabbitListener;import org.springframework.stereotype.Component;@Componentpublic class FanOutCutomer {@RabbitListener(bindings = {@QueueBinding(value = @Queue, //不写队列名称表示为临时队列exchange = @Exchange(value = "logs",type = "fanout") //绑定的交换机与交换机类型)})public void Cutomer1(String message){System.out.println("消费者1消费了:"+message+"这条消息");}@RabbitListener(bindings = {@QueueBinding(value = @Queue, //不写队列名称表示为临时队列exchange = @Exchange(value = "logs",type = "fanout") //绑定的交换机与交换机类型)})public void Cutomer2(String message){System.out.println("消费者2消费了:"+message+"这条消息");}}
运行生产者,查看管理页面与后台输出:
管理页面:
后台页面: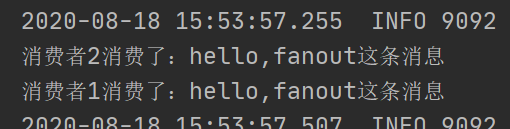
4、Routing的Direct模型
生产者:
@Testpublic void testRouteDirect(){rabbitTemplate.convertAndSend("logs_direct","info","hello,info");rabbitTemplate.convertAndSend("logs_direct","warn","hello,warn");rabbitTemplate.convertAndSend("logs_direct","error","hello,error");}
消费者:
package com.zym.springboot_rabbitmq.direct;import org.springframework.amqp.rabbit.annotation.Exchange;import org.springframework.amqp.rabbit.annotation.Queue;import org.springframework.amqp.rabbit.annotation.QueueBinding;import org.springframework.amqp.rabbit.annotation.RabbitListener;import org.springframework.stereotype.Component;@Componentpublic class DirectCutomer {@RabbitListener(bindings = {@QueueBinding(value = @Queue,exchange = @Exchange(value = "logs_direct",type = "direct"),key = {"info","warn"})})public void DirectCutomer1(String message){System.out.println("消费者1消费了"+message+"这条消息");}@RabbitListener(bindings = {@QueueBinding(value = @Queue,exchange = @Exchange(value = "logs_direct",type = "direct"),key = {"error"})})public void DirectCutomer2(String message){System.out.println("消费者2消费了"+message+"这条消息");}}
我们可以看到,消费者1可以收到RoutingKey为info、warn的消息,消费者2只能收到error的消息
运行生产者,查看管理页面与后台输出:
管理页面: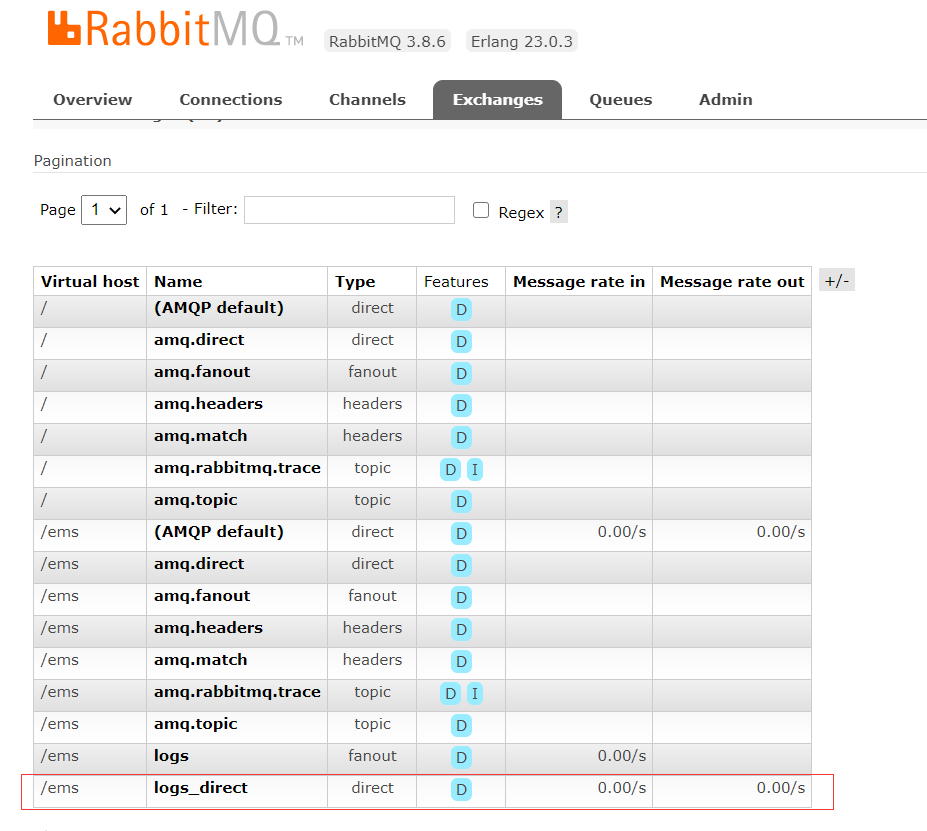
后台输出: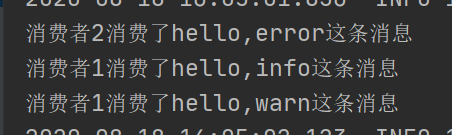
5、Routing的Topic模型
生产者:
@Testpublic void testRouteTopic(){rabbitTemplate.convertAndSend("logs_topic","user.add.info","hello,user.add.info");rabbitTemplate.convertAndSend("logs_topic","user.update.info","hello,user.update.info");rabbitTemplate.convertAndSend("logs_topic","user.add.detail","hello,user.add.info");rabbitTemplate.convertAndSend("logs_topic","mail.info.detail","hello,user.add.info");rabbitTemplate.convertAndSend("logs_topic","test.mail.info.detail","hello,user.add.info");}
消费者:
package com.zym.springboot_rabbitmq.topic;import org.springframework.amqp.rabbit.annotation.Exchange;import org.springframework.amqp.rabbit.annotation.Queue;import org.springframework.amqp.rabbit.annotation.QueueBinding;import org.springframework.amqp.rabbit.annotation.RabbitListener;import org.springframework.stereotype.Component;@Componentpublic class TopicCutomer {@RabbitListener(bindings = {@QueueBinding(value = @Queue,exchange = @Exchange(value = "logs_topic",type = "topic"),key = "user.add.*")})public void TopicCutomer1(String message){System.out.println("消费者1消费了"+message+"这条消息");}@RabbitListener(bindings = {@QueueBinding(value = @Queue,exchange = @Exchange(value = "logs_topic",type = "topic"),key = "user.*.*")})public void TopicCutomer2(String message){System.out.println("消费者2消费了"+message+"这条消息");}@RabbitListener(bindings = {@QueueBinding(value = @Queue,exchange = @Exchange(value = "logs_topic",type = "topic"),key = "*.*.detail")})public void TopicCutomer3(String message){System.out.println("消费者3消费了"+message+"这条消息");}@RabbitListener(bindings = {@QueueBinding(value = @Queue,exchange = @Exchange(value = "logs_topic",type = "topic"),key = "#.detail")})public void TopicCutomer4(String message){System.out.println("消费者4消费了"+message+"这条消息");}}
消费者1:user.add.*消费者2:user.*.*消费者3:*.*.detail消费者4:#.detail
管理页面: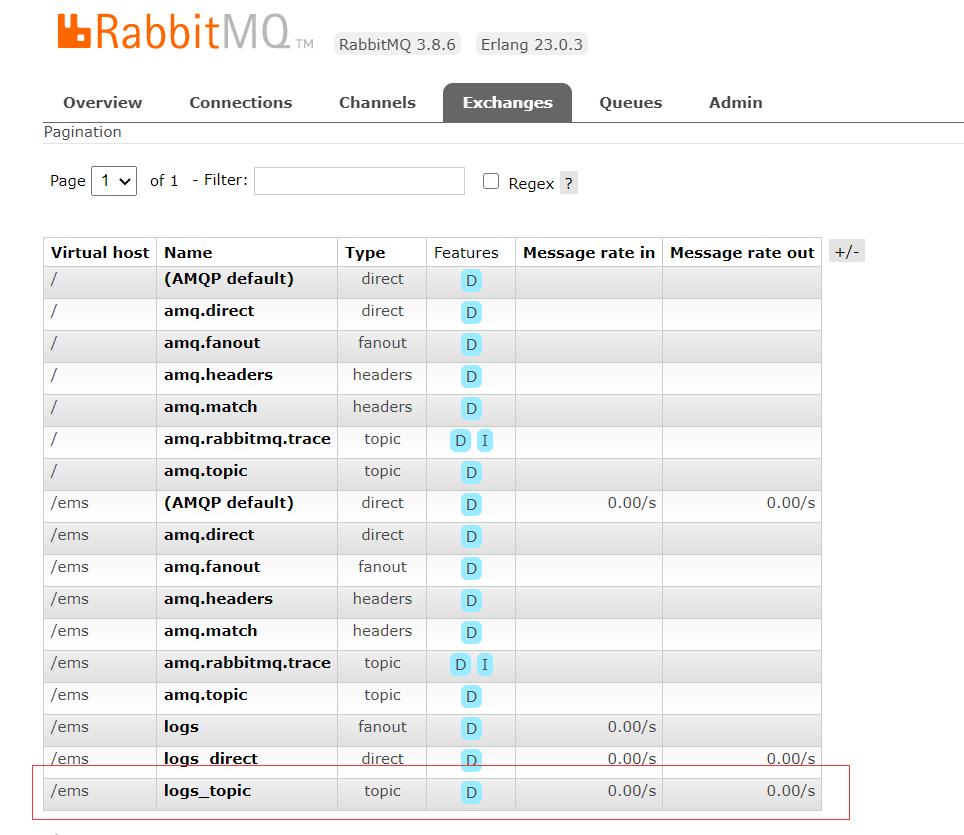
后台输出: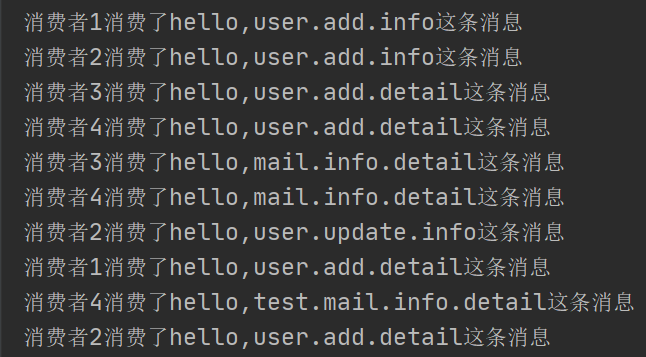
Demo的码云地址:https://gitee.com/zym213/SpringBoot_RabbitMQ_Demo.git

若有收获,就点个赞吧
0 人点赞
