Vuexy Admin let you add universal authentication & authorization with the help of auth0.
通过Vuexy Admin,您可以在auth0的帮助下添加通用身份验证和授权。
Demo
To check demo of auth0, visit /pages/login. There you will find button labeled Login With Auth0, click on this button and you will be see auth0 login.
要查看auth0的演示,请访问/ pages / login。 在那里,您会发现标记为Auth0登录的按钮,单击此按钮,您将看到auth0登录。
You can find implementation of auth0 in src/views/pages/login.vue file. Configuration of auth0 is coded in src/auth/authService.js file.
您可以在src / views / pages / login.vue文件中找到auth0的实现。 auth0的配置编码在src / auth / authService.js文件中。
Auth0 Configuration 配置Auth0
All configuration for auth0 is located in src/auth/authService.js. On top of this file you will find some imports.
auth0的所有配置位于src / auth / authService.js中。 在此文件的顶部,您将找到一些导入。
import auth0 from 'auth0-js';import EventEmitter from 'events';import authConfig from '../../auth_config.json';
First two imports, auth0 and events are base of auth0. Third import is import of authConfig file which is located in src directory. auth_config.json file contains your domain and clientId, which will be used by auth0.
前两个导入auth0和events是auth0的基础。 第三次导入是位于src目录中的authConfig文件的导入。 auth_config.json文件包含您的域和clientId,将由auth0使用。
// auth_config.json{"domain": "YOUR_DOMAIN","clientId": "YOUR_CLIENT_ID"}
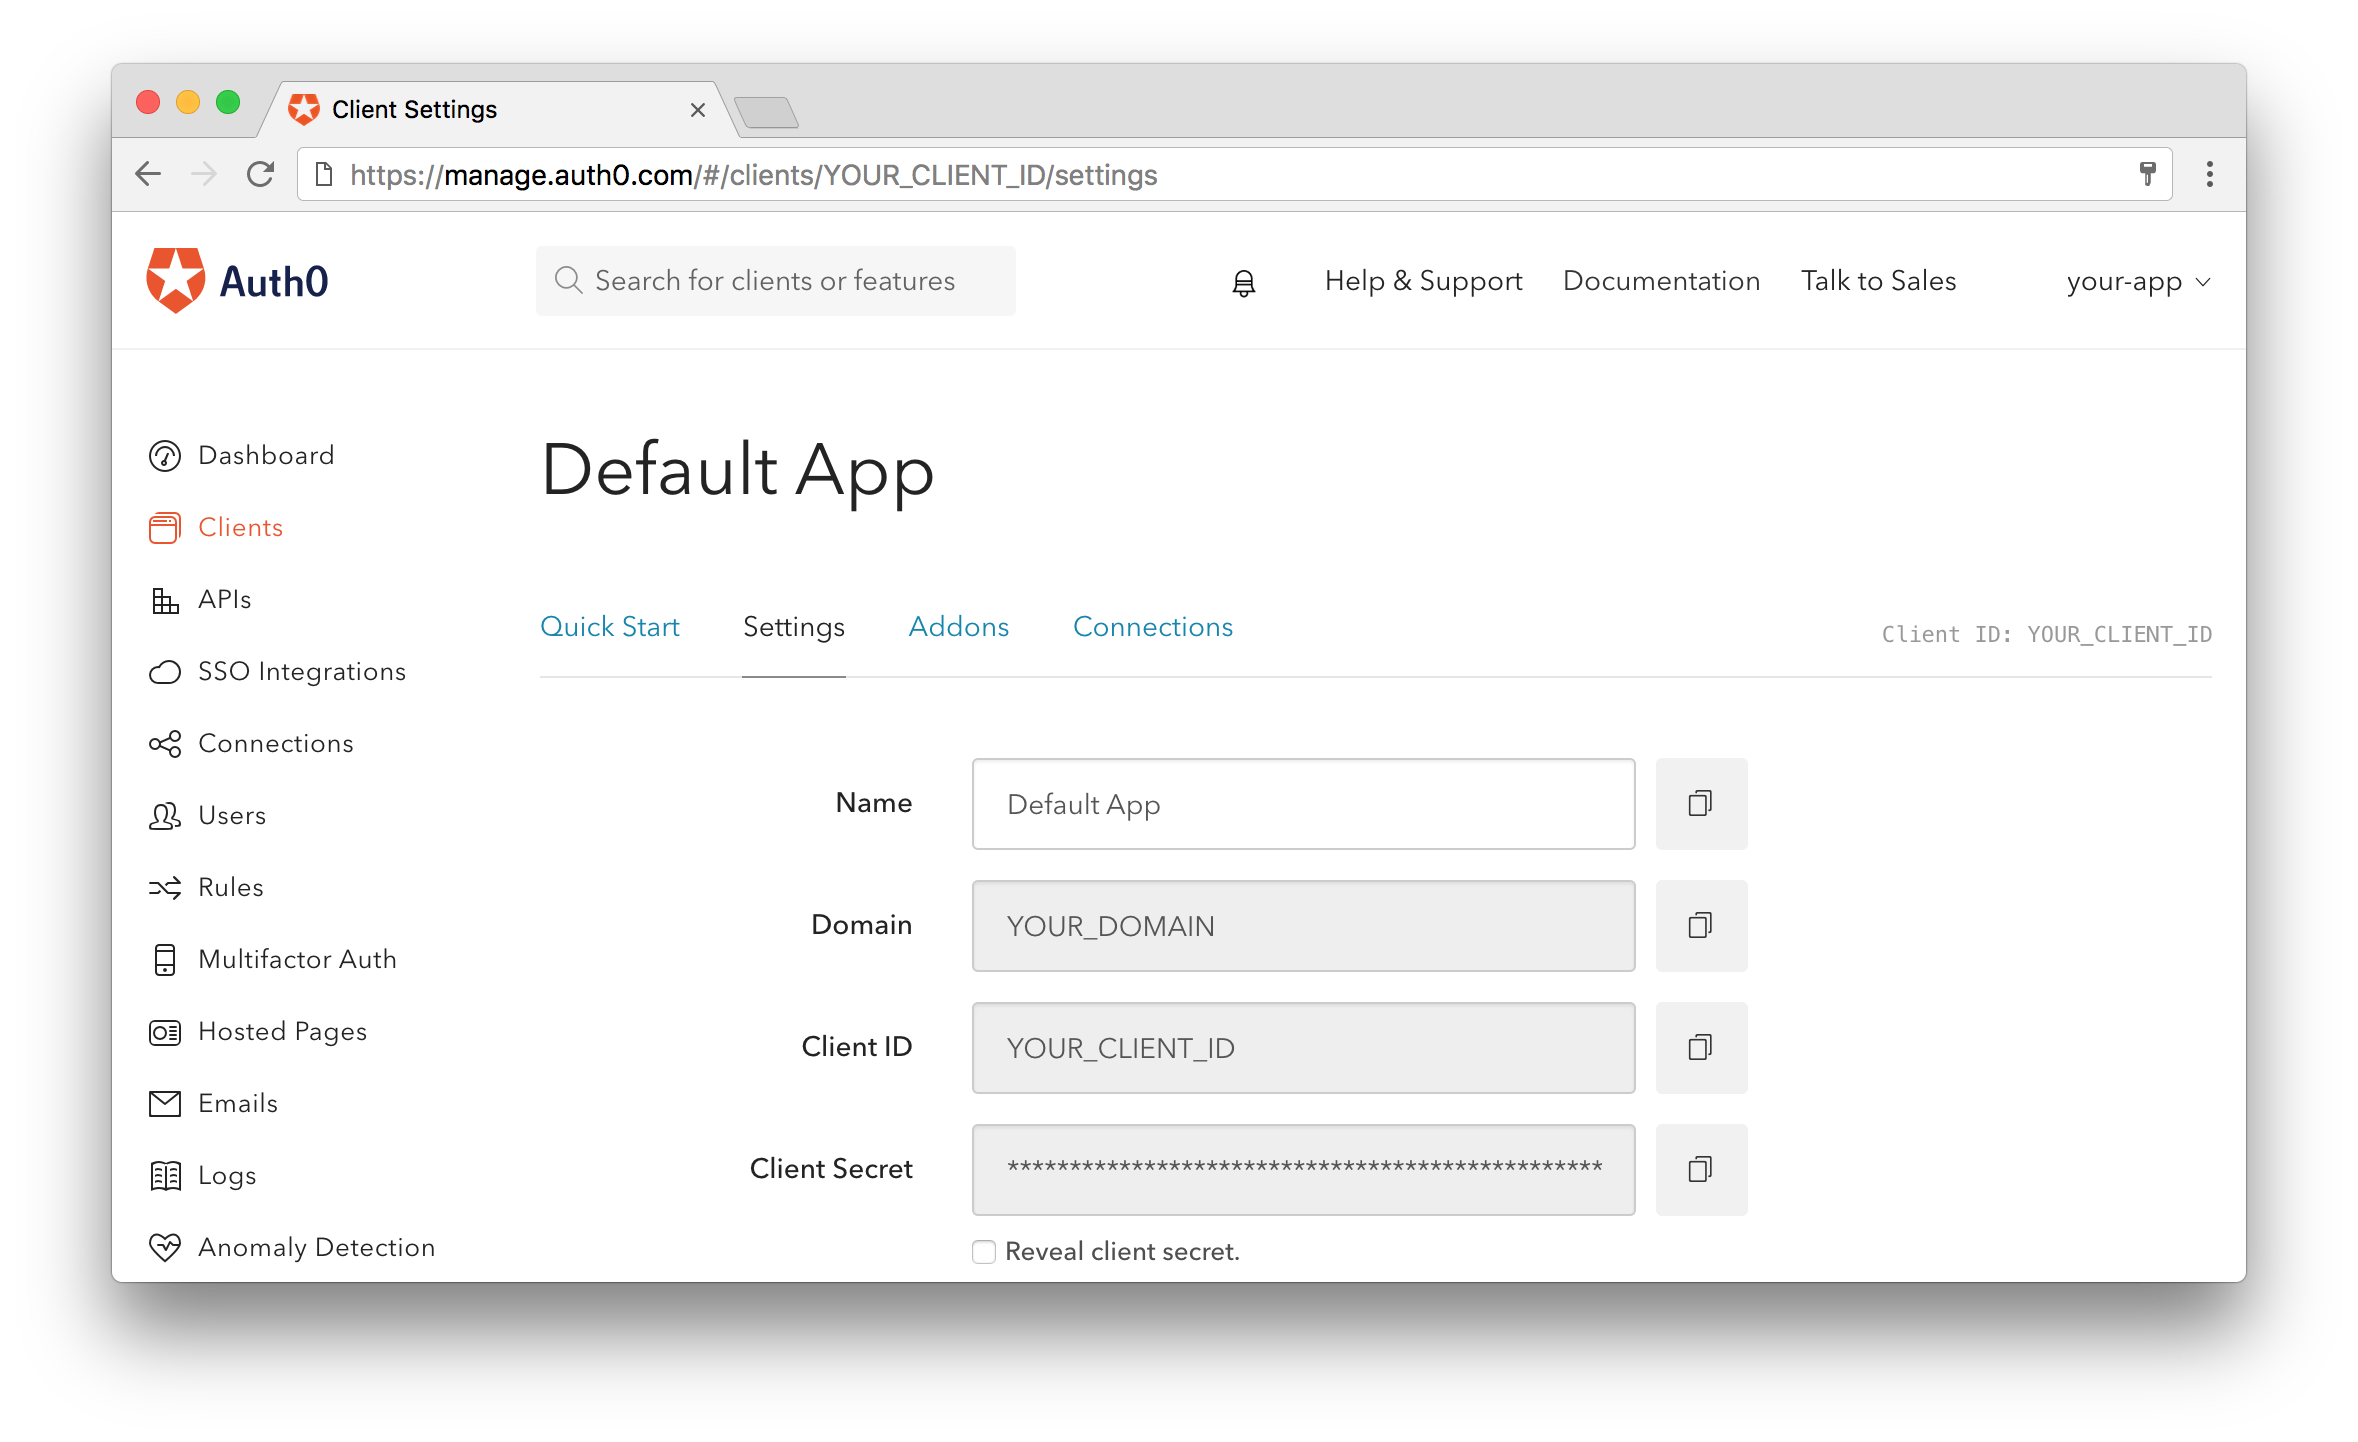
You can get this information from Application Settings section in clients tab.
您可以从“客户端”选项卡中的“应用程序设置”部分获取此信息。
const localStorageKey = 'loggedIn';
const tokenExpiryKey = 'tokenExpiry';
const loginEvent = 'loginEvent';
Above three variables are used throughout the file. You can change their values as you like except first one localStorageKey. value of localStorageKey loggedIn is used in other parts of application also. So if you change it here, Don’t forget to change it in other places.
以上三个变量在整个文件中使用。 您可以根据需要更改它们的值,但第一个localStorageKey除外。 在应用程序的其他部分中也使用了本地存储日志记录值的值。 因此,如果您在此处进行更改,请不要忘记在其他位置进行更改。
const webAuth = new auth0.WebAuth({
    domain: authConfig.domain,
    redirectUri: `${window.location.origin}/callback`,
    clientID: authConfig.clientId,
    responseType: 'id_token',
    scope: 'openid profile email'
});
Above code will create instance of WebAuth from auth0.js.
上面的代码将从auth0.js创建WebAuth实例。
class AuthService extends EventEmitter {
...
}
In above code we created AuthService to create a reusable service. This contains login, logout, handling Authentication, renewing tokens etc.
在上面的代码中,我们创建了AuthService来创建可重用的服务。 这包括登录,注销,处理身份验证,更新令牌等。
Using as Vue Plugin 以Vue插件的形式使用
Now we need to inject the service into everywhere that needs it. So we created plugin which can be found in src/plugins/auth.js.
现在,我们需要将服务注入到需要它的任何地方。 因此,我们创建了可以在src / plugins / auth.js中找到的插件。
This plugin provides access to the AuthService class from each component, through the this.$auth property. It also provides a mechanism for when the login state changes, for components that implement a handleLoginEvent method.
To use this plugin we have to update our main.js file.
该插件可通过this.$auth属性从每个组件访问AuthService类。 它还为实现handleLoginEvent方法的组件提供了一种用于在登录状态更改时的机制。
要使用此插件,我们必须更新我们的main.js文件。
// Import the plugin here
import AuthPlugin from "./plugins/auth";

// Install the authentication plugin here
Vue.use(AuthPlugin);
Login Control 登录控制
Vuexy have login control for both firebase and auth0. Which to choose is up to you. If you open router.js file, there you will find router.beforeEach navigation guard.
Vuexy具有firebase和auth0的登录控制。 选择哪种取决于您。 如果打开router.js文件,则将在导航守卫中找到
In there you will find if condition with some router urls and below line as well.
在该处,您将找到条件判断
(auth.isAuthenticated() || firebaseCurrentUser)
In above code auth.isAuthenticated() checks if user is authenticated using auth0 or not. To execute this function we first need to import auth. Import of auth is in top of this file.
在上面的代码中,auth.isAuthenticated()检查用户是否使用auth0进行了身份验证。 要执行此功能,我们首先需要导入auth。 auth的导入位于此文件的顶部。
import auth from "@/auth/authService";
So, navigation guard is checking if user is authenticated or visiting the public page(using OR clause), then navigate user to requested url. Otherwise send him back to login page.
因此,导航守卫将检查用户是否已通过身份验证或访问公共页面(使用OR子句),然后将用户导航到请求的URL。 否则,将他发送回登录页面。
Auth0 Application Settings Auth0应用程序设置
Implementing auth0 in Vuexy Admin is just one part. We also need to configure application settings in auth0. Some of them are configure Callback URLs, Configure Logout URLs, Configure Allowed Web Origins etc.
You can find more detailed guide here .
在Vuexy Admin中实现auth0只是一部分。 我们还需要在auth0中配置应用程序设置。 其中一些是配置回调URL,配置注销URL,配置允许的Web起源等。
您可以在此处找到更详细的指南。

