1. Spring Security
1.1 Spring Security 介绍
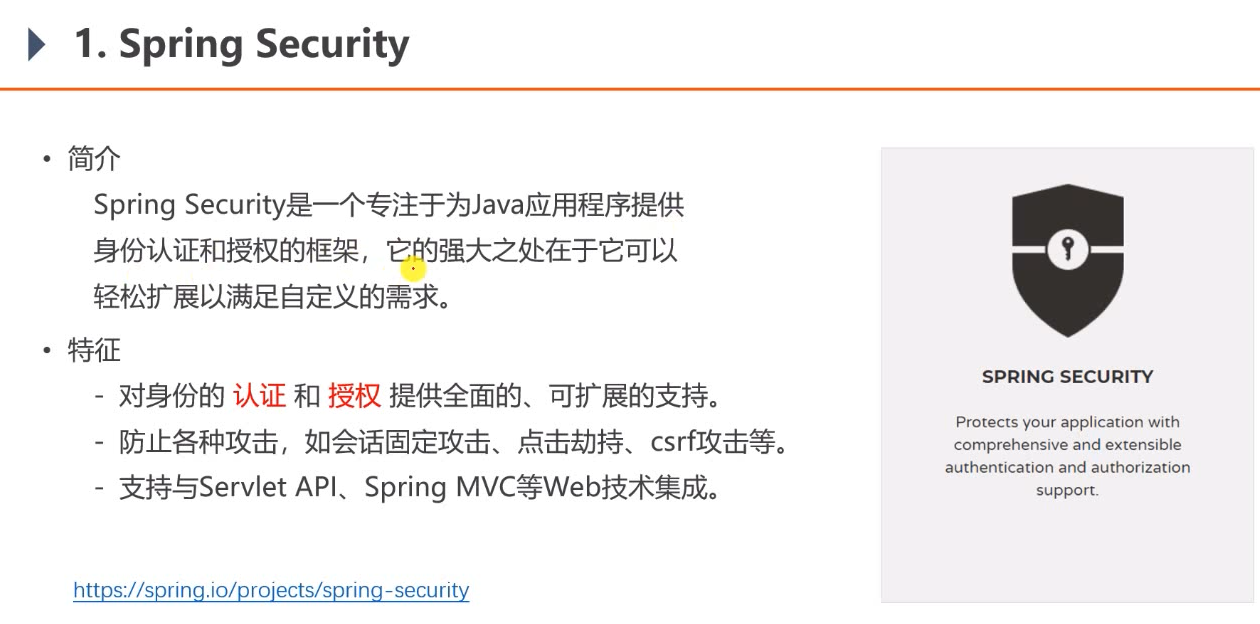
Spring Security 是整个 Spring 体系中最复杂的一个模块,它为 Java 应用程序提供了身份认证和授权。
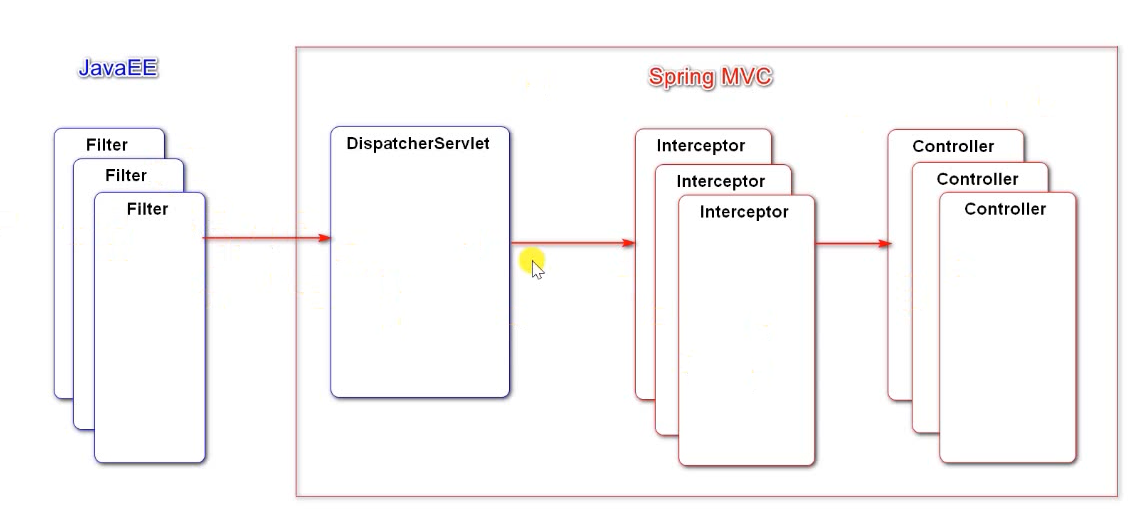
- 底层使用Filter(Java EE标准)进行拦截。
- Filter 和 DispatcherServlet 属于 JavaEE规范。
Interceptor 和 Controller 属于 Spring MVC 规范。
1.2 Spring Security 使用
1.2.1 实现 UserDetail 和 UserService 接口
导入 spring-boot-starter-security
- User 实体类实现 UserDetails 接口,实现接口中各方法(账号是否锁定、凭证是否过期、账号是否可用、用户具备的权限)
UserService 实现 UserDetailsService 接口,实现接口方法(Spring Security 检查用户是否登录时用到该接口)
1.2.2 新建 SecurityConfig 类实现认证和授权
继承 WebSecurityConfigurerAdapter。
- 重写 configure(WebSecurity web) 配置忽略静态资源的访问。
- 重写 configure(AuthenticationManagerBuilder auth) 实现认证的逻辑,自定义认证规则。
- AuthenticationManager 是认证的核心接口。
- AuthenticationManagerBuilder 是用于构建 AuthenticationManager 对象的工具。
- ProviderManager 是AuthenticationManager 接口的默认实现类,它持有一组 AuthenticationProvider,每个 AuthenticationProvider 负责一种认证。这里使用了委托模式,ProviderManager 将认证委托给 AuthenticationProvider。
- Authentication 是用于封装认证信息的接口,不同的实现类代表不同的认证信息。
- supports 表示当前的 AuthenticationProvider 支持哪种类型的认证。
重写 configure(HttpSecurity http) 实现授权的逻辑。
1.2.3 重定向和转发的区别
重定向:浏览器访问A,服务器返回302,建议访问B,一般不能带数据给B(Session和Cookie)。(降低耦合度)
- 转发:浏览器访问A,A完成部分请求,存入Request,转发给B完成剩下请求。(有耦合)
- 在 HomeController 添加认证逻辑。认证成功后,结果会通过 SecurityContextHolder 存入 SecurityContext 中。
Spring Security 学习的三个步骤:
- 先将代码写出来,上面的这些概念之后再去理解
- 理解WebSecurityConfigurerAdapter、AuthenticationManager、AuthenticationProvider等概念
- 阅读源码
2. 权限控制
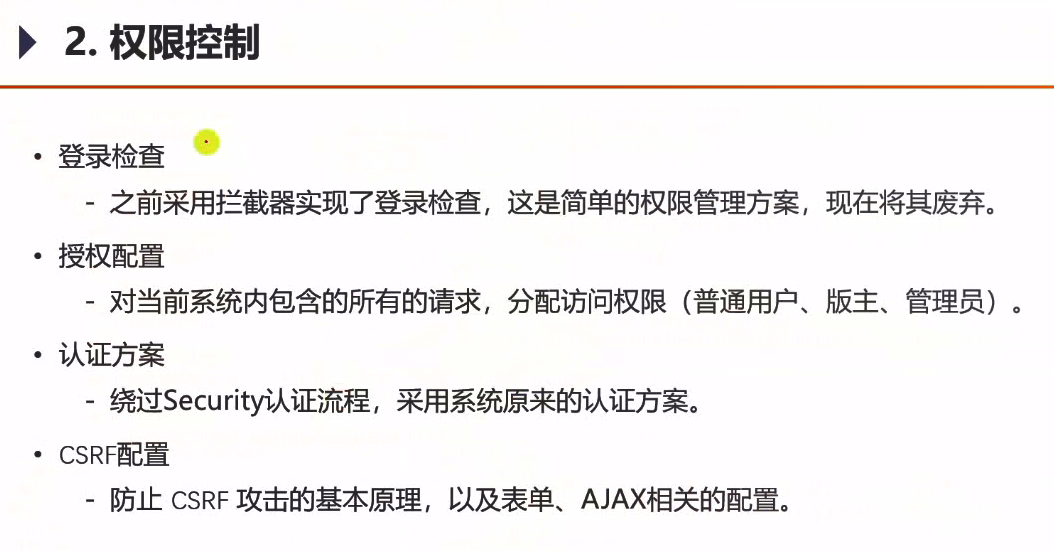
只用 SpringSecurity 做授权,认证还是用之前拦截器的方案。
2.1 授权配置
对当前系统内的所有的请求,分配访问权限(普通用户、板主、管理员)。
绕过 SpringSecurity 认证流程,采用系统原来的认证方案。(我们项目的认证方案就是用户密码登陆)
- SpringSecurity 底层是 filter,它会默认会拦截
/logout请求,进行退出处理。用其他路径如/securitylogout覆盖它的默认拦截路径,才能向后执行到我们自己的退出代码。 在 LoginTicketInterceptor 构建用户认证的结果。由于这里没有用 SpringSecurity 进行认证,但是授权时又需要 Authentication 这个数据结构,因此需要构建用户认证的 Authentication 结果,保存用户、用户密码以及用户权限,然后存入 SecurityContext,以便于 SpringSecurity 进行授权(因为我们使用的是用户密码认证,因此需要构建一个 UsernamePasswordAuthenticationToken)。
2.3 CSRF 配置
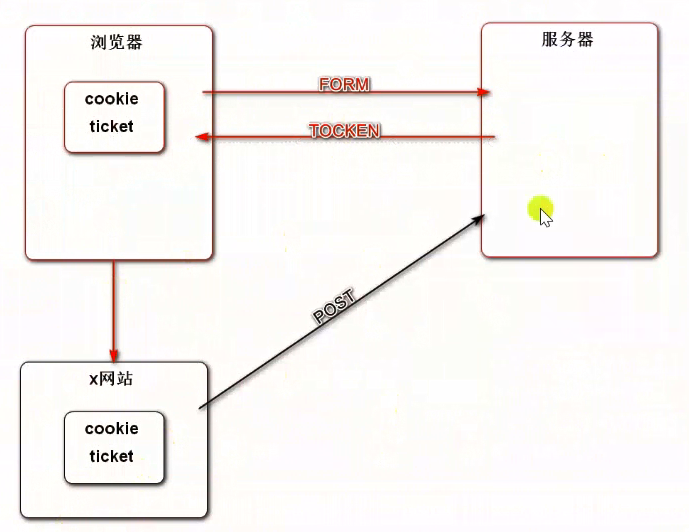
CSRF 攻击:某网站盗取你的 Cookie(ticket)凭证,模拟你的身份访问服务器。(发生在提交表单的时候)SpringSecurity 会在表单里增加一个自动生成的 token。
- SpringSecurity 无法处理异步请求,需要自己在 html 文件生成 CSRF 令牌。(异步不是通过请求体传数据,通过请求头)
- 发送 AJAX 异步请求之前,将 CSRF 令牌设置到请求的消息头中。
CSRF 防御攻击:用户在发送表单时还需要携带一个 token 值。该 token 一般是填写表单页中的一个隐藏字段,每次访问都不同。通过该 token 的验证,服务端就能知道用户的表单请求是否从表单填写页面跳转而来了。
3. 置顶、加精、删除
3.1 功能实现
点击“置顶”、“加精”、“删除”,修改帖子的状态(这里的删除不是真的删除,而是将帖子的状态修改为删除状态)
- 在 DiscussPostMapper 增加修改方法
- DiscussPostService、DiscussPostController 相应增加方法,注意在 ES 中同步变化
- 要在 EventConsumer 增加消费删帖事件
-
3.2 权限管理
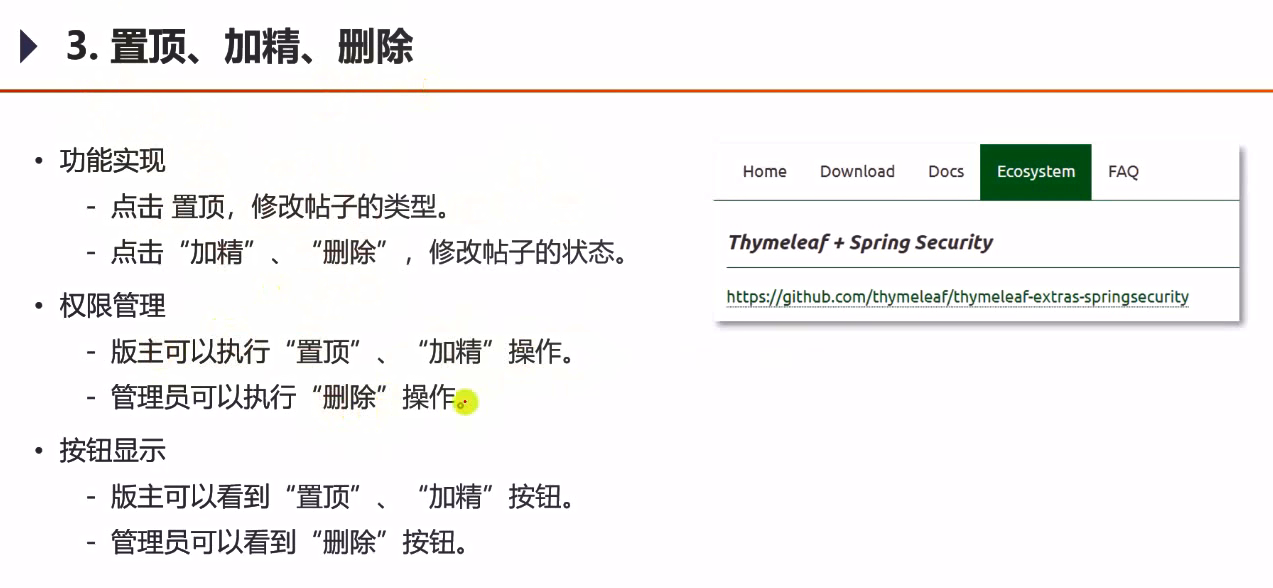
版主可以执行“置顶”、“加精”操作。管理员可以执行“删除”操作。
在 SecurityConfig 类下配置“置顶”、“加精”、“删除”的访问权限。
3.3 按钮显示
版主可以看到“置顶”、“加精”按钮。管理员可以看到“删除“按钮。
导包:thymeleaf-extras-springsecurity5 是 thymeleaf 对 security 的支持。
4. Redis高级数据类型
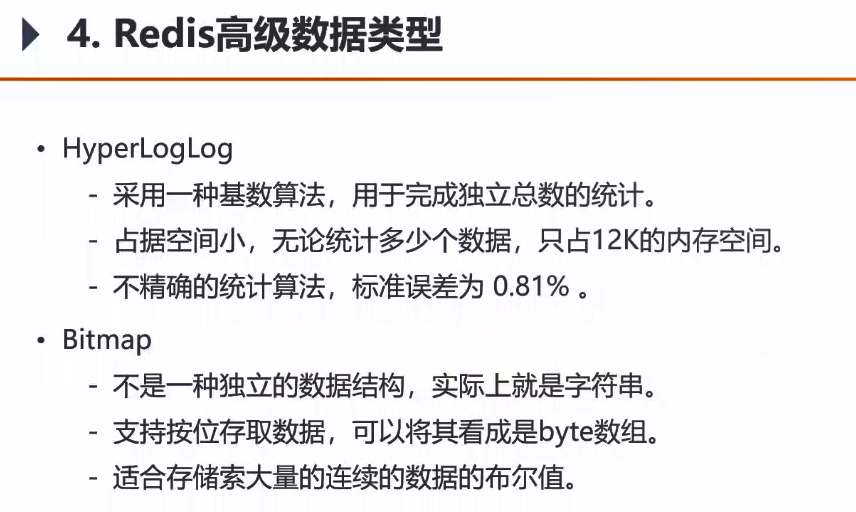
// 统计HyperLogLog统计20w个重复数据的独立总数@Testpublic void testHyperLogLog() {String redisKey = "test:hll:01";for (int i = 1; i <= 100000; i++) {redisTemplate.opsForHyperLogLog().add(redisKey, i);}for (int i = 1; i <= 100000; i++) {int r = (int) (Math.random() * 100000 + 1);redisTemplate.opsForHyperLogLog().add(redisKey, r);}Long size = redisTemplate.opsForHyperLogLog().size(redisKey);System.out.println(size);}// 将3组数据合并,再统计合并后的重复数据的独立总数@Testpublic void testHyperLogLogUnion() {String redisKey2 = "test:hll:02";for (int i = 1; i <= 10000; i++) {redisTemplate.opsForHyperLogLog().add(redisKey2, i);}String redisKey3 = "test:hll:03";for (int i = 5001; i <= 15000; i++) {redisTemplate.opsForHyperLogLog().add(redisKey3, i);}String redisKey4 = "test:hll:04";for (int i = 10001; i <= 20000; i++) {redisTemplate.opsForHyperLogLog().add(redisKey4, i);}String unionKey = "test:hll:union";redisTemplate.opsForHyperLogLog().union(unionKey, redisKey2, redisKey3, redisKey4);System.out.println(redisTemplate.opsForHyperLogLog().size(unionKey));}// 统计一组数据的布尔值@Testpublic void testBitMap() {String redisKey = "test:bm:01";// 记录redisTemplate.opsForValue().setBit(redisKey, 1, true);redisTemplate.opsForValue().setBit(redisKey, 4, true);redisTemplate.opsForValue().setBit(redisKey, 7, true);// 查询System.out.println(redisTemplate.opsForValue().getBit(redisKey, 0));System.out.println(redisTemplate.opsForValue().getBit(redisKey, 1));System.out.println(redisTemplate.opsForValue().getBit(redisKey, 2));// 统计Object obj = redisTemplate.execute(new RedisCallback<Object>() {@Overridepublic Object doInRedis(RedisConnection connection) throws DataAccessException {return connection.bitCount(redisKey.getBytes());}});System.out.println(obj);}// 统计3组数据的布尔值,并对这3组数据做OR运算@Testpublic void testBitMapOperation() {String redisKey2 = "test:bm:02";redisTemplate.opsForValue().setBit(redisKey2, 0, true);redisTemplate.opsForValue().setBit(redisKey2, 1, true);redisTemplate.opsForValue().setBit(redisKey2, 2, true);String redisKey3 = "test:bm:03";redisTemplate.opsForValue().setBit(redisKey3, 2, true);redisTemplate.opsForValue().setBit(redisKey3, 3, true);redisTemplate.opsForValue().setBit(redisKey3, 4, true);String redisKey4 = "test:bm:04";redisTemplate.opsForValue().setBit(redisKey4, 4, true);redisTemplate.opsForValue().setBit(redisKey4, 5, true);redisTemplate.opsForValue().setBit(redisKey4, 6, true);String redisKey = "test:bm:or";Object obj = redisTemplate.execute(new RedisCallback<Object>() {@Overridepublic Object doInRedis(RedisConnection connection) throws DataAccessException {connection.bitOp(RedisStringCommands.BitOperation.OR,redisKey.getBytes(), redisKey2.getBytes(), redisKey3.getBytes(), redisKey4.getBytes());return connection.bitCount(redisKey.getBytes());}});System.out.println(obj);System.out.println(redisTemplate.opsForValue().getBit(redisKey, 0));System.out.println(redisTemplate.opsForValue().getBit(redisKey, 1));System.out.println(redisTemplate.opsForValue().getBit(redisKey, 2));System.out.println(redisTemplate.opsForValue().getBit(redisKey, 3));System.out.println(redisTemplate.opsForValue().getBit(redisKey, 4));System.out.println(redisTemplate.opsForValue().getBit(redisKey, 5));System.out.println(redisTemplate.opsForValue().getBit(redisKey, 6));}
5. 网站数据统计
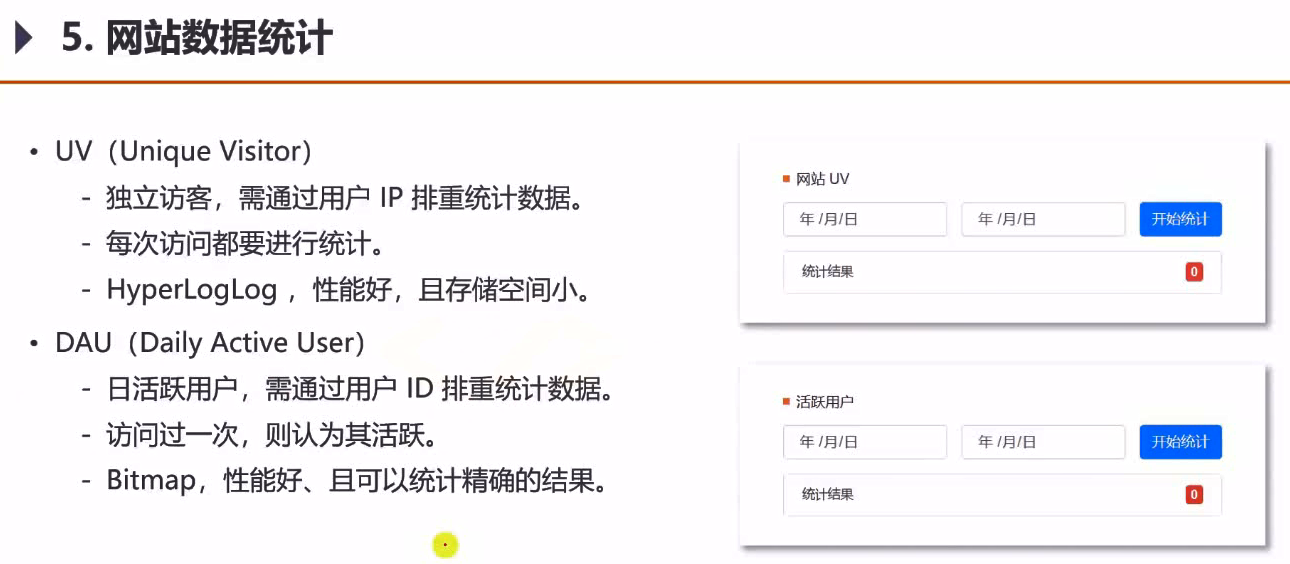
UV(Unique Visitor) 独立访客
- 独立访客,通过用户 IP 重新统计数据。(使用 IP 统计,为了统计匿名用户)
- 每次访问都要进行统计。
- HyperLoglog 性能好,且存储空间小。
分为单日 UV 和区间 UV。使用当前日期作为 Key,IP地址作为 value 存入 HyperLoglog。如果要统计指定日期范围内的 UV,那么整理该日期范围内的 Key 到一个列表中,然后对这个列表求一个 union,然后统计 HyperLoglog 的 size 即可。
redisTemplate.opsForHyperLogLog().add(redisKey, ip); //数据存入HyperLogLogredisTemplate.opsForHyperLogLog().union(redisKey, KeyList.toArray()); //合并日期范围内的KeyredisTemplate.opsForHyperLogLog().size(redisKey); //返回统计的结果
DAU(Daily Active User) 日活跃用户
- 与 UV 的区别在于 DAU 只统计用户,需通过用户ID排重新统计数据。
- 访问过一次,则认为其为活跃。
- Bitmap,性能好、且可以统计精确的结果。对于每个日期都有特定的一个Redis key,如对于一个用户ID为101的活跃用户,那么就在Bitmap的101位置为true就可以了。
分为单日活跃用户和区间活跃用户。将当前日期作为 Key,用户 Id 作为 value 存入 Bitmap。如果要统计指定日期范围内的 DAU,就需要对 Bitmap 做一个 OR 运算。
redisTemplate.opsForValue.setBit(redisKey, userId, True); //数据存入Bitmap
逻辑层:
新建 DataService 类使用 Redis 进行统计操作,将 IP 计入 UV,统计指定日期范围内的 UV(将日期范围内的单日 UV 相加)。将用户计入 DAU,统计指定日期范围内的 DAU(将日期范围内的单日活跃用户做or运算)。
表现层:
表现层一分为二,首先是何时记录这个值,其次是查看。记录值在拦截器写比较合适,查看值就新建一个Controller。因此新建 DataInterceptor 和 DataController。
6. 任务执行和调度
Spring Quartz 程序运行所依赖的参数可以选择存在数据库里,使用加锁的方式访问数据库,保证同一时刻只能有一台服务器上的 Quartz 执行,这样就解决了分布式的问题。即将数据存储到数据库,分布式时可以共享数据。
- 核心调度接口 Scheduler
- 定义任务的接口的 execute 方法
- Jobdetail 接口来配置 Job 的名字、组、是否持久保存、是否可恢复等
- Trigger 接口配置 Trigger 的名字、组、运行时机、运行频率
- QuartzConfig:配置 -> 数据库 -> 调用
可以在 application.properties 中进行配置,使得以上这些配置只在第一次启动 Quartz 时使用,第一次使用时 Quartz 会初始化数据库,之后的使用 Quartz 都会从数据库中读取。
FactoryBean 可简化 Bean 的实例化过程:
- 通过 FactoryBean 封装 Bean 的实例化过程
- 将 FactoryBean 装配到 Spring 容器里
- 将 FactoryBean 注入给其他的 Bean
- 该 Bean 得到的是 FactoryBean 所管理的对象实例
7. 热帖排行
log(精华分 + 评论数 * 10 + 点赞数 * 2) + (发布时间-网站成立时间(单位是天)),求 log 的好处是前期分数上升速度快,后期分数趋于平缓。这样前期评论、点赞的权重高,可以让帖子立马顶起来,后期点 100 个赞可能和前期点 10 个效果是一样的。分数基本上是随着时间的推移降低。权重 w = wonderful ? 75 : 0 + commentCount * 10 + likeCount * 2;- 在发帖、点赞、加精时将帖子丢到 Redis 里,等到定时时间到的时候将这些帖子计算一下,其他没发生变化的帖子就不计算。
- 新建 PostScoreRefreshJob 类进行处理(使用 SpringQuartz 定时任务),使用 refresh() 方法计算帖子分数用于热帖排行。更新分数后,将分数持久化到数据库,同时在 ES 中同步搜索数据。
- 配置 QuartzConfig,设置五分钟为间隔刷新一次。
- 修改数据访问层,实现查询帖子时可以按照热度排序(orderMode 为 0 时按照发布时间排序,orderMode 为 1 时先按照热度排,再按照发布时间排序。)
8. 优化网站性能
使用 Caffeine 做本地缓存,设置一次缓存 15 个数据,设置过期时间为 180 秒。
在 DiscussPostService 中加入 Caffeine 缓存热门帖子列表和帖子总数。Caffeine 的核心接口:Cache、LoadingCache、AsyncLoadingCache。
做压力测试,初始化 30w 条数据。对比不加缓存时和加缓存时数据库的响应时间。当访问来的时候,先访问本地缓存 Caffeine(一级缓存),若本地缓存没有,则访问 Redis(二级缓存),若Redis没有,再访问数据库。
