Thymeleaf介绍
Thymeleaf是适用于Web和独立环境的现代服务器端Java模板引擎,模板引擎(这里特指用于Web开发的模板引擎)是为了使用户界面与业务数据(内容)分离而产生的,它可以生成特定格式的文档,用于网站的模板引擎就会生成一个标准的html文档。从字面上理解模板引擎,最重要的就是模板二字,这个意思就是做好一个模板后套入对应位置的数据,最终以html的格式展示出来,这就是模板引擎的作用,其实传统的JSP就是一种模板引擎。
相比于其它传统的模板引擎,Thymeleaf具有强大的特点:基于html(视图后缀为“.html”)。就比如JSP模板引擎,它的后缀是“.jsp”:它的本质就是将一个html文件修改后缀为.“.jsp”,然后在这个文件中增加自己的语法、标签然后执行时候通过后台处理这个文件最终返回一个html页面。浏览器无法直接识别“.jsp”的文件,需要借助服务端(网络)才能访问,但是Thymeleaf可以无需在服务端的情况下之间访问html模板。开发者充分考虑html页面特性,将Thymeleaf的语法通过html的标签属性来定义完成,这些标签属性不会影响html页面的完整性和显示。如果通过后台服务端访问页面服务端会寻找这些标签将服务端对应的数据替换到相应位置实现动态页面。大体区别可以参照下图: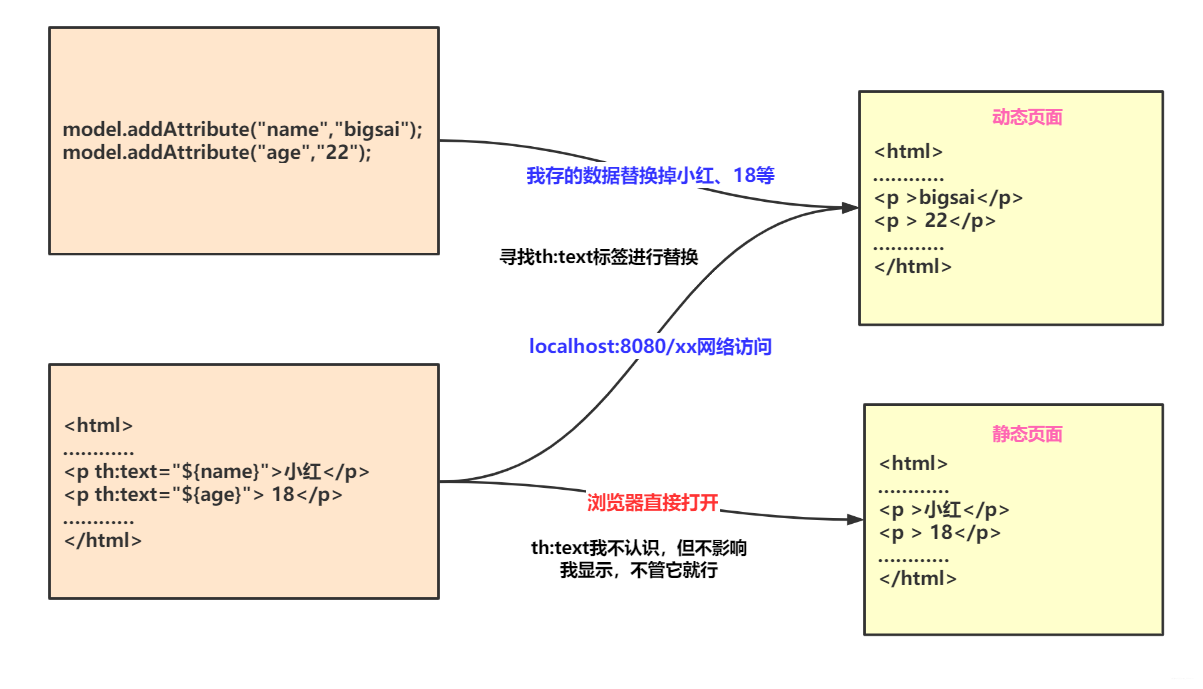
这样一来,Thymeleaf模板引擎就实现了“动静分离”:直接打开这个html那么浏览器会对th等标签忽视而显示原始的内容(静);如果通过服务端访问那么服务端将先寻找th标签将服务端储存的数据替换到对应位置(动)。
下面通过一个小例子感受一下(基于Spring Boot项目):
首先我们需要导入依赖(如果spring boot一开始就添加了该依赖就可以无需导入了):
<!--thymeleaf模板引擎依赖--><dependency><groupId>org.springframework.boot</groupId><artifactId>spring-boot-starter-thymeleaf</artifactId></dependency>
编写控制器:
@Controller
public class IndexController {
@RequestMapping("/test")
public String test(Model model){
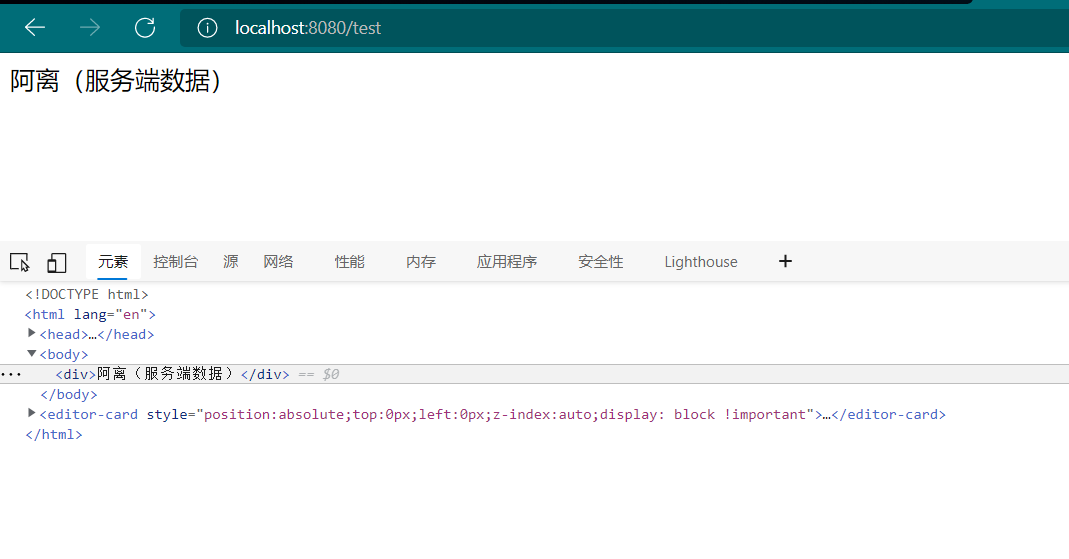
model.addAttribute("msg","阿离(服务端数据)");
return "test";
}
}
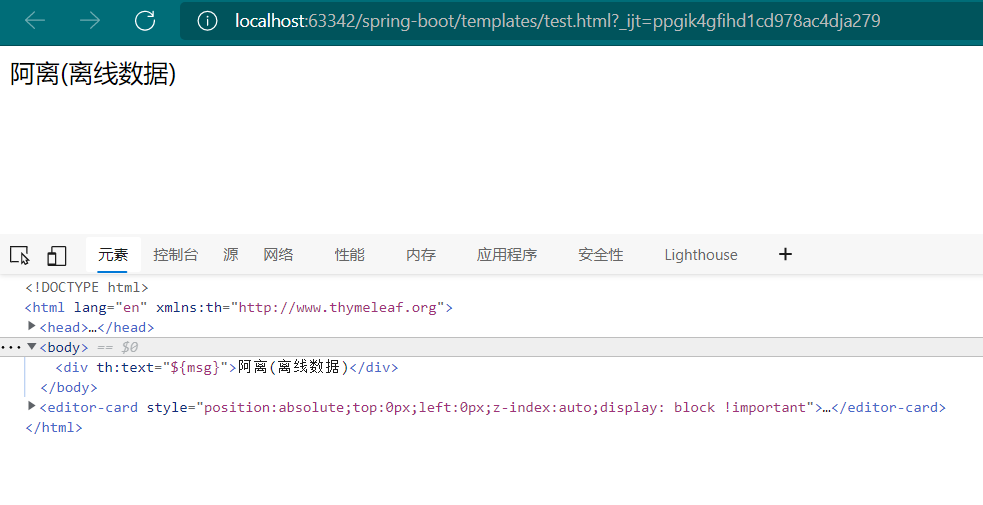
编写html模板,需要在头标签加上“xmlns:th=”http://www.thymeleaf.org"”,而且需要把html模板放进resources资源目录下的templates文件夹下方,因为Spring Boot的默认配置的视图解析器的前缀是:classpath:/templates/,后缀是:.html。(这些都可以到application.yaml文件中修改的)
<!DOCTYPE html>
<html lang="en" xmlns:th="http://www.thymeleaf.org">
<head>
    <meta charset="UTF-8">
    <title>Title</title>
</head>
<body>

<div th:text="${msg}">阿离(离线数据)</div>

</body>
</html>
Thymeleaf语法详解
配置
虽然Spring Boot官方对Thymeleaf做了很多默认配置,但我们引入Thymeleaf的jar包依赖后可以根据自己特定需求进行更细化的配置,例如页面缓存、字体格式设置等等。下面是Spring Boot的官方提供的可配置内容:
# THYMELEAF (ThymeleafAutoConfiguration)
spring.thymeleaf.cache=true                        # Whether to enable template caching.
spring.thymeleaf.check-template=true               # Whether to check that the template exists before rendering it.
spring.thymeleaf.check-template-location=true      # Whether to check that the templates location exists.
spring.thymeleaf.enabled=true                      # Whether to enable Thymeleaf view resolution for Web frameworks.
spring.thymeleaf.enable-spring-el-compiler=false   # Enable the SpringEL compiler in SpringEL expressions.
spring.thymeleaf.encoding=UTF-8                    # Template files encoding.
spring.thymeleaf.excluded-view-names=              # Comma-separated list of view names (patterns allowed) that should be excluded from resolution.
spring.thymeleaf.mode=HTML                         # Template mode to be applied to templates. See also Thymeleaf's TemplateMode enum.
spring.thymeleaf.prefix=classpath:/templates/      # Prefix that gets prepended to view names when building a URL.
spring.thymeleaf.reactive.chunked-mode-view-names= # Comma-separated list of view names (patterns allowed) that should be the only ones executed in CHUNKED mode when a max chunk size is set.
spring.thymeleaf.reactive.full-mode-view-names=    # Comma-separated list of view names (patterns allowed) that should be executed in FULL mode even if a max chunk size is set.
spring.thymeleaf.reactive.max-chunk-size=0         # Maximum size of data buffers used for writing to the response, in bytes.
spring.thymeleaf.reactive.media-types=             # Media types supported by the view technology.
spring.thymeleaf.servlet.content-type=text/html    # Content-Type value written to HTTP responses.
spring.thymeleaf.suffix=.html                      # Suffix that gets appended to view names when building a URL.
spring.thymeleaf.template-resolver-order=          # Order of the template resolver in the chain.
spring.thymeleaf.view-names=                       # Comma-separated list of view names (patterns allowed) that can be resolved.
上面的配置有些我们可能不常使用,因为Springboot官方做了默认配置大部分能够满足我们的使用需求,但如果你的项目有特殊需求也需要妥善使用这些配置。
比如spring.thymeleaf.cache=false是否允许页面缓存的配置,我们在开发时候要确保页面是最新的所以需要禁用缓存;而在上线运营时可能页面不常改动为了减少服务端压力以及提升客户端响应速度会允许页面缓存的使用。
再比如在开发虽然我们大部分使用UTF-8多一些,我们可以使用spring.thymeleaf.encoding=UTF-8来确定页面的编码,但如果你的项目是GBK编码就需要将它改成GBK。
另外Springboot默认模板引擎文件是放在templates目录下:spring.thymeleaf.prefix=classpath:/templates/,如果你有需求将模板引擎也可修改配置,将templates改为自己需要的目录,同理其他的配置如果需要自定义化也可参照上面配置进行修改。
常用标签
Thymeleaf提供了很多渲染数据的标签,下面介绍几种常用的:
| 标签 | 作用 | 示例 |
|---|---|---|
| th:id | 替换id | <input th:id="${user.id}"/> |
| th:text | 文本替换 | <p text:="${user.name}">阿离</p> |
| th:utext | 支持html的文本替换 | <p utext:="${htmlcontent}">阿离真可爱</p> |
| th:object | 替换对象 | <div th:object="${user}"></div> |
| th:value | 替换值 | <input th:value="${user.name}" > |
| th:each | 迭代 | <tr th:each="student:${user}" > |
| th:href | 替换超链接 | <a th:href="@{index.html}">超链接</a> |
| th:src | 替换资源 | <script type="text/javascript" th:src="@{index.js}"></script> |
说明:
@{……}:是用来引入资源的,资源地址可以static目录下的静态资源,也可以是互联网中的绝对资源。
如:引入css:
<link rel="stylesheet" th:href="@{index.css}">
引入js:
<script type="text/javascript" th:src="@{index.js}"></script>
超链接:
<a th:href="@{index.html}">超链接</a>
程序启动后会自动修改为标准的html语法: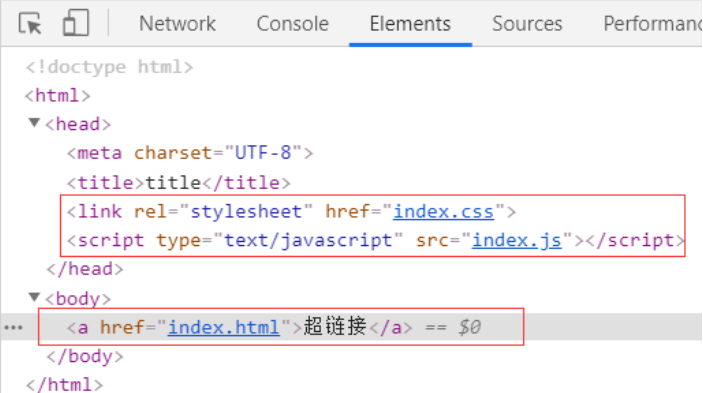
${……}:在Thymeleaf中可以通过${……}进行取值,和JSP的EL表达式类似,下面介绍几种常见的取值,环境准备:
public class User {
    private  String name;
    private  int age;
    private  String detail;

    //构造方法和getXxx、setXxx

}
@Controller
public class IndexController {

    @RequestMapping("/index")
    public String indexMethod(Model model){
        User user=new User("阿离",18,"一只可爱的小阿狸");
        List<String> list=new ArrayList<>();
        list.add("卤蛋");
        list.add("西施姐姐");
        list.add("大乔姐姐");
        Map<String ,String> map=new HashMap<>();
        map.put("music","《晴天》");
        map.put("feeling","开心");
        //数据添加到model中
        model.addAttribute("name","小阿狸");//普通字符串
        model.addAttribute("user",user);//储存javabean
        model.addAttribute("list",list);//储存List
        model.addAttribute("map",map);//储存Map
        return "test";
    }

}
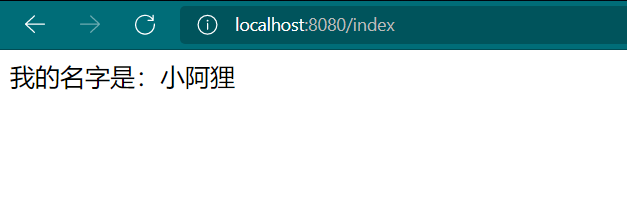
字符串取值
<div th:text="'我的名字是:'+${name}">阿离(离线数据)</div>
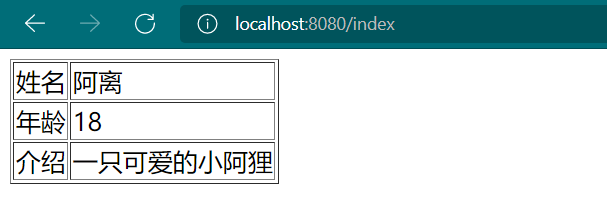
Java对象取值
获取Java对象的属性值可以有三种方法:${对象名.属性名}、${对象名[‘属性名’]}、${对象名.getXxx()},其中第三种的方法的使用前提是具有get方法。
<table border="1">
    <tr>
        <td>姓名</td>
        <td th:text="${user.name}"></td>
    </tr>
    <tr>
        <td>年龄</td>
        <td th:text="${user['age']}"></td>
    </tr>
    <tr>
        <td>介绍</td>
        <td th:text="${user.getDetail()}"></td>
    </tr>
</table>
List集合取值
List取值需要遍历集合,其中${list}是被遍历的集合,而item是被遍历的所有元素(类似Key),可以使用${item}来取出其元素值(类似Value)
<table border="1">
    <tr th:each="item:${list}">
        <td th:text="${item}"></td>
    </tr>
</table>

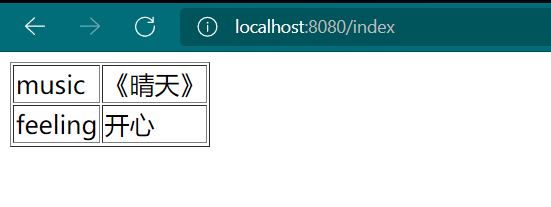
Map取值
Map可以根据Key直接取到值:${Map名.get(Key)}、${Map名[‘Key’]}
<table border="1">
    <tr>
        <td>音乐:</td>
        <td th:text="${map.get('music')}"></td>
    </tr>
    <tr>
        <td>感觉:</td>
        <td th:text="${map['feeling']}"></td>
    </tr>
</table>

除此之外,Map集合还可以遍历:
使用th:each="item:${Map名}"进行遍历,在下面只需要使用item.key和item.value即可获得Key和Value
<table border="1">
    <tr th:each="item:${map}">
        <td th:text="${item.key}"></td>
        <td th:text="${item.value}"></td>
    </tr>
</table>
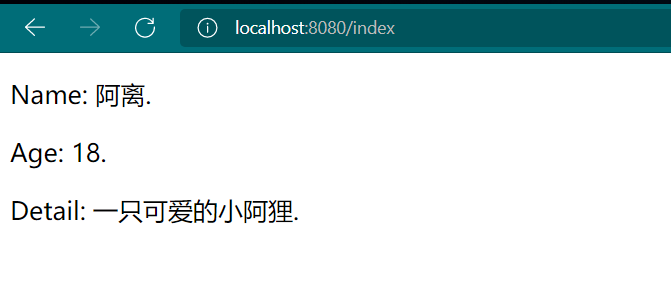
${…}和*{…}的区别
{…}对选定对象而不是整个上下文评估表达式,只要没有选定的对象,美元(${…})和星号({…})的语法就完全一样。
选定对象(当然二还是可以混用的):
<div th:object="${user}">
    <p>Name: <span th:text="*{name}">离</span>.</p>
    <p>Age: <span th:text="*{age}">18</span>.</p>
    <p>Detail: <span th:text="${user.detail}">好好学习</span>.</p>
</div>
如果没有选定对象,那么二者没有任何区别:
<div >
    <p>Name: <span th:text="*{user.name}">赛</span>.</p>
    <p>Age: <span th:text="${user.age}">18</span>.</p>
    <p>Detail: <span th:text="${user.detail}">好好学习</span>.</p>
</div>
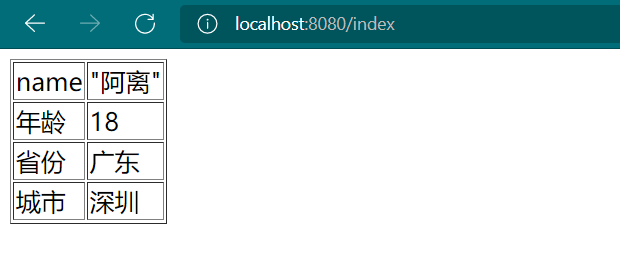
#{…}
该表达式是消息表达式,用来读取配置文件中的数据,如:
person.name="阿离"
person.age=18
person.province=广东
person.city=深圳
但是需要在核心配置文件里面进行配置:
spring:
  messages:
    basename: templates/person
<table border="1">
    <tr>
        <td>name</td>
        <td th:text="#{person.name}"></td>
    </tr>
    <tr>
        <td>年龄</td>
        <td th:text="#{person.age}"></td>
    </tr>
    <tr>
        <td>省份</td>
        <td th:text="#{person.province}"></td>
    </tr>
    <tr>
        <td>城市</td>
        <td th:text="#{person.city}"></td>
    </tr>
</table>

若有收获,就点个赞吧
0 人点赞
