目前 java 项目流行的项目管理工具 Maven 和 Gradle。目前使用率来说,Maven 使用占比是高于 Gradle 的。
在 Maven 中通过 POM-Project Object Model 项目对象模型的概念来管理项目。在 Maven 中每个项目都相当于一个对象,对象(项目)之间可以依赖、继承、聚合。
项目依赖包查找网站 mvnrepository.com,依赖包放在 Maven 仓库中,我们需要通过依赖的坐标信息,从仓库中下载 jar 。
坐标信息:groupId,artifactId,version
当我们在 pom.xml 引入某个 a.jar , Maven 会从本地仓库查找有没有 a.jar,没有就会去私服下载,私服没有会从中央仓库下载到私服,然后下载本地仓库。
依赖传递
maven-a.jar依赖maven-b.jarmaven-b.jar依赖maven-c.jarmaven-client项目中引入maven-a.jar,那么maven-b.jar和maven-c.jar都会引入进来。依赖传递遵循的两个规则
最短路径原则
有了依赖传递,但也存在一个问题。maven-a.jar依赖maven-b.jarmaven-b.jar依赖maven-c.jar(2.0)maven-a.jar依赖maven-c.jar(1.0)maven-client项目中引入maven-a.jar。
最终会采用哪个 maven-c.jar
所以 maven 依赖传递的其中一个规则就是,最短路径原则。
a -> b ->c(2.0) a -> c(1.0)
maven-client 项目最终使用 1.0 的 c 。
最先声明原则
最短路径原则存在一个问题,当最短路径一样的时候怎么办,最先声明原则就是再最短路径相同的时候生效。
maven-client项目中引入maven-a.jar和maven-b.jarmaven-b.jar只依赖maven-c.jar(2.0)maven-a.jar只依赖maven-c.jar(1.0)
现在依赖的最短路径一样
maven-client->maven-a->maven-c(1.0)maven-client->maven-b->maven-c(2.0)
在 maven-client 先引入的 maven-a 那么 maven-c 1.0 生效
在 maven-client 先引入的 maven-b 那么 maven-c 2.0 生效
最先声明有时达不到我们的预期,我可以可以这样解决:
第一种,打破最短依赖路径,直接在
maven-client引入你想要的maven-c的版本。<dependencies><dependency><groupId>org.example</groupId><artifactId>maven-a</artifactId><version>1.0-SNAPSHOT</version></dependency><dependency><groupId>org.example</groupId><artifactId>maven-b</artifactId><version>1.0-SNAPSHOT</version></dependency><dependency><groupId>org.example</groupId><artifactId>maven-c</artifactId><version>1.0-SNAPSHOT</version></dependency></dependencies>
第二种,排除 jar
<dependencies><dependency><groupId>org.example</groupId><artifactId>maven-a</artifactId><version>1.0-SNAPSHOT</version></dependency><dependency><groupId>org.example</groupId><artifactId>maven-b</artifactId><version>1.0-SNAPSHOT</version><exclusions><exclusion><groupId>org.example</groupId><artifactId>maven-c</artifactId></exclusion></exclusions></dependency></dependencies>
依赖作用域
依赖的作用域定义了 jar 在什么时候生效,打包成 war 或者 jar 的时候是否打包进去。
<dependency><groupId>mysql</groupId><artifactId>mysql-connector-java</artifactId><scope>runtime</scope></dependency>
compile
scope默认取值compile标识,当前依赖包,参与项目的编译、运行、测试、打包。runtime
runtime标识不参与项目编译,参与项目的运行、测试、打包。provided
provided标识参与项目的编译、运行、测试,但是不参与打包。system
system用于我们开发的一些二方库,但是不能发布到网上,可以使用这种场景去使用。默认这种 jar 不会打包进去,需要我们配置一下。
参与项目的编译、运行、测试。
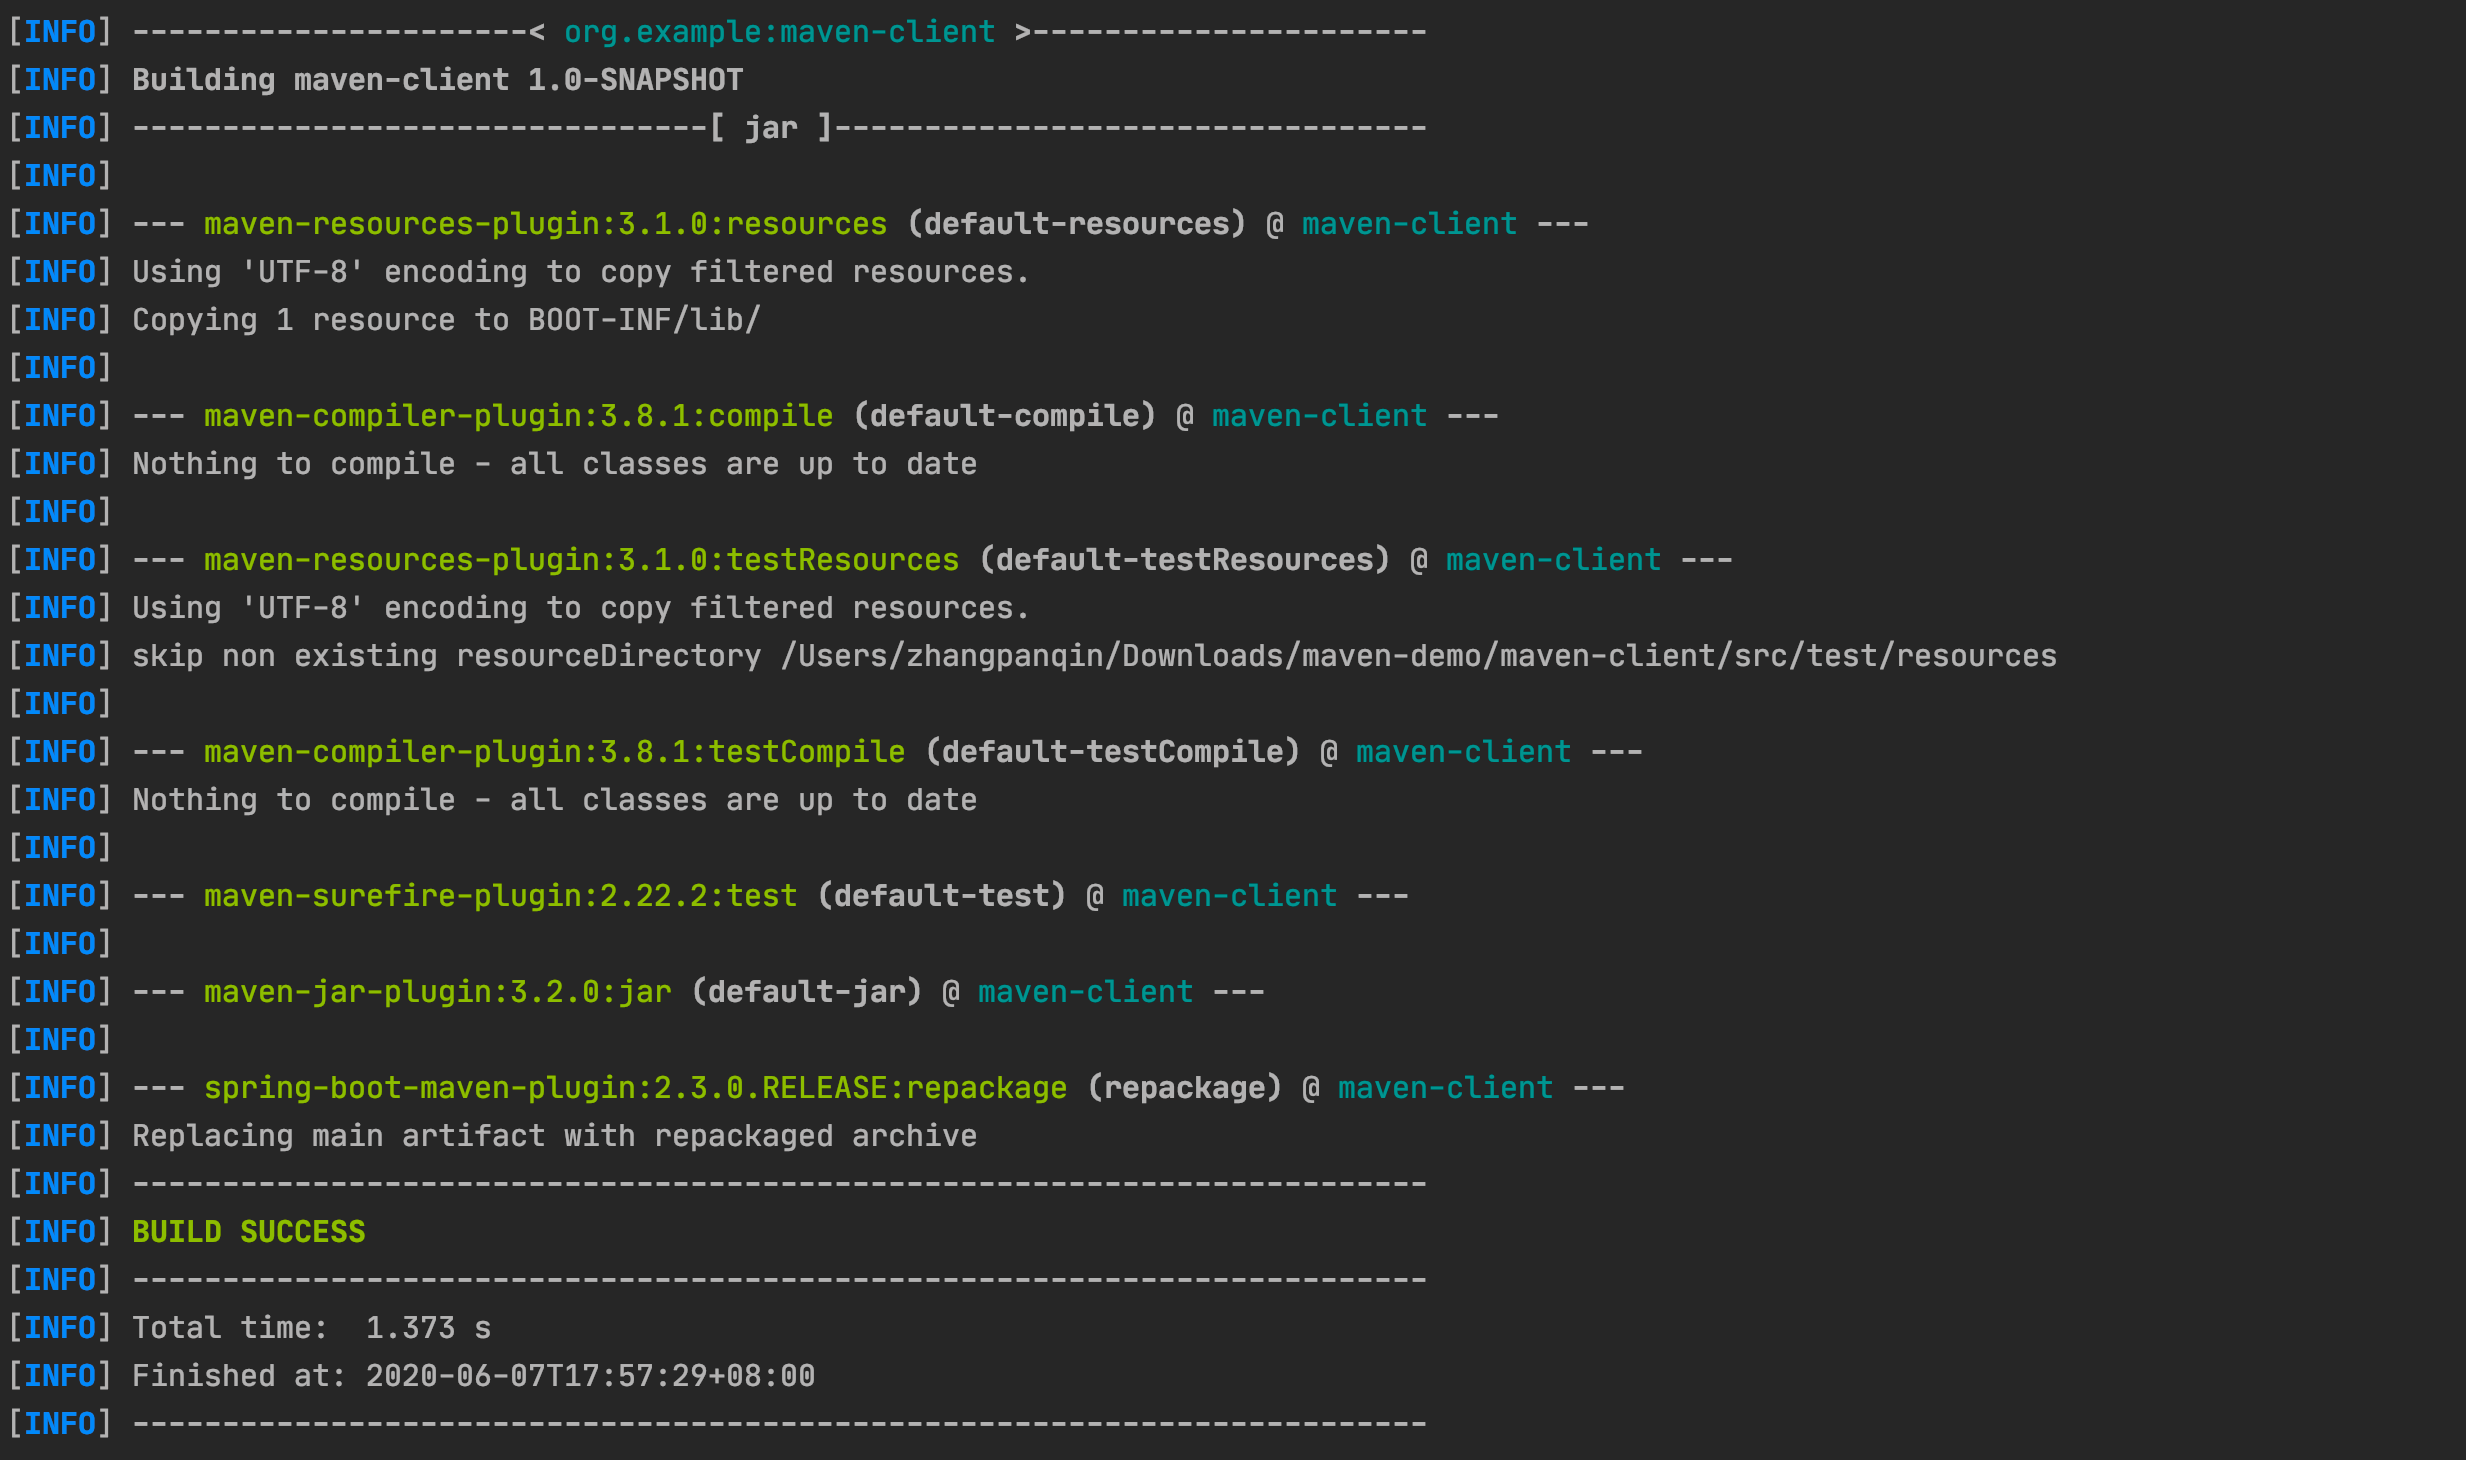
<dependencies><dependency><groupId>org.example</groupId><artifactId>maven-d.jar</artifactId><version>1.0-SNAPSHOT</version><scope>system</scope><systemPath>${basedir}/lib/maven-d.jar</systemPath></dependency></dependencies><build><plugins><plugin><groupId>org.springframework.boot</groupId><artifactId>spring-boot-maven-plugin</artifactId></plugin></plugins><resources><resource><directory>${basedir}/lib</directory><targetPath>BOOT-INF/lib/</targetPath><includes><include>**/*.jar</include></includes></resource></resources></build>
test
test 标识只在编译测试代码和运行测试代码的时候需要,别的都不用,打包的时候也不会包含。
import
一般我们会在父工程使用这个作用域。表示从其它的 pom.xml 导入 dependency 的配置
比如我们自己的父工程,只想要 springboot 的依赖管理。
<dependencyManagement><dependencies><dependency><groupId>org.springframework.boot</groupId><artifactId>spring-boot-dependencies</artifactId><version>${spring-boot.version}</version><type>pom</type><scope>import</scope></dependency></dependencies></dependencyManagement>
继承和聚合
继承
maven-client 继承了 maven-demo
<?xml version="1.0" encoding="UTF-8"?><project><parent><artifactId>maven-demo</artifactId><groupId>org.example</groupId><version>1.0-SNAPSHOT</version></parent><modelVersion>4.0.0</modelVersion><packaging>jar</packaging><artifactId>maven-client</artifactId></project>
聚合
maven-demo 聚合了五个工程。
<?xml version="1.0" encoding="UTF-8"?><project ><parent><groupId>org.springframework.boot</groupId><artifactId>spring-boot-starter-parent</artifactId><version>2.3.0.RELEASE</version><relativePath/> <!-- lookup parent from repository --></parent><groupId>org.example</groupId><artifactId>maven-demo</artifactId><packaging>pom</packaging><version>1.0-SNAPSHOT</version><modules><module>maven-a</module><module>maven-b</module><module>maven-c</module><module>maven-client</module><module>maven-d</module></modules></project>
- 继承用于消除冗余配置,比如一些配置打包配置,配置的变量,项目依赖和插件依赖版本管理
聚合用于快速构建项目。
聚合之前打包 a,b,c,d,clent 需要分别运行 mvn package。
- 聚合之后,我咱们只需要在 maven-demo 下运行 mvn package。
生命周期
maven 内部有三个构建周期。clean ,default,site。
其中 default 是我们经常使用的生命周期。
clean 生命周期
default 生命周期
默认生命周期大致由下面几个阶段组成。resources -> compile -> testResources -> testCompile -> test -> package -> install -> deploy
介绍下我们常用的。
- resources:拷贝 src/main/resources 下资源到 classpath 下。
- compile:编译项目源码
- testResources:拷贝 src/test/resources 到 测试的 test 的 classpath 下
- test:运行单元测试
- package:打包
- install:安装 jar 到本地仓库
- deploy: 发布 jar 到远程仓库或私有仓库
自定义操作到生命周期某个阶段
<plugin><groupId>org.apache.maven.plugins</groupId><artifactId>maven-assembly-plugin</artifactId><configuration><descriptors><descriptor>${basedir}/assembly/package.xml</descriptor></descriptors></configuration><executions><execution><id>make-assembly</id><phase>package</phase><goals><goal>single</goal></goals></execution></executions></plugin>
不同的生命周期一起运行。
mvn clean package
限制性 clean 生命周期,再执行 default 生命周期到 package 阶段。
私服和镜像的使用
配置镜像
mirrorOf 指定代理那个仓库 settings.xml 配置镜像
<localRepository>/Users/zhangpanqin/.m2/repository</localRepository><mirrors><mirror><id>aliyunmaven</id><!-- 被镜像的中央仓库 id --><mirrorOf>central</mirrorOf><name>中央仓库镜像</name><url>https://maven.aliyun.com/repository/public</url></mirror></mirrors>
你也可以在 pom.xml 配置私服
<repositories><repository><id>ali_maven</id><url>https://maven.aliyun.com/repository/central/</url><releases><enabled>true</enabled></releases><snapshots><enabled>true</enabled></snapshots></repository></repositories>
定义不同的配置环境
你也可以根据不同的配置环境,启动不同的 jdk 环境,或者根据不同的环境启动不同的镜像
settings.xml 配置。
<profiles><profile><id>test-1</id><activation><activeByDefault>false</activeByDefault></activation><repositories><repository><id>public-snapshots</id><name>public-snapshots</name><url>http://mvn.uinnova.cn/nexus/content/groups/public</url><releases><enabled>true</enabled><!--该元素指定更新发生的频率。Maven会比较本地POM和远程POM的时间戳。这里的选项是:always(一直),daily(默认,每日),interval:X(这里X是以分钟为单位的时间间隔),或者never(从不)。 --><updatePolicy>daily</updatePolicy><!--当Maven验证构件校验文件失败时该怎么做-ignore(忽略),fail(失败),或者warn(警告)。 --><checksumPolicy>warn</checksumPolicy></releases><snapshots><enabled>true</enabled></snapshots></repository></repositories></profile></profiles>
也可以针对具体的项目配置
<profiles><!-- 定义配置环境 打包的环境 mvn clean package -Pdev --><profile><id>local</id><properties><profileActive>local</profileActive></properties><activation><activeByDefault>false</activeByDefault></activation></profile><profile><id>dev</id><properties><profileActive>dev</profileActive></properties><activation><activeByDefault>true</activeByDefault></activation></profile><profile><id>prod</id><properties><profileActive>prod</profileActive></properties><activation><activeByDefault>false</activeByDefault></activation></profile><profile><id>test</id><properties><profileActive>test</profileActive></properties><activation><activeByDefault>false</activeByDefault></activation></profile></profiles>
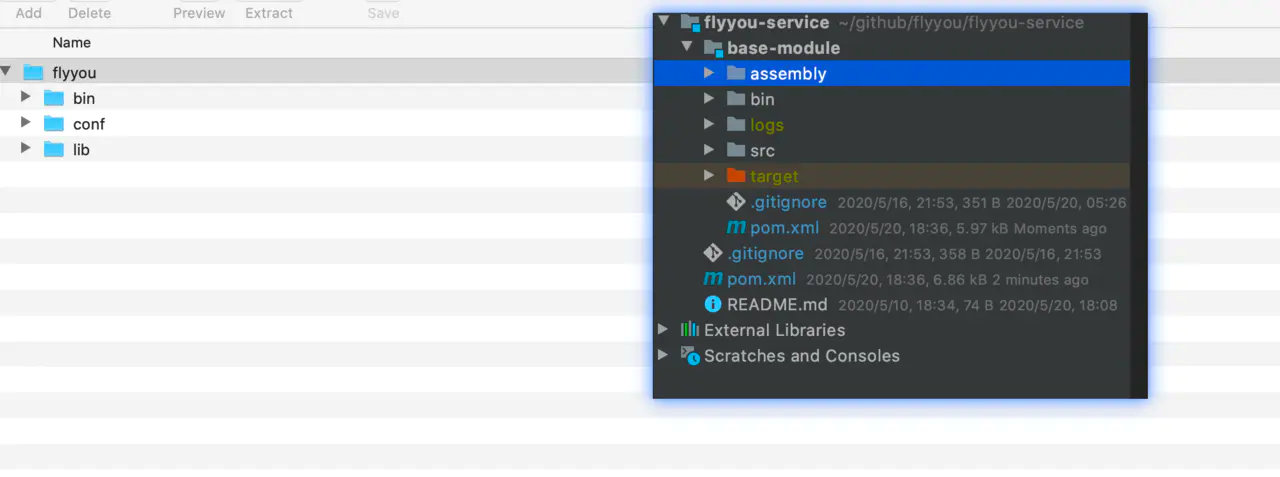
maven-assembly-plugin 打包
pom.xml 配置
<build><finalName>flyyou</finalName><plugins><plugin><groupId>org.springframework.boot</groupId><artifactId>spring-boot-maven-plugin</artifactId></plugin><plugin><groupId>org.apache.maven.plugins</groupId><artifactId>maven-assembly-plugin</artifactId><configuration><descriptors><descriptor>${basedir}/assembly/package.xml</descriptor></descriptors></configuration><executions><execution><id>make-assembly</id><phase>package</phase><goals><goal>single</goal></goals></execution></executions></plugin></plugins></build>
package.xml
<assembly xmlns="http://maven.apache.org/ASSEMBLY/2.0.0"xmlns:xsi="http://www.w3.org/2001/XMLSchema-instance"xsi:schemaLocation="http://maven.apache.org/ASSEMBLY/2.0.0 http://maven.apache.org/xsd/assembly-2.0.0.xsd"><!-- id 标识符,添加到生成文件名称的后缀符。如果指定 id 的话,目标文件则是 ${artifactId}-${id}.tar.gz--><id>${project.version}-${profileActive}-bin</id><!-- 指定打的包是否包含打包层目录(比如finalName是terminal-dispatch,当值为true,所有文件被放在包内的terminal-dispatch目录下,否则直接放在包的根目录下)--><!-- <includeBaseDirectory>true</includeBaseDirectory>--><!-- 打包格式有zip、tar、tar.gz (or tgz)、tar.bz2 (or tbz2)、jar、dir、war,可以同时指定多个打包格式--><formats><format>tar.gz</format><format>zip</format></formats><fileSets><!-- target 目录下的 jar,打包进zip文件的 lib 目录 --><fileSet><directory>${project.build.directory}</directory><outputDirectory>lib</outputDirectory><includes><include>*.jar</include></includes></fileSet><!-- 项目根目录下的 bin 目录打包进 zip bin --><fileSet><directory>${basedir}/bin</directory><outputDirectory>bin</outputDirectory><includes><include>*.sh</include><include>*.bat</include></includes></fileSet><!-- 把项目根目录下的 doc 目录打包进 zip 中的 doc --><fileSet><directory>${basedir}/doc</directory><outputDirectory>doc</outputDirectory><includes><include>pic/**</include><include>*.md</include><include>*.pdf</include></includes></fileSet><!-- 把编译路径 classes 下的配置文件和日志配置文件放到 zip 中的 conf --><fileSet><directory>${project.build.outputDirectory}</directory><outputDirectory>conf</outputDirectory><includes><include>application-${profileActive}.yml</include><include>logback-spring.xml</include></includes></fileSet></fileSets></assembly>
配合 SpringBoot 使用
application.yml
spring:application:name: flyyou-serviceprofiles:active: @profileActive@
图形化界面切换开发环境,再也不用不停修改配置文件了作者:张攀钦
自动构建的时候使用下面命令,打包开发环境
mvn clean package -Ddev
Maven 中true 和provided 之间的区别
链接:https://juejin.im/post/5edcc333e51d4578448005cc 来源:掘金 著作权归作者所有。商业转载请联系作者获得授权,非商业转载请注明出处。

若有收获,就点个赞吧
0 人点赞
