1.从样板机克隆一台虚拟机
2.修改网卡IP为192.168.223.20
3.挂载/dev/sr0
4.关闭防火墙
1.修改主机名
[root@localhost ~]# hostnamectl set-hostname samba [root@localhost ~]# hostnamectl Static hostname: samba Icon name: computer-vm Chassis: vm Machine ID: ac7e881816ac4b5da4214409baa5af86 Boot ID: 701e9ff0279044c1af51139747e7a887 Virtualization: vmware Operating System: CentOS Linux 7 (Core) CPE OS Name: cpe:/o:centos:centos:7 Kernel: Linux 3.10.0-1160.el7.x86_64 Architecture: x86-64 [root@localhost ~]# bash
2.下载Samba服务、
[root@samba ~]# yum install -y samba 已加载插件:fastestmirror Loading mirror speeds from cached hostfile centos | 3.6 kB 00:00:00
…………
完毕!
3.配置Samba服务
[root@samba ~]# vi /etc/samba/smb.conf
修改[global]的内容如下
load printers = nocups options = rawprintcap name = /dev/nullprintcap name = lpstat(新增)printing = bsddisable spoolss = yes(新增)在最后添加如下内容
[share] path = /opt/share browseable = yes public = yes writable = yes
4.创建目录并授权
[root@samba ~]# mkdir /opt/share [root@samba ~]# chmod 777 /opt/share
5.启动Samba服务
[root@samba ~]# systemctl start smb [root@samba ~]# systemctl start nmb
6.查看端口情况
[root@samba ~]# yum -y install net-tools [root@samba ~]# netstat -nplt Active Internet connections (only servers) Proto Recv-Q Send-Q Local Address Foreign Address State PID/Program name
tcp 0 0 0.0.0.0:139 0.0.0.0: LISTEN 2336/smbd
tcp 0 0 0.0.0.0:22 0.0.0.0: LISTEN 1056/sshd
tcp 0 0 127.0.0.1:25 0.0.0.0: LISTEN 1194/master
tcp 0 0 0.0.0.0:445 0.0.0.0: LISTEN 2336/smbd
tcp6 0 0 :::139 ::: LISTEN 2336/smbd
tcp6 0 0 :::22 ::: LISTEN 1056/sshd
tcp6 0 0 ::1:25 ::: LISTEN 1194/master
tcp6 0 0 :::445 ::: LISTEN 2336/smbd
7.创建Samba用户
[root@samba ~]# smbpasswd -a root New SMB password:123456 Retype new SMB password:123456 Added user root. 密码不可见
8.重启服务
[root@samba ~]# service smb restart
9.使用Samba服务
1.使用”win+R”快捷键,并输入\192.168.223.20(提供Samba服务的主机IP)

2.在弹出页面输入用户名root密码123456
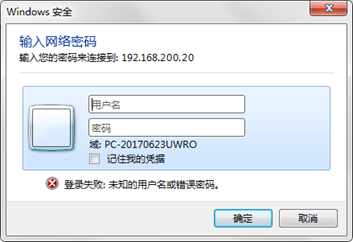
3.登陆后显示如下

4.Samba服务是文件共享服务器
将需要被共享的文件(例如/media)移动到share目录即可:
[root@samba ~]# mv /media /opt/share
转到PC目录下查看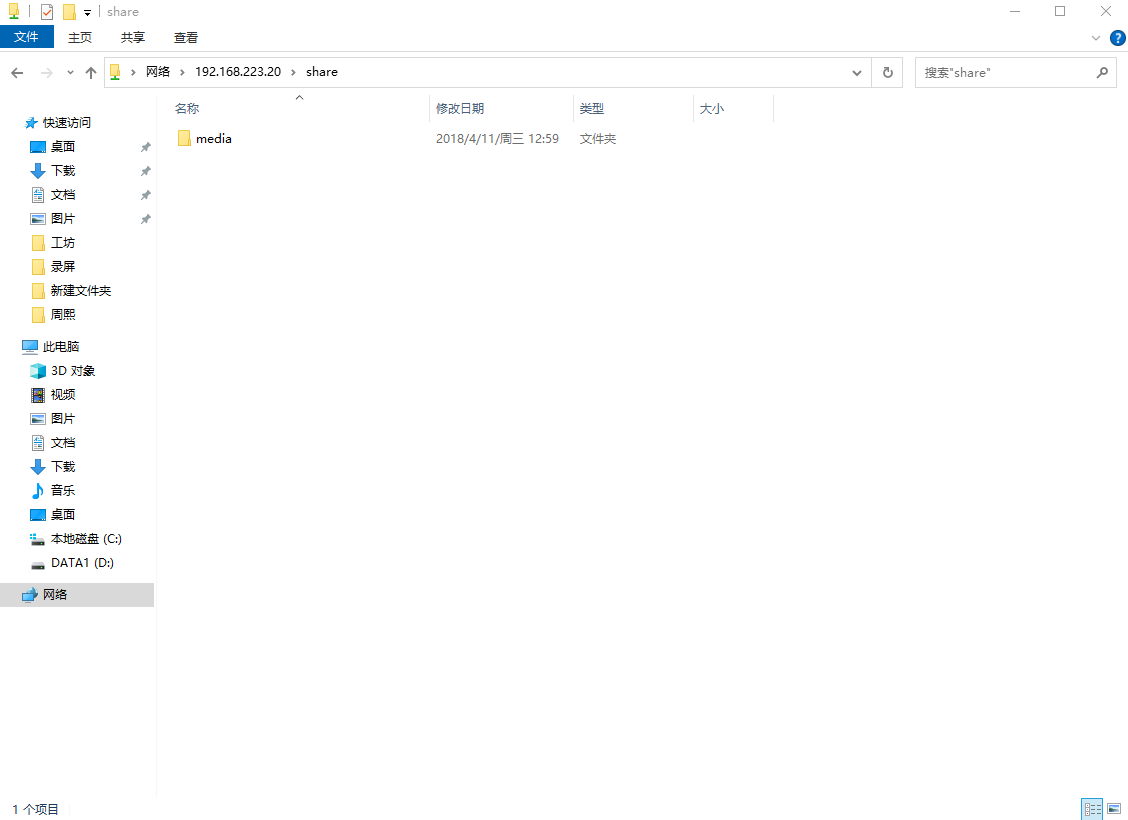
至此Samba的简单共享已经完成

若有收获,就点个赞吧
0 人点赞
