一、安装LNMP环境
1.修改主机名
[root@samba ~]# hostnamectl set-hostname lnmp [root@samba ~]# hostnamectl Static hostname: lnmp Icon name: computer-vm Chassis: vm Machine ID: 06c97bdf0e6c4a89898aa7d58c6be2cc Boot ID: b05f421c261c4a26b5e5d5b67566c826 Virtualization: vmware Operating System: CentOS Linux 7 (Core) CPE OS Name: cpe:/o:centos:centos:7 Kernel: Linux 3.10.0-327.el7.x86_64 Architecture: x86-64 [root@samba ~]# bash
2.将提供的软件包上传到虚拟机的/root目录下
lnmp1.6-full.tar.gz和wordpress-4.7.3-zh_CN.zip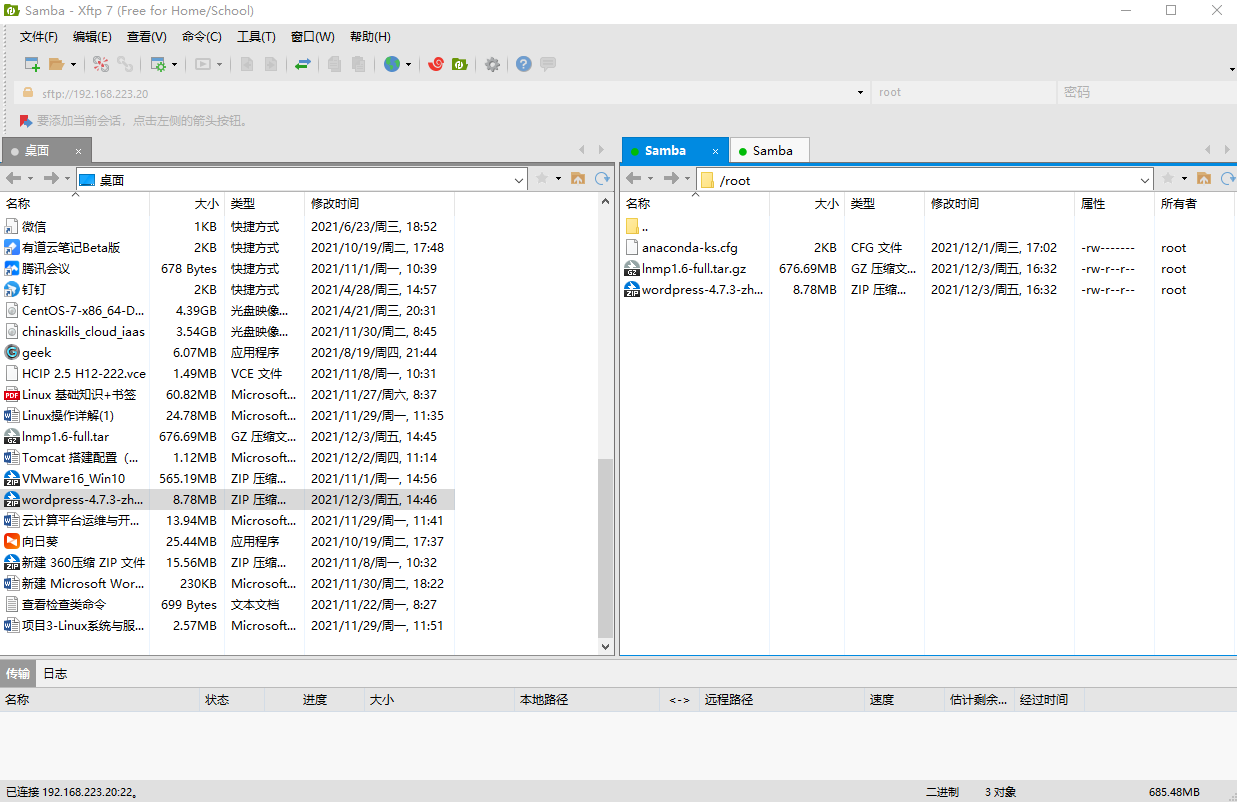
3.解压完成后,执行安装脚本
[root@lnmp ~]# cd lnmp1.6-full [root@lnmp lnmp1.6-full]# ./install.sh
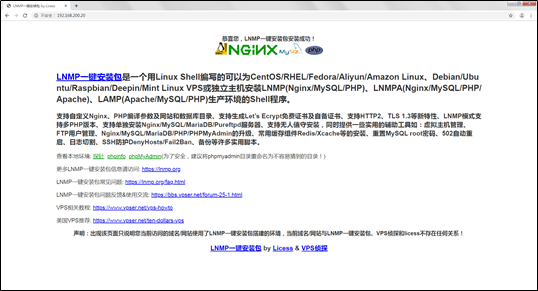
4.使用浏览器输入虚拟机IP查看安装成功页面
二、部署WordPress应用
1进入mysql数据库进行基础配置
[root@lnmp ~]# mysql -uroot -pyourpassword Welcome to the MySQL monitor. Commands end with ; or \g. Your MySQL connection id is 1 Server version: 5.5.62-log Source distribution
Copyright (c) 2000, 2018, Oracle and/or its affiliates. All rights reserved.
Oracle is a registered trademark of Oracle Corporation and/or its affiliates. Other names may be trademarks of their respective owners.
Type ‘help;’ or ‘\h’ for help. Type ‘\c’ to clear the current input statement.
mysql> create database wordpress; Query OK, 1 row affected (0.01 sec)
mysql> grant all privileges on . to root@localhost identified by ‘yourpassword’ with grant option; Query OK, 0 rows affected (0.00 sec)
mysql> grant all privileges on . to root@”%” identified by ‘yourpassword’ with grant option; Query OK, 0 rows affected (0.00 sec)
mysql> Ctrl-C — exit! Aborted
2.解压WordPress压缩包并配置文件
[root@lnmp ~]# unzip wordpress-4.7.3-zh_CN.zip [root@lnmp ~]# cd /home/wwwroot/default [root@lnmp default]# rm -rf index.html [root@lnmp default]#cd /root/wordpress [root@lnmp wordpress]# cp -rvf /home/wwwroot/default [root@lnmp wordpress]# cd /home/wwwroot/default/ [root@lnmp default]# chmod 777
3.备份配置文件并编辑
[root@lnmp default]# cp wp-config-sample.php wp-config.php [root@lnmp default]# vi wp-config.php // MySQL 设置 - 具体信息来自您正在使用的主机 // /* WordPress数据库的名称 / define(‘DB_NAME’, ‘wordpress’);
/* MySQL数据库用户名 / define(‘DB_USER’, ‘root’);
/* MySQL数据库密码 / define(‘DB_PASSWORD’, ‘yourpassword’);
/* MySQL主机 / define(‘DB_HOST’, ‘127.0.0.1’);
/* 创建数据表时默认的文字编码 / define(‘DB_CHARSET’, ‘utf8’);
/* 数据库整理类型。如不确定请勿更改 / define(‘DB_COLLATE’, ‘’);
4.更改完毕后浏览器输入虚拟机IP进入
进行必要配置后安装即可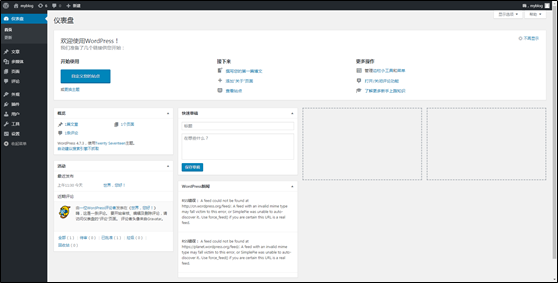

若有收获,就点个赞吧
0 人点赞
