一、使用网络YUM源手动搭建LNMP环境
1.配置基本环境
配置yum源
关闭防火墙(setenforce、seliunx、firewalld)
mount /dev/sr0 /opt/centos
2.安装Nginx
在 /etc/yum.repos.d/ 下创建 nginx.repo 文件
vi /etc/yum.repos.d/nginx.repo
按i切换至编辑模式,输入以下内容
[nginx]name = nginx repobaseurl = https://nginx.org/packages/mainline/centos/7/$basearch/gpgcheck = 0enabled = 1
Esc退出编辑模式,:wq保存退出
安装nginx
yum install -y nginx
打开 default.conf文件
vi /etc/nginx/conf.d/default.conf
按i切换至编辑模式,编辑default.conf文件
找到server{……},并将server大括号中相应的配置信息配置成以下内容
server {listen 80;root /usr/share/nginx/html;server_name localhost;#charset koi8-r;#access_log /var/log/nginx/log/host.access.log main;#location / {index index.php index.html index.htm;}#error_page 404 /404.html;#redirect server error pages to the static page /50x.html#error_page 500 502 503 504 /50x.html;location = /50x.html {root /usr/share/nginx/html;}#pass the PHP scripts to FastCGI server listening on 127.0.0.1:9000#location ~ .php$ {fastcgi_pass 127.0.0.1:9000;fastcgi_index index.php;fastcgi_param SCRIPT_FILENAME $document_root$fastcgi_script_name;include fastcgi_params;}}
Esc退出编辑模式,:wq保存退出
启动Nginx
systemctl start nginx
设置Nginx为开机自启
systemctl enable nginx
在浏览器访问虚拟机IP,查看Nginx服务是否正常运行
显示如下说明Nginx服务配置成功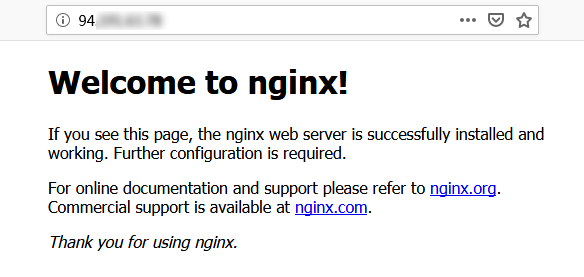
3.安装数据库
查看系统中是否已安装Mariadb
rpm -qa | grep -i mariadb
如反馈类似以下内容,则表明已存在Mariadb
移除已经安装的Mariadb
yum -y remove 包名
如未反馈任何东西,说明未安装Mariadb,进行下一步
在 /etc/yum.repos.d/ 下创建 MariaDB.repo 文件
vi /etc/yum.repos.d/MariaDB.repo
按i切换至编辑模式,写入以下内容,添加Mariadb软件库
[mariadb]name = MariaDBbaseurl = https://mirrors.cloud.tencent.com/mariadb/yum/10.4/centos7-amd64gpgkey=https://mirrors.cloud.tencent.com/mariadb/yum/RPM-GPG-KEY-MariaDBgpgcheck=1
Esc退出编辑模式,:wq保存退出
使用以下命令安装Mariadb
yum -y install MariaDB-client MariaDB-server
启动Mariadb服务
systemctl start mariadb
设置Mariadb为开机自启
systemctl enable mariadb
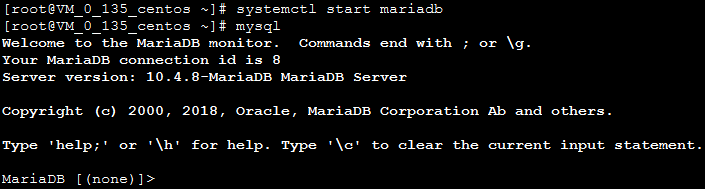
检查Mariadb是否安装成功
mysql
4.安装PHP
更新yum中PHP的软件源
rpm -Uvh https://mirrors.cloud.tencent.com/epel/epel-release-latest-7.noarch.rpm
rpm -Uvh https://mirror.webtatic.com/yum/el7/webtatic-release.rpm
安装PHP7.2所需要的包,这一步等待时间较长
yum -y install mod_php72w.x86_64 php72w-cli.x86_64 php72w-common.x86_64 php72w-mysqlnd php72w-fpm.x86_64
启动PHP服务
systemctl start php-fpm
设置PHP服务为开机自启
systemctl enable php-fpm
创建一个供PHP安装测试的文件
echo "<?php phpinfo(); ?>" >> /usr/share/nginx/html/index.php
重启Nginx
systemctl restart nginx
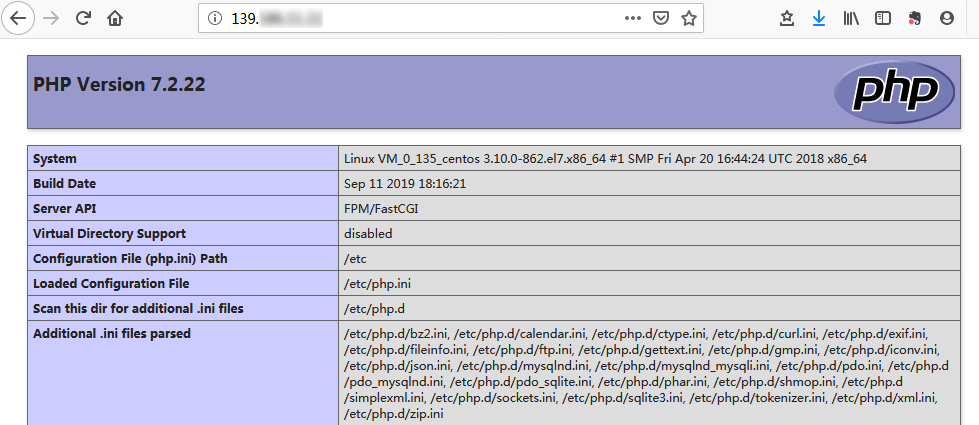
访问虚拟机IP,查看环境配置是否成功
此时页面可能为以下
进入/usr/share/nginx/html目录
cd /usr/share/nginx/html
二、手动搭建Wordpress个人站点
在mysql服务器内创建一个名为wordpress的数据库并授权
[root@xserver1 ~]# mysql -uroot -p000000Welcome to the MariaDB monitor. Commands end with ; or \g.Your MariaDB connection id is 4Server version: 5.5.44-MariaDB-log MariaDB ServerCopyright (c) 2000, 2015, Oracle, MariaDB Corporation Ab and others.Type 'help;' or '\h' for help. Type '\c' to clear the current input statement.MariaDB [(none)]> create database wordpress;Query OK, 1 row affected (0.00 sec)MariaDB [(none)]> grant all privileges on *.* to "wordpress"@"localhost" identified by '000000';Query OK, 0 rows affected (0.00 sec)MariaDB [(none)]> flush privileges;Query OK, 0 rows affected (0.00 sec)
重启mysql服务
systemctl restart mariadb
删除nginx的默认文件
rm -rf /usr/share/nginx/html/*
上传解压wordpress安装包
[root@xserver1 ~]# yum install -y unzip[root@xserver1 ~]# unzip wordpress-4.7.3-zh_CN.zip
部署wordpress服务
[root@xserver1 ~]# cp -rf wordpress/* /usr/share/nginx/html/[root@xserver1 ~]# cd !$cd /usr/share/nginx/html/[root@xserver1 html]# lsindex.php wp-blog-header.php wp-includes wp-settings.phplicense.txt wp-comments-post.php wp-links-opml.php wp-signup.phpreadme.html wp-config-sample.php wp-load.php wp-trackback.phpwp-activate.php wp-content wp-login.php xmlrpc.phpwp-admin wp-cron.php wp-mail.php
复制一个配置文件,根据mysql授权填写配置文件
[root@xserver1 html]# cp wp-config-sample.php wp-config.php[root@xserver1 html]# vim wp-config.php21 // ** MySQL22 /** WordPress23 define('DB_NAME', 'wordpress');2425 /** MySQL数据库用户名 */26 define('DB_USER', 'wordpress');2728 /** MySQL数据库密码 */29 define('DB_PASSWORD', '000000');3031 /** MySQL主机 */32 define('DB_HOST', 'localhost');3334 /** 创建数据表时默认的文字编码 */35 define('DB_CHARSET', 'utf8');
给予所有文件权限
chmod -R 777 /usr/share/nginx/html/
查看端口是否启用,没有该命令需要安装
[root@xserver1 html]#yum -y install net-tools[root@xserver1 html]#netstat -ntlpActive Internet connections (only servers)Proto Recv-Q Send-Q Local Address Foreign Address State PID/Program nametcp 0 0 127.0.0.1:9000 0.0.0.0:* LISTEN 4238/php-fpm: mastetcp 0 0 0.0.0.0:3306 0.0.0.0:* LISTEN 4460/mysqldtcp 0 0 0.0.0.0:139 0.0.0.0:* LISTEN 3118/smbdtcp 0 0 0.0.0.0:111 0.0.0.0:* LISTEN 2739/rpcbindtcp 0 0 0.0.0.0:80 0.0.0.0:* LISTEN 4236/nginx: mastertcp 0 0 0.0.0.0:20048 0.0.0.0:* LISTEN 2754/rpc.mountdtcp 0 0 0.0.0.0:22 0.0.0.0:* LISTEN 1112/sshdtcp 0 0 127.0.0.1:25 0.0.0.0:* LISTEN 1605/mastertcp 0 0 0.0.0.0:445 0.0.0.0:* LISTEN 3118/smbdtcp 0 0 0.0.0.0:45758 0.0.0.0:* LISTEN -tcp 0 0 0.0.0.0:2049 0.0.0.0:* LISTEN -tcp 0 0 0.0.0.0:52550 0.0.0.0:* LISTEN 2730/rpc.statdtcp6 0 0 :::139 :::* LISTEN 3118/smbdtcp6 0 0 :::111 :::* LISTEN 2739/rpcbindtcp6 0 0 :::20048 :::* LISTEN 2754/rpc.mountdtcp6 0 0 :::21 :::* LISTEN 2640/vsftpdtcp6 0 0 :::22 :::* LISTEN 1112/sshdtcp6 0 0 ::1:25 :::* LISTEN 1605/mastertcp6 0 0 :::56316 :::* LISTEN -tcp6 0 0 :::445 :::* LISTEN 3118/smbdtcp6 0 0 :::2049 :::* LISTEN -tcp6 0 0 :::43140 :::* LISTEN 2730/rpc.statd
浏览器访问虚拟机IP,结果如下则说明配置成功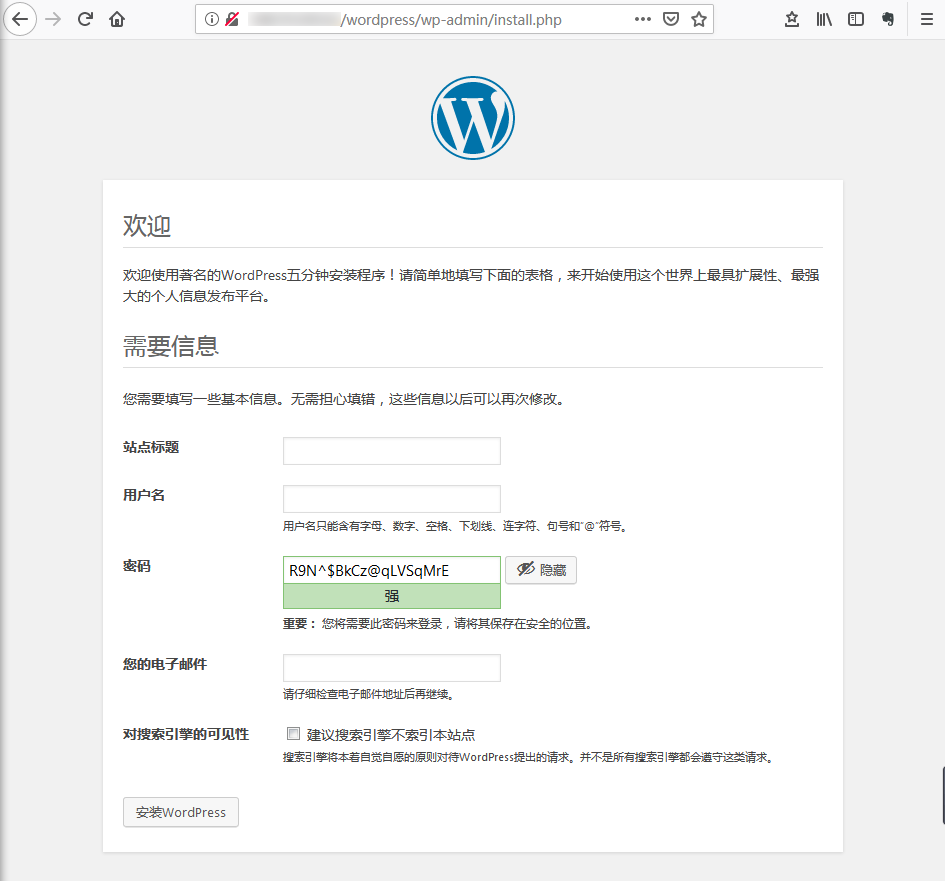

若有收获,就点个赞吧
0 人点赞
