- Python内置了对 SMTP 的支持,可以发送纯文本、富文本、HTML 等格式的邮件
- 邮箱需要开启 SMTP 服务
- 需要账号、授权码和服务器地址
- smtp 服务器端口,仅能使用25、465和587
- 25端口(明文传输)
- 465端口(SSL 加密)
- 587端口(STARTTLS 加密)
- 参考:https://www.yuque.com/fcant/python/tw3mdy#fySCx
一 smtplib
- SMTP是发送邮件的协议,Python内置对SMTP的支持,可以发送纯文本邮件、HTML邮件以及带附件的邮件。
- Python对SMTP支持有smtplib和email两个模块,email负责构造邮件,smtplib负责发送邮件。
简单使用
import smtplibfrom email.mime.text import MIMETextfrom email.header import Header# 第三方 SMTP 服务mail_host="smtp.XXX.com" #设置服务器mail_user="XXXX" #用户名mail_pass="XXXXXX" #口令sender = '1574188782@qq.com'receivers = ['zhengxianyi@touch-spring.com'] # 接收邮件,可设置为你的QQ邮箱或者其他邮箱message = MIMEText('Python 邮件发送测试...', 'plain', 'utf-8')message['From'] = Header("菜鸟教程", 'utf-8')message['To'] = Header("测试", 'utf-8')subject = 'Python SMTP 邮件测试'message['Subject'] = Header(subject, 'utf-8')try:smtpObj = smtplib.SMTP()smtpObj.connect(mail_host, 25) # 25 为 SMTP 端口号smtpObj.login(mail_user,mail_pass)smtpObj.sendmail(sender, receivers, message.as_string())print ("邮件发送成功")except smtplib.SMTPException:print ("Error: 无法发送邮件")
封装成工具类
utils/SendEmail.py
"""邮件发送工具Python对SMTP支持有smtplib和email两个模块:1. email负责构造邮件2. smtplib负责发送邮件。"""import smtplibimport sslfrom email.header import Headerfrom email.mime.multipart import MIMEMultipartfrom email.mime.text import MIMETextimport attach as attachfrom loguru import loggerfrom utils.ReadConfig import ReadConfigclass SendMail:def __init__(self):"""初始化smtp服务器连接smtp 服务器端口,仅能使用25、465和58725端口(明文传输)465端口(SSL 加密) 587端口(STARTTLS 加密)"""self.cf = ReadConfig()# qq邮箱服务器地址self.mail_host = self.cf.get_email('mail_host')# 端口self.mail_port = self.cf.get_email('mail_port')# 用户名self.mail_user = self.cf.get_email('mail_user')# 密码(部分邮箱为授权码)self.mail_pass = self.cf.get_email('mail_pass')self.mail_sender = self.cf.get_email('mail_sender')# 根据不同的端口,用不同的方式连接if self.mail_port == "587":ctx = ssl.SSLContext(ssl.PROTOCOL_TLS)self.smtpObj = smtplib.SMTP(self.mail_host, self.mail_port)self.smtpObj.ehlo()self.smtpObj.starttls(context=ctx)elif self.mail_port == "25":self.smtpObj = smtplib.SMTP(self.mail_host, self.mail_port)elif self.mail_port == "465":self.smtpObj = smtplib.SMTP_SSL(self.mail_host, self.mail_port)# 连接self.smtpObj.connect(self.mail_host, self.mail_port)# 登录self.smtpObj.login(self.mail_user, self.mail_pass)def send_text_mail(self, subject, content, receivers):"""发送文本邮件:param subject: 邮件主题:param message: 邮件内容:param receivers: 邮件接受者:return:"""# 邮件内容message = MIMEText(content, 'plain', 'utf-8')# 邮件主题message['Subject'] = Header(subject, 'UTF-8')# 发送方信息message['From'] = Header(self.mail_sender, 'utf-8')message['To'] = ','.join(receivers)try:# 发送self.smtpObj.sendmail(self.mail_sender, receivers, message.as_string())logger.info("mail has been send successfully. send to {} ".format(receivers))except smtplib.SMTPException as e:logger.error('error', e)def send_html_mail(self,subject, content, receivers):"""发送HTML格式邮件:param subject: 邮件主题:param message: 邮件内容:param receivers: 邮件接受者:return:"""# 邮件内容message = MIMEText(content, 'html', 'utf-8')# 邮件主题message['Subject'] = Header(subject, 'UTF-8')# 发送方信息message['From'] = Header(self.mail_sender, 'utf-8')message['To'] = ','.join(receivers)try:# 发送self.smtpObj.sendmail(self.mail_sender, receivers, message.as_string())logger.info("mail has been send successfully. send to {} ".format(receivers))except smtplib.SMTPException as e:logger.error('error', e)def send_appendix_mail(self,subject, content, receivers):"""发送带附件的邮件"""# 创建一个带附件的实例message = MIMEMultipart()message['From'] = Header(self.mail_sender, 'utf-8')message['To'] = ','.join(receivers)# 邮件主题message['Subject'] = Header(subject, 'UTF-8')# 邮件正文内容message.attach(MIMEText(content, 'plain', 'utf-8'))# 构造附件,传送当前目录下的 extract.pyatt = MIMEText(open('extract.py','rb').read(),'base64', 'utf-8')# 这里的filename可以任意写,写什么名字,邮件中显示什么名字att["Content-Disposition"] = 'attachment; filename="extract.py"'message.attach(att)try:# 发送self.smtpObj.sendmail(self.mail_sender, receivers, message.as_string())logger.info("mail has been send successfully. send to {} ".format(receivers))except smtplib.SMTPException as e:logger.error('error', e)def exit(self):# 关闭会话self.smtpObj.quit()
以上封装了发送不同格式邮件方法,邮箱配置是从ReadConfig工具类中读取的
utils/ReadConfig.py
import configparserimport osclass ReadConfig:"""读取配置文件类"""def __init__(self,filepath=None):if filepath:configpath =filepathelse:root_dir = os.path.abspath(os.path.dirname(os.path.dirname(__file__)))configpath = os.path.join(root_dir, 'config.ini')self.cf = configparser.ConfigParser()self.cf.read(configpath, encoding="utf-8")def get_email(self, param):return self.cf.get('Email', param)
config.ini
[Email]mail_host = smtp.qq.commail_port = 465mail_user = xx@qq.commail_sender = xx@qq.commail_pass = 授权码
调用上面邮件工具类
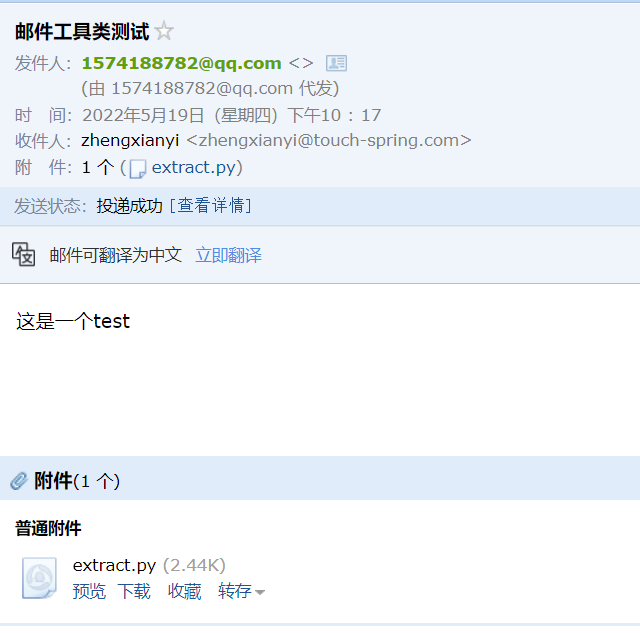
if __name__ == '__main__':mail = SendMail()subject = "邮件工具类测试"message = "这是一个test"receivers = ['zhengxianyi@touch-spring.com']mail.send_appendix_mail(subject, message, receivers)
- 传递的收件人格式应该是list类型
二 yagmail
yagmail 只需要几行代码,就能实现发送邮件的功能,相比 smtplib,yagmail 实现发送邮件的方式更加简洁优雅
安装
pip3 install yagmail
下载过程中可能会出现错误,解决办法:https://blog.csdn.net/zhengshengnan123/article/details/89151094
简单使用
import yagmailyag_server = yagmail.SMTP(user='1574188782@qq.com',password='授权码', host='smtp.qq.com')# 发送对象列表email_to = ['zhengxianyi@touch-spring.com', ]email_title = '测试报告'email_content = "这是测试报告的具体内容"# 发送邮件yag_server.send(email_to, email_title, email_content)
封装成工具类
import yagmailfrom loguru import loggerfrom utils.ReadConfig import ReadConfigclass SendMail:def __init__(self):# 读取配置文件self.cf = ReadConfig()# 邮箱服务器地址self.mail_host = self.cf.get_email('mail_host')# 端口self.mail_port = self.cf.get_email('mail_port')# 用户名self.mail_user = self.cf.get_email('mail_user')# 密码(部分邮箱为授权码)self.mail_pass = self.cf.get_email('mail_pass')self.mail_sender = self.cf.get_email('mail_sender')def send_mail(self, subject, content, receivers):yag_server = yagmail.SMTP(user=self.mail_user, password=self.mail_pass, host=self.mail_host)# 发送对象列表email_to = ','.join(receivers)# 发送邮件try:yag_server.send(email_to, subject, content)logger.info("mail has been send successfully. send to {} ".format(receivers))except Exception as e :logger.error('error', e)
只有yagmail.SMTP,没有yagmail.SMTP_SSL,yagmail.SMTP支持25、465、587端口
调用
if __name__ == '__main__':mail = SendMail()# 发送对象列表receivers = ['zhengxianyi@touch-spring.com', ]subject = '测试报告'content = "这是测试报告的具体内容"# 发送邮件mail.send_mail(subject, content, receivers)

若有收获,就点个赞吧
0 人点赞
