在项目中需要修改一下element 封装好的组件, 这里记录一下具体流程.
这里需要注意, 直接在项目的node_modules里修改时没有用的, 需要先从git上拉到elementUI的源文件,在本地调试后, 编译, 再把lib文件夹去替换node_mmodules中的对应文件夹.
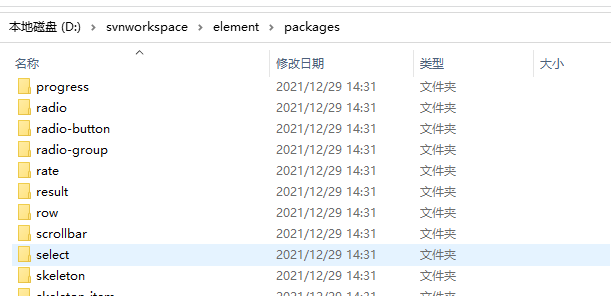
1. 拉取如图所示的项目
从github上下载源码
https://github.com/ElemeFE/element.git
cd element
npm install 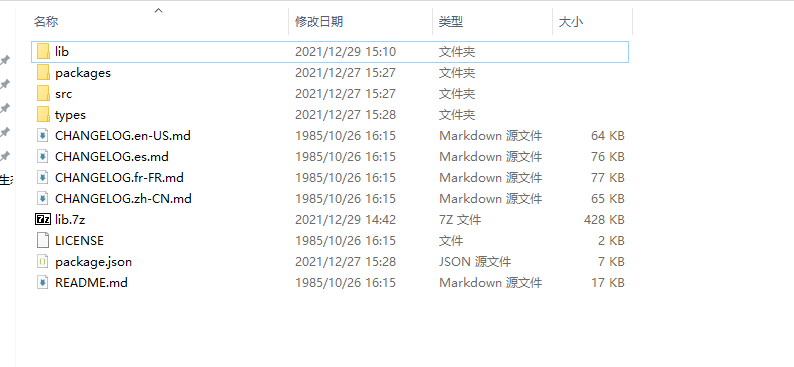
上图中的lib在原项目中是没有的, 编译后才会出现
2. 修改代码
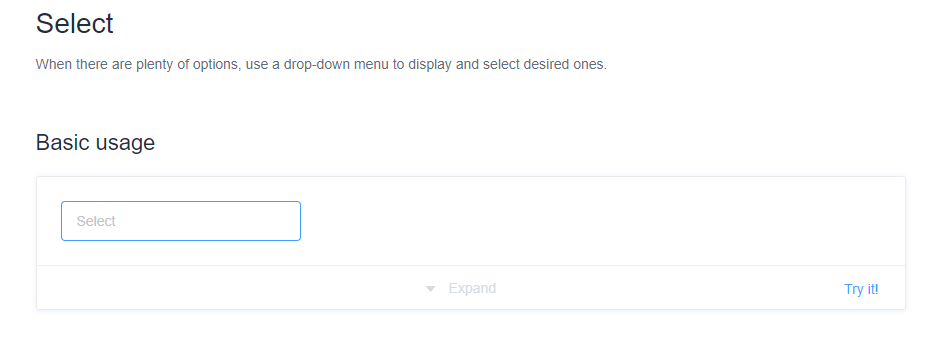
这里用一个下拉组件select做演示:
修改前: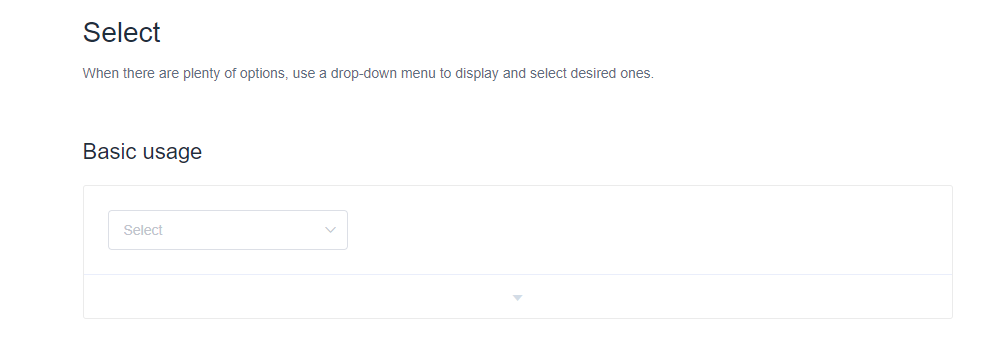
现在需要把下拉框的后缀箭头去掉
1. 进入packages文件夹, 找到select文件夹
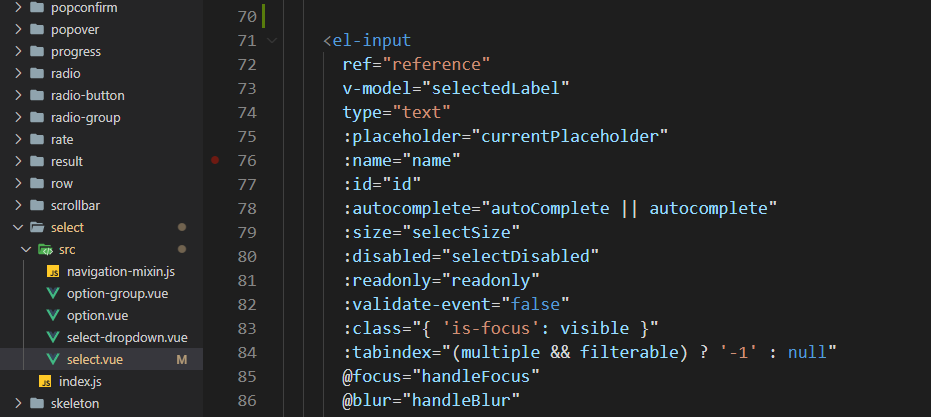
在一个el-input组件中, v-model对应的selectedLabel就是我们要修改的组件:
<el-inputref="reference"v-model="selectedLabel"type="text":placeholder="currentPlaceholder":name="name":id="id":autocomplete="autoComplete || autocomplete":size="selectSize":disabled="selectDisabled":readonly="readonly":validate-event="false":class="{ 'is-focus': visible }":tabindex="(multiple && filterable) ? '-1' : null"@focus="handleFocus"@blur="handleBlur"@input="debouncedOnInputChange"@keydown.native.down.stop.prevent="handleNavigate('next')"@keydown.native.up.stop.prevent="handleNavigate('prev')"@keydown.native.enter.prevent="selectOption"@keydown.native.esc.stop.prevent="visible = false"@keydown.native.tab="visible = false"@compositionstart="handleComposition"@compositionupdate="handleComposition"@compositionend="handleComposition"@mouseenter.native="inputHovering = true"@mouseleave.native="inputHovering = false"><template><span>user</span></template><template slot="prefix" v-if="$slots.prefix"><slot name="prefix"></slot></template><template slot="suffix"><i v-show="!showClose" :class="['el-select__caret', 'el-input__icon', 'el-icon-' + iconClass]"></i><i v-if="showClose" class="el-select__caret el-input__icon el-icon-circle-close" @click="handleClearClick"></i></template></el-input>
只需要把最下面slot=”suffix”的tempalate删掉.
3. 调试代码
然后运行 npm run dev, 该项目是热编译, 运行后修改代码会自动重新编译.
就可以看到运行后的效果:
这里有一点 要注意了 Element这里抛出了一个http://0.0.0.0:8085 直接访问这个地址是访问不到 必须访问http://localhost:8085/ 才行!
3. 修改源码后跟新到项目中
在调试成功后, 执行:
npm run dist
之后就会在项目中出现一个lib文件夹: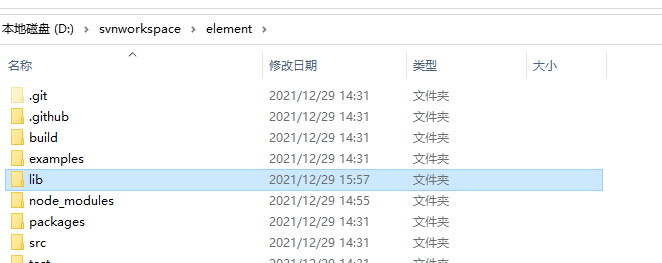
用生成的lib文件夹去替换你的项目下: D:\your-app\node_modules\element-ui 中的lib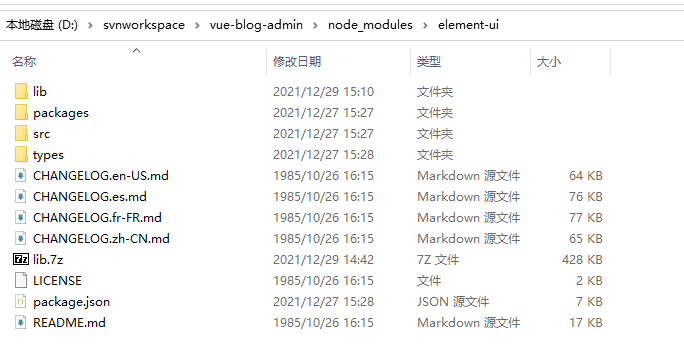
最后重新运行项目就可以了.

若有收获,就点个赞吧
0 人点赞
