1. 初始化一个springboot 项目
项目框架如下: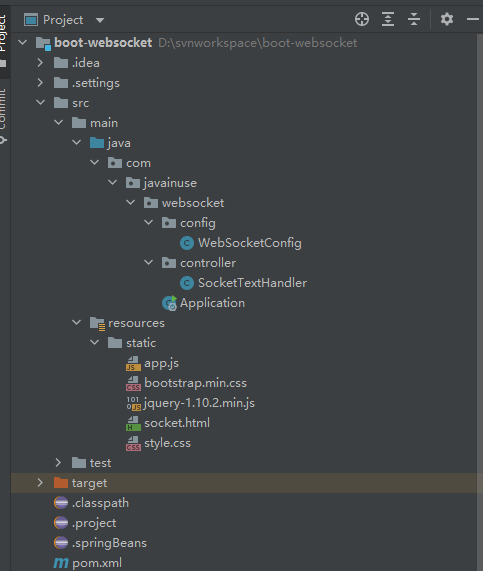
2. 在pom.xml中添加依赖
<!--主要核心依赖--><dependency><groupId>org.springframework.boot</groupId><artifactId>spring-boot-starter-websocket</artifactId></dependency><!--处理json的jar包, 可以换成自己的--><dependency><groupId>org.json</groupId><artifactId>json</artifactId><version>20171018</version></dependency>
4. 创建SocketTextHandler, 为websocket提供服务
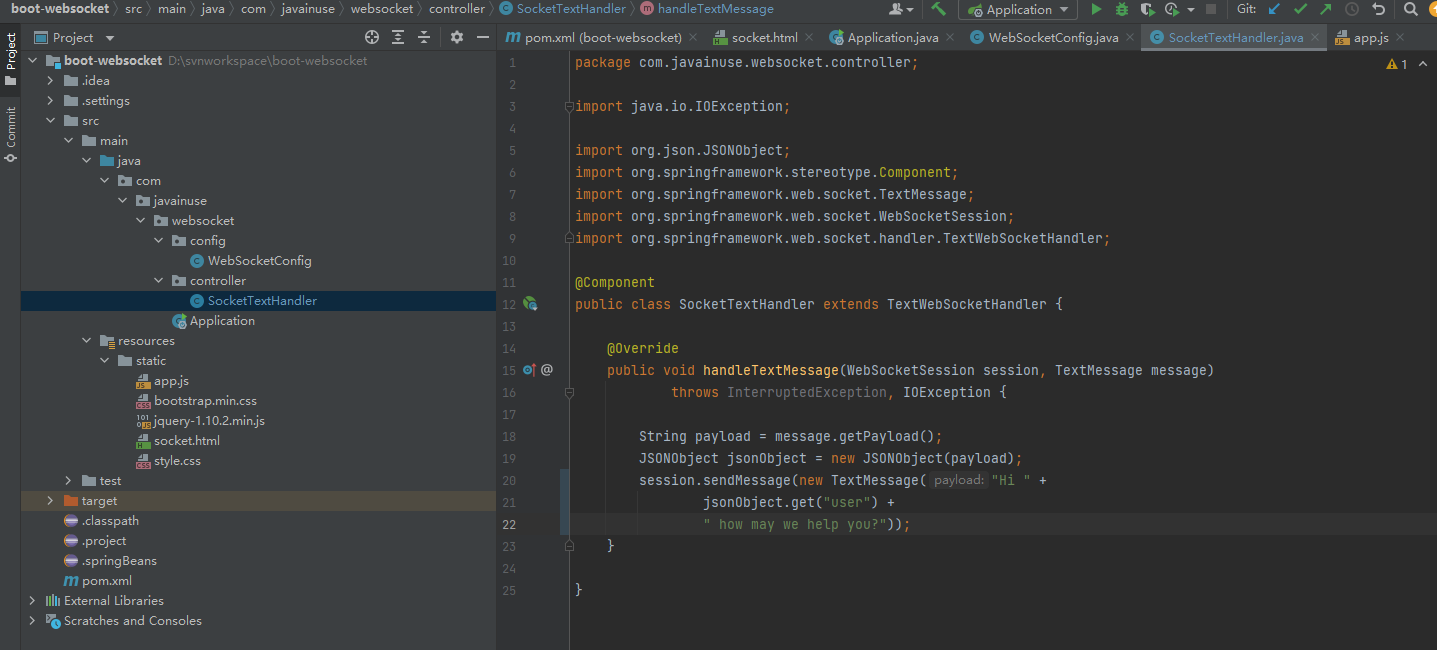
import java.io.IOException;import org.json.JSONObject;import org.springframework.stereotype.Component;import org.springframework.web.socket.TextMessage;import org.springframework.web.socket.WebSocketSession;import org.springframework.web.socket.handler.TextWebSocketHandler;@Componentpublic class SocketTextHandler extends TextWebSocketHandler {@Overridepublic void handleTextMessage(WebSocketSession session, TextMessage message)throws InterruptedException, IOException {String payload = message.getPayload();JSONObject jsonObject = new JSONObject(payload);session.sendMessage(new TextMessage("Hi " +jsonObject.get("user") +" how may we help you?"));}}
5. 创建config类, 把第三步的controller类注册进来
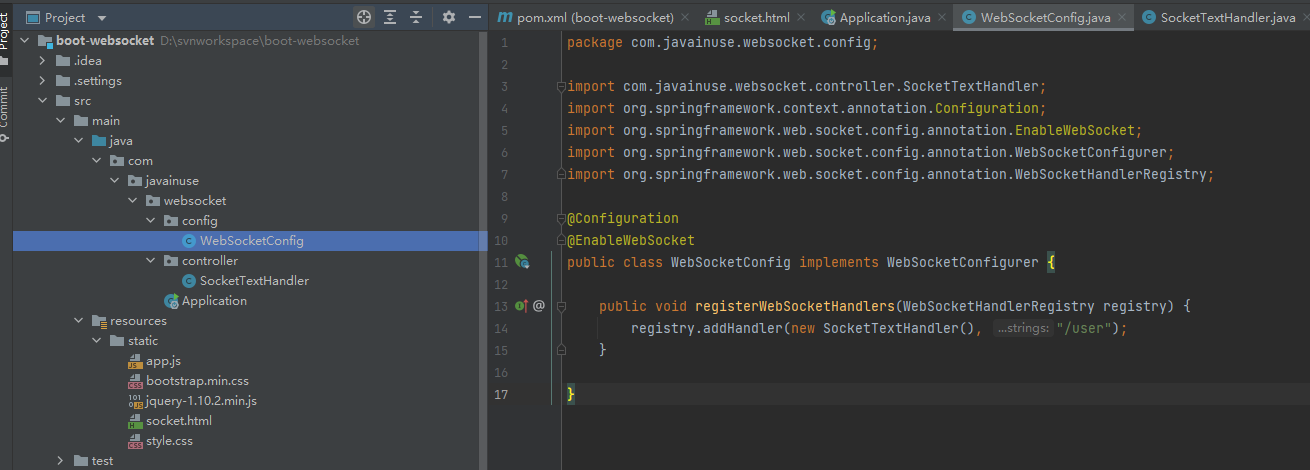
import com.javainuse.websocket.controller.SocketTextHandler;import org.springframework.context.annotation.Configuration;import org.springframework.web.socket.config.annotation.EnableWebSocket;import org.springframework.web.socket.config.annotation.WebSocketConfigurer;import org.springframework.web.socket.config.annotation.WebSocketHandlerRegistry;@Configuration@EnableWebSocketpublic class WebSocketConfig implements WebSocketConfigurer {public void registerWebSocketHandlers(WebSocketHandlerRegistry registry) {registry.addHandler(new SocketTextHandler(), "/user");}}
注意添加@EnableWebSocket.
6. 添加前端页面
1, socket.html
使用boostrap3.0.3
https://bootstrapdocs.com/v3.0.3/docs/getting-started/
使用:jquery1.10.2
https://cdnjs.com/libraries/jquery/1.10.2
<!DOCTYPE html><html><head><title>WebSocket Chat Application</title><link rel="stylesheet" href="//netdna.bootstrapcdn.com/bootstrap/3.0.3/css/bootstrap.min.css"><link href="/style.css" rel="stylesheet"><script src="https://cdnjs.cloudflare.com/ajax/libs/jquery/1.10.2/jquery.min.js"></script><script src="/app.js"></script></head><body><div id="main-content" class="container"><div class="row"><div class="col-md-8"><form class="form-inline"><div class="form-group"><label for="connect">Chat Application:</label><button id="connect" type="button">Start New Chat</button><button id="disconnect" type="button" disabled="disabled">End Chat</button></div></form></div></div><div class="row"><div class="col-md-12"><table id="chat"><thead><tr><th>Welcome user. Please enter you name</th></tr></thead><tbody id="helloworldmessage"></tbody></table></div><div class="row"><div class="col-md-6"><form class="form-inline"><div class="form-group"><textarea id="user" placeholder="Write your message here..." required></textarea></div><button id="send" type="submit">Send</button></form></div></div></div></div></body></html>
2, 添加js
var ws;function setConnected(connected) {$("#connect").prop("disabled", connected);$("#disconnect").prop("disabled", !connected);}function connect() {ws = new WebSocket('ws://localhost:8080/user');ws.onmessage = function(data) {helloWorld(data.data);}setConnected(true);}function disconnect() {if (ws != null) {ws.close();}setConnected(false);console.log("Websocket is in disconnected state");}function sendData() {var data = JSON.stringify({'user' : $("#user").val()})ws.send(data);}function helloWorld(message) {$("#helloworldmessage").append("<tr><td> " + message + "</td></tr>");}$(function() {$("form").on('submit', function(e) {e.preventDefault();});$("#connect").click(function() {connect();});$("#disconnect").click(function() {disconnect();});$("#send").click(function() {sendData();});});
3, 添加自定义css
body {
    background-color: #f5f5f5;
}

#main-content {
    max-width: 940px;
    padding: 2em 3em;
    margin: 0 auto 20px;
    background-color: #fff;
    border: 1px solid #e5e5e5;
    -webkit-border-radius: 5px;
    -moz-border-radius: 5px;
    border-radius: 5px;
}

*, *:before, *:after {
  -moz-box-sizing: border-box;
  -webkit-box-sizing: border-box;
  box-sizing: border-box;
}

html {
  font-family: Helvetica, Arial, sans-serif;
  font-size: 100%;
  background: #333;
}

#page-wrapper {
  width: 650px;
  background: #FFF;
  padding: 1em;
  margin: 1em auto;
  border-top: 5px solid #69c773;
  box-shadow: 0 2px 10px rgba(0,0,0,0.8);
}

h1 {
    margin-top: 0;
}

#status {
  font-size: 0.9rem;
  margin-bottom: 1rem;
}

.open {
  color: green;
}

.closed {
  color: red;
}


ul {
  list-style: none;
  margin: 0;
  padding: 0;
  font-size: 0.95rem;
}

ul li {
  padding: 0.5rem 0.75rem;
  border-bottom: 1px solid #EEE;
}

ul li:first-child {
  border-top: 1px solid #EEE;
}

ul li span {
  display: inline-block;
  width: 90px;
  font-weight: bold;
  color: #999;
  font-size: 0.7rem;
  text-transform: uppercase;
  letter-spacing: 1px;
}

.sent {
  background-color: #F7F7F7;
}

.received {}

#message-form {
  margin-top: 1.5rem;
}

textarea {
  width: 100%;
  padding: 0.5rem;
  font-size: 1rem;
  border: 1px solid #D9D9D9;
  border-radius: 3px;
  box-shadow: inset 0 1px 1px rgba(0, 0, 0, 0.1);
  min-height: 100px;
  margin-bottom: 1rem;
}

button {
  background: #86b32d;
  border-bottom: 1px solid #5d7d1f;
}

button[type="submit"] {
  background: #86b32d;
  border-bottom: 1px solid #5d7d1f;
}

button:hover {
  opacity: 0.75;
  cursor: pointer;
}
7. 项目运行截图
输入url: http://localhost:8080/socket.html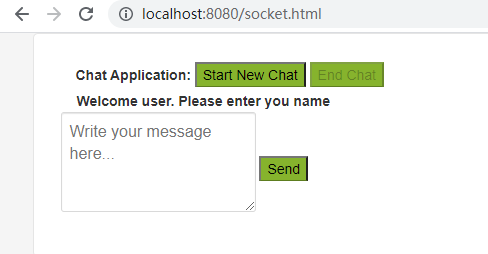
可以看到, js会访问/user 路径 - >ws = new WebSocket(‘ws://localhost:8080/user’);
后台服务器会调用SocketTextHandler处理来自/user的请求

若有收获,就点个赞吧
0 人点赞
