HomeCentOS 6How To GuideOpen SourcePiwikHow to Install and Configure Piwik on CentOS 6.2# How to Install and Configure Piwik on CentOS 6.2
skytech Last updated : July 8, 2012 CentOS 6, How To Guide, Open Source, Piwik No Comments
Share this Article :01 Piwik is an open source web analytics software that makes it easy to get the information you want from your visitors. It’s free software alternative to Google Analytics.
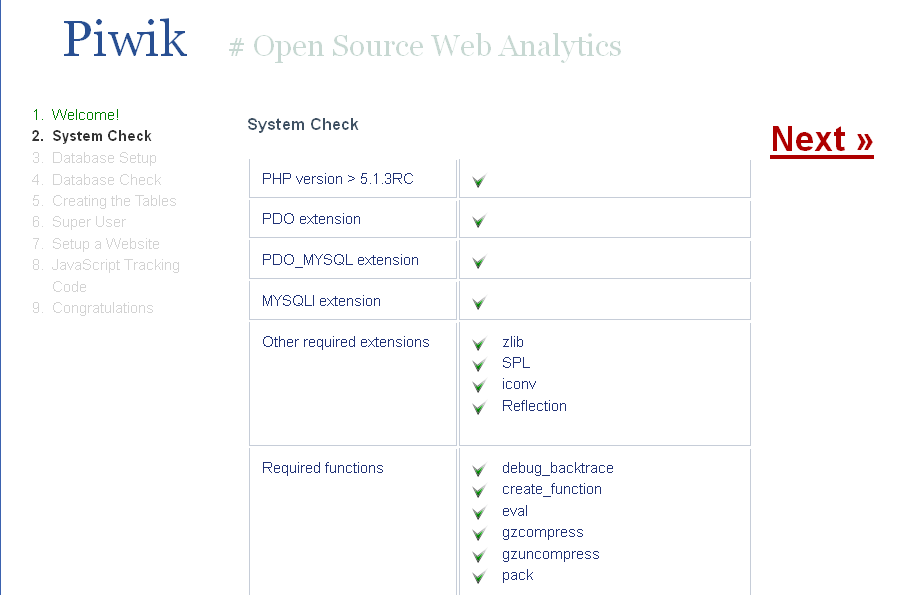
1. To run Piwik, your host needs to meets the following minimum requirements :
-PHP version 5.1.3 or greater
-MySQL version 4.1 or greater
-Enabled PHP extension pdo and pdo_mysql, or the mysqli extension.(enabled by default)
If not, then install the following :
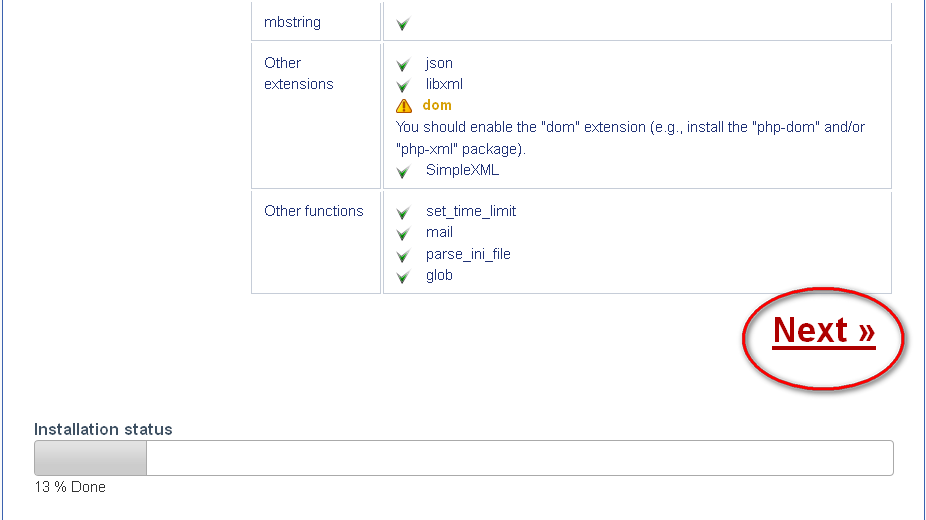
[root@centos62 ~]# yum install php-pdo php-gd php-xml -y2. Enter apache’ document root directory :
[root@centos62 ~]# cd /var/www/html/3. Download the latest release of Piwik from http://piwik.org/latest.zip :
[root@centos62 html]# wget http://piwik.org/latest.zip4. Unzip the piwik’ zip file to document root :
[root@centos62 html]# unzip latest.zip5. Enter piwik directory :
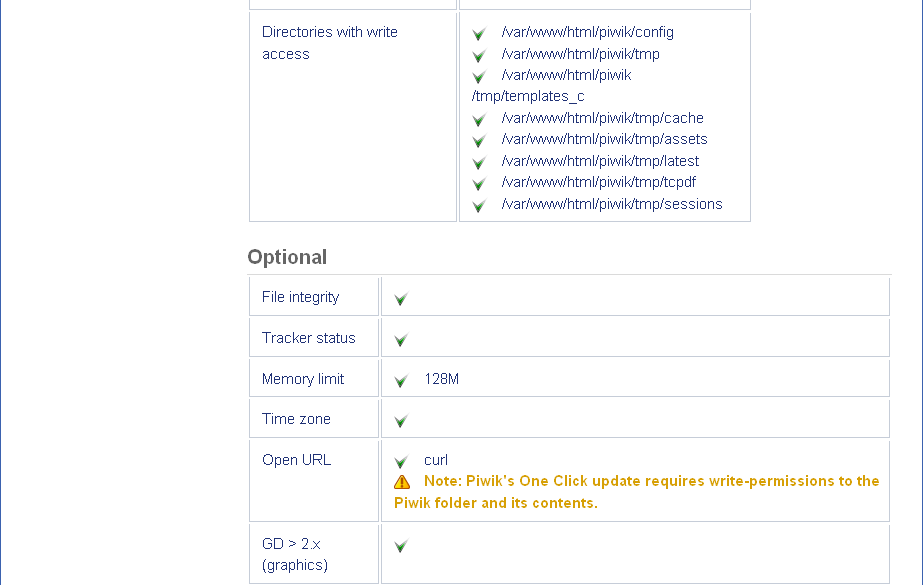
[root@centos62 html]# cd piwik6. Change the permission for ./piwik/config and ./piwik/tmp as below :
[root@centos62 piwik]# chmod 777 config
[root@centos62 piwik]# chmod 777 tmp7. Login to mysql server using root and create the following database and it’s permission. You can create a new user with the command :
mysql> CREATE USER ‘piwik’@’localhost’ IDENTIFIED BY ‘password’;
Query OK, 0 rows affected (0.00 sec)
mysql> GRANT ALL PRIVILEGES ON piwik_db.* TO ‘piwik’@’localhost’ WITH GRANT OPTION; Query OK, 0 rows affected (0.00 sec)
mysql> flush privileges;
Query OK, 0 rows affected (0.01 sec)8. Navigate the browser to the piwik portal as below :
http://192.168.1.44/piwik/
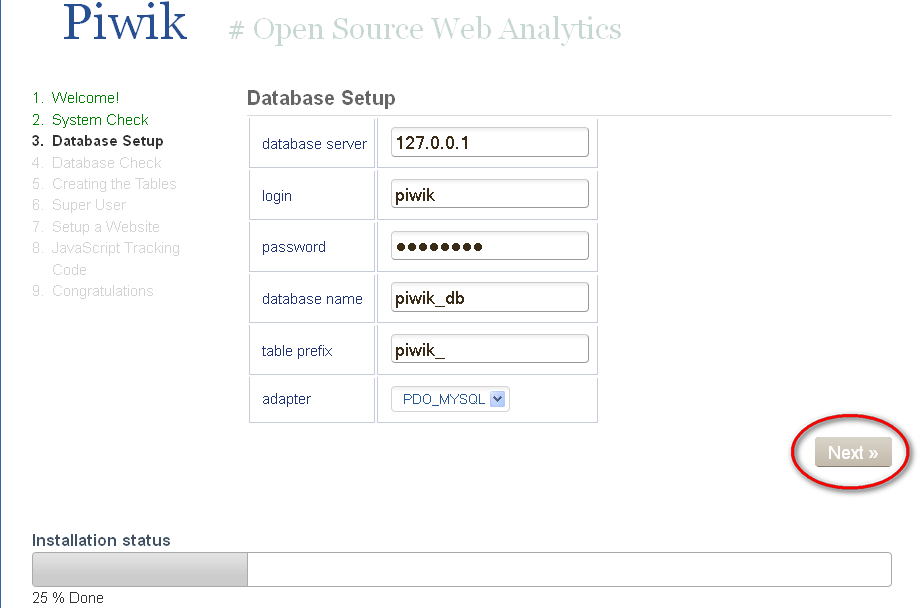
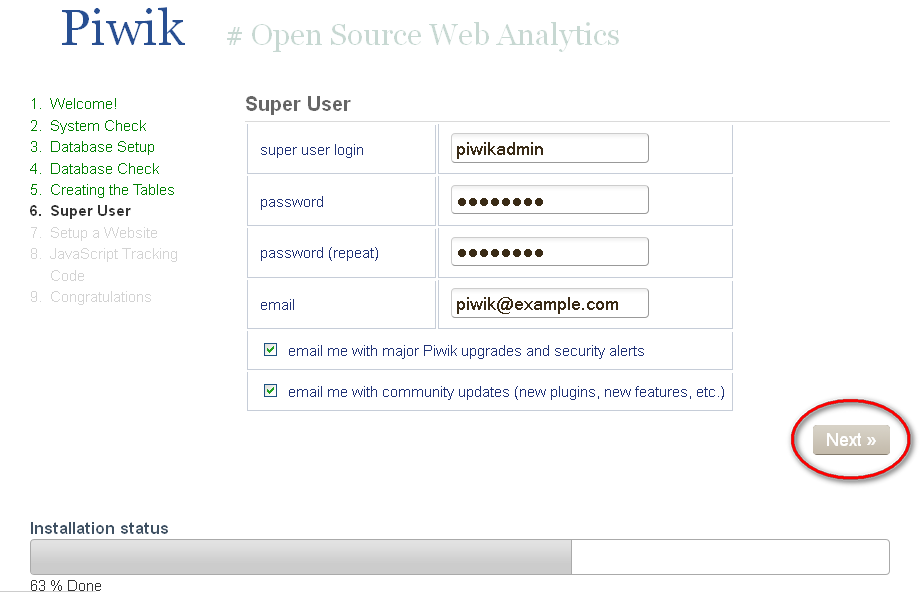
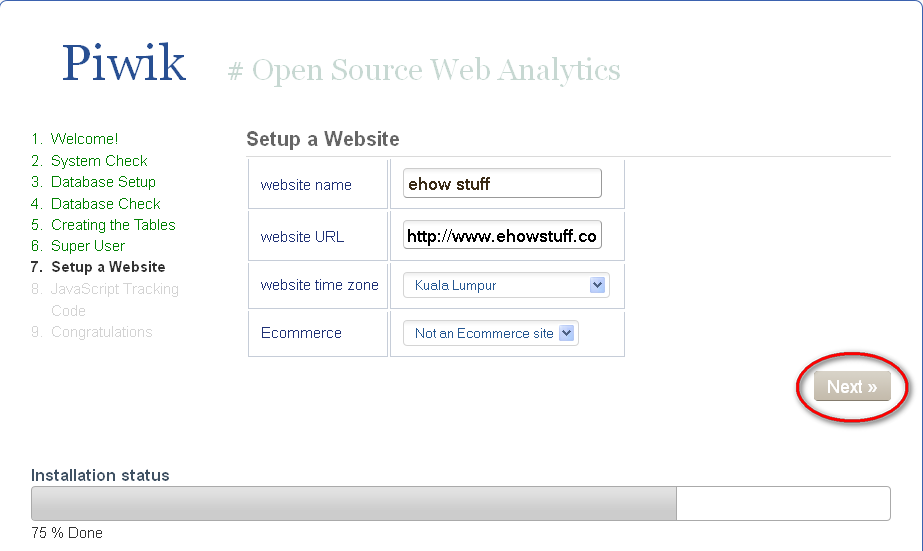
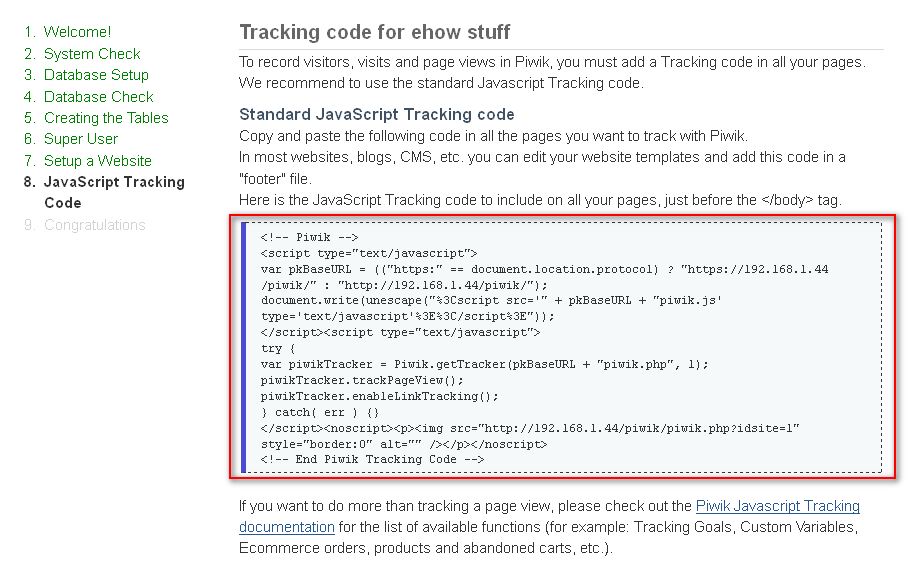
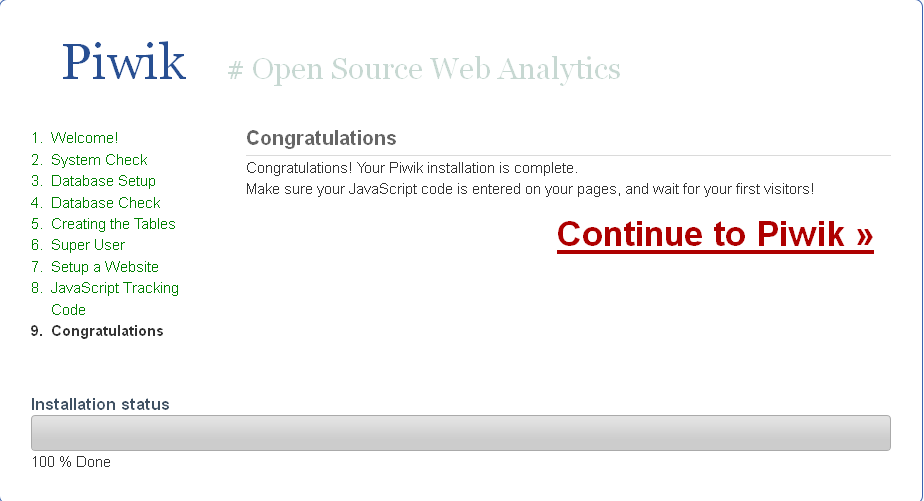
9. Complete the piwik installation wizard :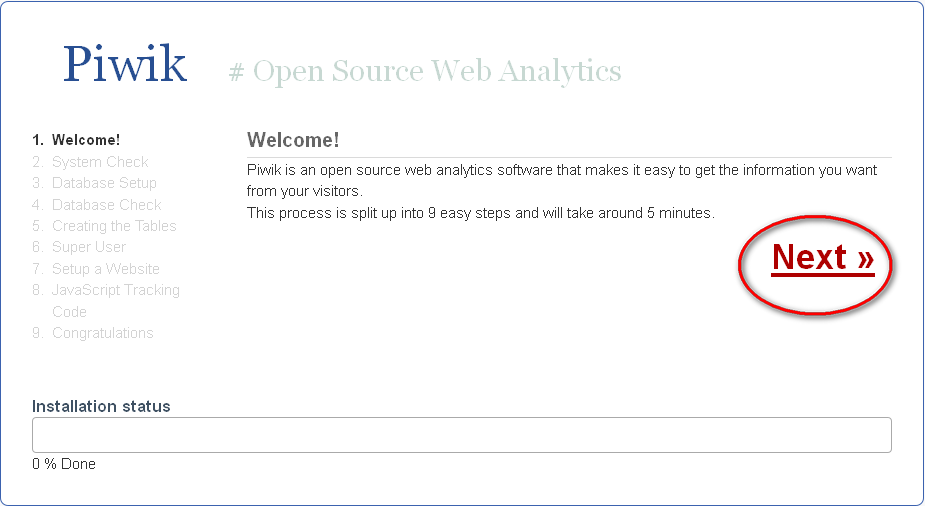


Like this Article? Subscribe to Our Feed!
This article was posted on Sunday, July 8, 2012 at 11:00 PM
[inShare.](#)
Tags:CentOSCentOS 6.2Configure PiwikHow ToInstall PiwikLinuxPiwikSetup Piwik

