Flutter组件基础——ListView
ListView是滚动列表,类似于iOS中ScrollView,可横向、纵向滚动,内容不限。
ListView的使用
ListView的使用很简单,但是需要多多练习;
ListView的使用,通过设置children来实现,children中的Item为Widget对象。
纵向滚动
代码如下:
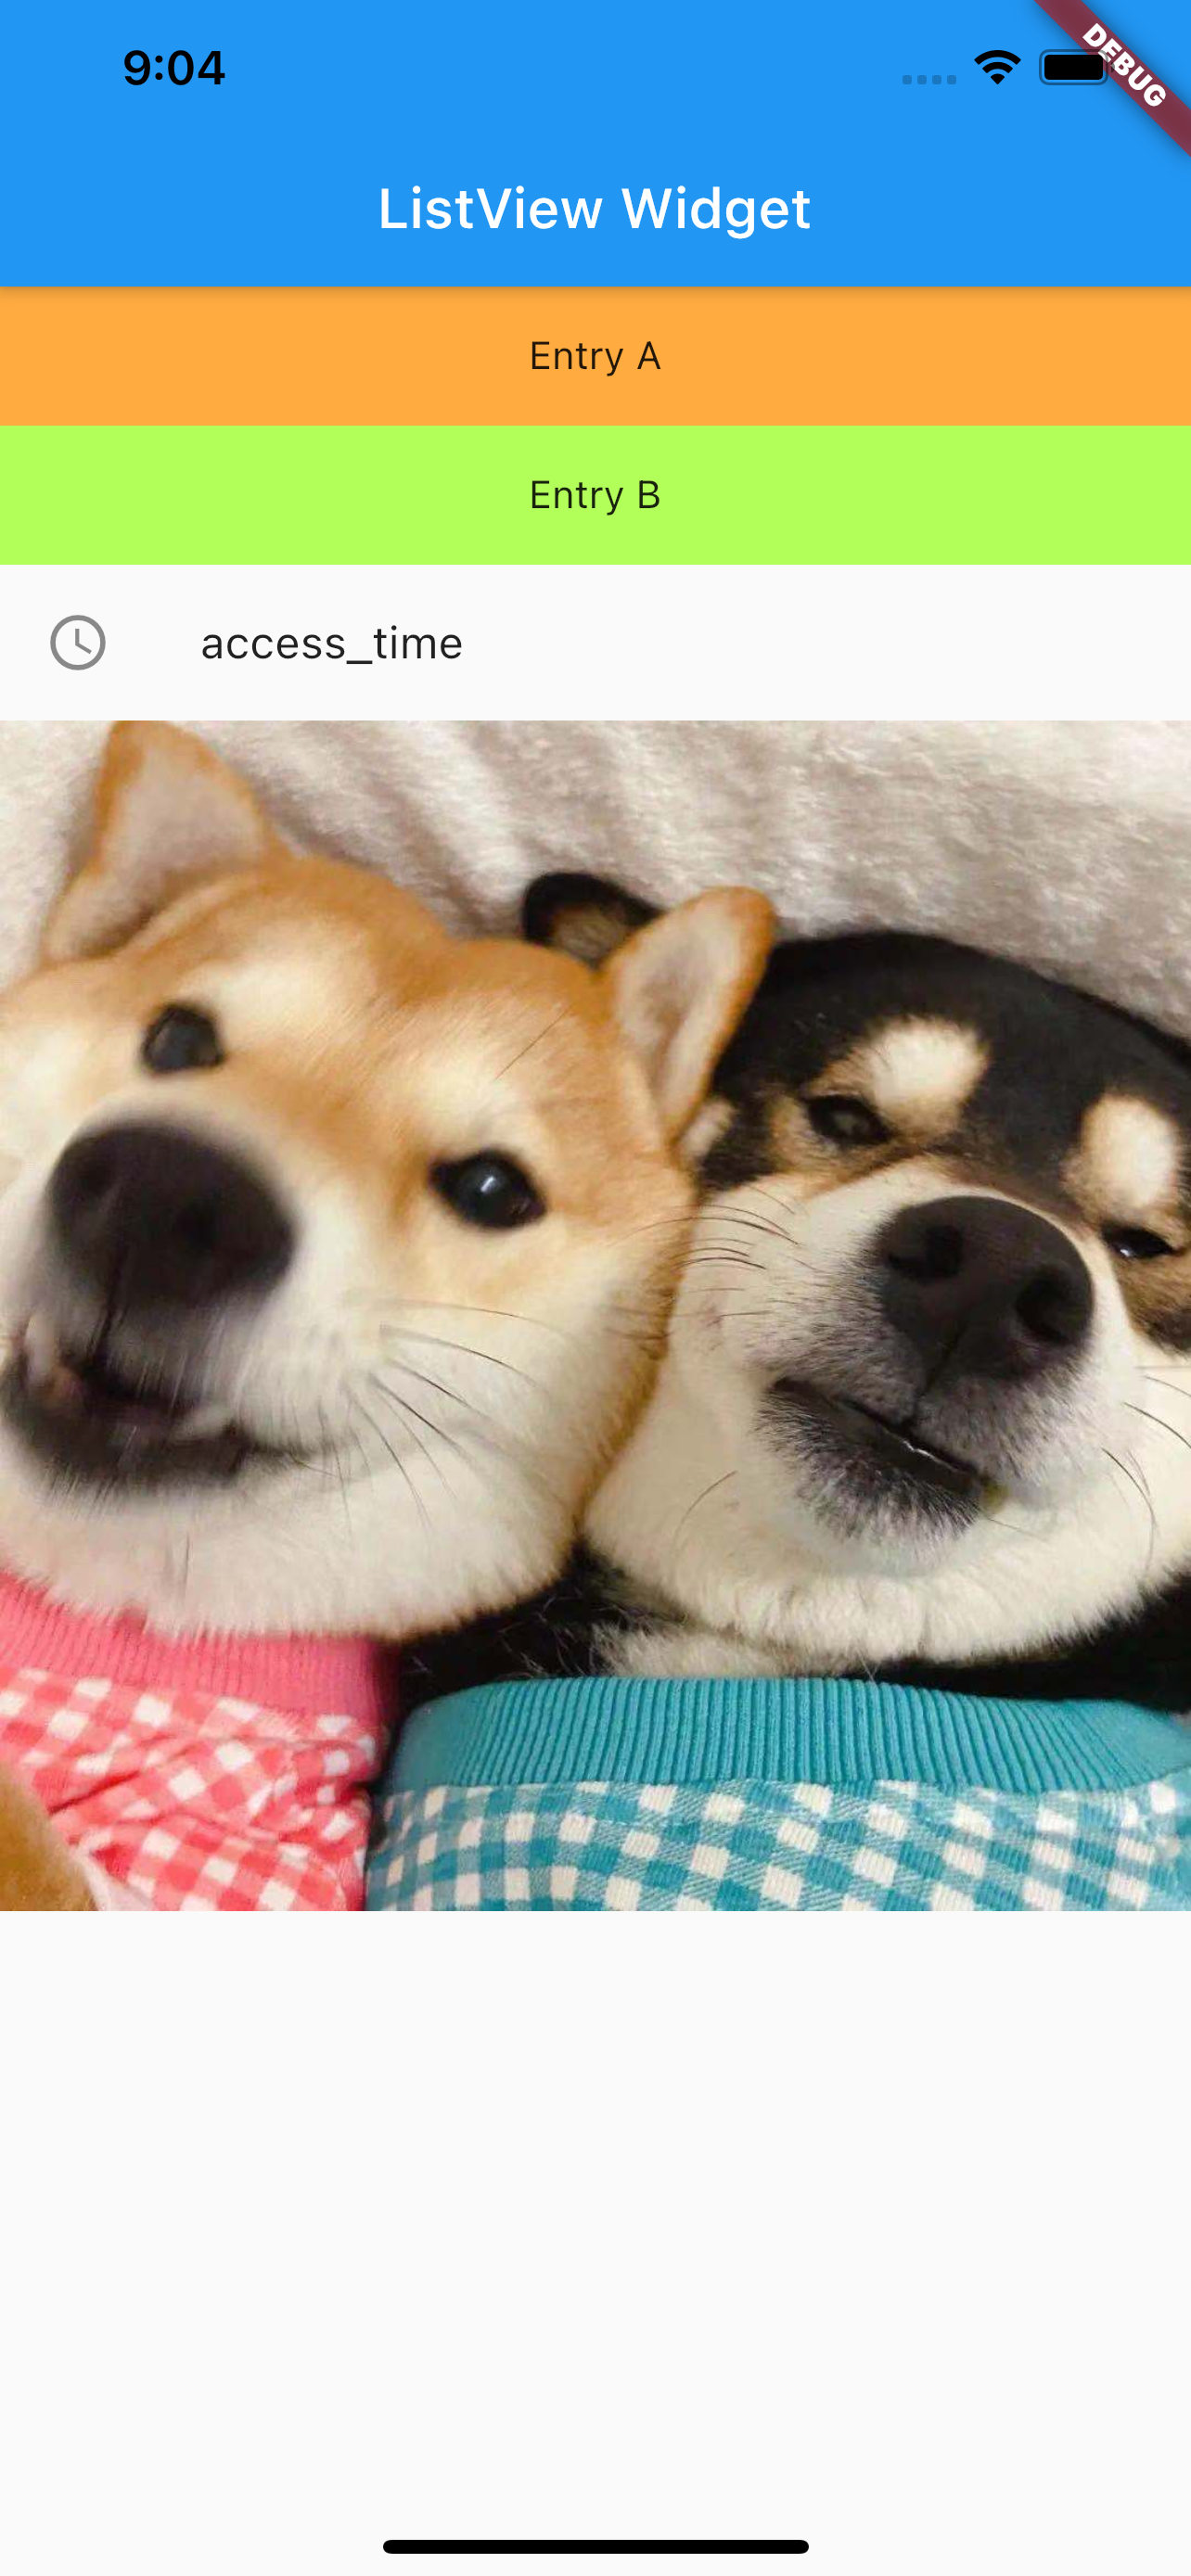
class MyApp extends StatelessWidget {@overrideWidget build(BuildContext context) {return MaterialApp(title: 'ListView Learn',home: Scaffold(appBar: new AppBar(title: new Text('ListView Widget')),body: new ListView(children: <Widget>[Container(height: 50,color: Colors.orangeAccent,child: const Center(child: Text('Entry A'),),),Container(height: 50,color: Colors.lightGreenAccent,child: const Center(child: Text('Entry B'),),),new ListTile(leading: new Icon(Icons.access_time),title: new Text('access_time'),),new Image.network('https://inews.gtimg.com/newsapp_ls/0/13792660143/0.jpeg')],)));}}
效果如下:
横向滚动
ListView的scrollDirection控制滑动方向
代码如下
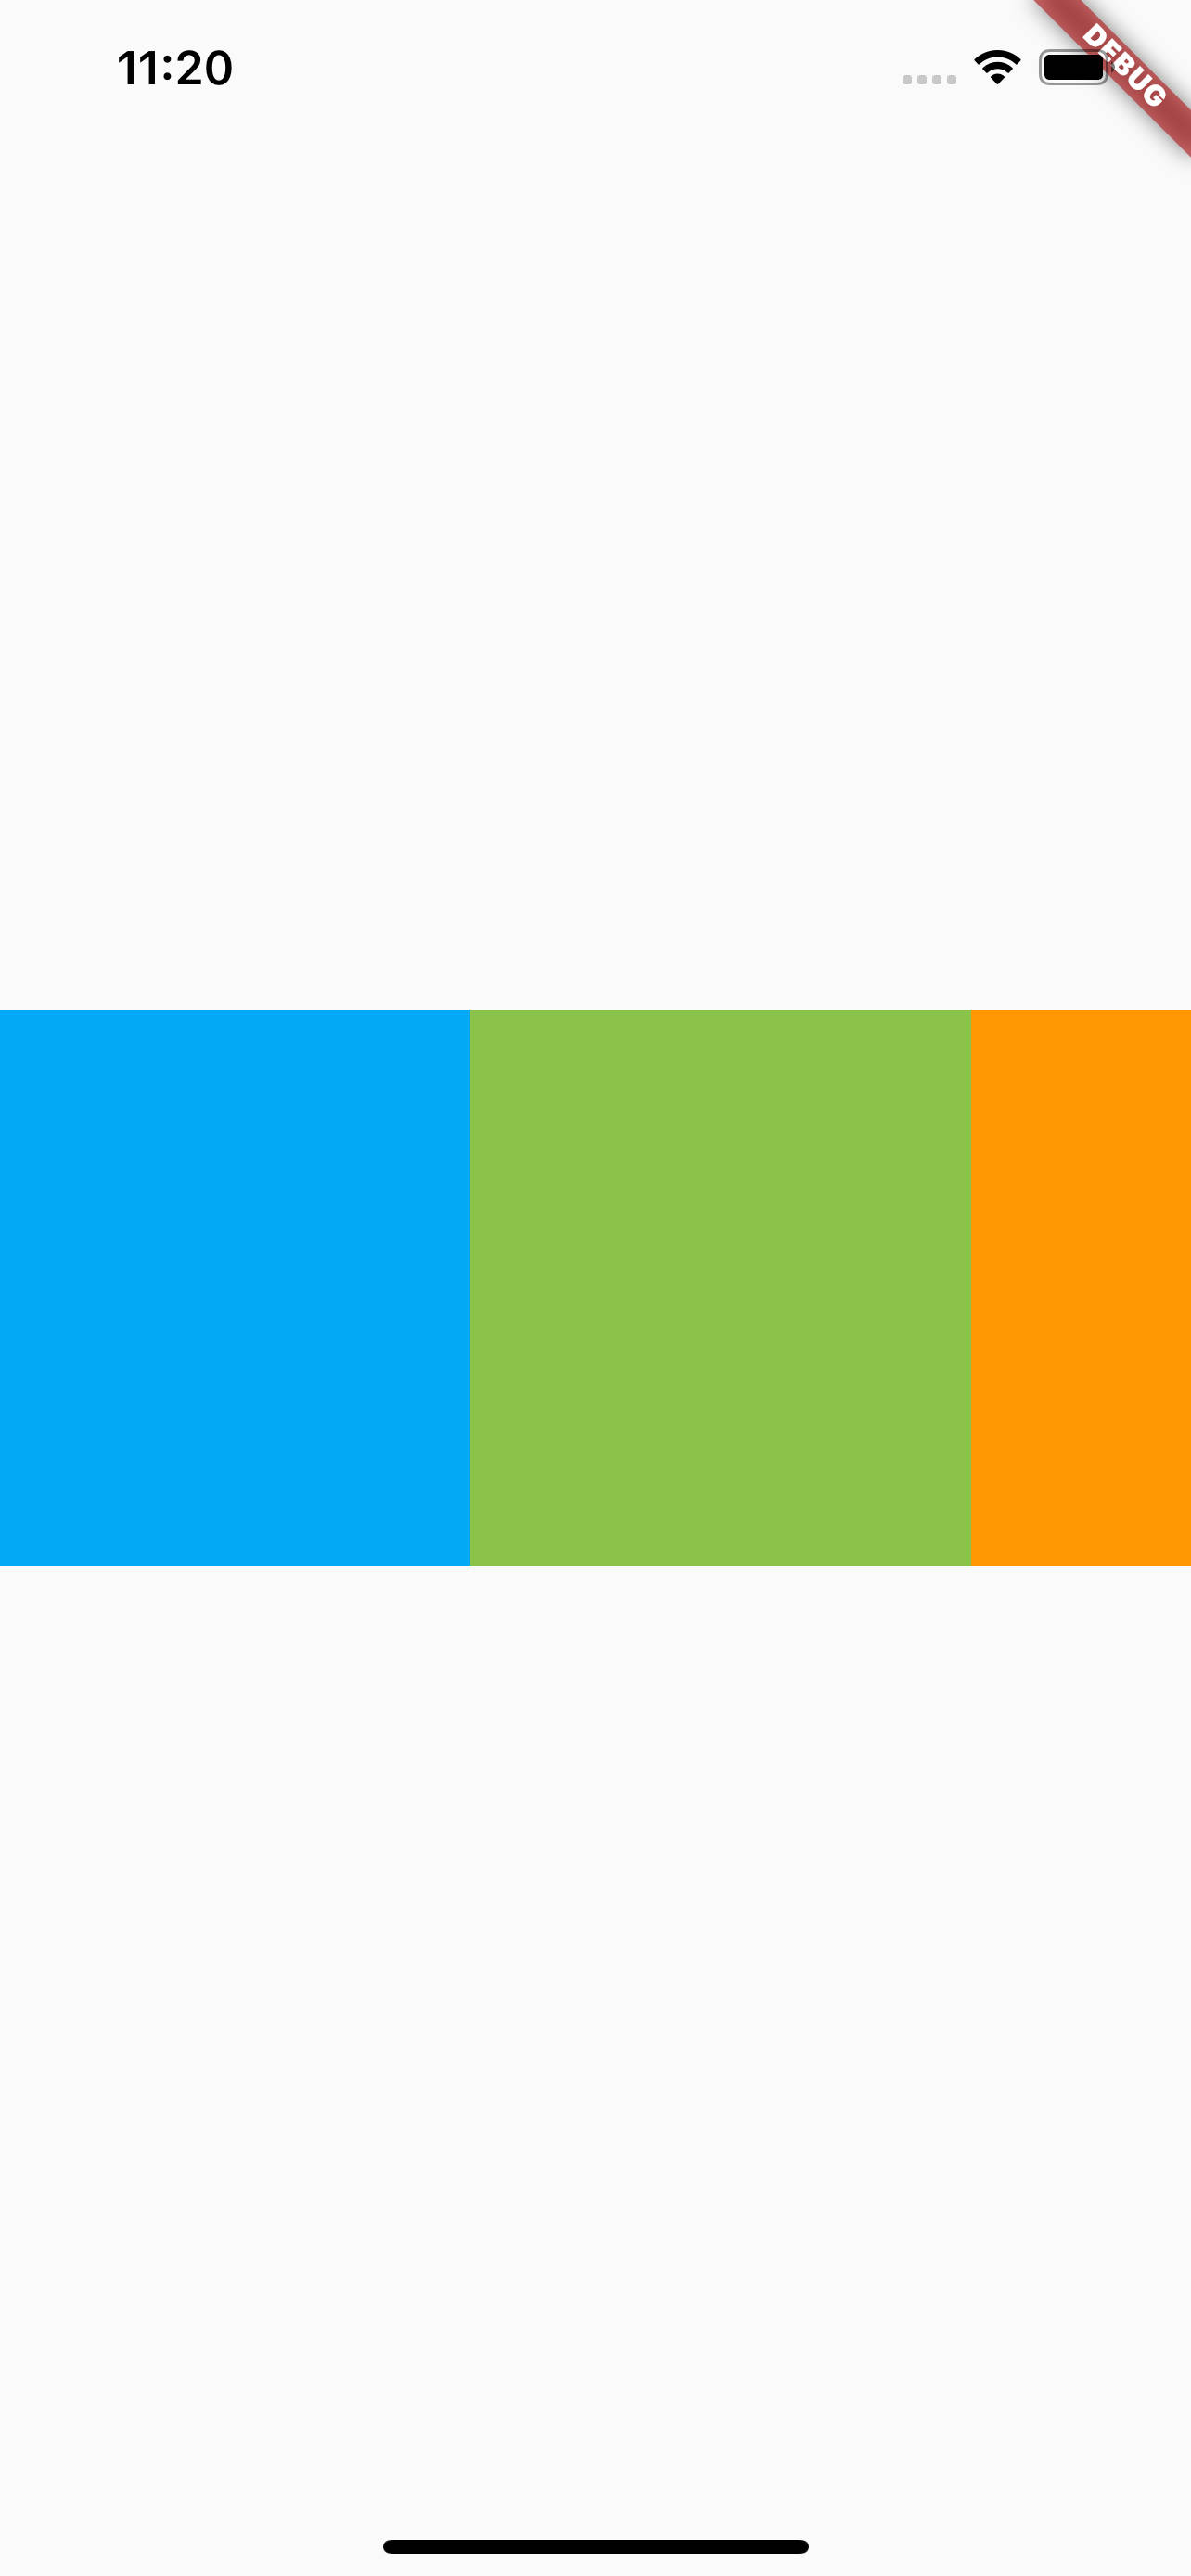
class MyList extends StatelessWidget {@overrideWidget build(BuildContext context) {return ListView(scrollDirection: Axis.horizontal, children: [new Container(width: 180.0,color: Colors.lightBlue,),new Container(width: 180.0,color: Colors.lightGreen,),new Container(width: 180.0,color: Colors.orange,),new Container(width: 180.0,color: Colors.orangeAccent,)]);}}class MyApp extends StatelessWidget {@overrideWidget build(BuildContext context) {return MaterialApp(title: 'Text Widget',home: Scaffold(body: Center(child: Container(height: 200.0,child: MyList(),),),));}}
效果如下:

注意写法的不同,在这里自定义了一个MyList的Widget,然后在MyApp中使用MyList,就避免了在父视图嵌套太多的问题。
动态列表 ListView.builder()
使用动态列表需要先来看一下List类型,
List类型
List是集合类型,声明有几种方式,使用方式可以参考Swift中的Array
var myList = List(): 非固定长度的数组var myList = List(2): 长度为2的数组var myList = List<String>(): 创建一个String类型的数组var myList = [1, 2, 3]: 创建一个1、2、3的数组
也可以使用generate方法来生成List元素,比如
new List<String>.generate(1000,, (i) => "Item $i");
动态列表
代码如下:
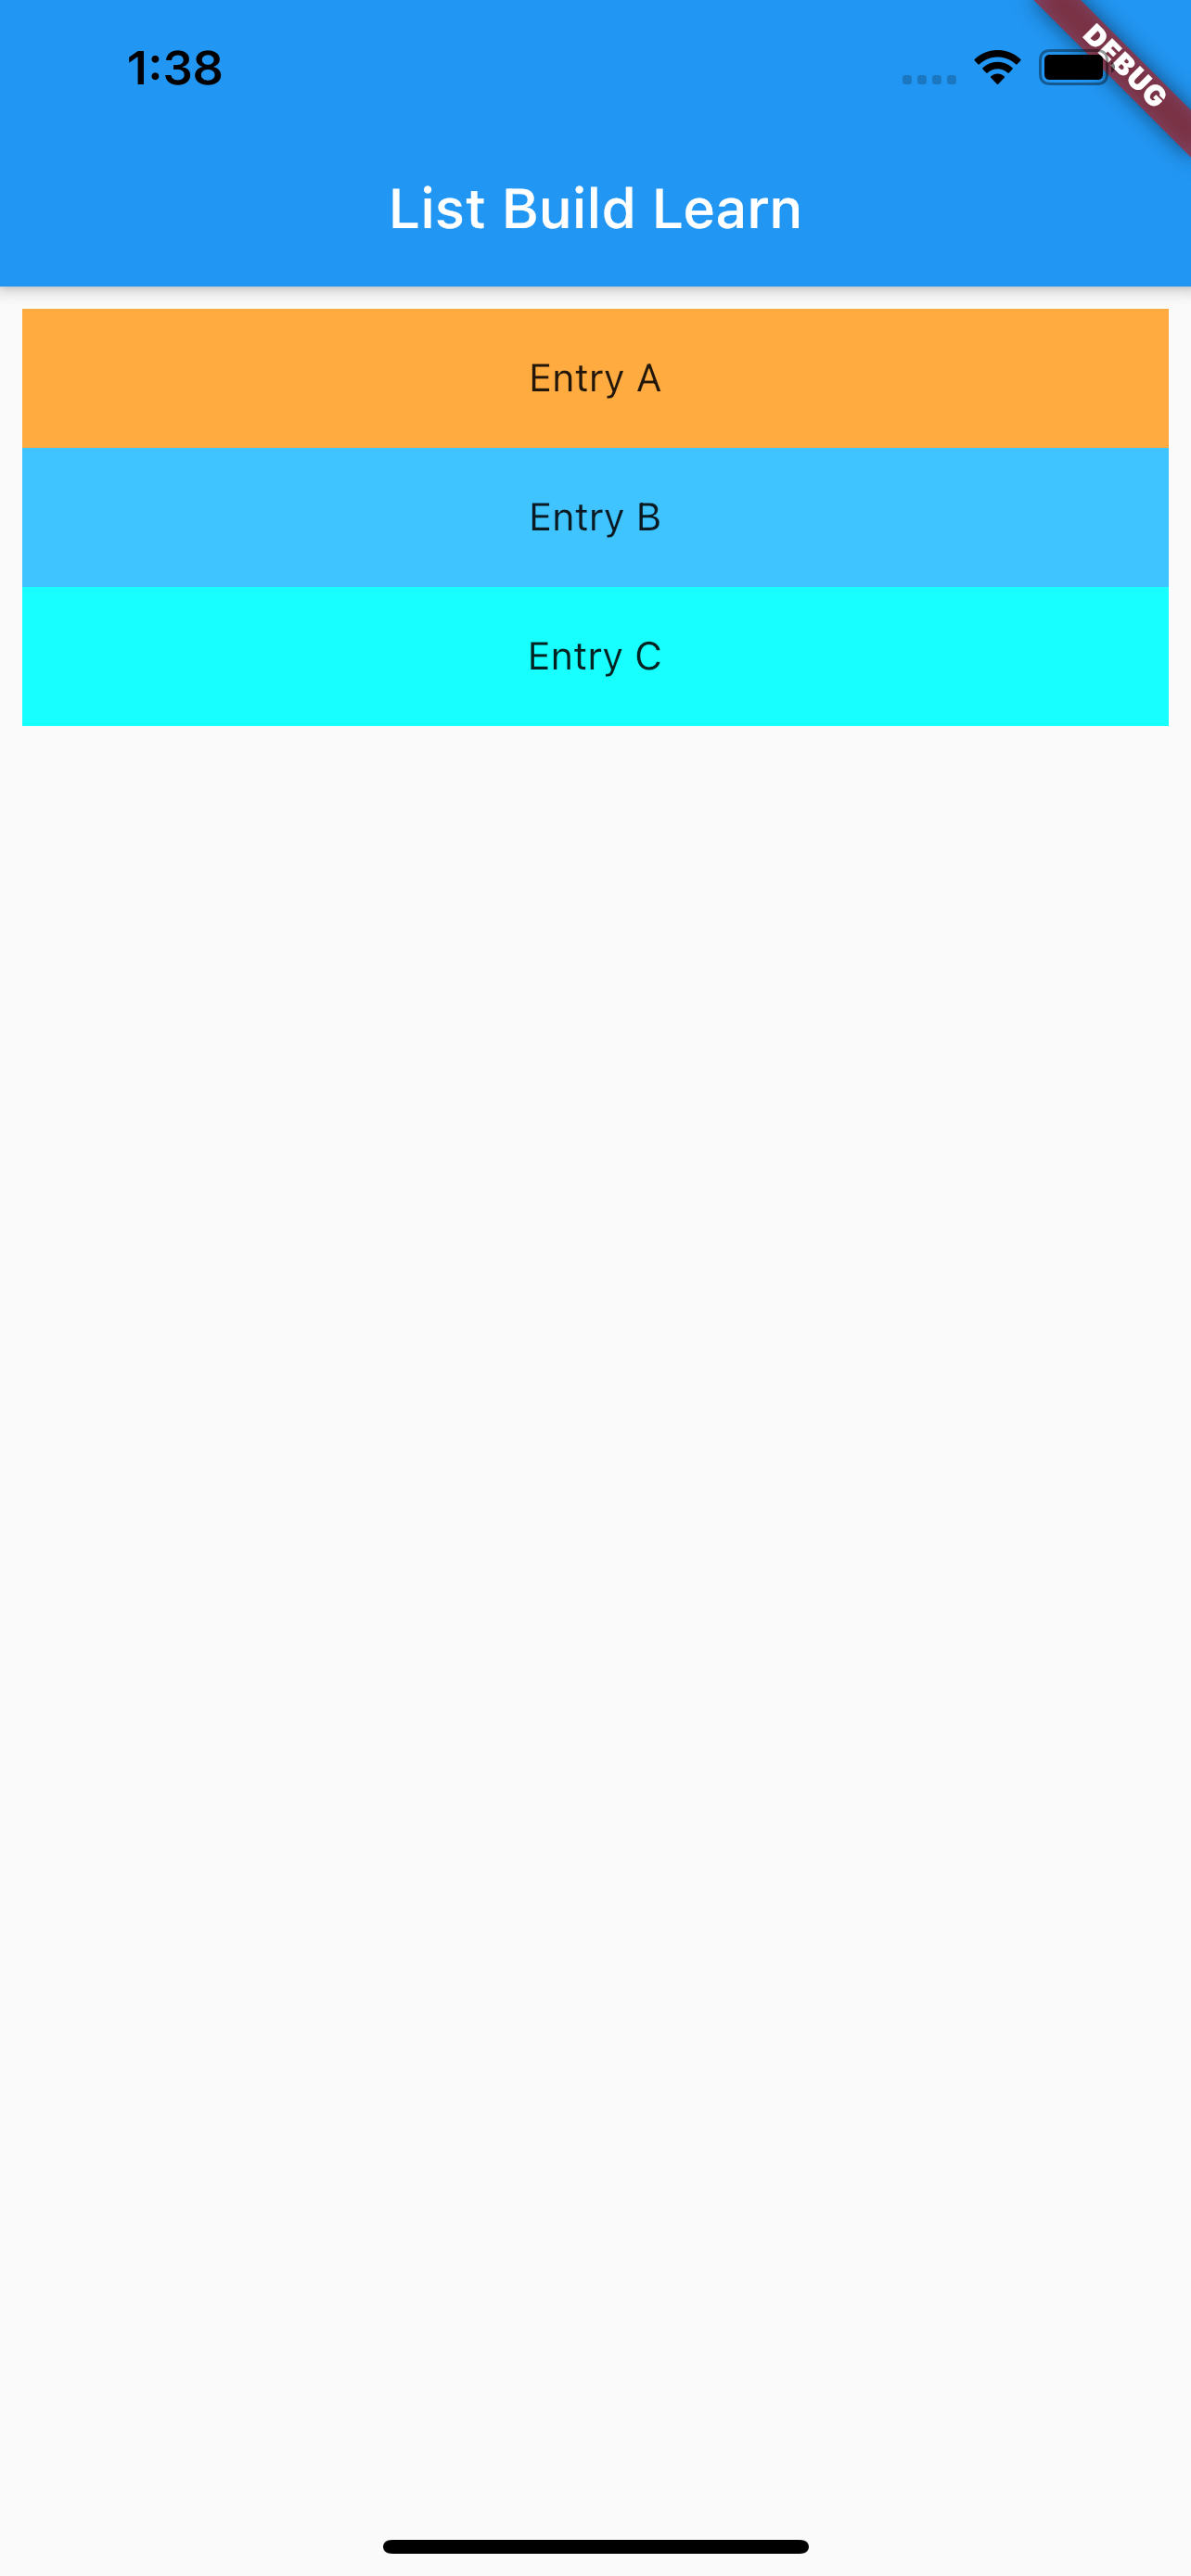
class MyList extends StatelessWidget {final List<String> entries = <String>['A', 'B', 'C'];final List colors = [Colors.orangeAccent,Colors.lightBlueAccent,Colors.cyanAccent];@overrideWidget build(BuildContext context) {return ListView.builder(padding: const EdgeInsets.all(8),itemCount: entries.length,itemBuilder: (BuildContext context, int index) {return Container(height: 50,color: colors[index],child: Center(child: Text('Entry ${entries[index]}'),),);},);}}class MyApp extends StatelessWidget {@overrideWidget build(BuildContext context) {return MaterialApp(title: 'List Build Learn',home: Scaffold(appBar: new AppBar(title: new Text('List Build Learn'),),body: Center(child: Container(child: MyList(),),),));}}
效果如下:


