1. 配置基于域名的虚拟主机
修改Nginx的配置文件(nginx.conf)内容如下:
worker_processes 1;
events {
worker_connections 1024;
}
http {
include mime.types;
default_type application/octet-stream;
sendfile on;
keepalive_timeout 65;
server {
listen 80;
server_name www.etiantian.org;
location / {
root html/www;
index index.html index.htm;
}
}
server {
listen 80;
server_name bbs.etiantian.org;
location / {
root html/bbs;
index index.html index.htm;
}
}
配置文件修改好后,需要重启Nginx(优雅重启),要不然刚修改的配置文件不生效,重启命令如下:
[root@web01 conf]# /app/nginx/sbin/nginx -s reload
创建网站目录并输入内容:
[root@web01 conf]# mkdir ../html/{www,bbs} -p
[root@web01 conf]# echo “I am www” >../html/www/index.html
[root@web01 conf]# echo “I am bbs” >../html/bbs/index.html
现在,只要本地的hosts文件做好相应的解析,就可以通过域名访问网站了。
10.0.0.8 www.etiantian.org bbs.etiantian.org 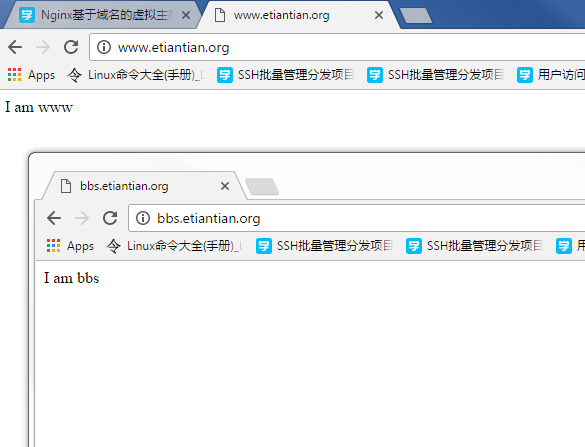
2. 基于端口的虚拟主机实战
基于端口的虚拟主机跟基于域名的类似,只是端口有变化而已。Nginx.conf的配置文件内容如下:
worker_processes 1;
events {
worker_connections 1024;
}
http {
include mime.types;
default_type application/octet-stream;
sendfile on;
keepalive_timeout 65;
server {
listen 80;
server_name www.etiantian.org;
location / {
root html/www;
index index.html index.htm;
}
}
server {
listen 81;
server_name bbs.etiantian.org;
location / {
root html/bbs;
index index.html index.htm;
}
}
}
基于端口的访问方式:http://bbs.etiantian.org:81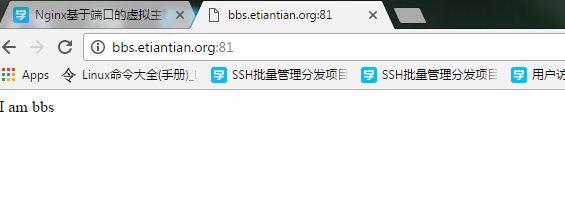
3. 基于IP地址的虚拟主机实战
由于是基于IP地址的,需要网卡有多个IP地址,可以用下面的命令临时增加两个IP地址。
[root@web01 conf]# ifconfig eth0:0 10.0.0.101/24 up #添加一个临时ip地址 10.0.0.101
下面的命令也可以添加一个临时IP地址 label是标签
[root@web01 conf]# ip addr add 10.0.0.102/24 dev eth0 label eth0:1
通过这张图可以看到 IP地址已经添加成功。
下面开始配置Nginx.con文件。
worker_processes 1;
events {
worker_connections 1024;
}
http {
include mime.types;
default_type application/octet-stream;
sendfile on;
keepalive_timeout 65;
server {
listen 10.0.0.8:80;
server_name www.etiantian.org;
location / {
root html/www;
index index.html index.htm;
}
}
server {
listen 10.0.0.101:80;
server_name bbs.etiantian.org;
location / {
root html/bbs;
index index.html index.htm;
}
}
}
访问结果如下:

若有收获,就点个赞吧
0 人点赞
