- https://www.raywenderlich.com/books/swiftui-apprentice
2022/3/4
https://github.com/raywenderlich/suia-materials/tree/editions/1.0
- https://forums.raywenderlich.com/c/books/swiftui-apprentice/79
Section I: Your first app: HIITFit
In this section, you’ll begin your journey to becoming a SwiftUI developer by developing an app called HIITFit, a High Intensity Interval Training Fitness tracker. Along the way, you’ll:
- • Learn how to use Xcode.
- • Discover how to plan and prototype an app.
- • Explore the basic components of SwiftUI.
- • Understand how data moves in a SwiftUI app and how to make it persist.
- • Learn fundamental concepts of Swift, the programming language, needed to build your app
👀 Chapter 1: Checking Your Tools
A quick tour of Xcode
And all three have keyboard shortcuts:
• Hide/show Navigator: Command-0
• Hide/show Inspectors: Option-Command-0
• Hide/show Debug Area: Shift-Command-Y
What else is in your project?
In an iOS app, the view hierarchy fills the entire display. In a macOS or iPadOS app, WindowGroup can manage multiple windows.
- Products: This is where Xcode stores your app after you build and run the project. A project can contain other products, like a Watch app or a framework
Xcode Preferences
struct ContentView_Previews: PreviewProvider {static var previews: some View {Group {ContentView()ContentView().previewDevice("iPhone SE (2nd generation)")}}}
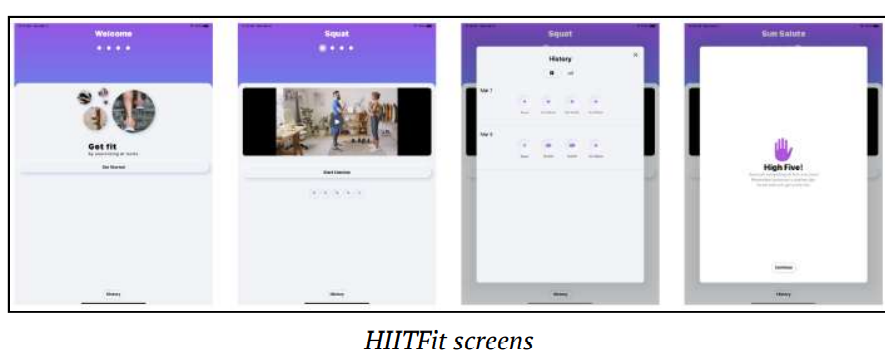
👀 Chapter 2: Planning a Paged App
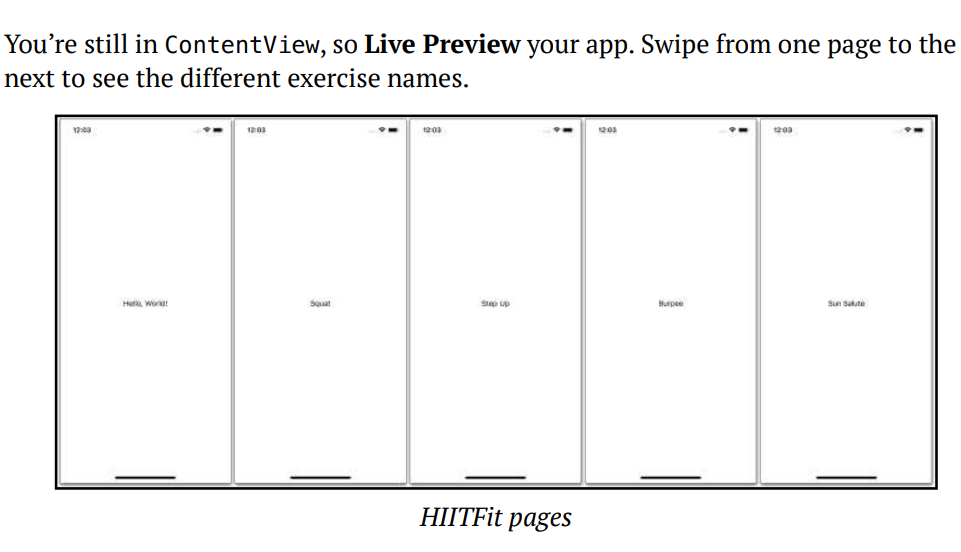
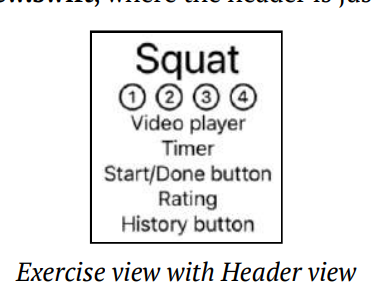
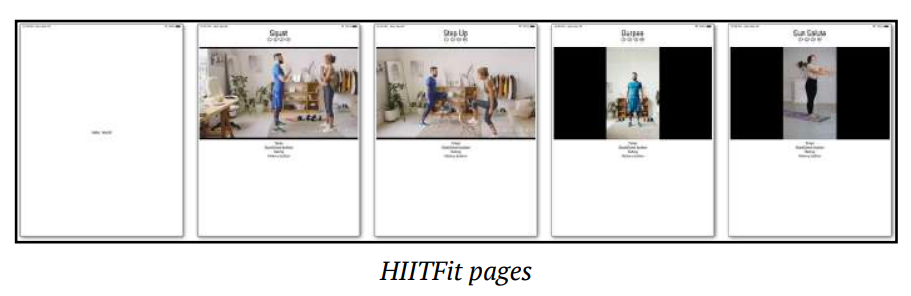
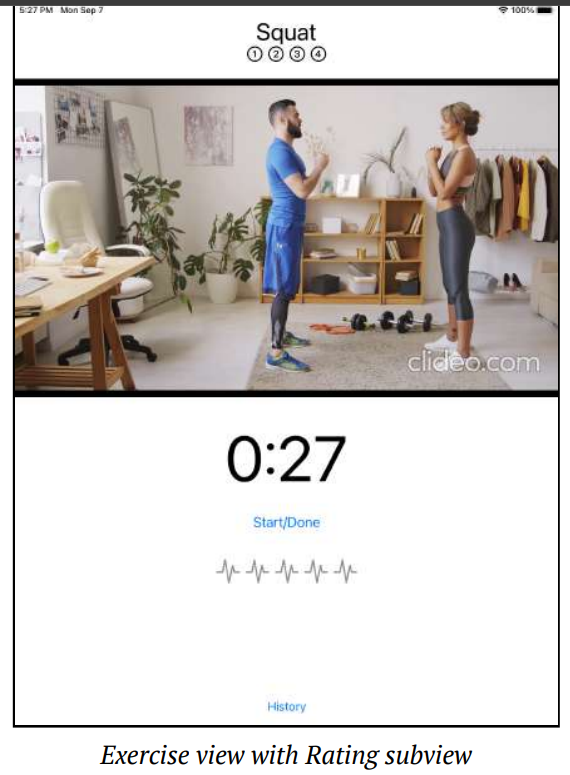
👀 Chapter 3: Prototyping the Main View
Playing a video: AVKit
Getting the URL of a bundle file
if let url = Bundle.main.url(forResource: videoNames[index],withExtension: "mp4") {}
Getting the screen dimensions
.frame(height: geometry.size.height * 0.45)
Creating the Timer view
Text(Date().addingTimeInterval(interval), style: .timer).font(.system(size: 90))
Chapter 4: Prototyping Supplementary View

若有收获,就点个赞吧
0 人点赞
