1、发布npm
1、先使用npm i,创建一个项目hahaya,
{"name": "hahaya","version": "1.0.1","description": "","main": "index.js","bin": {"hahaya": "bin/index.js"},"scripts": {"test": "echo \"Error: no test specified\" && exit 1"},"author": "","license": "ISC"}
2、创建bin文件
#!/usr/bin/env node !!console.log('t2est11')
3、发布npm
先npm login 输入用户、密码和邮箱
然后npm publish。
2、使用npm
1、新建项目test
{"name": "test","version": "1.0.0","description": "","main": "index.js","scripts": {"test": "echo \"Error: no test specified\" && exit 1"},"author": "","license": "ISC"}
2、使用hahaya这个npm
方法一: npm i hahaya -g
删除全局安装包:npm remove -g hahaya
方法二:使用npm link
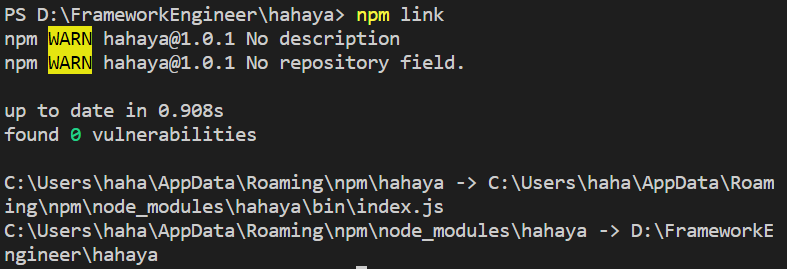
回到hahaya项目,执行npm link,本地建立一个软链接。
来到test项目,就可以执行hahaya命令
这样hahaya项目改动,test命令执行hahaya也会改动。
2、本地使用别的本地npm包
1、新建项目hahaya1
{"name": "hahaya1","version": "1.0.0","description": "","main": "lib/index.js","scripts": {"test": "echo \"Error: no test specified\" && exit 1"},"author": "","license": "ISC"}
2、新建lib下的index.js
#!/usr/bin/env nodemodule.exports = {sum(a, b) {return a + b}}
2、回到hahaya项目
1、执行npm link hahaya1
2、引用hahaya1
#!/usr/bin/env nodeconst { sum } = require('hahaya1')console.log('sum', sum(2, 3))console.log('t2eswwt11')
3、执行hahaya
此时hahaya1改动,执行hahaya也会变动


