下面通过一个示例来看一下EL表达式给我们带来了什么便捷.代码如下:
新建一个servlet,来创建student对象,然后跳转到info.jsp中
@WebServlet("/info")public class StudentServlet extends HttpServlet {private static final long serialVersionUID = 1L;/*** @see HttpServlet#HttpServlet()*/public StudentServlet() {super();// TODO Auto-generated constructor stub}/*** @see HttpServlet#doGet(HttpServletRequest request, HttpServletResponse response)*/protected void doGet(HttpServletRequest request, HttpServletResponse response) throws ServletException, IOException {Student student = new Student();student.setName("JakePrim");student.setMoblie(null);String grade = "A";request.setAttribute("student", student);request.setAttribute("grade", grade);request.getRequestDispatcher("/el_info.jsp").forward(request, response);}}
我们先来思考一下,如果运用我们之前所学到知识如何获取学生到信息呢? 如下代码,通过jsp的内置request对象然后获取自定义的属性,之后才会获取到学生信息. 这样掺杂了Java代码和Html代码,写起来是非常痛苦的.EL表达式正是为了解决这种问题而存在的.
<%@page import="com.jakeprim.el.Student"%>
<%@ page language="java" contentType="text/html; charset=UTF-8"
    pageEncoding="UTF-8"%>
<!DOCTYPE html>
<html>
<head>
<meta charset="UTF-8">
<title>Insert title here</title>
</head>
<body>
 <%
    Student student = (Student)request.getAttribute("student");
    String grade = (String)request.getAttribute("grade");
 %>
 <h1>学生姓名:<%=student.getName()%> </h1>
 <h1>学生手机:<%=student.getMoblie() %> </h1>
 <h1>教师评级:<%=grade %> </h1>
</body>
</html>
EL表达式的写法,注意在EL表达式中request要写成requestScope,如下代码:
使用EL表达式,可以写出非常简洁的代码.
<%@ page language="java" contentType="text/html; charset=UTF-8"
    pageEncoding="UTF-8"%>
<!DOCTYPE html>
<html>
<head>
<meta charset="UTF-8">
<title>Insert title here</title>
</head>
<body>
 <h1>学生姓名:${requestScope.student.getName() }</h1>
 <h1>学生手机:${requestScope.student.getMoblie() }</h1>
 <h1>教师评级:${requestScope.grade }</h1>
</body>
</html>
EL表达式作用域对象
| 作用域对象 | 描述 |
|---|---|
| pageScope | 从当前页面取值 |
| requestScope | 从当前请求中获取属性值 |
| sessionScope | 从当前会话中获取属性值 |
| applicationScope | 从当前应用获取全局属性值 |
注意:如果忽略书写作用域对象时,EL这按作用域从小到大依次尝试获取.
如果将上述代码改成这样
protected void doGet(HttpServletRequest request, HttpServletResponse response) throws ServletException, IOException {
        Student  student = new Student();
        student.setName("JakePrim");
        student.setMoblie(null);
        String grade = "A";
        HttpSession session = request.getSession();
        session.setAttribute("student", student);
        session.setAttribute("grade", grade);

//        request.setAttribute("student", student);
//        request.setAttribute("grade", grade);
        request.getRequestDispatcher("/el_info.jsp").forward(request, response);
    }
启动tomcat,可以看到使用requestScope就获取不到了
我们将作用域对象改成:sessionScope 就可以正常获取了
<%@ page language="java" contentType="text/html; charset=UTF-8"
    pageEncoding="UTF-8"%>
<!DOCTYPE html>
<html>
<head>
<meta charset="UTF-8">
<title>Insert title here</title>
</head>
<body>
 <h1>学生姓名:${sessionScope.student.getName() }</h1>
 <h1>学生手机:${sessionScope.student.getMoblie() }</h1>
 <h1>教师评级:${sessionScope.grade }</h1>
</body>
</html>
结果如下: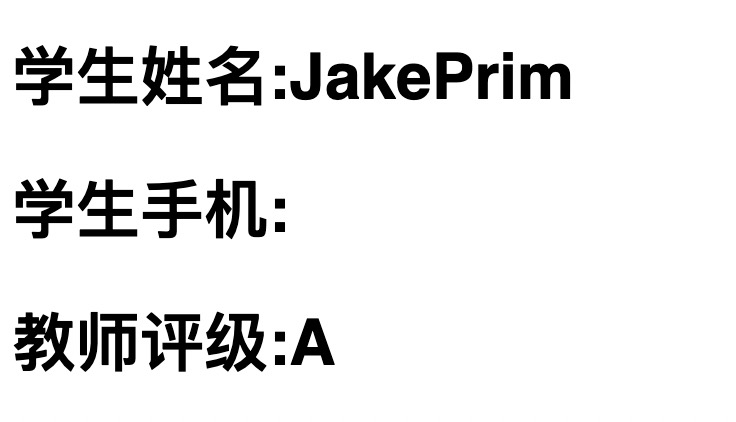
如果不写作用域对象会怎么样呢? 如上述讲的会从小到达依次查询 如下:
查询作用域: pageSocpe -> requestSocpe -> sessionSocpe -> applicationSocpe 依次获取
    protected void doGet(HttpServletRequest request, HttpServletResponse response) throws ServletException, IOException {
        Student  student = new Student();
        student.setName("JakePrim1");
        student.setMoblie(null);
        String grade = "A";
        HttpSession session = request.getSession();
        session.setAttribute("student", student);

        request.setAttribute("grade", "D");

        session.setAttribute("grade", "C");

        request.getServletContext().setAttribute("grade", "B");

        request.getRequestDispatcher("/el_info.jsp").forward(request, response);
    }
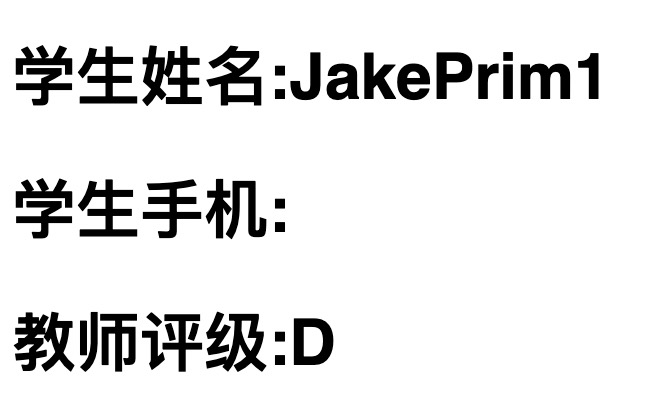
结果如下,来看grade的值为D,先从request 的作用域查询,如果存在,就忽略其他作用域. 一般不推荐这样使用,会使程序不严谨,推荐使用具体的作用域进行严谨的编程,作为一名程序员我们要做到编写的程序尽量没有错误和逻辑问题.
EL表达式输出
- 语法:
${[作用域.]属性名[.子属性]} - EL表达式支持将运算结果进行输出
- EL支持绝大多数对象输出,本质是执行toString()方法
如下图类似格式: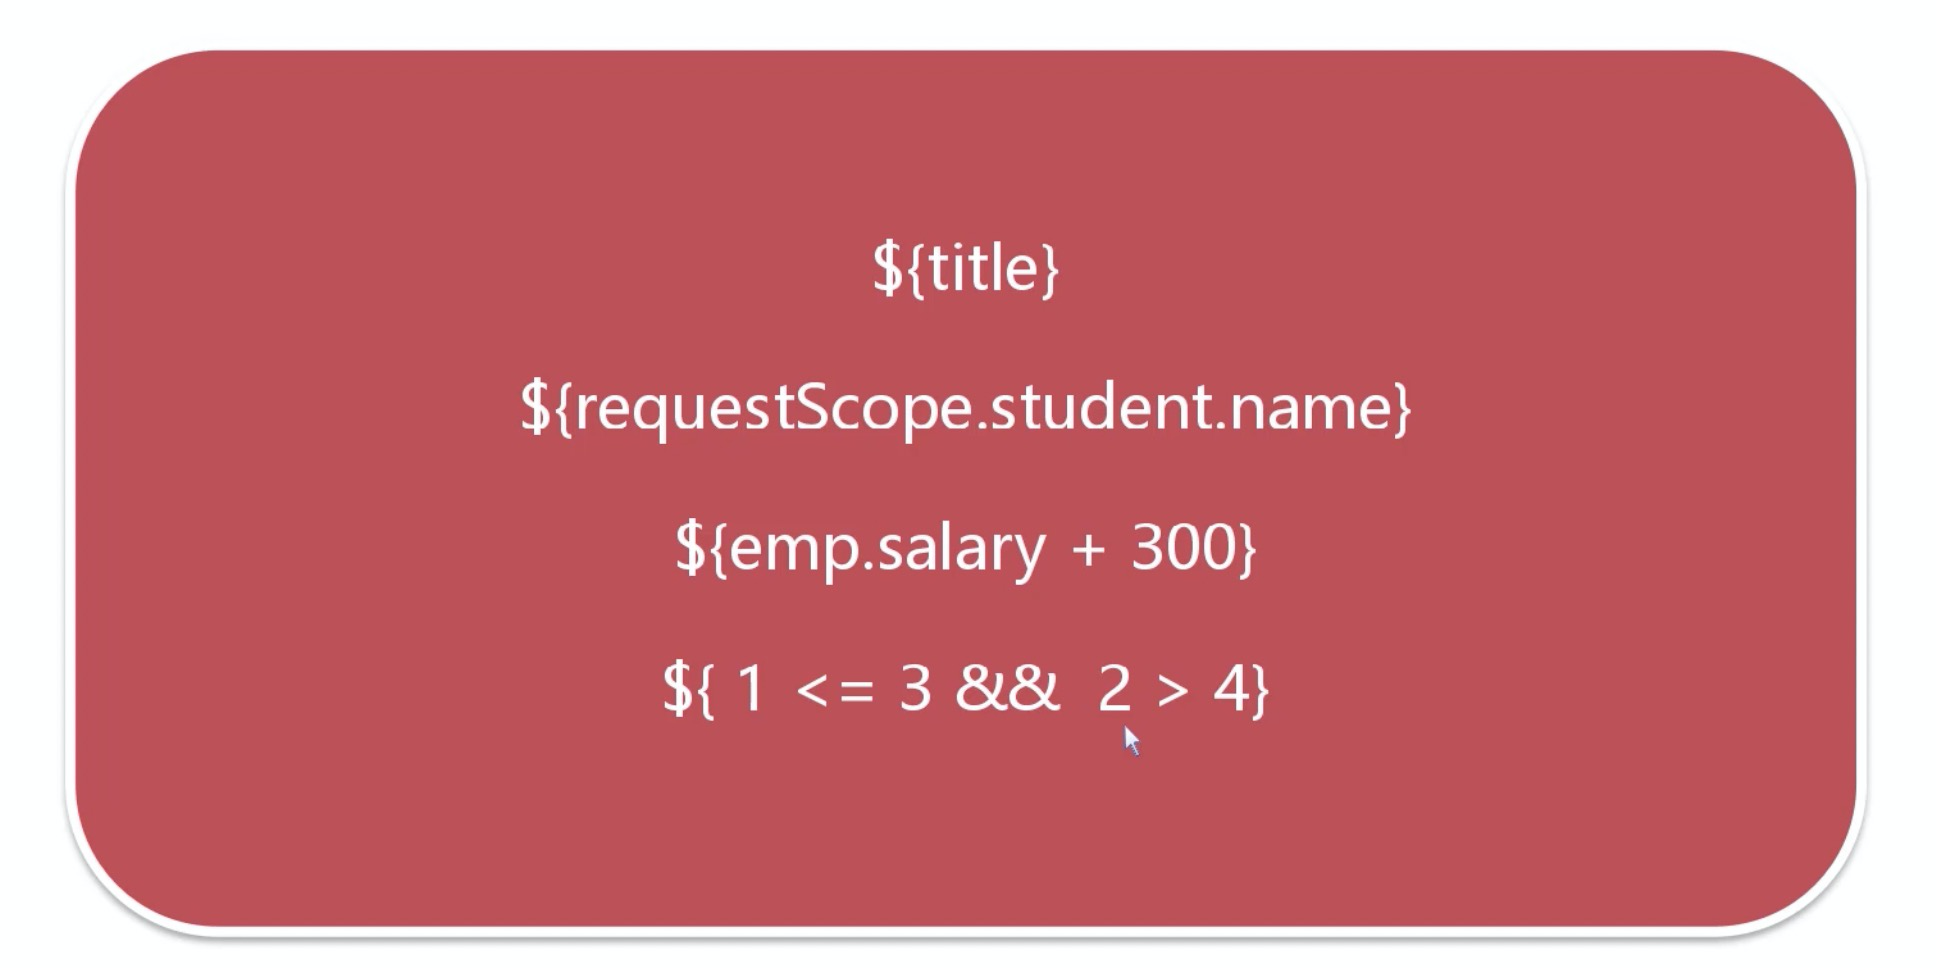
EL 获取请求参数
- EL表达式内置param对象来简化参数的输出
- 语法:${param.参数名}
在请求连接添加请求参数
http://localhost:8080/elexample/info?teacher=Jake 如下代码JSP中可以通过param对象获取请求参数
<%@ page language="java" contentType="text/html; charset=UTF-8"
    pageEncoding="UTF-8"%>
<!DOCTYPE html>
<html>
<head>
<meta charset="UTF-8">
<title>Insert title here</title>
</head>
<body>
 <h1>学生姓名:${sessionScope.student.name }</h1>
 <h1>学生手机:${sessionScope.student.moblie }</h1>
 <h1>讲师:${param.teacher }</h1>
 <h1>教师评级:${sessionScope.grade }</h1>
 <h1>Student:${sessionScope.student }</h1>
 ${3+5 }
 ${5>3 }

</body>
</html>
JSTL 标签库
JSP Standard Tag Library JSP 标准标签库
JSTL 用于简化JSP 的开发,提高代码的可读性和可维护性
JSTL SUN定义规范,由Apache Tomcat团队实现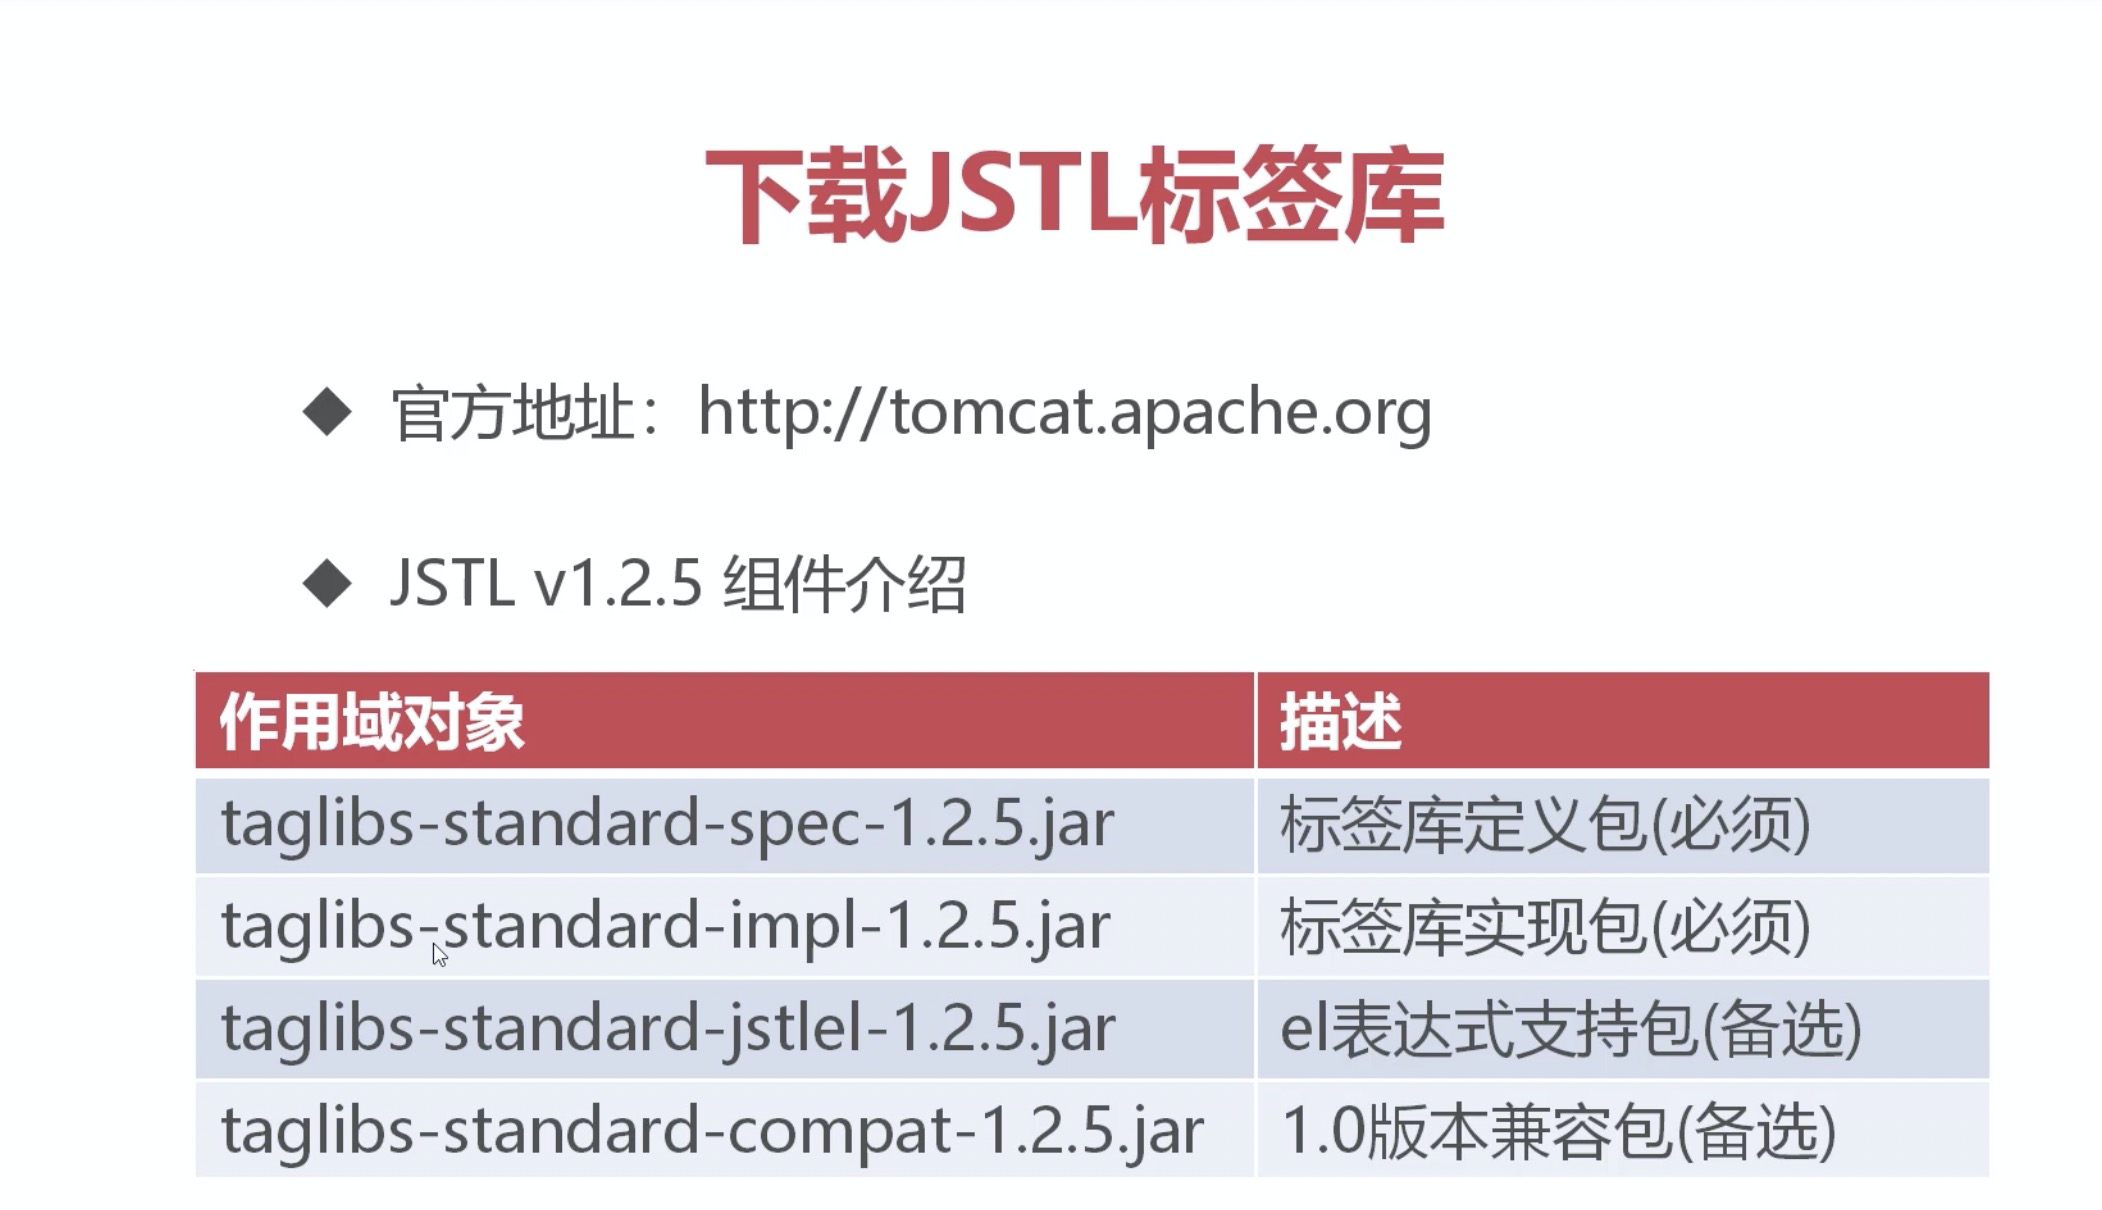
JSTL jar包
导入JSTL jar包,有两种导入方式如下:
- 推荐的方式:
将jar复制到WEB-INF的lib中,自动导入到Java Resources 的Libraries中

- 另一种方式:
在tomcat目录的lib目录下,是tomcat的全局应用的jar包,也就是说每个工程都会导入lib目录下的jar包,所以也可以将jstl的jar包放到lib中,这样每个工程项目都会引入jstl的jar包. 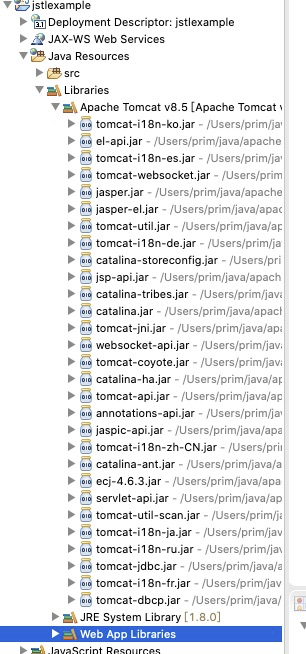
核心库
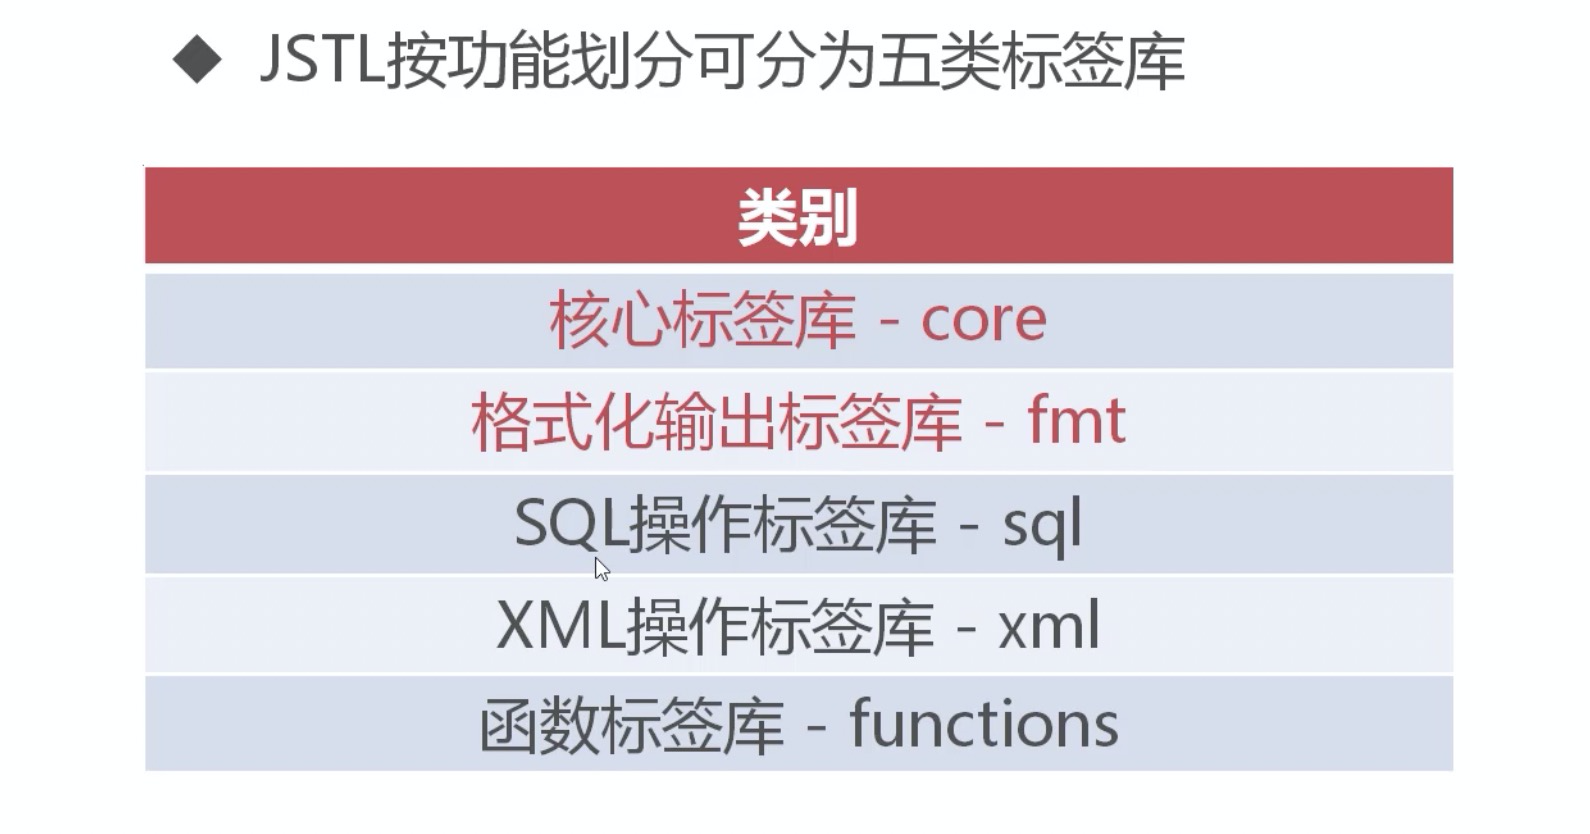
- 核心标签库
提供了JSTL的基础功能
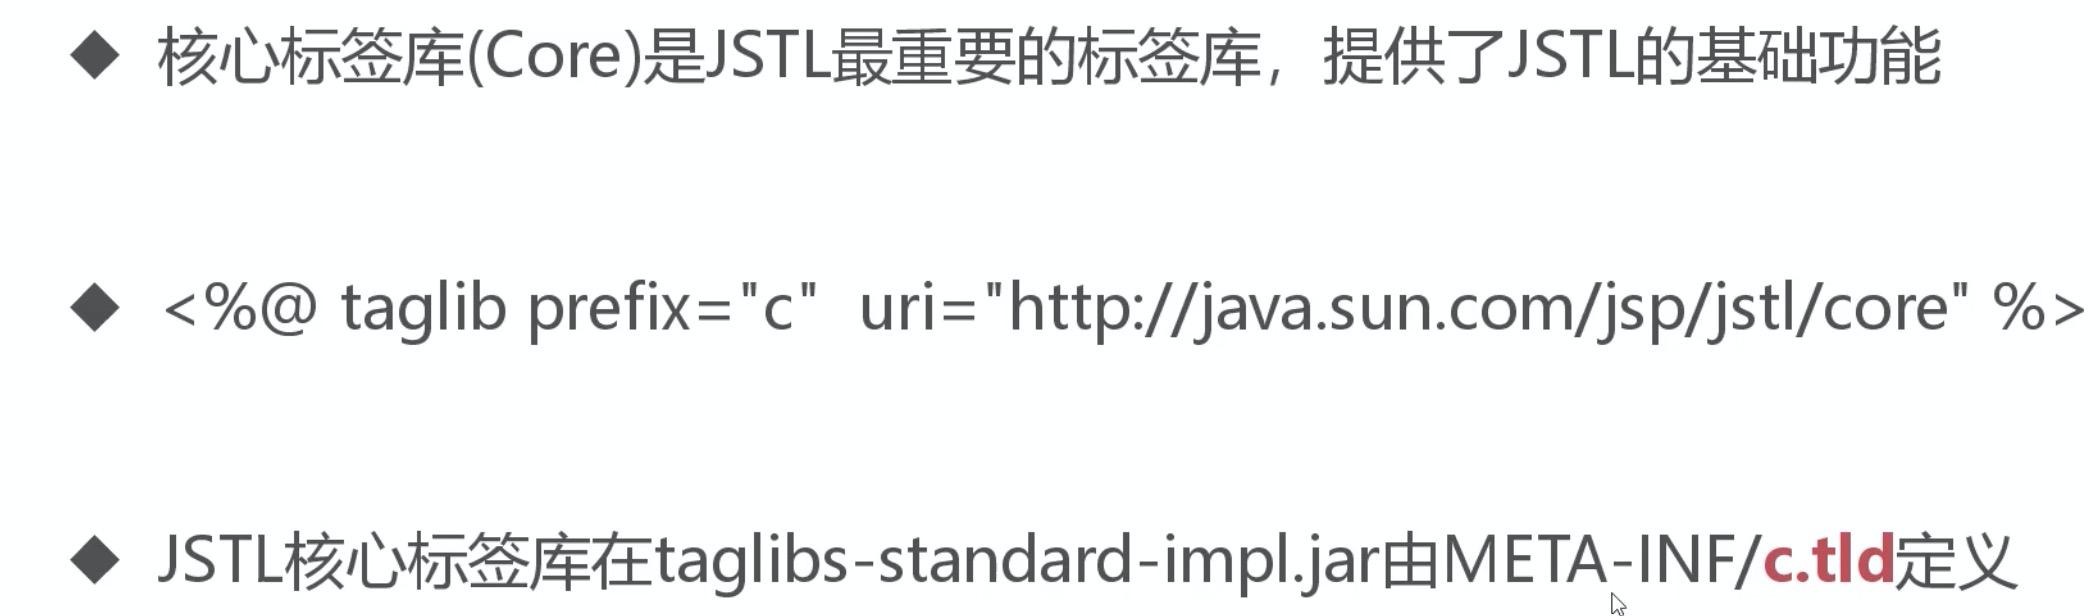
taglib 声明
uri=”http://java.sun.com/jsp/jstl/core“ 核心库
perfix=”c” 前缀 JSTL标签使用c这个前缀,也可以将perfix=”d” 那么标签就是<``d:if`` ``test``=``_""_``></``d:if``>
如下使用标签:<c:if test=""></c:if>
<%@ page language="java" contentType="text/html; charset=UTF-8"
    pageEncoding="UTF-8"%>
<%@ taglib prefix="c" uri="http://java.sun.com/jsp/jstl/core"%>
<!DOCTYPE html>
<html>
<head>
<meta charset="UTF-8">
<title>Insert title here</title>
</head>
<body>
    <c:if test=""></c:if>
</body>
</html>
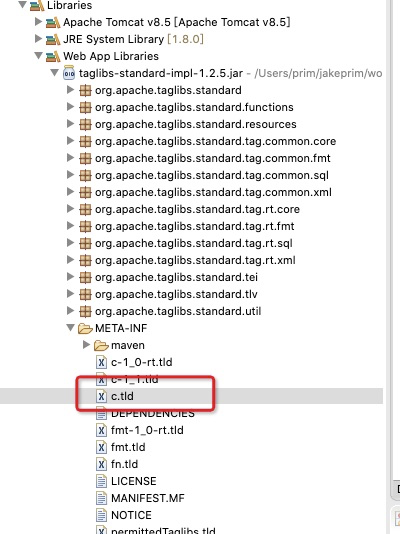
自定义标签来自哪里呢? 还记得之前几张讲过的XML的讲解吗?
可以在jar包中找到 c.tld 熟悉的tld后缀tld表明了Schema定义了XML语义约束,它定义了标签信息
JSTL判断标签
我们来看具体的代码:
新建一个core.jsp 导入jstl,关于判断标签的使用是非常简单的,注意test 中只能是EL表达式,同时只能返回true或false
<%@ page language="java" contentType="text/html; charset=UTF-8"
    pageEncoding="UTF-8"%>
<%@ taglib prefix="c" uri="http://java.sun.com/jsp/jstl/core"%>
<!DOCTYPE html>
<html>
<head>
<meta charset="UTF-8">
<title>Insert title here</title>
</head>
<body>
    <h1>分数:${requestScope.score }</h1>
    <c:if test="${requestScope.score >= 60 }">
        <h1 style="color:green;">通过测试</h1>
    </c:if>
    <c:if test="${requestScope.score < 60 }">
        <h1 style="color:red;">未通过测试</h1>
    </c:if>

    <!-- choose when otherwise -->
    ${requestScope.grade }
    <c:choose>
        <c:when test="${grade == 'A' }">
            <h2>优秀</h2>
        </c:when>
        <c:when test="${grade == 'B' }">
            <h2>不错呦</h2>
        </c:when>
        <c:when test="${grade == 'C' }">
            <h2>水平一般</h2>
        </c:when>
        <c:when test="${grade == 'D' }">
            <h2>需要努力</h2>
        </c:when>
        <c:otherwise>
            <h2>加油吧!</h2>
        </c:otherwise>
    </c:choose>
</body>
</html>
JSRL 遍历集合
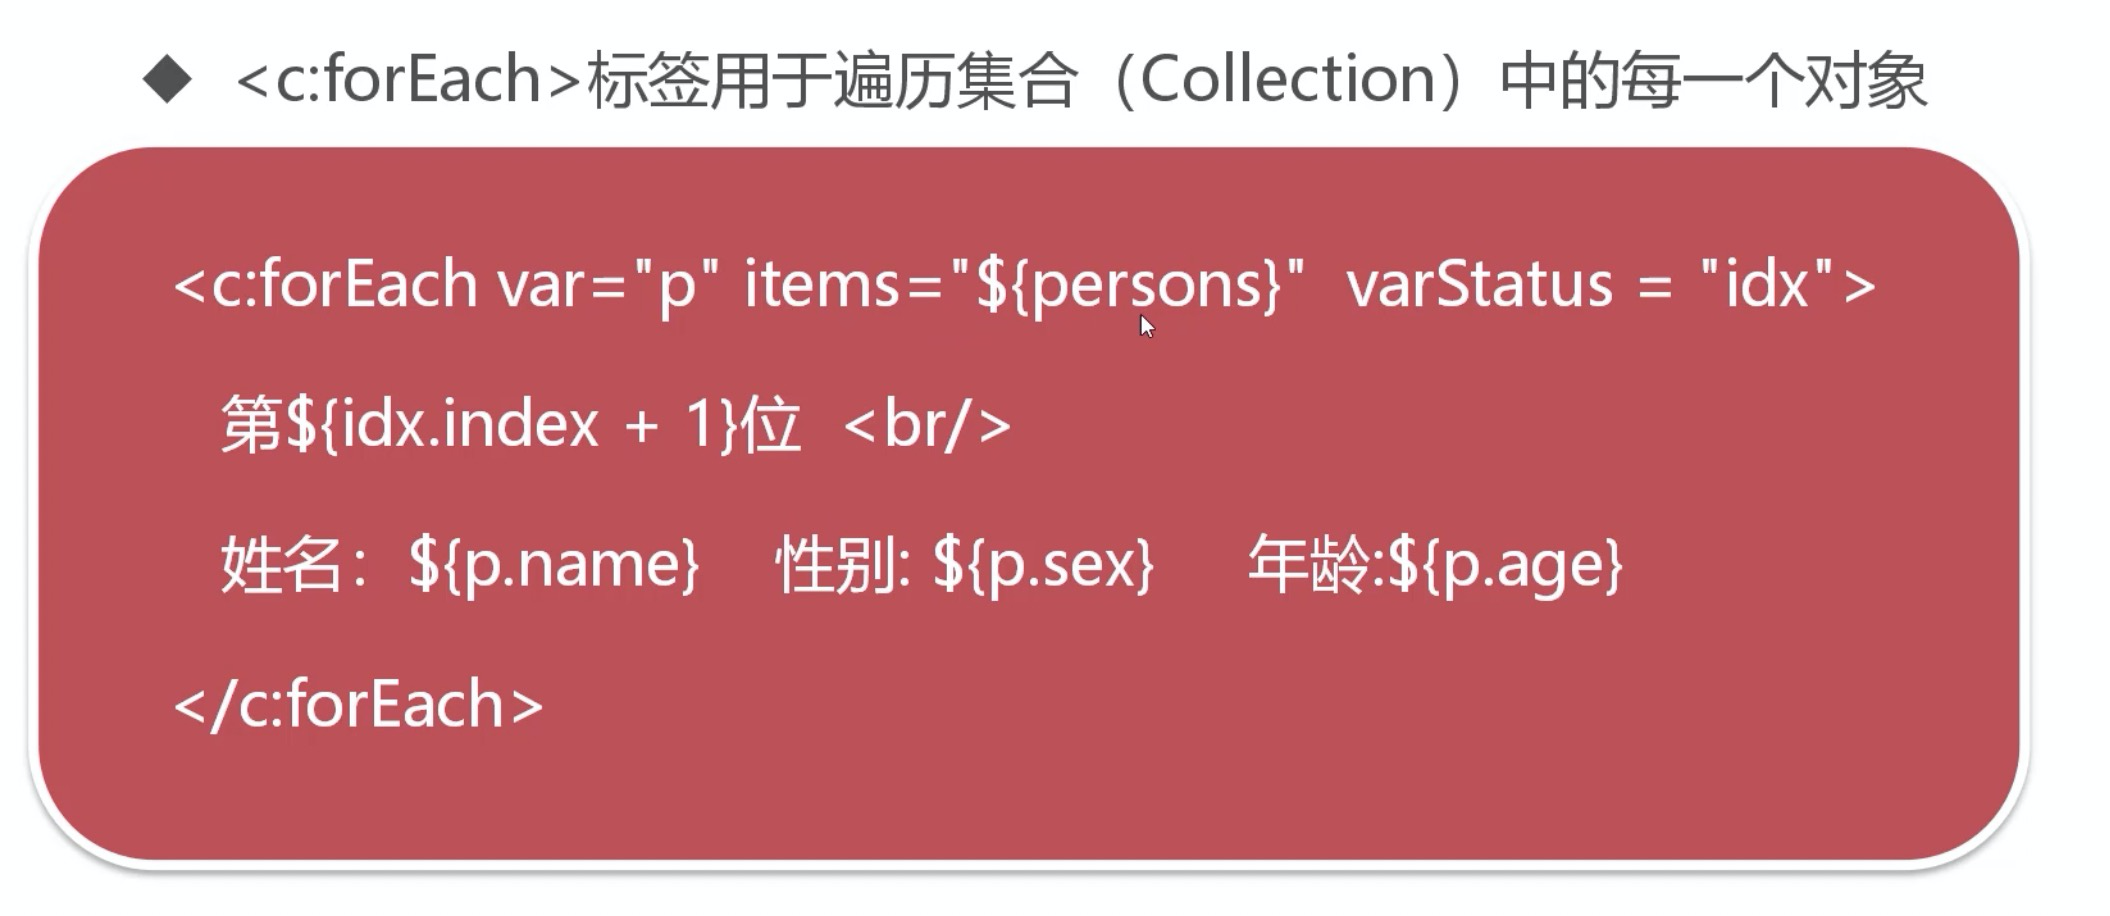
items : 数据源
对象赋值给p
varStatus:循环的状态变量 index 循环到了第几个
接下来看具体的例子,来理解JSTL的foreach标签的使用.
- 遍历List
如下代码: foreach标签的使用非常简单的,和使用Java的遍历差不多, c 相当于遍历的Company对象,idx.index表示遍历到第几个了.
<%@ page language="java" contentType="text/html; charset=UTF-8"
    pageEncoding="UTF-8"%>
<%@ taglib prefix="c" uri="http://java.sun.com/jsp/jstl/core" %>
<!DOCTYPE html>
<html>
<head>
<meta charset="UTF-8">
<title>Insert title here</title>
</head>
<body>
<!-- 类似 for (Company c : list) {

        }
        c 等价于 var = "c"
-->
<c:forEach items="${requestScope.companies }" var="c" varStatus="idx">
    <h2>${idx.index+1 } : ${c.name } - ${c.url }</h2>

</c:forEach>
</body>
</html>
- 遍历set和map集合
在servlet中设置集合,传递到jsp中
protected void doGet(HttpServletRequest request, HttpServletResponse response) throws ServletException, IOException {
        Set<String> set = new HashSet<String>();
        set.add("January");
        set.add("February");
        set.add("March");
        set.add("April");
        set.add("May");
        request.setAttribute("set", set);

        HashMap<String, String> map = new HashMap<>();
        map.put("May", "1-1");
        map.put("April", "1-2");
        map.put("March", "1-3");
        request.setAttribute("map", map);

        request.getRequestDispatcher("/test3.jsp").forward(request, response);

    }
在jsp文件中,遍历servlet设置的集合.如下代码:
set遍历非常简单,var = “s” s 就是Set
map遍历中var = “m” m.key 获取键 m.value获取值
<%@ page language="java" contentType="text/html; charset=UTF-8"
    pageEncoding="UTF-8"%>
<%@ taglib prefix="c" uri="http://java.sun.com/jsp/jstl/core" %>
<!DOCTYPE html>
<html>
<head>
<meta charset="UTF-8">
<title>Insert title here</title>
</head>
<body>
Set:
<c:forEach items="${requestScope.set }" var="s" varStatus="idx">
    <h2>${idx.index+1 }---${s }</h2>
</c:forEach>
<br>
Map:
<c:forEach items="${requestScope.map }" var="m" varStatus="idx">
    <h2>${idx.index+1 }---key:${m.key }---value:${m.value }</h2>
</c:forEach>
</body>
</html>
结果如下: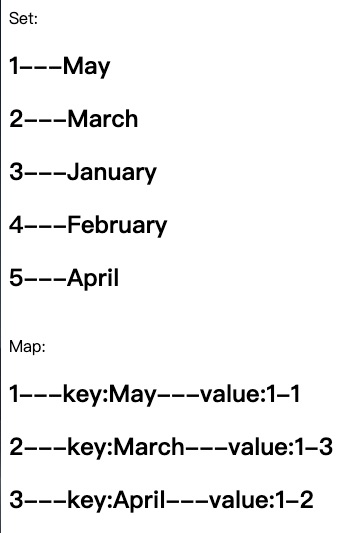
- 倒序遍历List集合
在jstl中的foreach是不能倒序遍历的,但是我们可以借助startIndex-idx.index startIndex的值就是list的大小,foreach正序输出,借助startIndex - index 就可以倒序输出.
注意我们需要多导入一个fn :<%@ taglib uri=”http://java.sun.com/jsp/jstl/functions“ prefix=”fn”%>
在servlet中设置集合
protected void doGet(HttpServletRequest request, HttpServletResponse response) throws ServletException, IOException {
        List<Notice> notices = new ArrayList<Notice>();
        notices.add(new Notice("003", "一定要多写代码,多练习呦!"));
        notices.add(new Notice("002", "欢迎学习Java Web课程!"));
        notices.add(new Notice("001", "欢迎来到慕课网!"));
        request.setAttribute("notices", notices);
        request.getRequestDispatcher("/test4.jsp").forward(request, response);

    }
<%@ page language="java" contentType="text/html; charset=UTF-8"
    pageEncoding="UTF-8"%>
<%@ taglib prefix="c" uri="http://java.sun.com/jsp/jstl/core" %>
<%@ taglib uri="http://java.sun.com/jsp/jstl/functions" prefix="fn"%>
<!DOCTYPE html>
<html>
<head>
<meta charset="UTF-8">
<title>Insert title here</title>
</head>
<body>
<h1>公告展示</h1>
<c:forEach items="${requestScope.notices }" varStatus="idx" var="n">
    <h2>${n.id }---${n.name }</h2>
</c:forEach>
倒序输出:
<c:set var="startIndex" value="${fn:length(requestScope.notices)-1 }"></c:set>
<c:forEach items="${requestScope.notices }" varStatus="idx" var="n">
    <h2>${notices[startIndex-idx.index].id }----${notices[startIndex-idx.index].name }</h2>
</c:forEach>
</body>
</html>
结果如下: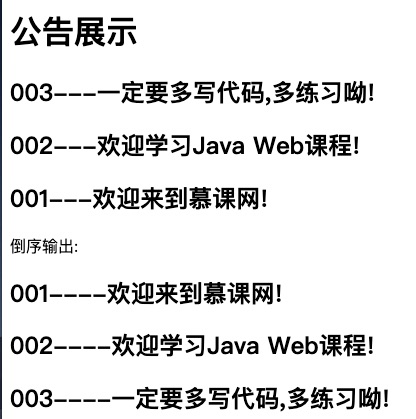
格式化输出标签库
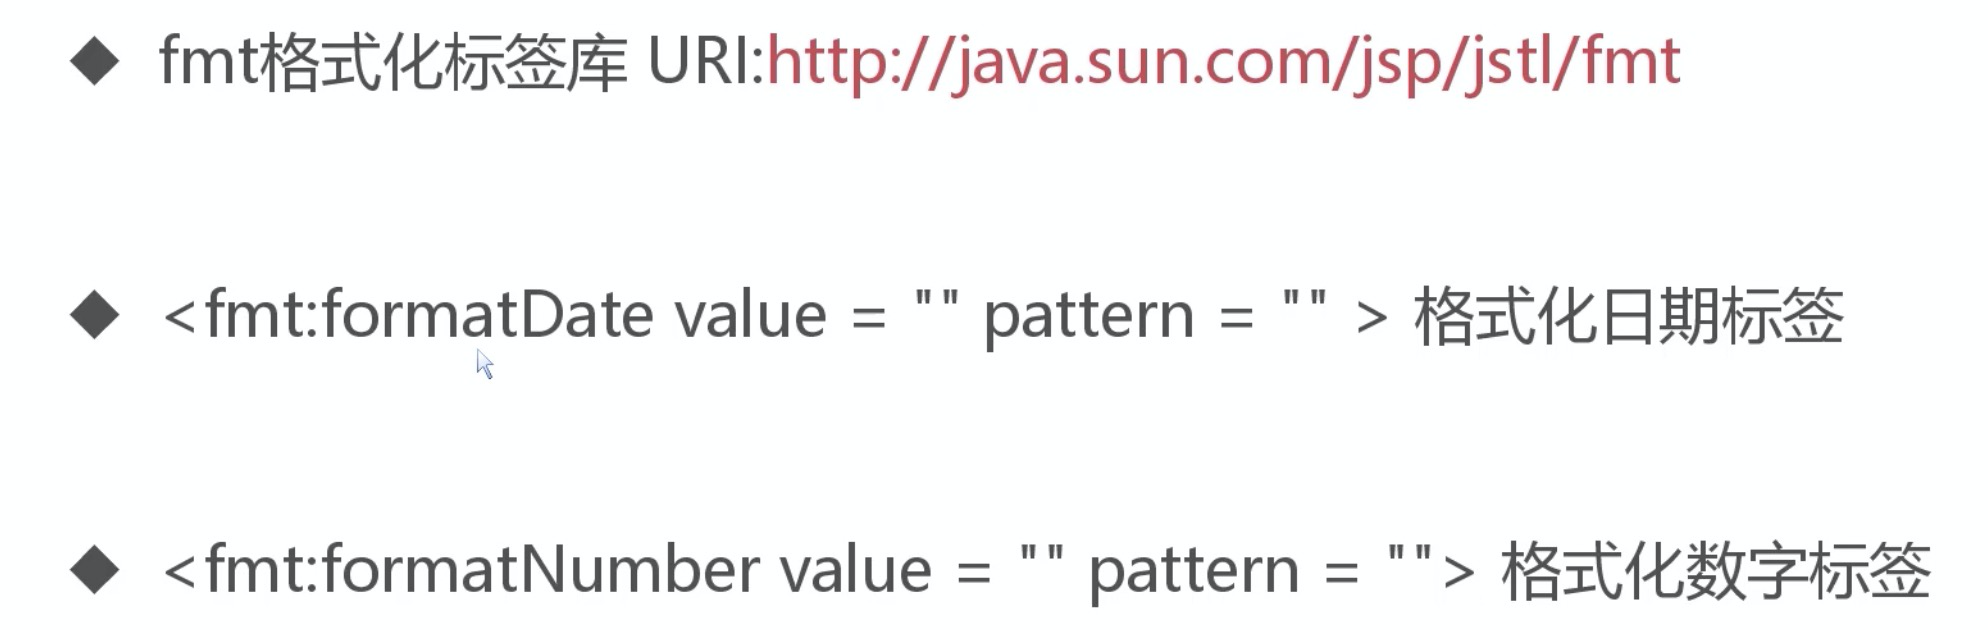
如下代码: fmt 在我们想要日期格式和数值格式时非常便捷简单
<%@page import="java.util.Date"%>
<%@ page language="java" contentType="text/html; charset=UTF-8"
    pageEncoding="UTF-8"%>
<!-- 引入核心库 -->
<%@ taglib prefix="c" uri="http://java.sun.com/jsp/jstl/core"%>
<!-- 引入格式化标签库 -->
<%@ taglib prefix="fmt" uri="http://java.sun.com/jsp/jstl/fmt"%>
<%
    request.setAttribute("amt", 1987654.326);
    request.setAttribute("now", new Date());
    request.setAttribute("html", "<a href='index.html'>index</a>");
    request.setAttribute("nothing", null);
%>
<!DOCTYPE html>
<html>
<head>
<meta charset="UTF-8">
<title>Insert title here</title>
</head>
<body>

    <h2>${requestScope.now }</h2>
    <!-- pattern yyyy - 年 MM - 月 dd - 日 HH - 24小时 hh - 12小时 mm - 分钟 ss - 秒数 SSS - 毫秒 -->
    <fmt:formatDate value="${requestScope.now }"
        pattern="yyyy年MM月dd日HH时mm分ss秒SSS毫秒" />

    <h2>${requestScope.amt }</h2>
    ¥
    <fmt:formatNumber value="${requestScope.amt }" pattern="0,000.00"></fmt:formatNumber>
    元

    <h2>null默认值:<c:out value="${requestScope.nothing }" default="无"></c:out></h2>

    <h2>${requestScope.html }</h2>

    <h2><c:out value="${requestScope.html }" escapeXml="true"></c:out></h2>


</body>
</html>
结果如下: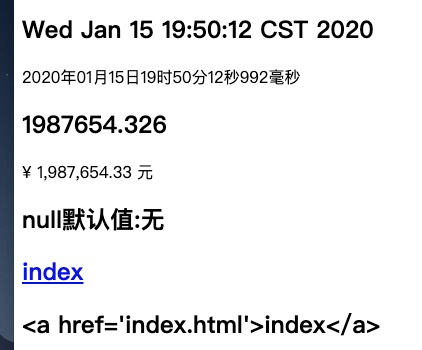
OK,到此我们学习了基础的EL表达式和JSTL的标签的简单使用,这两个的出现主要就是解决JSP的难题,简化JSP.
关于JSTL的函数标签库和xml标签库以及SQL标签库,不经常使用,感兴趣的可以执行查看.

若有收获,就点个赞吧
0 人点赞
