导读
由于SpringBoot项目默认是使用http发送的请求,不支持HTTPS请求,而发送HTTPS请求需要需要使用数字证书,虽然各大服务云商都有,但是那个是收费使用的,生产环境如果需要,肯定需要在正规地方购买,当然我们本地测试就不需要那么购买了,可以使用java自带的生成数字证书。
使用
数字签名的生成
进入jdk的安装目录,bin文件夹下,打开命令窗口输入以下命令生成数字证书:
keytool -genkey -alias tomcathttps -keyalg RSA -keysize 2048 -keystore D:\javasign.p12 -validity 365# 或者keytool -importkeystore -srckeystore D:\javasign.p12 -destkeystore D:\javasign.p12 -deststoretype pkcs12
命令含义如下:
- genkey 表示要创建一个新的密钥。
- alias 表示 keystore 的别名。
- keyalg 表示使用的加密算法是 RSA ,一种非对称加密算法。
- keysize 表示密钥的长度。
- keystore 表示生成的密钥存放位置。
- validity 表示密钥的有效时间,单位为天。

生成以下数字证书。
引入 https
接下来我们需要在项目中引入 https。
将上面生成的 javaboy.p12 拷贝到 Spring Boot 项目的 resources 目录下。然后在 application.yml中添加如下配置:
server:port: 8090ssl:key-alias: classpath:javasign.p12key-store: tomcathttpskey-store-password: 123456
参数说明
- key-store表示密钥文件名。
- key-alias表示密钥别名。
- key-store-password就是在cmd命令执行过程中输入的密码。
启动项目
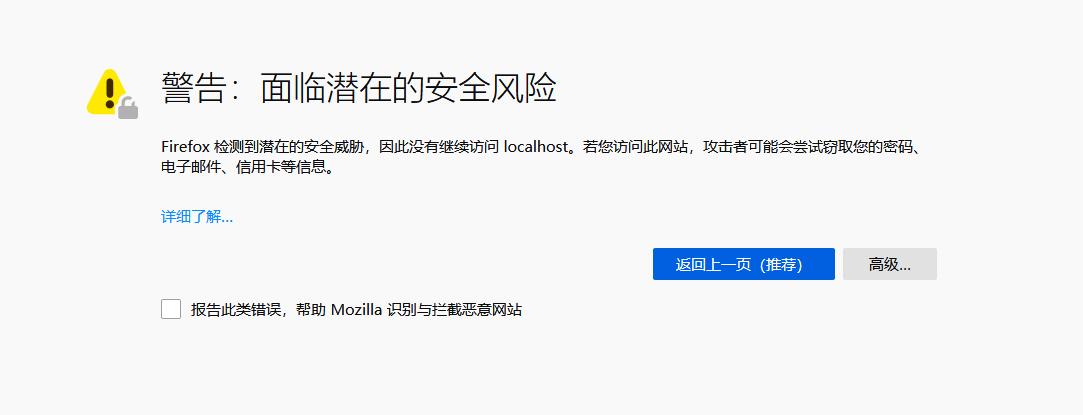
在浏览器输入‘https://localhost:8080/app/index’ ,会出现以下页面,点击高级—继续
最终可以使用HTTPS访问
但是当我们使用HTTP访问的时候,就会出现问题。
解决办法,添加配置文件。
import org.apache.catalina.Context;import org.apache.catalina.connector.Connector;import org.apache.tomcat.util.descriptor.web.SecurityCollection;import org.apache.tomcat.util.descriptor.web.SecurityConstraint;import org.springframework.boot.web.embedded.tomcat.TomcatServletWebServerFactory;import org.springframework.context.annotation.Bean;import org.springframework.context.annotation.Configuration;@Configurationpublic class TomcatConfig {@BeanTomcatServletWebServerFactory tomcatServletWebServerFactory() {TomcatServletWebServerFactory factory = new TomcatServletWebServerFactory() {@Overrideprotected void postProcessContext(Context context) {SecurityConstraint constraint = new SecurityConstraint();constraint.setUserConstraint("CONFIDENTIAL");SecurityCollection collection = new SecurityCollection();collection.addPattern("/*");constraint.addCollection(collection);context.addConstraint(constraint);}};factory.addAdditionalTomcatConnectors(createTomcatConnector());return factory;}@Beanprivate Connector createTomcatConnector() {Connector connector = new Connector("org.apache.coyote.http11.Http11NioProtocol");connector.setScheme("http");connector.setPort(8081);connector.setSecure(false);connector.setRedirectPort(8080);return connector;}}
通过这段配置,访问http://localhost:8081/app/index的时候系统会自动重定向到https://localhost:8080/app/index这个地址上。

