初始化
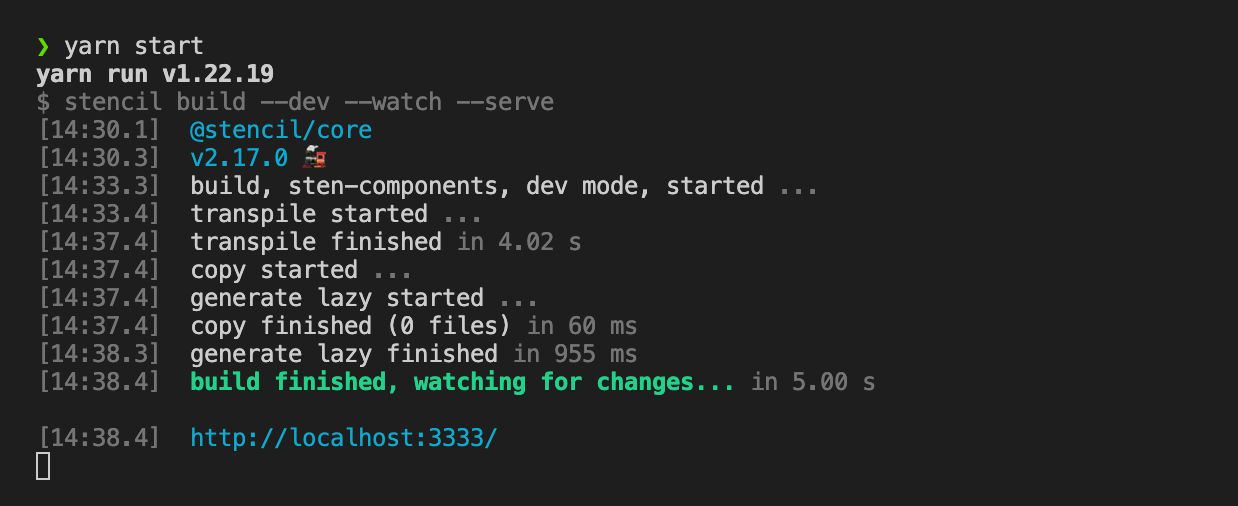
npm init stencil // 初始化stencil, 然后进入下方选择初始化类型[选择这个]> component // 选择组件方式> app [community] // 构建应用网站模式// 然后进入文件夹 安装依赖yarn install// 运行yarn start
目录介绍
- dist // 存放运行编译后的代码,也就是每次修改打包后的文件、- src // 工程代码- components // 存放组件的目录- utils // 公共方法存放地址- components.d.ts // 全局组件注入类型文件(自动生成、不用管)- index.html // 也是框架自动会引入组件用作展示的地方- index.ts //- stencil.config.ts // stencil配置文件、包括打包的规则- tsconfig.json // ts 配置- www // 文件夹是在开发过程中启动调试所用到的资源文件、也就是我们yarn start运行的调试页面
介绍组件
执行 yarn generate 默认三个都选上了包括两个测试文件、取消某个按下空格、回车直接快速生成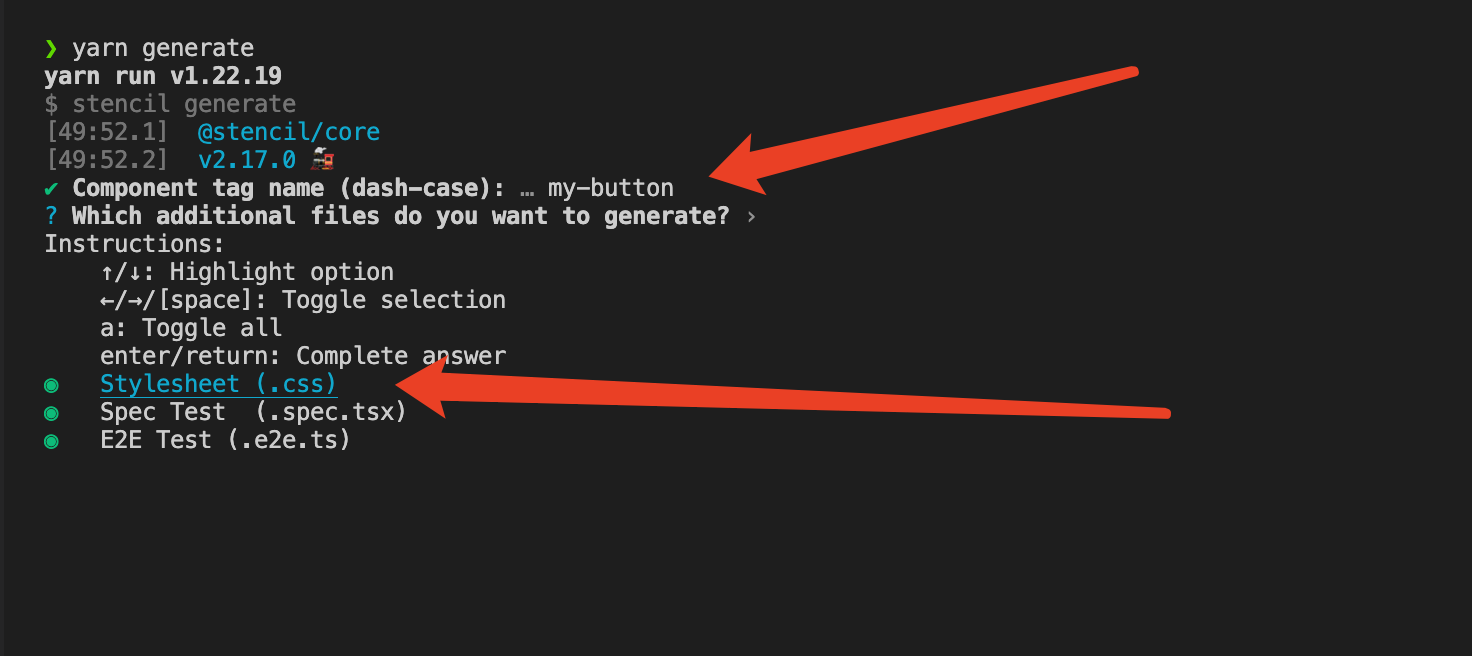
import { Component, Host, h, Prop, Event, EventEmitter, State, Watch, Method, Element } from '@stencil/core';@Component({tag: 'my-button', // 组件名称styleUrl: 'my-button.css', // 组件样式shadow: false, // 是否开启沙盒模式})export class MyButton {/***** 生命周期 start ********* */// 初次加载connectedCallback(){console.log('[lifecycle 1] connectedCallback')}componentWillLoad() {console.log('[lifecycle 2] componentWillLoad')}componentWillRender() {console.log('[lifecycle 3] componentWillRender')}componentDidRender() {console.log('[lifecycle 6] componentDidRender')}componentDidLoad() {console.log('[lifecycle 7] componentDidLoad')}// 组件重新连接[类似移除后重新插入 connectedCallback() ]/*const el = document.createElement('my-cmp');此时由于 el 是新添加 所以会执行 组件初次加载 的逻辑document.body.appendChild(el);el.remove();// 此时由于 el 已经初始化一遍,再次添加到 body 只会执行 组件重新连接 的逻辑document.body.appendChild(el);*/// 组件更新componentDidUpdate() {console.log('[lifecycle 组件更新] componentDidUpdate')}// 组件销毁disconnectedCallback(){console.log('[lifecycle] 组件销毁被执行')}/***** 生命周期 end *********** *//***** 获取整个组件元素 start ********* */@Element() el: HTMLElement;/***** 获取整个组件元素 end ********* *//***** 定义内部响应式 start ********* */@State() num: number = 0;handleNum() { this.num += 1}/***** 定义内部响应式 end *********** *//***** 监听内部num变化 start ********* */@Watch('num')watchPropHandler(newValue: number, oldValue: number) {console.log('num变化了', newValue, oldValue);}/***** 监听内部num变化 end*** ********* *//***** props定义接受一个text start ********* */@Prop() text: string/***** props定义接受一个text end ********* *//***** 定义组件元素派发的事件 start ********* */@Event({eventName: 'on-click', // 事件名称bubbles: true, // 是否支持冒泡cancelable: true, // 是否支持可取消composed: true, // 冒泡事件是否逃逸出当前的 shadowdom})displayOnClick: EventEmitter<{ data: { mes: string, el: HTMLElement } }>handClick(): void {this.displayOnClick.emit({data: {mes: '派发出来的消息',el: this.el}})}/***** 定义组件元素派发的事件 end ********* *//***** 定义外部通过节点调用内部的方法 start ********* */@Method()async showPrompt() {return {num: this.num,el: this.el}}/***** 定义外部通过节点调用内部的方法 end ********* */render() {console.log('[lifecycle 4] render')return (<Host><div><button onClick={ this.handClick.bind(this) }>往外部抛事件</button>{/* slot接收 */}<slot></slot>{/* 作用域插槽 */}<slot name='header'></slot>{/* 展示props值 */}<span>{this.text}</span><button onClick={ this.handleNum.bind(this)}>num+1</button></div></Host>);}}
外部使用测试
<!DOCTYPE html><html dir="ltr" lang="en"><head><meta charset="utf-8" /><meta name="viewport" content="width=device-width, initial-scale=1.0, minimum-scale=1.0, maximum-scale=5.0" /><title>Stencil Component Starter</title><script type="module" src="/build/sten-components.esm.js"></script><script nomodule src="/build/sten-components.js"></script></head><body><my-button text="gf" id="myButton"><span style="color: red;">我是默认插槽内容</span><span slot="header" style="color: blue;">我是header插槽内容</span></my-button></body></html><script>// 监听方法const button = document.getElementById('myButton')button.addEventListener('on-click', (e) => {console.log(e.detail)})// 外部调用setTimeout(async () => {const res = await button.showPrompt();console.log(res)}, 1000)</script>

若有收获,就点个赞吧
0 人点赞
