一、Nexus
1、官网下载地址
前往 Nexus 官网 下载安装包,并解压存放到自己希望保存的目录。
2、已下载可用链接
- windows: 链接: https://pan.baidu.com/s/1kYzOPj8pEpg-XPFXV5-0LA 提取码: ua6x
- mac: 链接: https://pan.baidu.com/s/11yHHRjazB5LogHqGUegvAA 提取码: pa9e
3、安装
下载解压后,切换到安装的bin目录,使用命令开启。以windows为例:
出现下面文字就启动成功nexus.exe /run
其它命令Started Sonatype Nexus OSS 3.1.0-04
稍等 nexus 启动完毕,即可使用浏览器访问 http://127.0.0.1:8081 即可看到 nexus 欢迎页。nexus.exe startnexus.exe stopnexus.exe restart
4、登录
使用用户名 admin 和默认密码 admin123 登录,即可创建和管理用户。新版默认密码已改,在
初始密码保存在nexus安装目录下的sonatype-work的admin.password文件中,打开文件可以看到如下内容:
admin.password
注:内容即为密码明文,而非加密后的结果,直接复制即可。
第一次输入账号密码后,会提示修改初始密码
参考链接:https://www.cnblogs.com/wbl001/p/11154828.html
5、创建仓库
在浏览器打开http://localhost:8081,登录以后即可看到管理页面
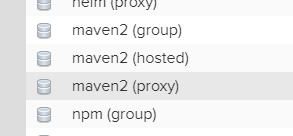
这里的仓库分了四种类型:
hosted(宿主仓库):用来部署自己,第三方或者公共仓库的构件
proxy(代理仓库):代理远程仓库
virtual(虚拟仓库):默认提供了一个 Central M1虚拟仓库 用来将maven 2适配为maven 1
group(仓库组):统一管理多个仓库
名词解释:
Public Repositories: 仓库组
3rd party: 无法从公共仓库获得的第三方发布版本的构件仓库
Apache Snapshots: 用了代理ApacheMaven仓库快照版本的构件仓库
Central: 用来代理maven中央仓库中发布版本构件的仓库
Central M1 shadow: 用于提供中央仓库中M1格式的发布版本的构件镜像仓库
Codehaus Snapshots: 用来代理
CodehausMaven 仓库的快照版本构件的仓库
Releases: 用来部署管理内部的发布版本构件的宿主类型仓库
Snapshots:用来部署管理内部的快照版本构件的宿主类型仓库
仓库类型
宿主仓库配置信息
代理仓库配置信息
仓库组配置信息
创建示例


选择创建一个hosted仓库。policy那里选择Allow redeploy。在Browse就可以看到刚刚创建的仓库toastutils。
6、上传仓库
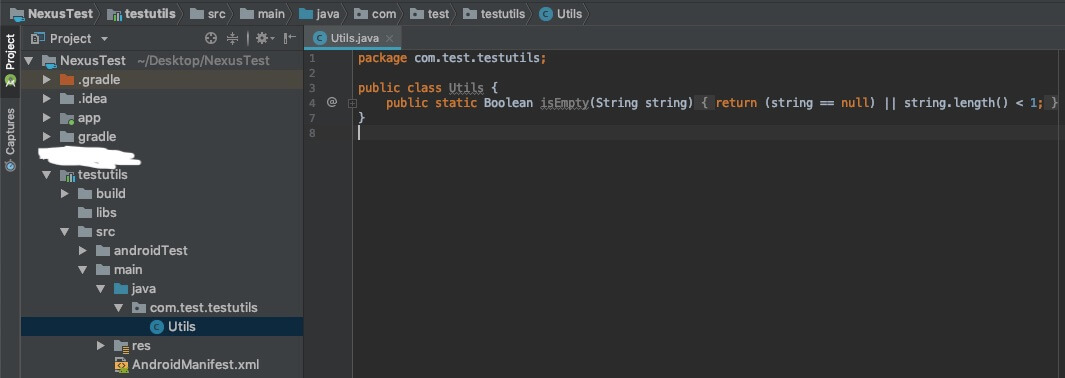
新建 testutils module,并新建 Utils 测试类。
在项目的 build.gradle 中加入 mavenLocal
allprojects {repositories {google()jcenter()//需要添加的mavenLocal()}}
到 testutils 的 build.gradle 中添加 maven 信息
apply plugin: 'com.android.library'//需要添加的apply plugin: 'maven'//需要添加的uploadArchives {repositories.mavenDeployer {repository(url:"http://127.0.0.1:8081/repository/test/") {authentication(userName:"test", password:"123456")}pom.version="1.0"pom.artifactId="testutils"pom.groupId="com.test"}}android {compileSdkVersion 28defaultConfig {minSdkVersion 21targetSdkVersion 28versionCode 1versionName "1.0"testInstrumentationRunner "android.support.test.runner.AndroidJUnitRunner"}buildTypes {release {minifyEnabled false proguardFiles getDefaultProguardFile('proguard-android.txt'), 'proguard-rules.pro'}}}dependencies {implementation fileTree(dir: 'libs', include: ['*.jar'])implementation 'com.android.support:appcompat-v7:28.0.0'testImplementation 'junit:junit:4.12'androidTestImplementation 'com.android.support.test:runner:1.0.2'androidTestImplementation 'com.android.support.test.espresso:espresso-core:3.0.2'}
注:
repository 的 url 可访问 nexus 进行复制
sync 完 gradle 后,打开 gradle 选项,找到 upload,进行上传。
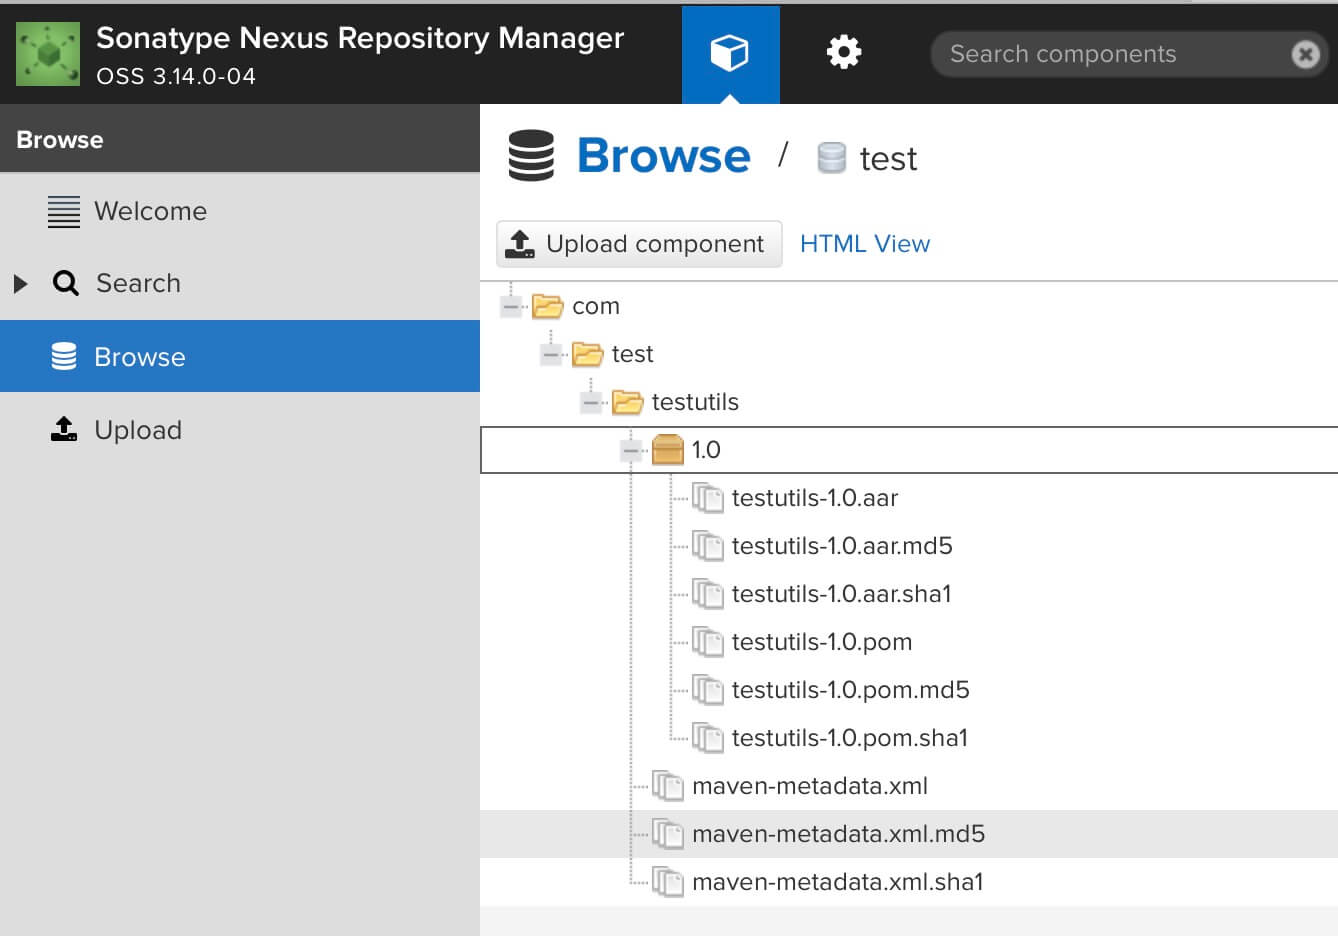
上传成功后,即可前往 nexus 查看。
也可以将配置都放在根目录gradle.properties里面,示例如下:
#Maven仓库的URLMAVEN_REPO_RELEASE_URL=http://localhost:8081/repository/toastutils/MAVEN_REPO_SNAPSHOT_URL=http://localhost:8081/repository/toastutils/#对应maven的GroupId的值GROUP =toastutils#登录nexus ossde的用户名NEXUS_USERNAME=#登录nexus oss的密码NEXUS_PASSWORD=# groupid (最终你引用时的名字)GROUP_ID =toastutils# typeTYPE = aar# descriptionDESCRIPTION = toast_utils
引入要上传的modul的gradle:
apply plugin: 'maven'uploadArchives {configuration = configurations.archivesrepositories {mavenDeployer {snapshotRepository(url: MAVEN_REPO_SNAPSHOT_URL) {authentication(userName: NEXUS_USERNAME, password: NEXUS_PASSWORD)}repository(url: MAVEN_REPO_RELEASE_URL) {authentication(userName: NEXUS_USERNAME, password: NEXUS_PASSWORD)}pom.project {//版本,有更新时修改版本号,再上传version '1.0.6'//名字artifactId 'toastutils'groupId GROUP_IDpackaging TYPEdescription DESCRIPTION}}}}
7、使用私有库
在项目的 build.gradle 中加入私有 Maven 库
allprojects {repositories {google()jcenter()//需要添加的maven { url "http://127.0.0.1:8081/repository/test/" }}}
在需要引用私有库的 module 的 build.gradle 中引用私有库
implementation 'com.test:testutils:1.0'
注:不是 com.test.testutils 而是 com.test:testutils
sync 完 gradle 后,即可在 module 中引用
至此,我们完成了私有 Maven 库的搭建和使用。
参考
demo
maven—-9使用Nexus创建私服
用Maven搭建私有化Android管理库
Android Maven 私有库


