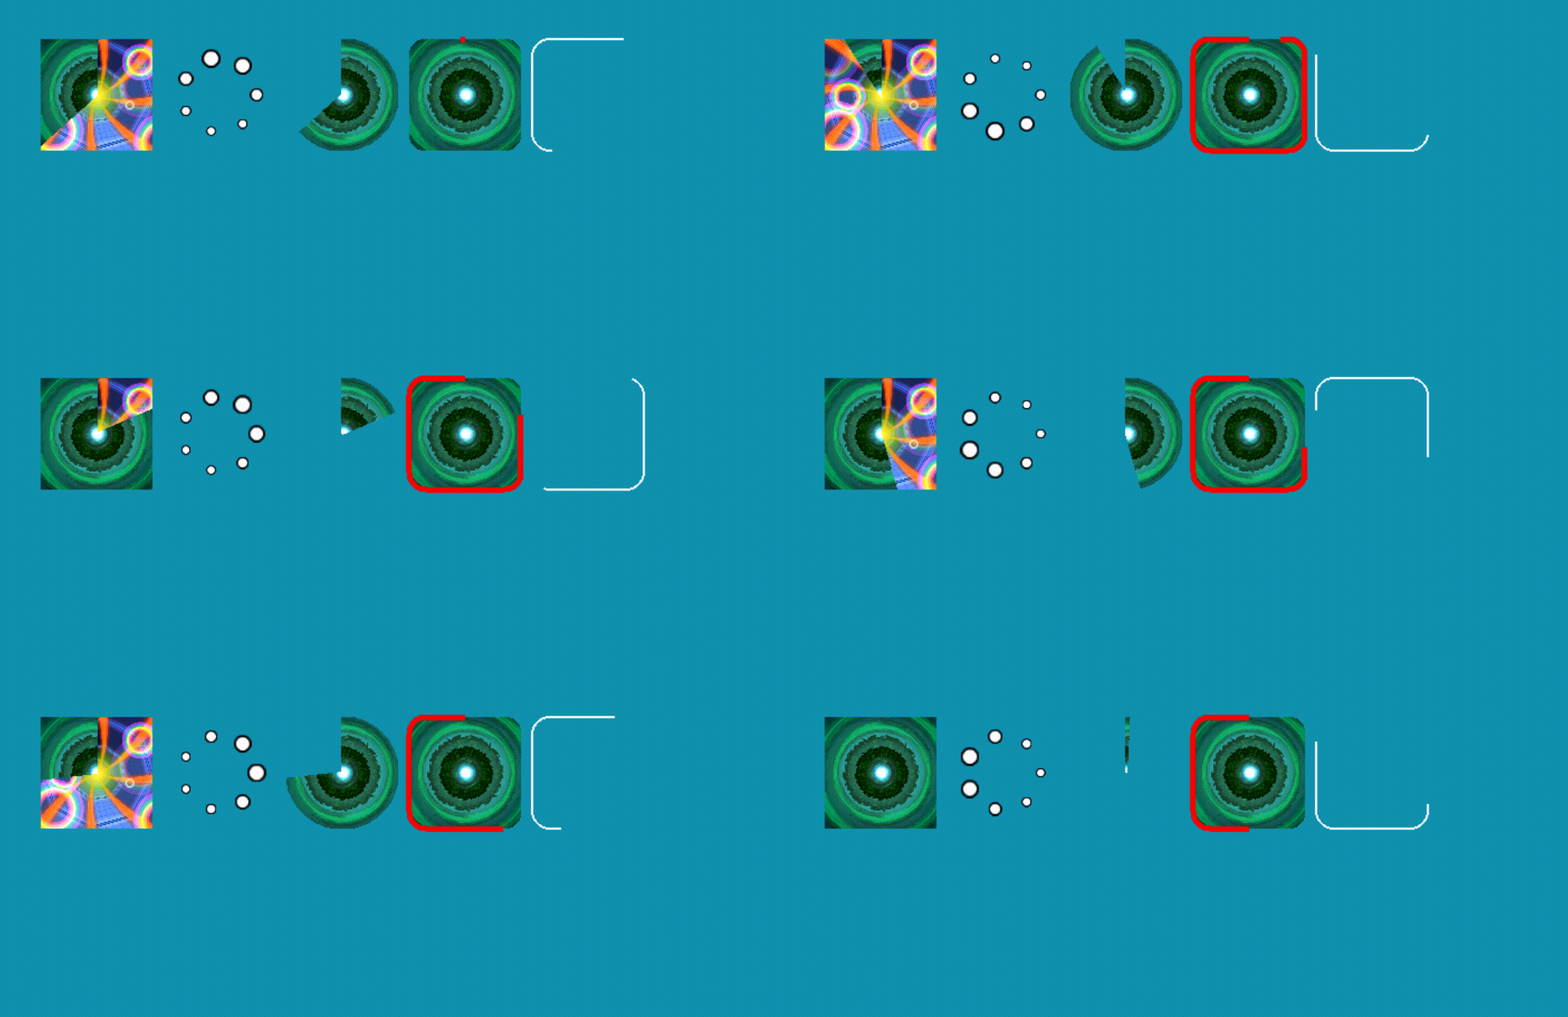
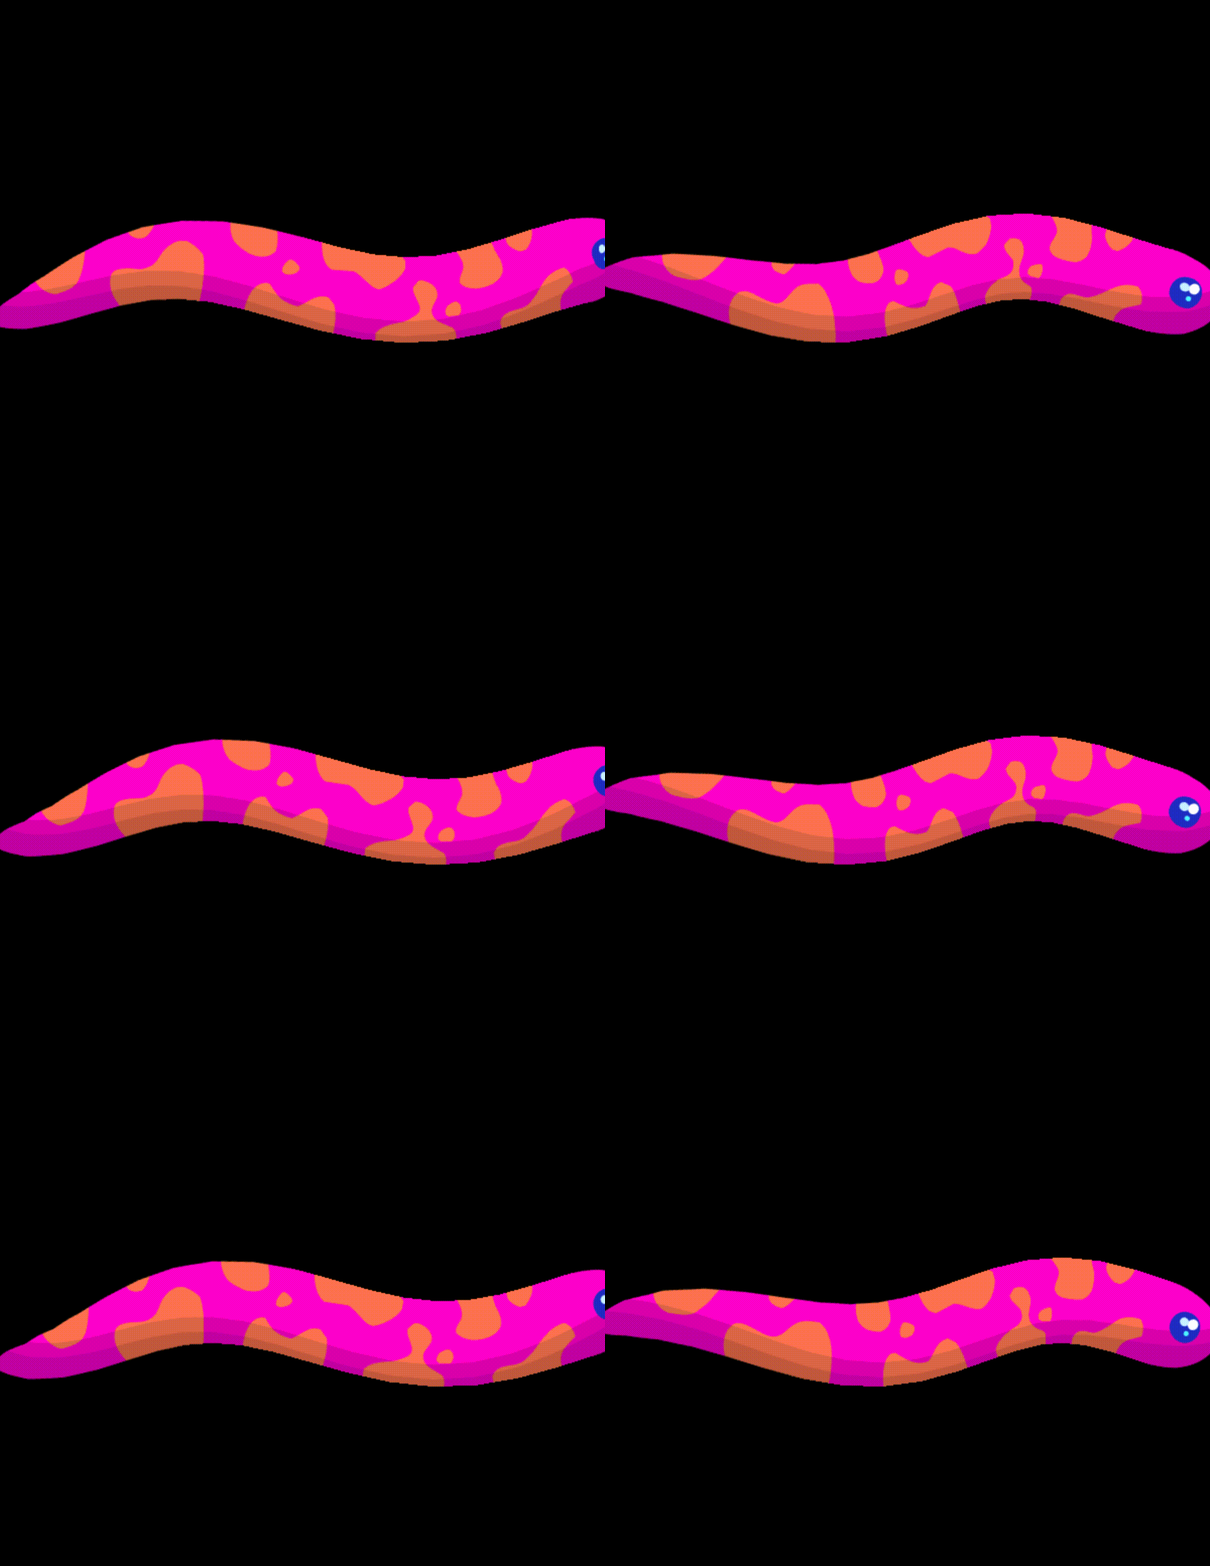
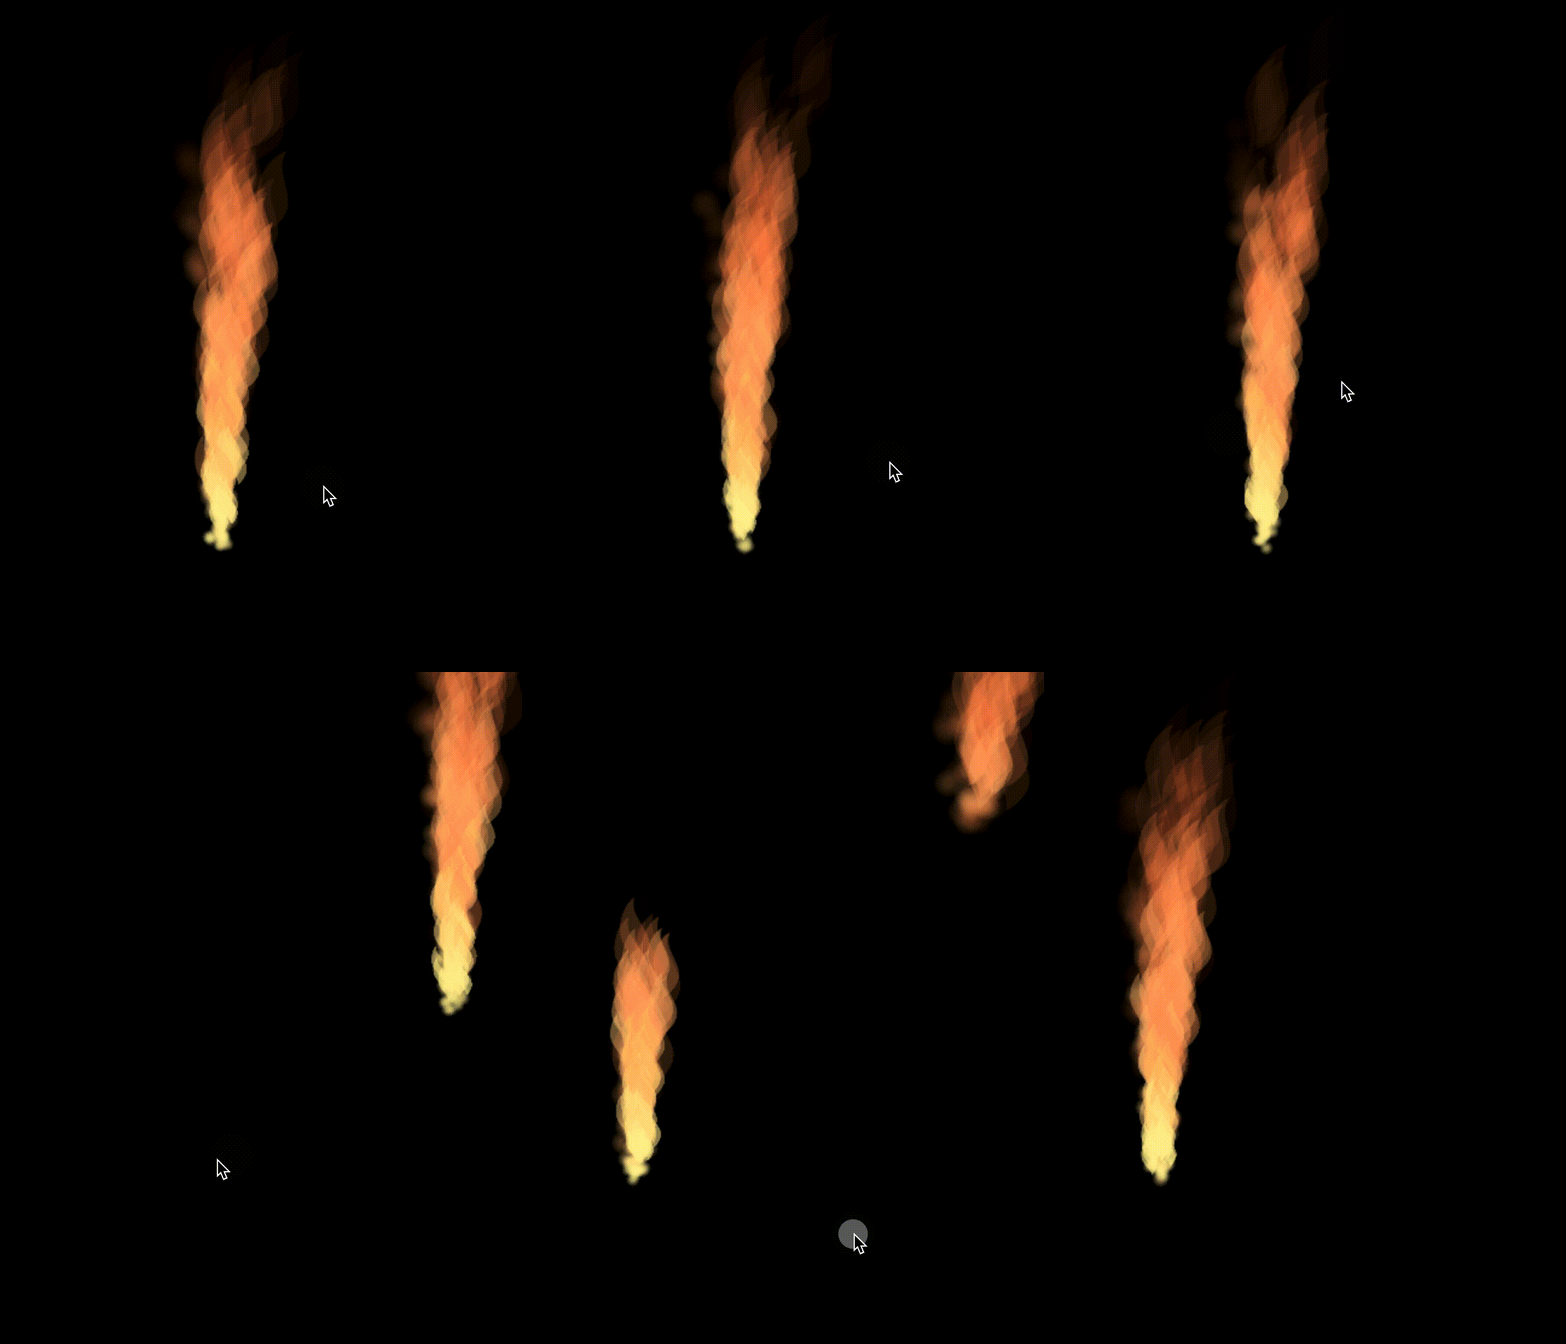
效果案例
Pixi渲染
Pixi.js简介(官网)
- Pixi.js是一个高性能2D渲染引擎。Pixi.js支持绘制图像、图形、文本,支持构建动画和交互式应用。
- 底层基于webgl/canvas。
- API类似Flash。
传统前端偏文档场景,但对于游戏、动画、可视化等对绘制图形有更高要求(复杂图形、灵活动画、特殊效果)的场景并不擅长。Pixi.js渲染引擎是基于webgl/canvas图形API封装的、在可视化场景提供更好支持的JavaScript库。
一些简单案例
绘制一个图片,并让它转起来
https://pixijs.com/examples/sprite/basic
- 创建一个应用,并挂载到页面上
- 创建一个精灵,用来显示图片
- 设置精灵位置
- 把精灵添加到应用的stage中
- 添加ticker回调,在ticker中更新精灵旋转角度
texture
https://pixijs.com/examples/textures/render-texture-basic
import * as PIXI from 'pixi.js';const app = new PIXI.Application({ background: '#1099bb', resizeTo: window });document.body.appendChild(app.view);// 用纹理对象创建精灵const texture = PIXI.Texture.from('https://pixijs.com/assets/bunny.png');const bunny = new PIXI.Sprite(texture);// 等价于// const bunny = PIXI.Sprite.from('https://pixijs.com/assets/bunny.png');app.stage.addChild(bunny);
交互
https://pixijs.com/examples/events/click
let sprite = PIXI.Sprite.from('/some/texture.png');sprite.on('pointerdown', (event) => { alert('clicked!'); });sprite.eventMode = 'static';
让一组图片转起来
https://pixijs.com/examples/basic/container
- 创建PIXI.Container实例
- 把精灵们放进去
- 控制PIXIContainer实例动画
Pixi.Asset资源管理
https://pixijs.com/examples/assets/promise
- PIXI.Assets.load加载图片
- 生成的纹理提供给PIXI.Sprite生成精灵
绘制图形
https://pixijs.com/examples/graphics/simple
类似canvas的API
绘制文本
https://pixijs.com/examples/text/pixi-text
new PIXI.Text(text, style)
Mask
https://pixijs.com/examples/masks/graphics
container.mask设定蒙层,控制展示区域
import * as PIXI from 'pixi.js';const app = new PIXI.Application({ antialias: true, resizeTo: window });document.body.appendChild(app.view);app.stage.eventMode = 'static';// 初始化一个图形(用作mask)const thing = new PIXI.Graphics();thing.x = app.screen.width / 2;thing.y = app.screen.height / 2;thing.lineStyle(0);thing.beginFill(0x8bc5ff, 0.4);thing.moveTo(-120, -100);thing.lineTo(120, -100);thing.lineTo(120, 100);thing.lineTo(-120, 100);app.stage.addChild(thing);// 创建一个精灵并居中const bgFront = PIXI.Sprite.from('https://pixijs.com/assets/bg_scene_rotate.jpg');bgFront.anchor.set(0.5);// 创建一个容器,把精灵放进去,并设置maskconst container = new PIXI.Container();container.x = app.screen.width / 2;container.y = app.screen.height / 2;container.addChild(bgFront);app.stage.addChild(container);container.mask = thing;app.stage.on('pointertap', () =>{if (!container.mask){container.mask = thing;}else{container.mask = null;}});
滤镜
https://pixijs.com/examples/filters-basic/blur
import * as PIXI from 'pixi.js';const app = new PIXI.Application({ resizeTo: window });document.body.appendChild(app.view);// 创建精灵const littleRobot = PIXI.Sprite.from('https://pixijs.com/assets/pixi-filters/depth_blur_moby.jpg');littleRobot.x = (app.screen.width / 2) - 200;littleRobot.y = 100;app.stage.addChild(littleRobot);// 给精灵添加模糊滤镜const blurFilter = new PIXI.filters.BlurFilter();littleRobot.filters = [blurFilter];let count = 0;app.ticker.add(() =>{// 通过模糊滤镜参数控制模糊程度count += 0.1;const blurAmount = Math.sin(count);blurFilter.blur = 20 * (blurAmount);});
序列帧动画
https://pixijs.com/examples/sprite/animated-sprite-explosion
new PIXI.AnimatedSprite()接收一个纹理序列,生成一个序列帧动画
import * as PIXI from 'pixi.js';const app = new PIXI.Application({ autoStart: false, resizeTo: window });document.body.appendChild(app.view);// 加载spritesheet的json文件PIXI.Assets.load('https://pixijs.com/assets/spritesheet/mc.json').then(() =>{const explosionTextures = [];let i;// 创建动画要用的纹理序列for (i = 0; i < 26; i++) {const texture = PIXI.Texture.from(`Explosion_Sequence_A ${i + 1}.png`);explosionTextures.push(texture);}for (i = 0; i < 50; i++) {// 创建序列帧动画const explosion = new PIXI.AnimatedSprite(explosionTextures);// 随机位置、旋转、缩放explosion.x = Math.random() * app.screen.width;explosion.y = Math.random() * app.screen.height;explosion.anchor.set(0.5);explosion.rotation = Math.random() * Math.PI;explosion.scale.set(0.75 + Math.random() * 0.5);// 播放动画,随机起始帧explosion.gotoAndPlay((Math.random() * 26) | 0);app.stage.addChild(explosion);}app.start();});
原理
应用结构
暂时无法在飞书文档外展示此内容
Pixi应用是一个树的结构,父元素变化会导致子元素变化,比如父元素移动、旋转、透明度改变,子元素都会相应地变化。
和HTML页面类似,树结构可以更好地管理应用中的元素。
(new PIXI.Application()).stage是应用的根元素,应用的其他所有元素都挂在stage下面。
工作流程
暂时无法在飞书文档外展示此内容
开发者加载资源并创建图像、图形、文本后,组织成树结构提供给Pixi.js,Pixi.js深度优先遍历场景树,计算绘制指令,最后交给webgl/canvas绘制。
Pixi还可以启动定时器(Render Loop),在定时器回调中更新各个展示对象的属性,然后渲染最新的结果,就可以形成动画效果。
主要类
暂时无法在飞书文档外展示此内容
PIXI.Application
应用类,控制渲染和渲染循环。
app.view是dom元素
app.render = () => { this.renderer.render() }
app.start = () => { this._ticker.start() }
app.stop = () => { this._ticker.stop() }
PIXI.DisplayObject
PIXI.DisplayObject是展示对象,是其他所有可以渲染到界面的对象的基类。
开发中不会直接使用PIXI.DisplayObject,都是使用它的派生类。
展示对象可以控制展示元素的展示属性(颜色、透明度、位置、尺寸、旋转),并支持交互事件。
PIXI.Container
Container用来组织界面元素,可以把一堆元素放在一个Container中,统一控制。
- 展示效果和动画
- mask
- 滤镜
PIXI.Texture、PIXI.BaseTexture
纹理(texture),广义上来说,表示一个用于填充屏幕上某个区域的像素源。
Pixi的纹理支持多种源:图片、video、canvas、svg。
Pixi生成纹理对象的过程是Source Image > Loader > BaseTexture > Texture。
BaseTexture是资源概念,Texture是view概念。一个BaseTexture对象和一个资源关联,比如一张图片加载后生成一个BaseTexture对象。而一个BaseTexture可以被多个Texture使用,Texture可以指定展示图片的某个区域(frame),如果不指明frame,就是展示整个图片。
PIXI.Assets
PIXI.Assets是Pixi提供的用于资源管理的工具。
- 可以缓存,防止重复加载
- 有批量加载、懒加载的能力
下面看几个代码示例
/** 加载资源*/// 加载图片,生成纹理对象const texture = await PIXI.Assets.load('https://pixijs.com/assets/bunny.png');
/** 注册资源* 后台加载*/// 注册资源别名PIXI.Assets.add('flowerTop', 'https://pixijs.com/assets/flowerTop.png');PIXI.Assets.add('eggHead', 'https://pixijs.com/assets/eggHead.png');// 后台下载PIXI.Assets.backgroundLoad(['flowerTop', 'eggHead']);// 加载资源,如果后台还未加载到该图片,立刻加载const texture = await PIXI.Assets.load('eggHead');
/*** 最佳实践* manifest声明所有资源* 分屏加载*/// manifest,分屏管理,每屏一个bundleconst manifestExample = {bundles: [{name: 'load-screen',assets: [{name: 'flowerTop',srcs: 'https://pixijs.com/assets/flowerTop.png',},],},{name: 'game-screen',assets: [{name: 'eggHead',srcs: 'https://pixijs.com/assets/eggHead.png',},],}],};// 初始化,声明应用中用到的的资源await PIXI.Assets.init({ manifest: manifestExample });// 后台加载资源PIXI.Assets.backgroundLoadBundle(['load-screen', 'game-screen']);// 加载当前这一屏要用到的资源const loadScreenAssets = await PIXI.Assets.loadBundle('load-screen');// 使用加载好的纹理创建精灵const sprite = new PIXI.Sprite(loadScreenAssets.flowerTop);
PIXI.Sprite
精灵(Sprite)是最简单和最常用的渲染对象,它代表一张展示在屏幕上的图片。https://pixijs.com/guides/components/sprites
在计算机图形学和游戏开发中,”sprite” 一词通常用来指代二维图像或图形对象。这个术语起源于早期的电子游戏开发,其中游戏中的角色和其他图形元素通常是由一系列单独的图像组成的。
“Sprite” 这个词的起源可以追溯到电子游戏的早期,当时游戏开发者使用了一种称为 “sprite sheet” 的技术。”Sprite sheet” 是一个包含多个小图像的大图像文件,每个小图像都代表游戏中的一个角色或元素。通过将 “sprite sheet” 中的小图像提取出来,并在游戏中进行移动、旋转和缩放等操作,可以实现游戏角色的动画效果。
随着计算机图形学和游戏技术的发展,”sprite” 这个术语逐渐扩展到涵盖更广泛的图形对象,不仅仅限于游戏角色。现在,”sprite” 可以用来指代任何二维图形元素,例如按钮、图标、背景等。
https://pixijs.com/examples/masks/sprite
import * as PIXI from 'pixi.js';const app = new PIXI.Application({ resizeTo: window });document.body.appendChild(app.view);app.stage.eventMode = 'static';// 创建精灵const cells = PIXI.Sprite.from('https://pixijs.com/assets/cells.png');cells.scale.set(1.5);// 创建maskconst mask = PIXI.Sprite.from('https://pixijs.com/assets/flowerTop.png');mask.anchor.set(0.5);mask.x = 310;mask.y = 190;// 给精灵添加maskcells.mask = mask;app.stage.addChild(mask, cells);app.stage.on('pointerdown', () => {if (cells.mask) {cells.mask = null;} else {cells.mask = mask;}});
PIXI.SpriteSheet
- 就是把多个图片打包成一个图片,并导出一个json文件说明每个子图片的区域等信息。
- 导出工具
- 可用于序列帧动画
PIXI.Graphics
- 绘制线、矩形、圆形等
- Mask
PIXI.Text
Pixi有两种渲染文本的方式:PIXI.Text和PIXI.BitmapText。
PIXI.Text:由于webgl没有内置的渲染文字的API,Pixi会先在离屏canvas上绘制文字,然后把绘制好的文字作为图片处理,处理方式类似Sprite。开发者不需要关心这个过程,只需要提供文本和样式。
PIXI.BitmapText:位图字体,所有字符用SpriteSheet定义。example bitmap-text
对比:
- PIXI.Text更灵活,可以支持样式变化,但是会经过渲染再栅格化的操作,所以性能比较低,因此应该优先选择PIXI.BitmapText。
- PIXI.BitmapText因为是预先渲染好的字符,所以不支持设置样式,如果有频繁和灵活设置文字样式的需求,就无法使用PIXI.BitmapText。另外,如果字符集太大,会导致SpriteSheet图片太大不好控制,这种情况也不适合用PIXI.BitmapText。
Pixi动画
- Render Loop,ticker回调更新视图。
- 内置序列帧动画PIXI.AnimatedSprite。
- 动画库
- charm:补间动画 https://github.com/kittykatattack/charm
- pixi-tween:补间动画 https://github.com/Nazariglez/pixi-tween
- @pixi/animate:用于播放.fla https://github.com/pixijs/animate
- particle-emitter:粒子特效 https://pixijs.io/particle-emitter/docs/
- filters:滤镜 https://github.com/pixijs/filters
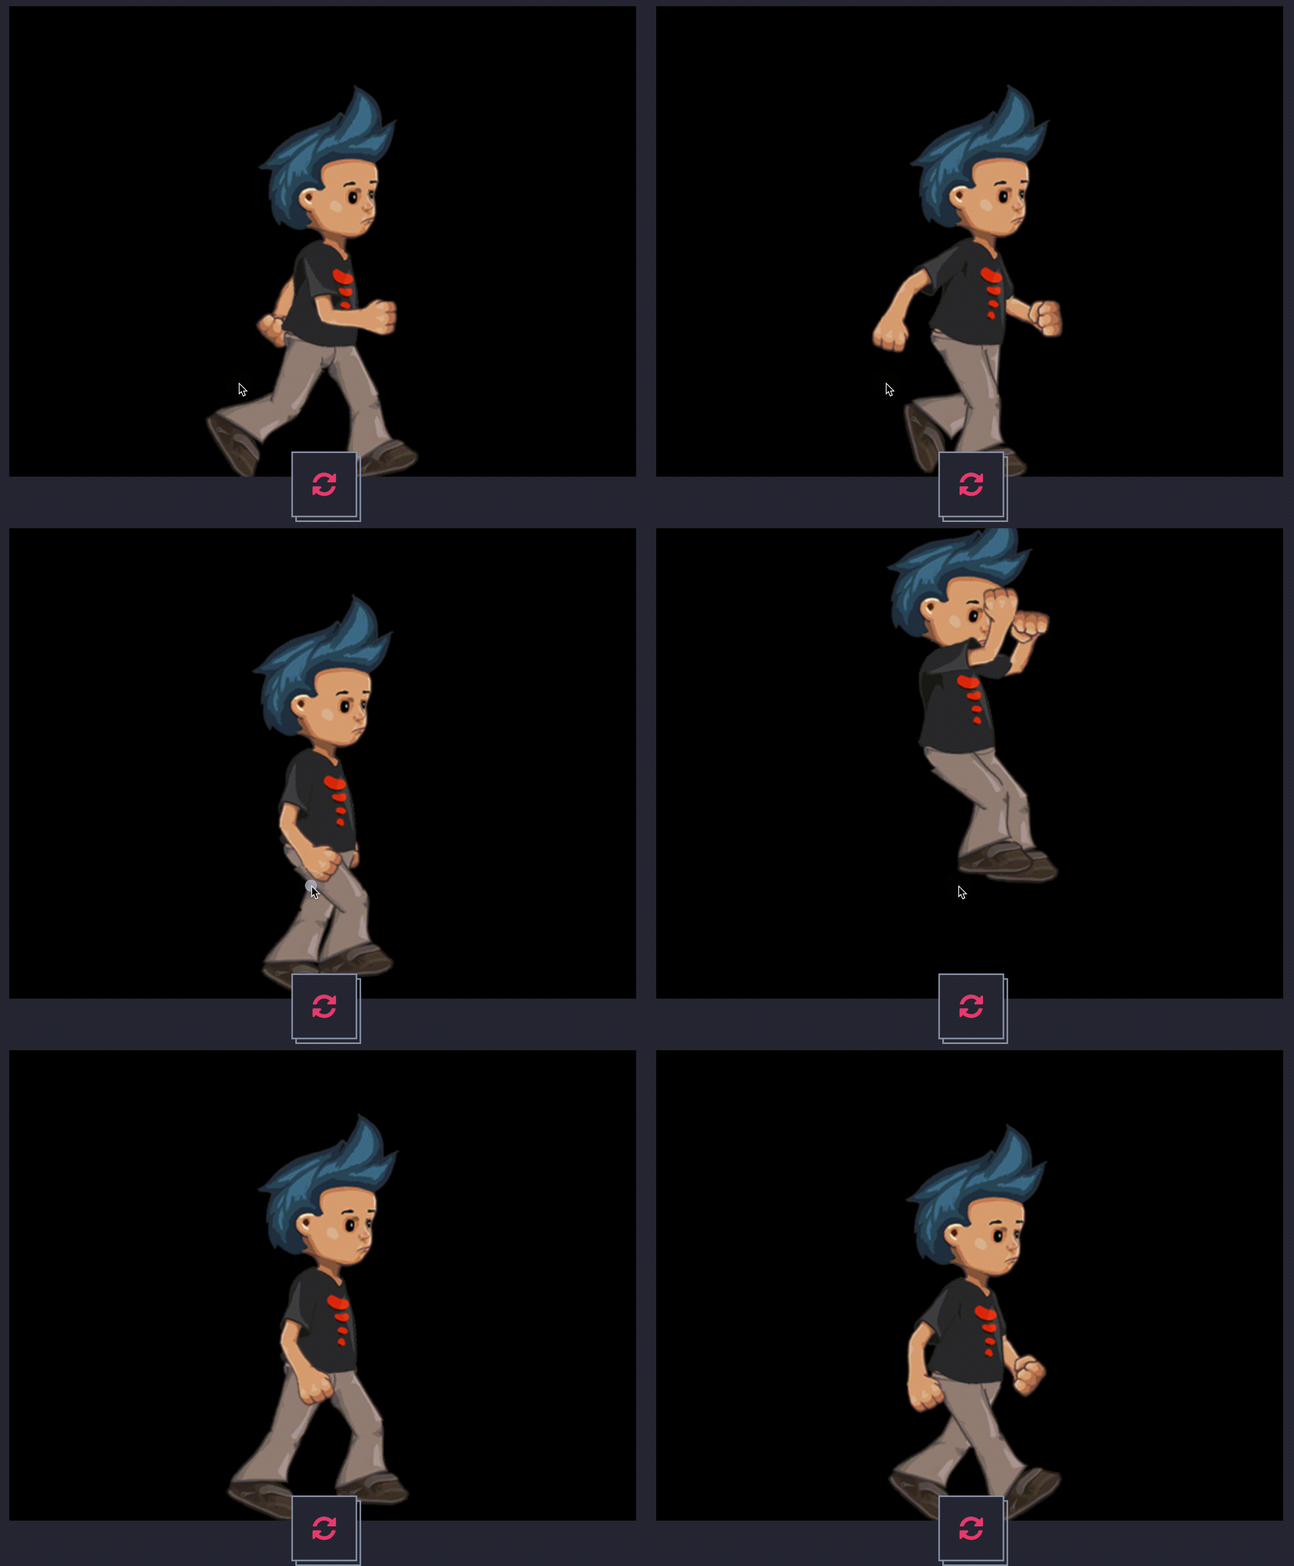
- 使用Pixi引擎播放复杂动画
性能
- Pixi本身性能很高,默认使用webgl利用gpu渲染,并且会对传递给webgl的shader合并,较少webgl call,提升性能。
- 建议 performance tips
- 尽量少object
- 展示对象的顺序有关系,sprite / graphic / sprite / graphic is slower than sprite / sprite / graphic / graphic
- 低配机型,Application传useContextAlpha: false和antialias: false降级提升性能
- 对象设置cullable,或者自行计算需要culling的对象,设置visible
- Sprite 小分辨率图像
- Graphics 尽可能少的点,这样PixiJS会批处理
- 使用大量图形时候可能会很慢,可以考虑用Sprite代替
- 尽可能用bitmap字体
Spine
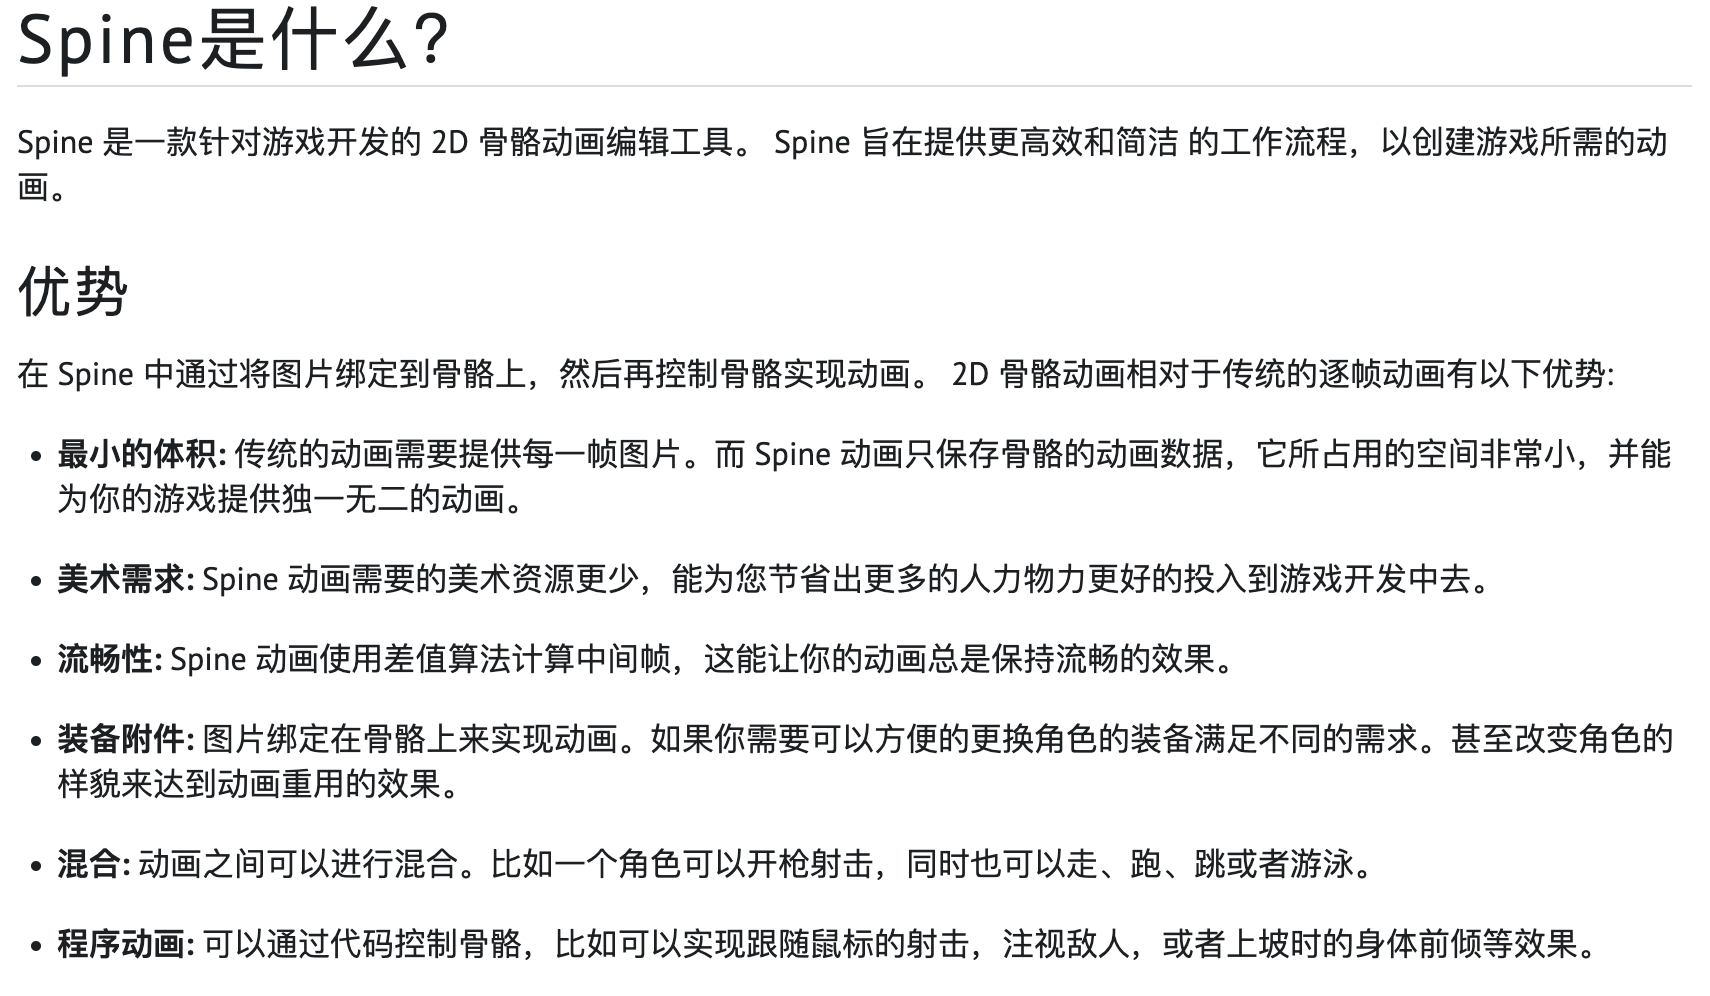
spine适合角色动画,角色的各个部位在运动时候符合某些规律。通过骨骼控制图片,并通过骨骼之间的关系约束,提升动画编辑体验。
spine动画可以粗略分为角色动作、立绘展示。
核心概念:
- 骨骼:角色模型运动载体的抽象,通过控制骨骼变化编辑动画
- 插槽:容纳多个图片,用于多个图切换,比如笑脸切换成哭脸
- 图片:图片需要放在插槽中,附着到骨骼上,跟随骨骼运动
- 网格:图片内设置多边形,操纵多边形顶点,让图片变形
- FK、IK:骨骼运动规律
- 摄影表:动画时间轴
- 事件帧:给研发用的,比如攻击动画结束之后抛出事件,代码执行掉血逻辑
- 皮肤:Spine支持相同骨骼使用不同的贴图,用于服装切换等场景
动画编辑主要流程
- 导入原画图片素材
- 设定坐标轴,通常把原点设定到角色脚下
- 创建骨骼,创建插槽绑定图片,设置网格
- 动画编辑,标记关键帧控制骨骼移动或者旋转
- 创建事件帧
- 导出文件
导出动画文件格式
pixi-spine
https://github.com/pixijs/spine/tree/master
基本用法
- 注册spine loader
- 加载spine资源
- 实例化PIXI.Container类型的spine动画
- 添加到舞台上
- 设置要播放的动画
import 'pixi-spine' // Do this once at the very start of your code. This registers the loader!import * as PIXI from 'pixi.js';import {Spine} from 'pixi-spine';const app = new PIXI.Application();document.body.appendChild(app.view);PIXI.Assets.load("spine-data-1/HERO.json").then((resource) => {const animation = new Spine(resource.spineData);// add the animation to the scene and render...app.stage.addChild(animation);if (animation.state.hasAnimation('run')) {// run forever, little boy!animation.state.setAnimation(0, 'run', true);// dont run too fastanimation.state.timeScale = 0.1;// update yourselfanimation.autoUpdate = true;}});
放到容器中,控制更新
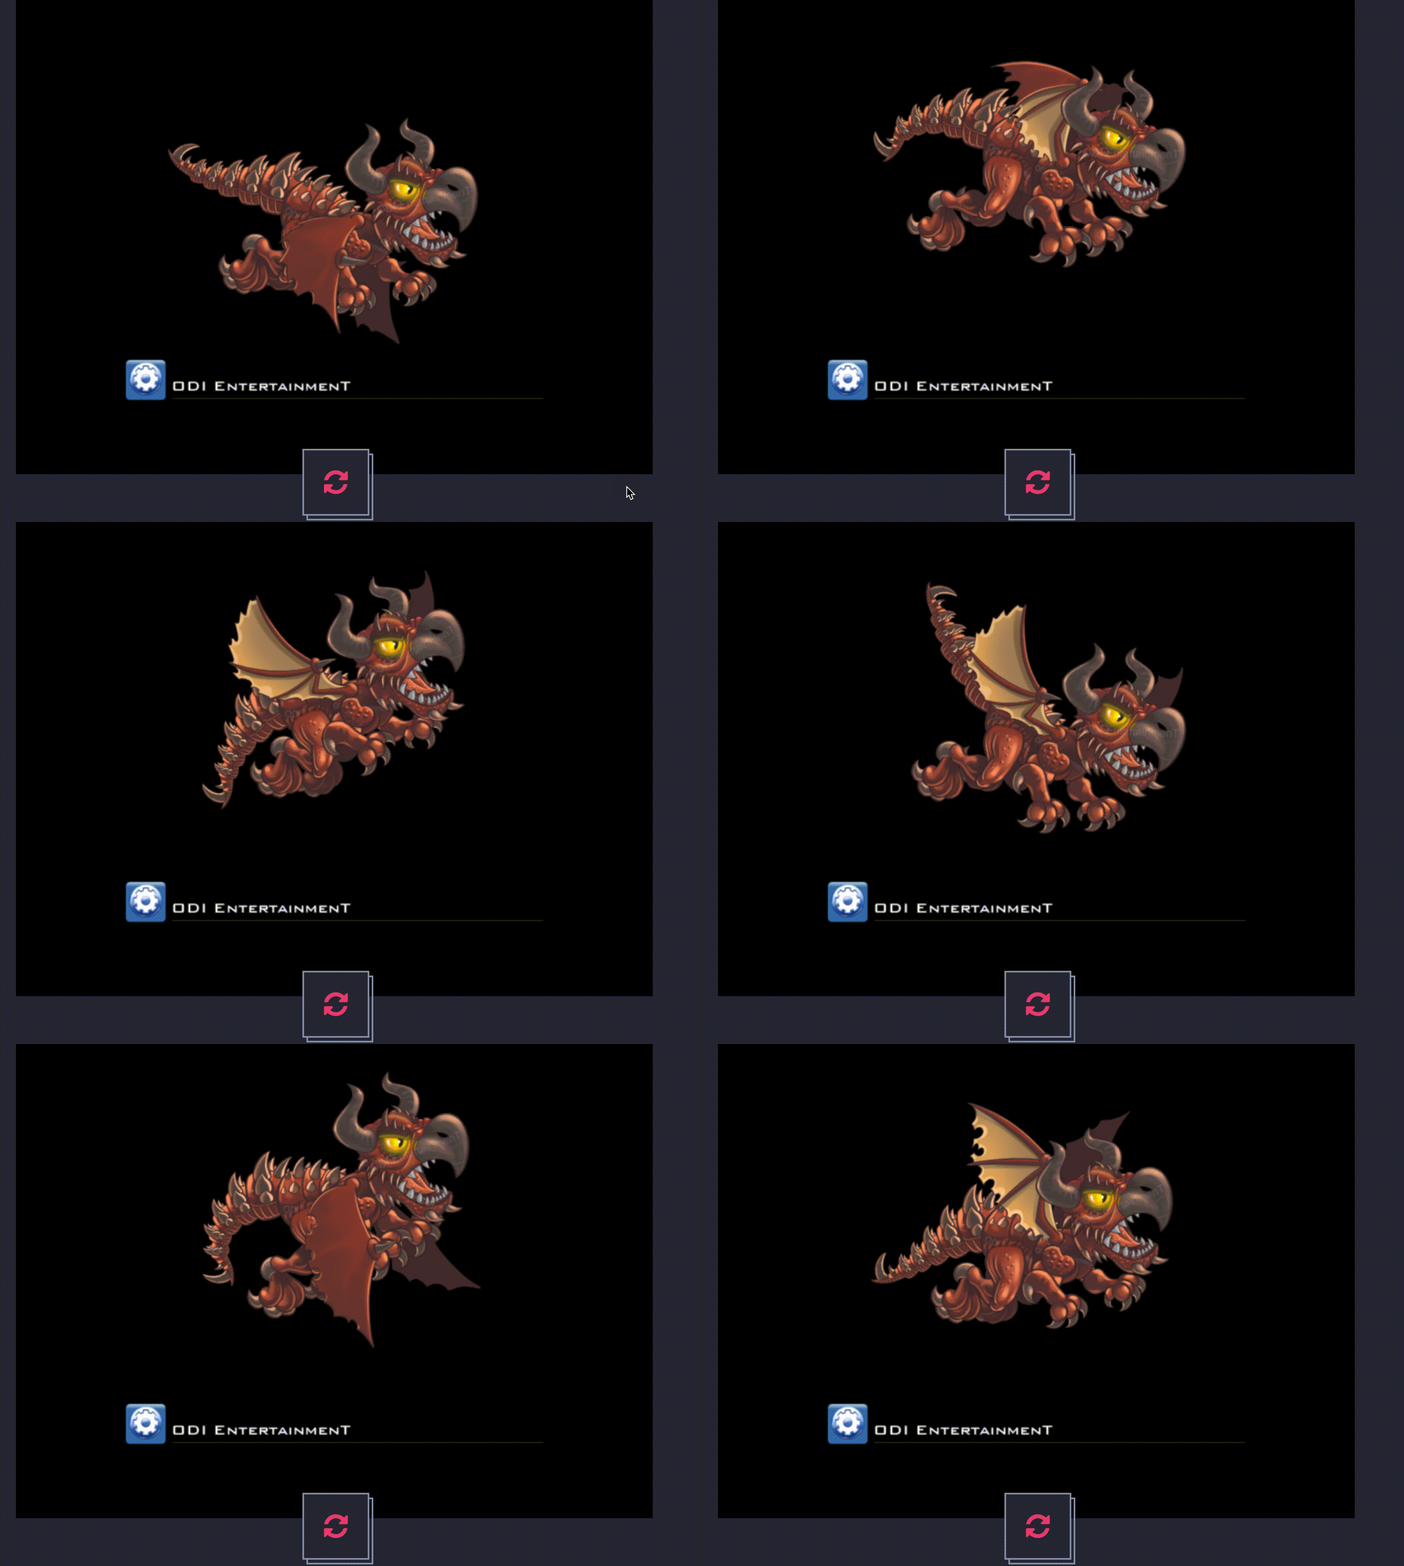
动画的animate.autoUpdate不设置为true,手动通过animate.update()方法播放动画。
const app = new PIXI.Application();document.body.appendChild(app.view);PIXI.Assets.load('examples/assets/pixi-spine/dragon.json').then(onAssetsLoaded);function onAssetsLoaded(dragonAsset) {// instantiate the spine animationconst dragon = new PIXI.spine.Spine(dragonAsset.spineData);dragon.skeleton.setToSetupPose();dragon.update(0);dragon.autoUpdate = false;// create a container for the spine animation and add the animation to itconst dragonCage = new PIXI.Container();dragonCage.addChild(dragon);// measure the spine animation and position it inside its container to align it to the originconst localRect = dragon.getLocalBounds();dragon.position.set(-localRect.x, -localRect.y);// now we can scale, position and rotate the container as any other display objectconst scale = Math.min((app.screen.width * 0.7) / dragonCage.width,(app.screen.height * 0.7) / dragonCage.height,);dragonCage.scale.set(scale, scale);dragonCage.position.set((app.screen.width - dragonCage.width) * 0.5,(app.screen.height - dragonCage.height) * 0.5,);// add the container to the stageapp.stage.addChild(dragonCage);// once position and scaled, set the animation to playdragon.state.setAnimation(0, 'flying', true);app.ticker.add(() => {// update the spine animation, only needed if dragon.autoupdate is set to falsedragon.update(app.ticker.deltaMS / 1000); // IN SECONDS!});}
换肤
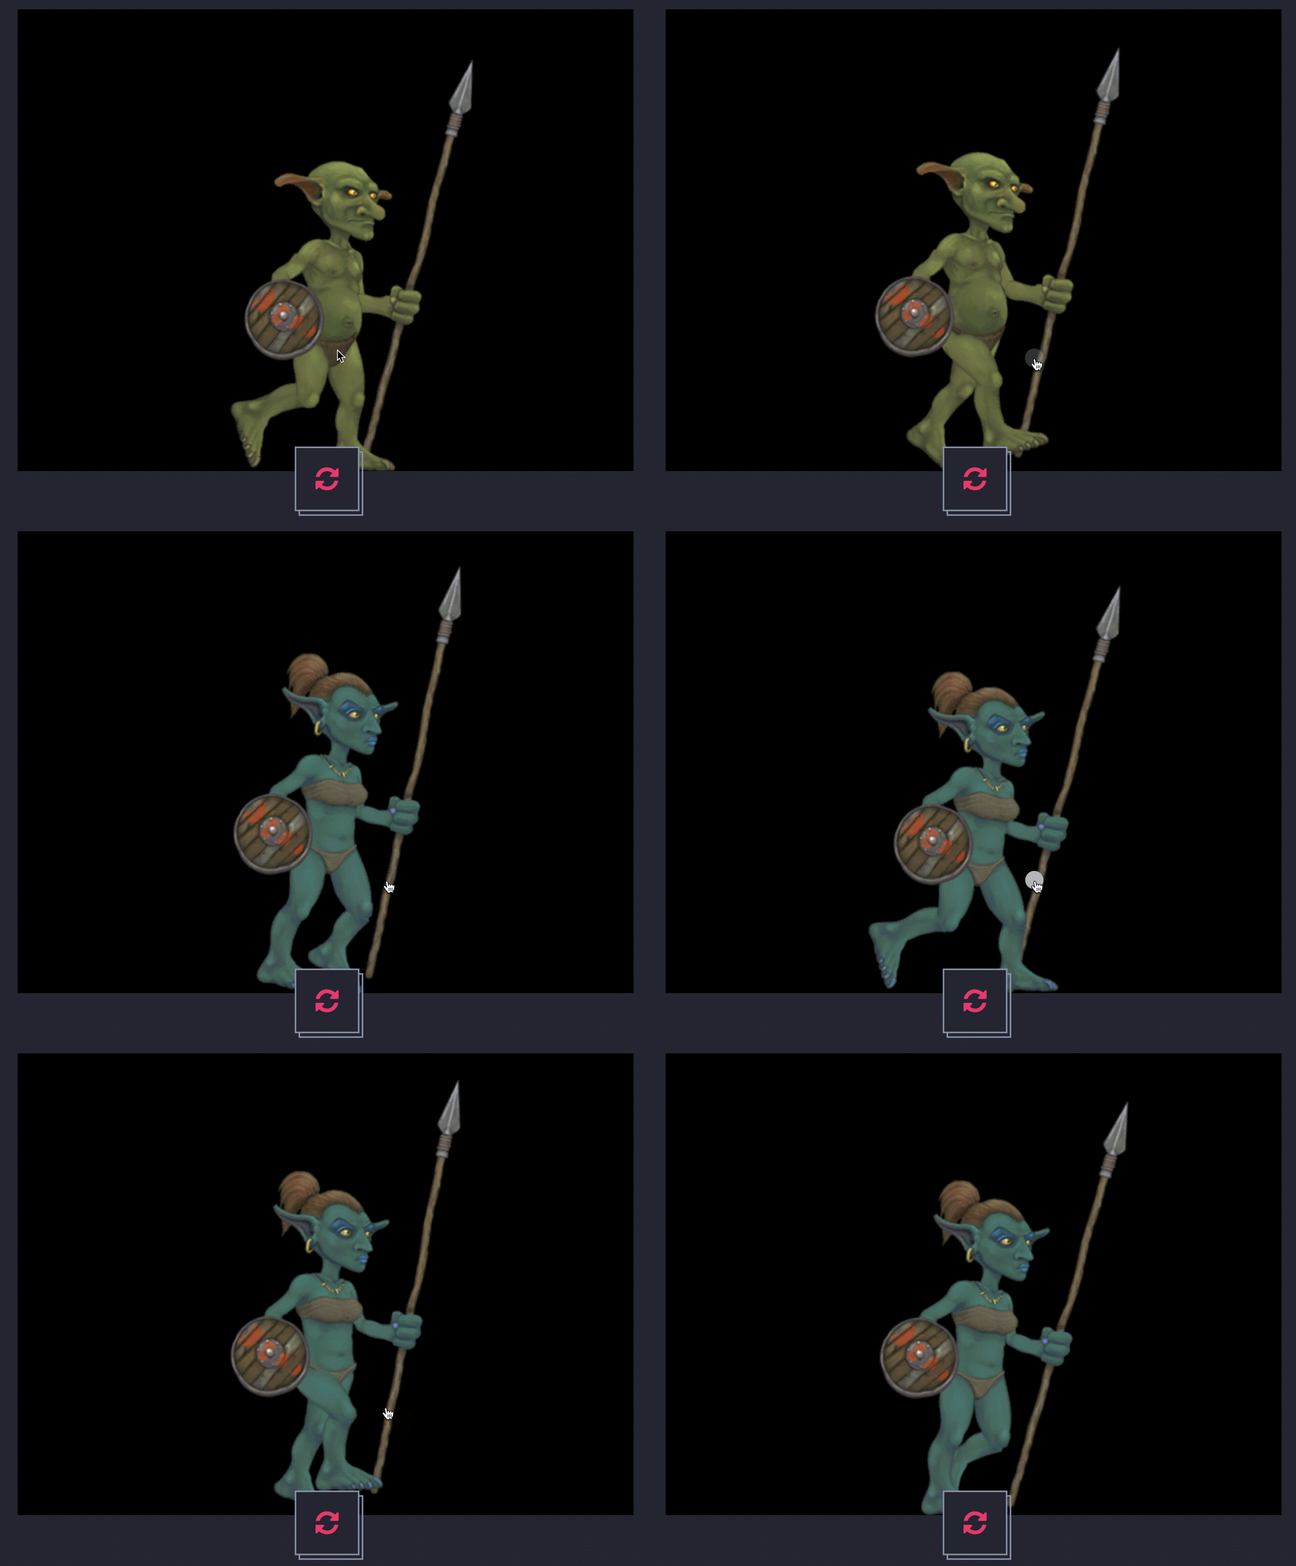
const app = new PIXI.Application();document.body.appendChild(app.view);// load spine dataPIXI.Assets.load('examples/assets/pixi-spine/goblins.json').then(onAssetsLoaded);function onAssetsLoaded(goblinAsset) {app.stage.interactive = true;app.stage.cursor = 'pointer';const goblin = new PIXI.spine.Spine(goblinAsset.spineData);// set current skingoblin.skeleton.setSkinByName('goblin');goblin.skeleton.setSlotsToSetupPose();// set the positiongoblin.x = 400;goblin.y = 600;goblin.scale.set(1.5);// play animationgoblin.state.setAnimation(0, 'walk', true);app.stage.addChild(goblin);app.stage.on('pointertap', () => {// change current skinconst currentSkinName = goblin.skeleton.skin.name;const newSkinName = (currentSkinName === 'goblin' ? 'goblingirl' : 'goblin');goblin.skeleton.setSkinByName(newSkinName);goblin.skeleton.setSlotsToSetupPose();});}
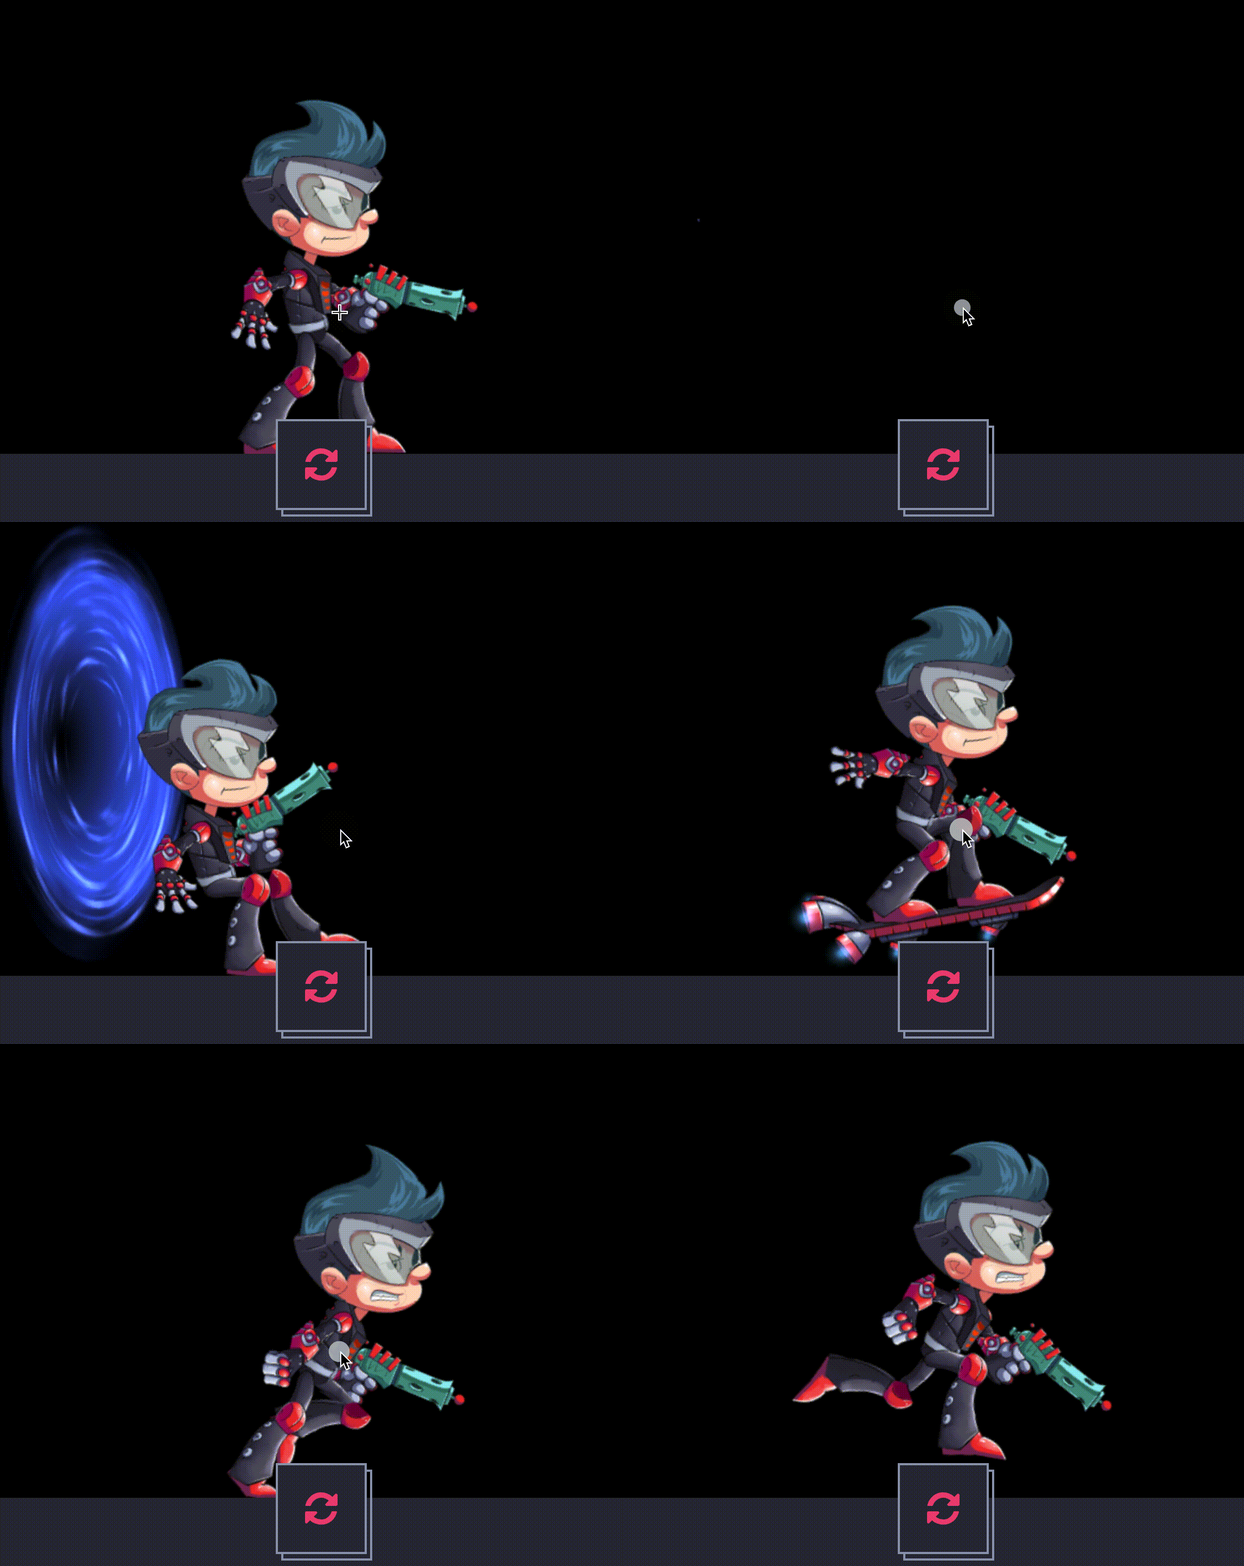
混合动画
在一些场景中(如角色边跑边射击)需要两个动画混合。
setMix(from, to, duration);
从”from”动画切换到”to”动画混合时间为”duration”。
暂时无法在飞书文档外展示此内容
const app = new PIXI.Application();document.body.appendChild(app.view);// load spine dataPIXI.Assets.load('examples/assets/pixi-spine/spineboy.json').then(onAssetsLoaded);function onAssetsLoaded(spineboyAsset) {app.stage.interactive = true;// create a spine boyconst spineBoy = new PIXI.spine.Spine(spineboyAsset.spineData);// set the positionspineBoy.x = app.screen.width / 2;spineBoy.y = app.screen.height;spineBoy.scale.set(1.5);// set up the mixes!spineBoy.stateData.setMix('walk', 'jump', 0.2);spineBoy.stateData.setMix('jump', 'walk', 0.4);// play animationspineBoy.state.setAnimation(0, 'walk', true);app.stage.addChild(spineBoy);app.stage.on('pointerdown', () => {spineBoy.state.setAnimation(0, 'jump', false);spineBoy.state.addAnimation(0, 'walk', true, 0);});}
debug
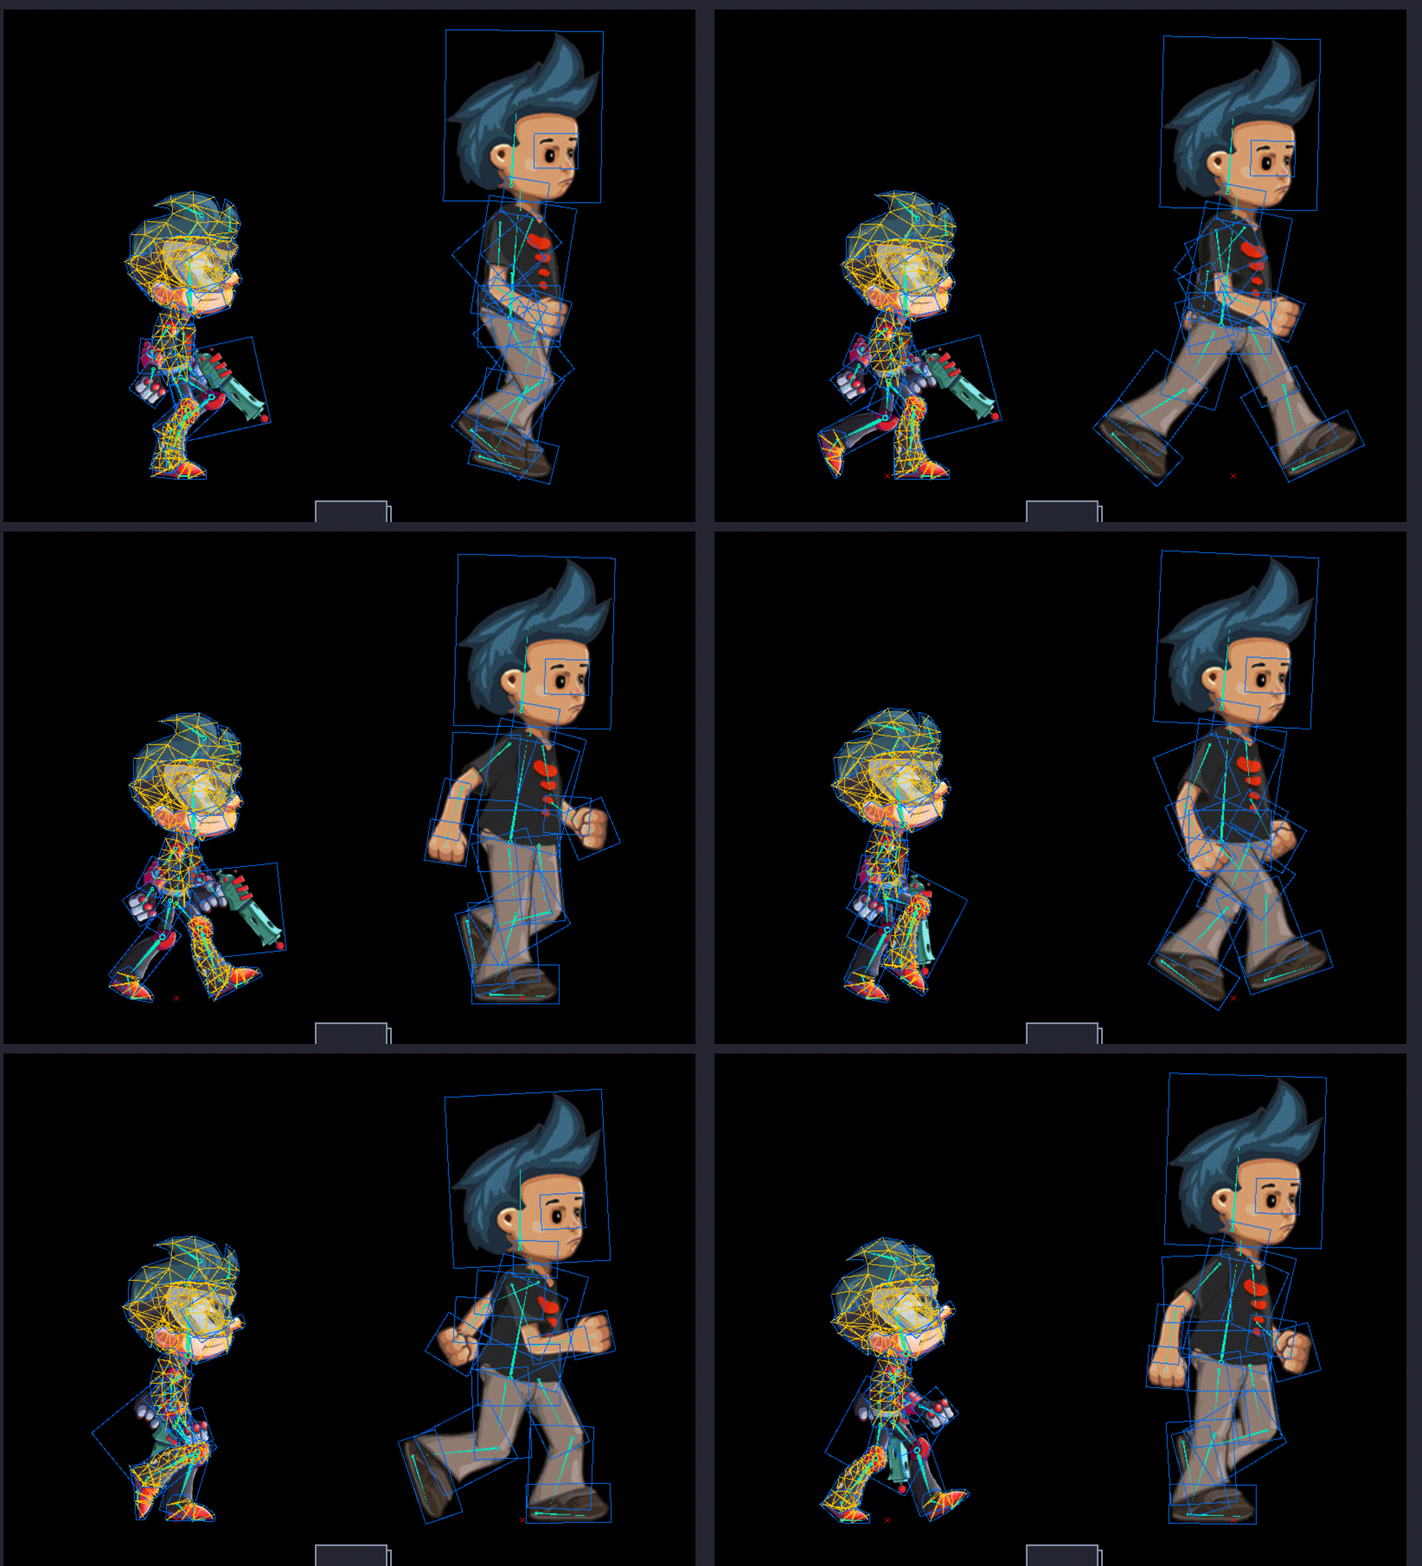
const app = new PIXI.Application();document.body.appendChild(app.view);// load spine dataPIXI.Assets.load(['examples/assets/pixi-spine/spineboy-pro.json', 'examples/assets/pixi-spine/spineboy.json']).then(onAssetsLoaded);function onAssetsLoaded(spineAssets) {app.stage.interactive = true;const spineboyProAsset = spineAssets['examples/assets/pixi-spine/spineboy-pro.json'];const spineboyAsset = spineAssets['examples/assets/pixi-spine/spineboy.json'];// create a spine boy proconst spineBoyPro = new PIXI.spine.Spine(spineboyProAsset.spineData);// set the positionspineBoyPro.x = app.screen.width * 0.25;spineBoyPro.y = app.screen.height * 0.9;spineBoyPro.scale.set(0.5);app.stage.addChild(spineBoyPro);const singleAnimations = ['aim', 'death', 'jump', 'portal'];const loopAnimations = ['hoverboard', 'idle', 'run', 'shoot', 'walk'];const allAnimations = [].concat(singleAnimations, loopAnimations);let lastAnimation = '';// create a spine boyconst spineBoy = new PIXI.spine.Spine(spineboyAsset.spineData);// set the positionspineBoy.x = app.screen.width * 0.75;spineBoy.y = app.screen.height * 0.9;spineBoy.scale.set(1.5);// set up the mixes!spineBoy.stateData.setMix('walk', 'jump', 0.2);spineBoy.stateData.setMix('jump', 'walk', 0.4);// play animationspineBoy.state.setAnimation(0, 'walk', true);app.stage.addChild(spineBoy);app.stage.on('pointerdown', () => {});// Press the screen to play a random animationapp.stage.on('pointerdown', () => {let animation = '';do {animation = allAnimations[Math.floor(Math.random() * allAnimations.length)];} while (animation === lastAnimation);spineBoyPro.state.setAnimation(0, animation, loopAnimations.includes(animation));lastAnimation = animation;spineBoy.state.setAnimation(0, 'jump', false);spineBoy.state.addAnimation(0, 'walk', true, 0);});// ENABLE THE DEBUG!spineBoy.debug = new PIXI.spine.SpineDebugRenderer();spineBoyPro.debug = new PIXI.spine.SpineDebugRenderer();}
事件
https://github.com/pixijs/spine/blob/master/examples/spine_events.md
总结
复杂动画是通过可视化编辑生成,研发通过运行时库还原动画,控制播放和交互逻辑。
复杂交互逻辑可能需要对渲染库有更多了解。
可以沉淀一些通用性强,相对标准化的效果(如旗子飘扬、水波纹、火焰、模糊滤镜等)。
也需要积累性能相关的经验。
