玩具项目免不了需要后台服务,自己基于koa2+mysql运行了一个基础的server。注:全文皆为在Mac下的操作。
参考地址
- https://koajs.com/
- https://github.com/ZijianHe/koa-router 源(有文档,不活跃)
- https://www.npmjs.com/package/koa-router 新(基于源fork)
- https://dev.mysql.com/doc/refman/5.7/en/insert.html
- https://sequelize.org/master/manual/getting-started.html
安装mysql
选择基于homebrew进行mysql安装。假如还没安装过,可以先安装,直接使用国外源会报错,我们使用国内地址:
安装成功后在命令行输出的关于启动server和登录的命令值得记录下来 ```json To connect run: mysql -uroot$ /bin/zsh -c "$(curl -fsSL https://gitee.com/cunkai/HomebrewCN/raw/master/Homebrew.sh)"$ brew install mysql
To start mysql: brew services start mysql
<a name="r1m5N"></a>## mysql授权模式修改在代码中,我么不需要密码就可以登录到mysql。但在代码中连接数据库,会报错鉴权模式已经过时,在mysql中执行如下两行:```jsonmysql> alter user 'root'@'localhost' identified with mysql_native_password by '123456';mysql> flush privileges;
node项目初始化
package.json
{"name": "koa-demos","version": "1.0.0","description": "","main": "index.js","scripts": {"test": "echo \"Error: no test specified\" && exit 1"},"keywords": [],"author": "","license": "ISC","dependencies": {"koa": "^2.13.1","koa-bodyparser": "^4.3.0","koa-cors": "0.0.16","koa-router": "^10.1.1","mysql2": "^2.3.0","sequelize": "^6.6.5"}}
src/app.js
const { connect } = require('./database')const Koa = require('koa')const router = require('koa-router')()const app = new Koa()const bodyParser = require('koa-bodyparser');const cors = require('koa-cors')let NoteTable;app.use(bodyParser());app.use(cors())app.use(async (ctx, next) => {try {console.log( `\n${ctx.method} / ${ctx.url} \n ${JSON.stringify(ctx.request.params)} \n ${JSON.stringify(ctx.request.body)}\n` );await next();console.log(`\n${ctx.response.status}\n ${JSON.stringify(ctx.response.body)}\n`)} catch (err) {const name = err.name || 'ServerError';const message = err.original && err.original.sqlMessage ? err.original.sqlMessage : 'unknow error';ctx.status = 500ctx.body = {name,message}}});connect().then(res => {NoteTable = res;})router.post('/notes/add', async function (ctx) {ctx.body = await NoteTable.create(ctx.request.body)})router.del('/notes/:id', async function (ctx) {ctx.body = await NoteTable.destroy({where: {id: ctx.params.id}})})router.put('/notes/save', async function (ctx) {ctx.body = await NoteTable.update({content: ctx.request.body.content,category: ctx.request.body.category,}, {where: {id: ctx.request.body.id}})})router.get('/notes', async function (ctx) {ctx.body = await NoteTable.findAll()});app.use(router.routes()).use(router.allowedMethods())app.listen(4000)
src/database.js
const { Sequelize } = require('sequelize')const { Note } = require('./model')const sequelize = new Sequelize('note_web', 'root', 'hello123', {host: 'localhost',dialect: 'mysql',})async function connect(forceSyncTable = false) {try {await sequelize.authenticate()console.log('Connection has been established successfully.')const NoteTable = sequelize.define('Note', Note)if (forceSyncTable) {await sequelize.sync({ force: true })console.log('All models were synchronized successfully.')}// console.log('NoteTable.create databae', NoteTable.create)return NoteTable;} catch (error) {console.error('Unable to connect to the database:', error)}}exports.connect = connect
src/model.js
const { DataTypes } = require('sequelize')exports.Note = {category: {type: DataTypes.STRING,},content: {type: DataTypes.TEXT,},done: {type: DataTypes.BOOLEAN,},}
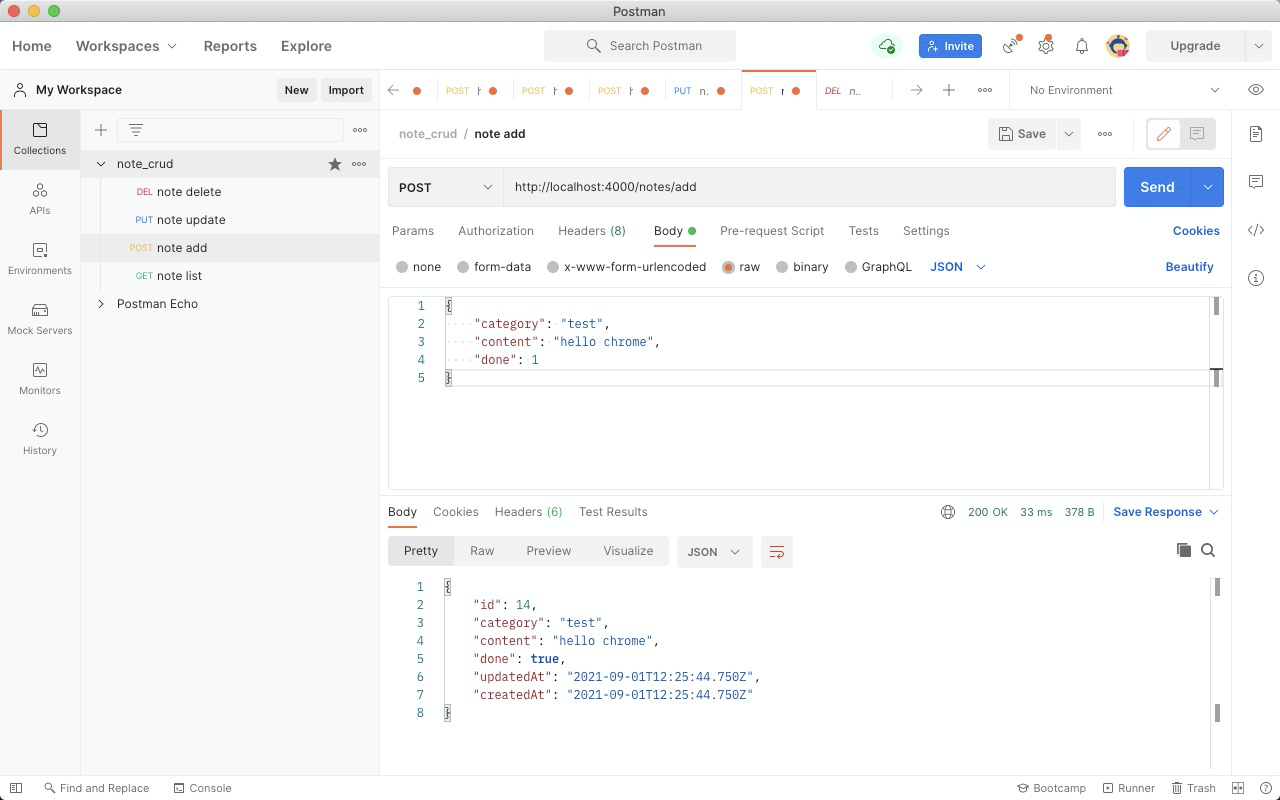
功能测试
参照上述步骤新建项目、安装依赖包、填入基础代码,即可执行 node src/app.js 进行启动。
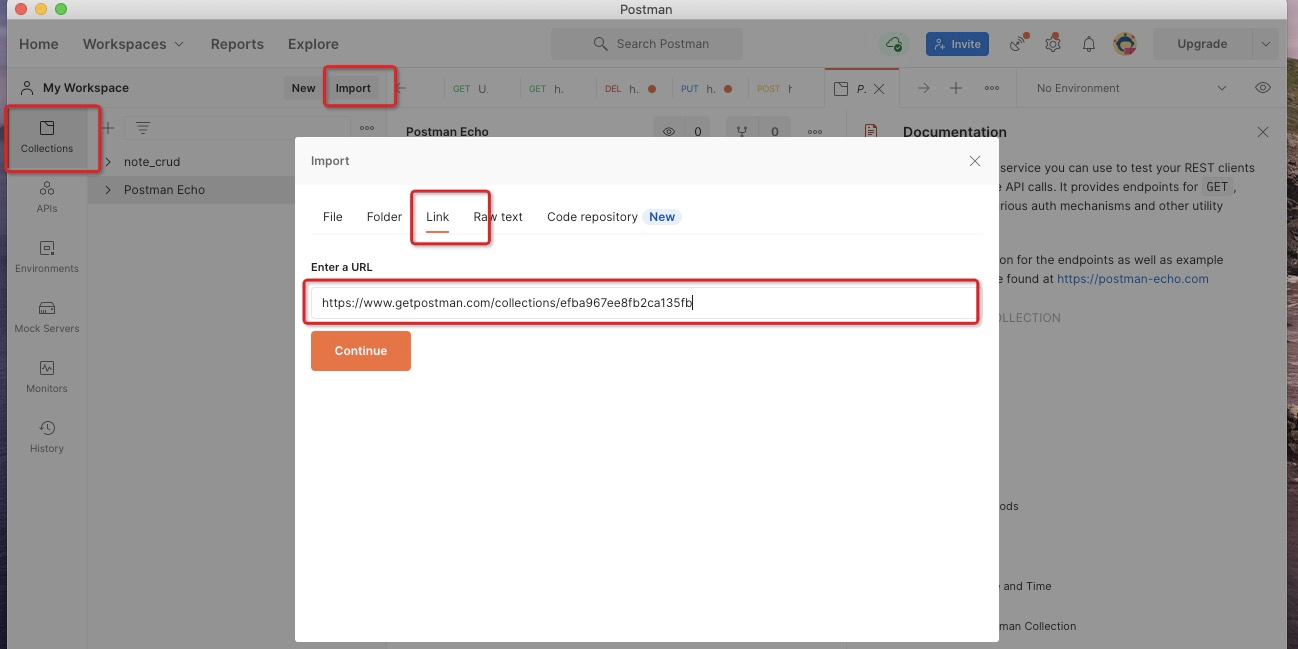
在Postman的Collection/Import/Link 的输入框中写入如下地址,即可快速导入增删改查的接口调用。
https://www.getpostman.com/collections/efba967ee8fb2ca135fb

若有收获,就点个赞吧
0 人点赞
