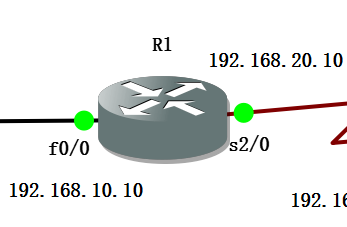
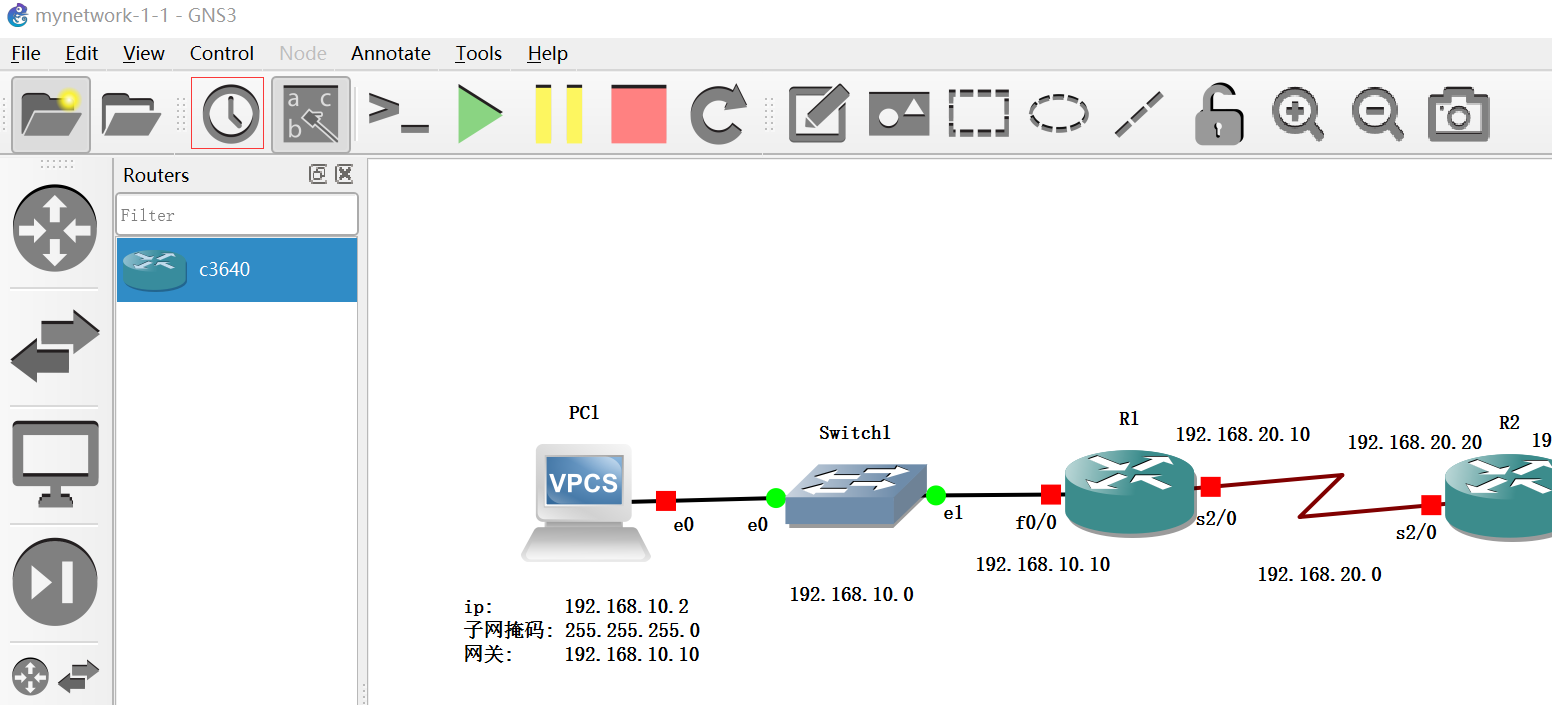
1.1 添加设备
添加路由器、交换机、电脑,并用网线链接起来,添加方式就是用拖拉拽的方式进行添加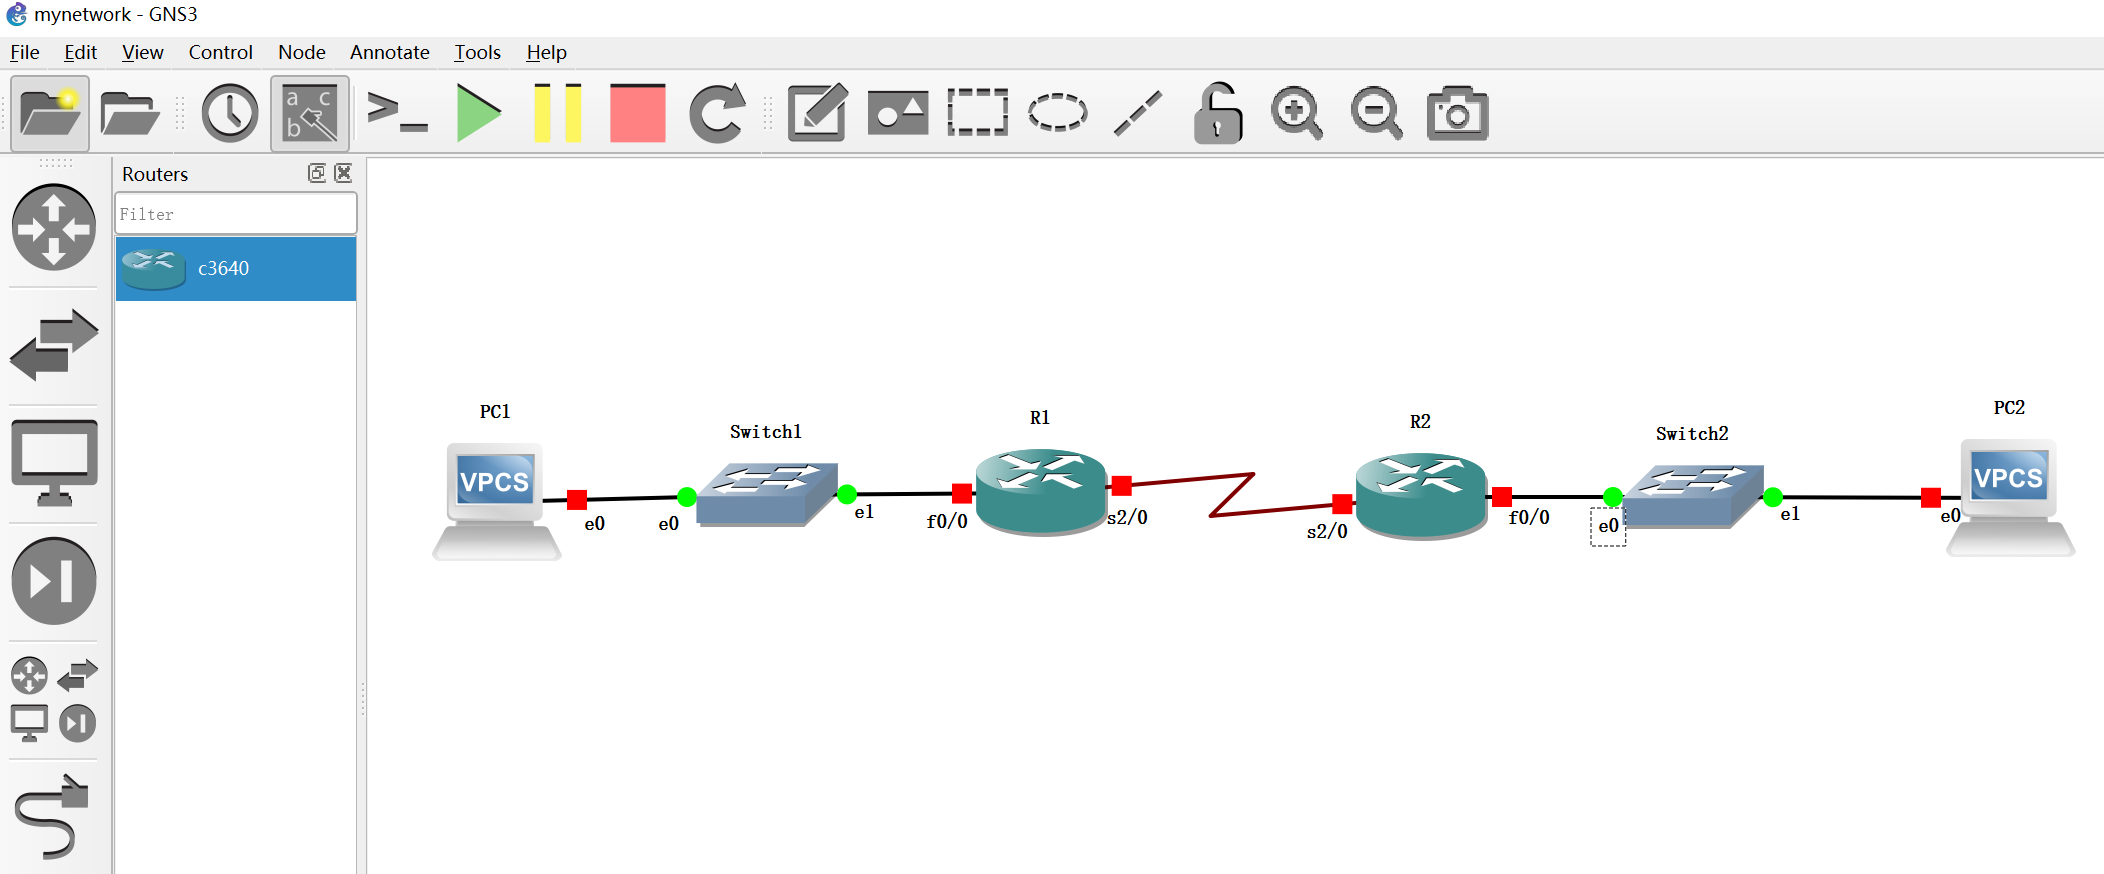
1.2 添加文档描述和 ip 规划
1.3 运行设置并进行配置
1.3.1设置 PC1 的地址信息

所以的接口都变绿了表示设备都在运行当中,右击电脑选择 Console 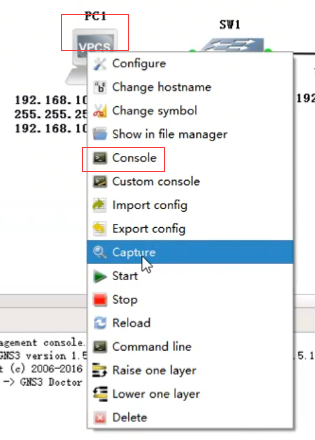
然后可以在界面进行配置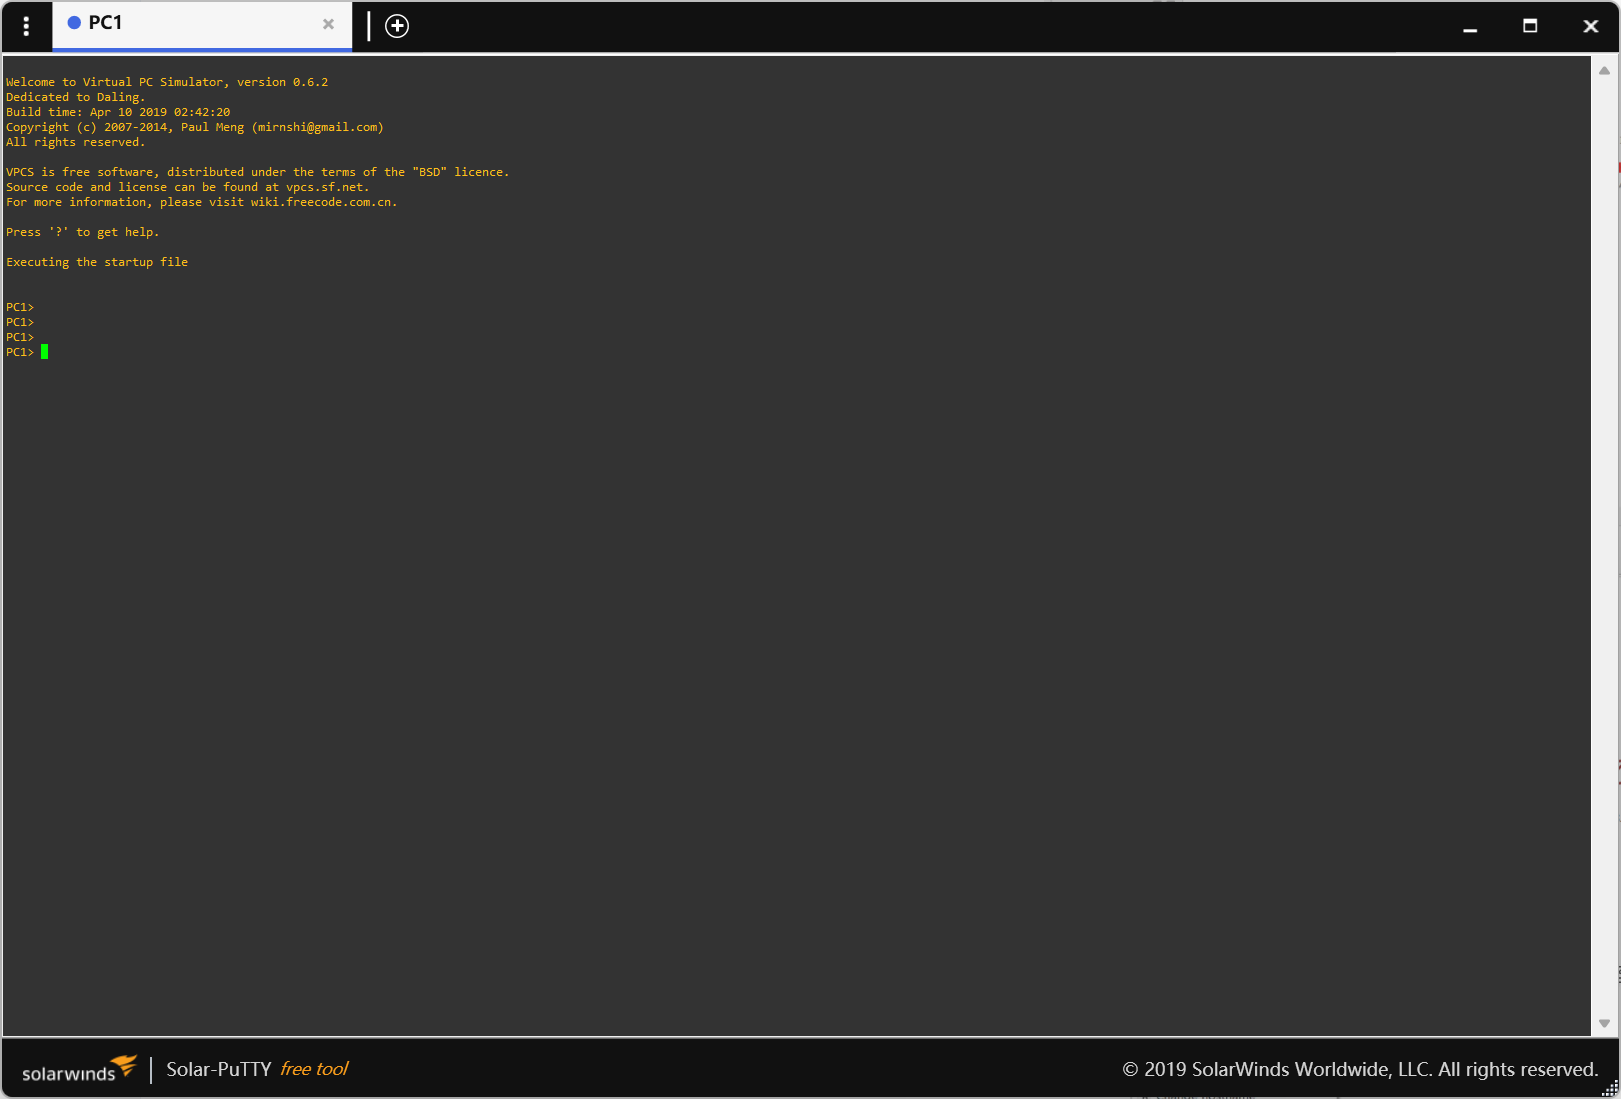
设置 ip、子网掩码、网关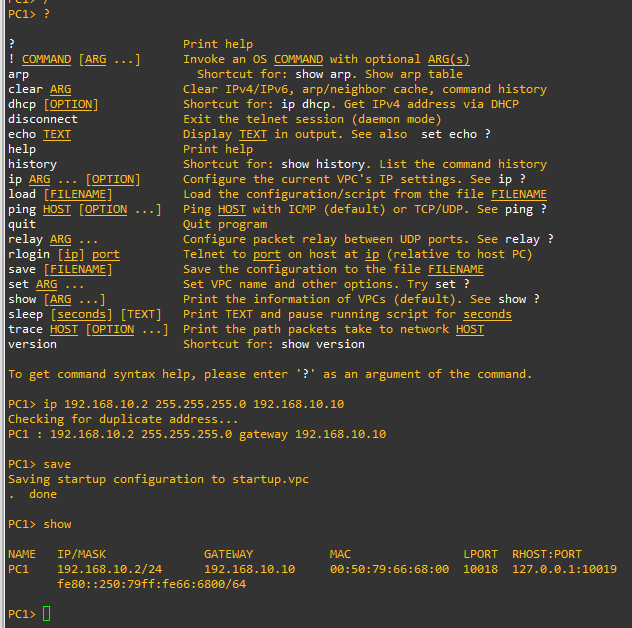
PC1> ? #查看命令? Print help! COMMAND [ARG ...] Invoke an OS COMMAND with optional ARG(s)arp Shortcut for: show arp. Show arp tableclear ARG Clear IPv4/IPv6, arp/neighbor cache, command historydhcp [OPTION] Shortcut for: ip dhcp. Get IPv4 address via DHCPdisconnect Exit the telnet session (daemon mode)echo TEXT Display TEXT in output. See also set echo ?help Print helphistory Shortcut for: show history. List the command historyip ARG ... [OPTION] Configure the current VPC's IP settings. See ip ?load [FILENAME] Load the configuration/script from the file FILENAMEping HOST [OPTION ...] Ping HOST with ICMP (default) or TCP/UDP. See ping ?quit Quit programrelay ARG ... Configure packet relay between UDP ports. See relay ?rlogin [ip] port Telnet to port on host at ip (relative to host PC)save [FILENAME] Save the configuration to the file FILENAMEset ARG ... Set VPC name and other options. Try set ?show [ARG ...] Print the information of VPCs (default). See show ?sleep [seconds] [TEXT] Print TEXT and pause running script for secondstrace HOST [OPTION ...] Print the path packets take to network HOSTversion Shortcut for: show versionTo get command syntax help, please enter '?' as an argument of the command.PC1> ip 192.168.10.2 255.255.255.0 192.168.10.10 # 设置网路地址Checking for duplicate address...PC1 : 192.168.10.2 255.255.255.0 gateway 192.168.10.10PC1> save # 保存设置Saving startup configuration to startup.vpc. donePC1> show # 查看网络信息NAME IP/MASK GATEWAY MAC LPORT RHOST:PORTPC1 192.168.10.2/24 192.168.10.10 00:50:79:66:68:00 10018 127.0.0.1:10019fe80::250:79ff:fe66:6800/64
1.3.2 配置路由器 R1 的地址
1.3.2.1 配置以太网口的地址
选择路由器 R1 右击选择 Console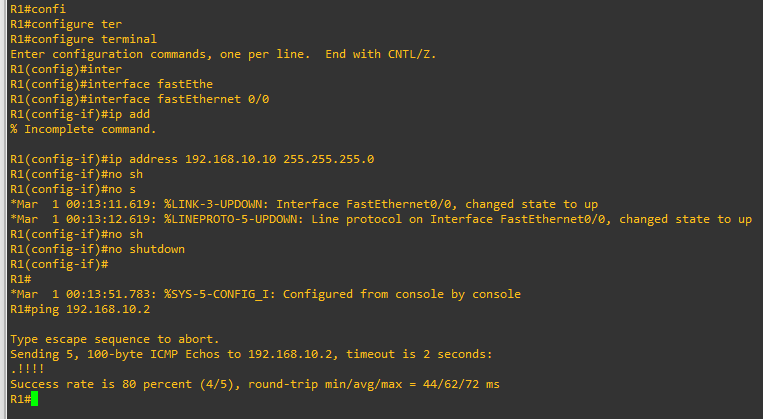
R1#configure terminal # 进入配置Enter configuration commands, one per line. End with CNTL/Z.R1(config)#interface fastEthernet 0/0 # 配置网络0/0的接口R1(config-if)#ip address 192.168.10.10 255.255.255.0 # 添加 ip 地址*Mar 1 00:13:11.619: %LINK-3-UPDOWN: Interface FastEthernet0/0, changed state to up*Mar 1 00:13:12.619: %LINEPROTO-5-UPDOWN: Line protocol on Interface FastEthernet0/0, changed state to upR1(config-if)#no shutdown # no shutdown 是启动路由器,shutdown 是停用R1(config-if)# exit # 退出配置R1#*Mar 1 00:13:51.783: %SYS-5-CONFIG_I: Configured from console by consoleR1# ping 192.168.10.2 # ping pc1的ip是不是通的Type escape sequence to abort.Sending 5, 100-byte ICMP Echos to 192.168.10.2, timeout is 2 seconds:.!!!! # 感叹号表示是通的Success rate is 80 percent (4/5), round-trip min/avg/max = 44/62/72 msR1#
1.3.2.2 配置广域网口的地址
广域网接口要设定DCE和DTE:
- DCE 是数据控制端设备,需要设置时钟频率,设置时钟频率控制带宽
- DTE 是数据端设置设备
如果路由器一端是 DCE 那它链接的另一个路由器就要设置成 DTE
查看当前路由器的广域网接口线缆类型,R1#show controllers serial 2/0可以查看,下图可以看到我的线缆是 DCE 类型的
R1#show controllers serial 2/0M4T: show controller:PAS unit 0, subunit 0, f/w version 1-45, rev ID 0x2800001, version 1idb = 0x643ECF70, ds = 0x643EE038, ssb=0x643EE3F4Clock mux=0x0, ucmd_ctrl=0x0, port_status=0x7BSerial config=0x8, line config=0x200maxdgram=1608, bufpool=78Kb, 120 particlesDCD=up DSR=up DTR=up RTS=up CTS=upline state: downcable type : V.11 (X.21) DCE cable, received clockrate 2015232base0 registers=0x3D000000, base1 registers=0x3D002000mxt_ds=0x64D01220, rx ring entries=78, tx ring entries=128rxring=0xB98E320, rxr shadow=0x643F4A50, rx_head=0txring=0xB98E5E0, txr shadow=0x643F4E2C, tx_head=0, tx_tail=0, tx_count=0throttled=0, enabled=0halted=0, last halt reason=0Microcode fatal errors=0rx_no_eop_err=0, rx_no_stp_err=0, rx_no_eop_stp_err=0rx_no_buf=0, rx_soft_overrun_err=0, dump_err= 0, bogus=0, mxt_flags=0x0tx_underrun_err=0, tx_soft_underrun_err=0, tx_limited=1(2)tx_fullring=0, tx_started=0, mxt_flush_count=1rx_int_count=0, tx_int_count=2R1#R1#copy running-config startup-config # 保存路由器配置,重启路由器配置也不会消失Destination filename [startup-config]?Building configuration...[OK]R1#
进行时钟频率配置并给广域网接口配置地址
R1#config terminal # 进入配置Enter configuration commands, one per line. End with CNTL/Z.R1(config)#interface serial 2/0 # 选择要配置的接口R1(config-if)#clock rate ? # 查看能配置那些时钟频率With the exception of the following standard values not subject to rounding,1200 2400 4800 9600 14400 19200 28800 3840056000 64000 128000 2015232accepted clockrates will be bestfitted (rounded) to the nearest valuesupportable by the hardware.<246-8064000> DCE clock rate (bits per second)R1(config-if)#clock rate% Incomplete command.R1(config-if)#clock rate 64000 # 定义时钟频率每秒 64KR1(config-if)#ip address 192.168.20.10 255.255.255.0 # 给2/0广域网接口配置地址R1(config-if)#no shutdown # 启用接口R1(config-if)#^zR1#copy running-config startup-config # 保存路由器配置,重启路由器配置也不会消失Destination filename [startup-config]?Building configuration...[OK]R1#
没有配置时钟频率,路由器之间就不会进行通信R1#copy running-config startup-config 保存路由器配置,重启路由器配置也不会消失,将路由器完整的配置完再做此保存就好
1.3.3 配置路由器 R2 的地址
1.3.3.1 配置广域网口的地址
右击 R2 选择 Console 打开控制台界面
R2#R2#config terminalEnter configuration commands, one per line. End with CNTL/Z.R2(config)#interface serial 2/0R2(config-if)#no shutdown*Mar 1 00:13:43.311: %LINK-3-UPDOWN: Interface Serial2/0, changed state to up*Mar 1 00:13:44.311: %LINEPROTO-5-UPDOWN: Line protocol on Interface Serial2/0, changed state to upR2(config-if)#ip address 192.168.20.20 255.255.255.0R2(config-if)#^Z # ctrl + z 可以直接退出配置R2#*Mar 1 00:15:14.155: %SYS-5-CONFIG_I: Configured from console by consoleR2#
R2 ping R1 看是不是通的,出现!!!!!表示是通的
1.3.3.2 配置以太网口的地址
R2#config terminalEnter configuration commands, one per line. End with CNTL/Z.R2(config)#interface fastEthernet 0/0R2(config-if)#no shutdownR2(config-if)#*Mar 1 00:24:44.203: %LINK-3-UPDOWN: Interface FastEthernet0/0, changed state to up*Mar 1 00:24:45.203: %LINEPROTO-5-UPDOWN: Line protocol on Interface FastEthernet0/0, changed state to upR2(config-if)#ip address 192.168.80.10 255.255.255.0R2(config-if)#^ZR2#ping 192.168.20.10*Mar 1 00:42:35.399: %SYS-5-CONFIG_I: Configured from console by consoleR2#copy running-config startup-config # 保存路由器配置,重启路由器配置也不会消失Destination filename [startup-config]?Building configuration...[OK]R2#R2#show running-config # 查看路由器配置
1.3.4 设置 PC2 的地址信息

右击 R2 选择 Console 打开控制台界面
网关就是路由器的以太网接口的地址
PC2> ip 192.168.80.20 255.255.255.0 192.168.80.10Checking for duplicate address...PC1 : 192.168.80.20 255.255.255.0 gateway 192.168.80.10PC2> save # 保存配置Saving startup configuration to startup.vpc. donePC2> ping 192.168.80.10 # ping 一下网关是否是通的84 bytes from 192.168.80.10 icmp_seq=1 ttl=255 time=15.661 ms84 bytes from 192.168.80.10 icmp_seq=2 ttl=255 time=15.854 ms84 bytes from 192.168.80.10 icmp_seq=3 ttl=255 time=15.174 ms84 bytes from 192.168.80.10 icmp_seq=4 ttl=255 time=15.309 ms84 bytes from 192.168.80.10 icmp_seq=5 ttl=255 time=16.051 msPC2>
1.4 保存
所有的配置弄好后保存整个项目
保存前先关闭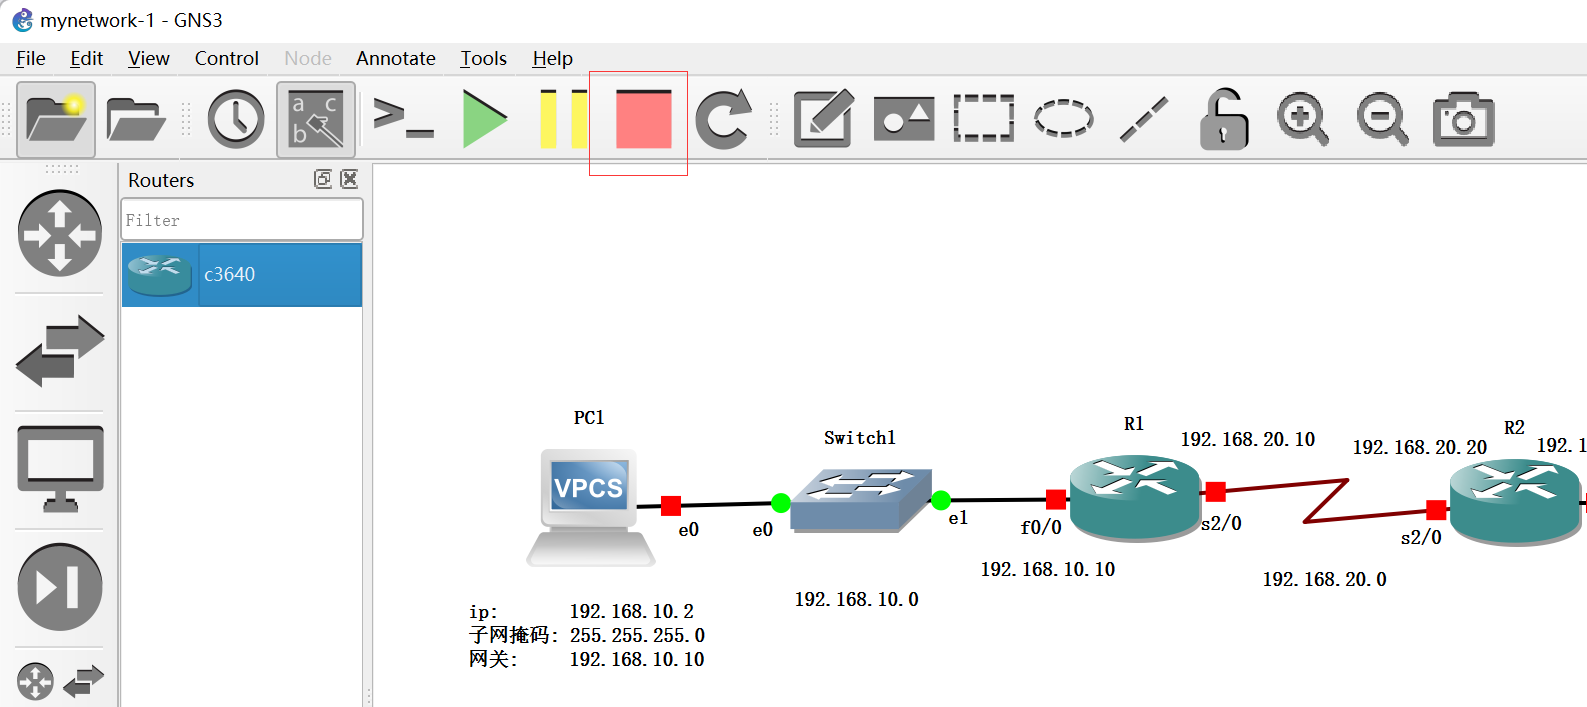
然后点击保存
1.4 进行快照保存
1.5 让 PC1 和 PC2 能正常通信
1.5.1 设置 R1 的 下一跳
R1(config)#ip route 192.168.80.0 255.255.255.0 192.168.20.20 是告诉 R1 下一跳的位置
192.168.80.0是网段192.168.20.20是 R2 的广域网接口地址 ```powershell
R1#show ip route Codes: C - connected, S - static, R - RIP, M - mobile, B - BGP D - EIGRP, EX - EIGRP external, O - OSPF, IA - OSPF inter area N1 - OSPF NSSA external type 1, N2 - OSPF NSSA external type 2 E1 - OSPF external type 1, E2 - OSPF external type 2 i - IS-IS, su - IS-IS summary, L1 - IS-IS level-1, L2 - IS-IS level-2 ia - IS-IS inter area, * - candidate default, U - per-user static route o - ODR, P - periodic downloaded static route
Gateway of last resort is not set
C 192.168.10.0/24 is directly connected, FastEthernet0/0 C 192.168.20.0/24 is directly connected, Serial2/0 R1#config terminal Enter configuration commands, one per line. End with CNTL/Z. R1(config)#ip route 192.168.80.0 255.255.255.0 192.168.20.20 R1(config)#^z R1#copy running-config startup-config # 保存配置 Destination filename [startup-config]? Building configuration… [OK] R1#
<a name="WCUEN"></a>## 1.5.2 设置 R2 的 下一跳- `192.168.10.0`是网段- `192.168.20.10`是 R1 的广域网接口地址`R2#show ip route`可以查看下一跳位置`S 192.168.10.0/24 [1/0] via 192.168.20.10````powershellR2#config terminalEnter configuration commands, one per line. End with CNTL/Z.R2(config)#ip route 192.168.10.0 255.255.255.0 192.168.20.10R2(config)#R2(config)#^Z*Mar 1 00:07:32.015: %SYS-5-CONFIG_I: Configured from console by consoleR2#show ip routeCodes: C - connected, S - static, R - RIP, M - mobile, B - BGPD - EIGRP, EX - EIGRP external, O - OSPF, IA - OSPF inter areaN1 - OSPF NSSA external type 1, N2 - OSPF NSSA external type 2E1 - OSPF external type 1, E2 - OSPF external type 2i - IS-IS, su - IS-IS summary, L1 - IS-IS level-1, L2 - IS-IS level-2ia - IS-IS inter area, * - candidate default, U - per-user static routeo - ODR, P - periodic downloaded static routeGateway of last resort is not setS 192.168.10.0/24 [1/0] via 192.168.20.10C 192.168.80.0/24 is directly connected, FastEthernet0/0C 192.168.20.0/24 is directly connected, Serial2/0R2#R2#copy running-config startup-config # 保存配置Destination filename [startup-config]?Building configuration...[OK]R2#
1.5.3 测试
在 PC1 上 ping PC2 的地址
可以看到网络是通的

