笔记记录
编写人:老王
时间:2023-04-10
地点:广州
HBox水平布局
Hbox就是水平布局,例子如下:
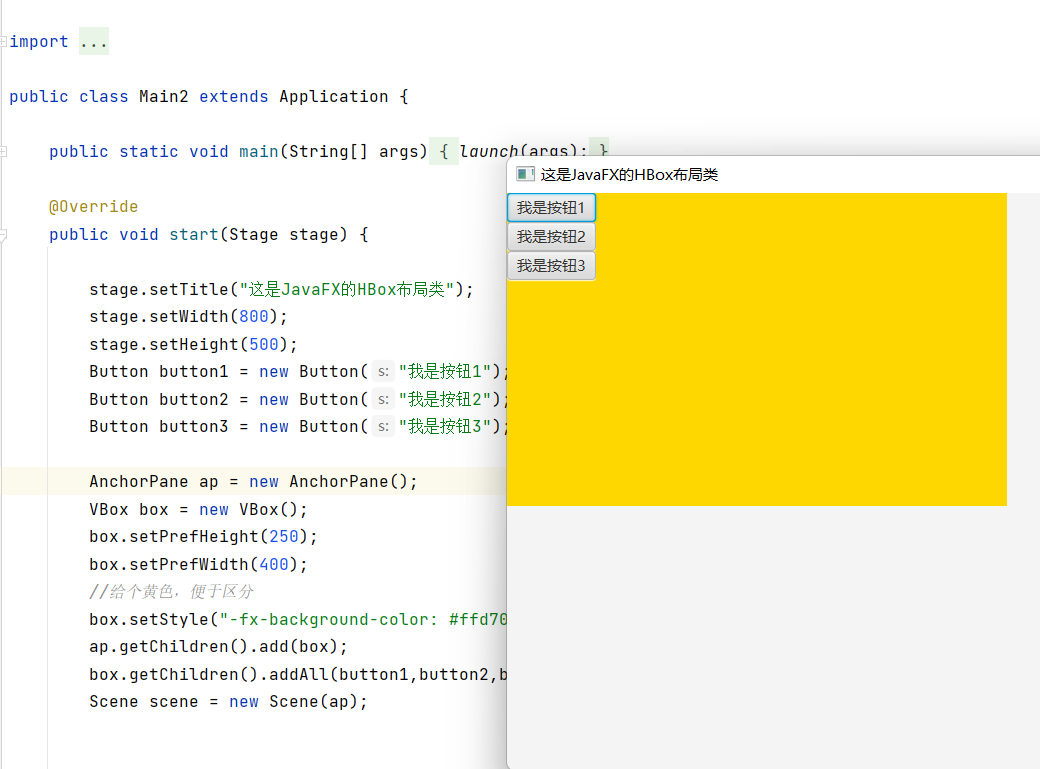
package com.example.demo2;import javafx.application.Application;import javafx.scene.Scene;import javafx.scene.control.Button;import javafx.scene.layout.AnchorPane;import javafx.scene.layout.HBox;import javafx.stage.Stage;public class Main2 extends Application {public static void main(String[] args) {launch(args);}@Overridepublic void start(Stage stage) {stage.setTitle("这是JavaFX的HBox布局类");stage.setWidth(800);stage.setHeight(500);Button button1 = new Button("我是按钮1");Button button2 = new Button("我是按钮2");Button button3 = new Button("我是按钮3");AnchorPane ap = new AnchorPane();HBox box = new HBox();box.setPrefHeight(250);box.setPrefWidth(400);//给个黄色,便于区分box.setStyle("-fx-background-color: #ffd700;");ap.getChildren().add(box);box.getChildren().addAll(button1,button2,button3);Scene scene = new Scene(ap);stage.setScene(scene);stage.show();}}

可以看到上图中的按钮依次排列,和以往不同。以前的按钮都是挤在一起,堆叠在一起,哪个最后添加就在最上面。但是用了HBox水平布局之后,按钮就自动的依次排列了。
VBox就是竖着排的,HBox是横着排的。举个例子(只需要把上面的代码改成VBox就行):
package com.example.demo2;import javafx.application.Application;import javafx.scene.Scene;import javafx.scene.control.Button;import javafx.scene.layout.AnchorPane;import javafx.scene.layout.HBox;import javafx.stage.Stage;public class Main2 extends Application {public static void main(String[] args) {launch(args);}@Overridepublic void start(Stage stage) {stage.setTitle("这是JavaFX的HBox布局类");stage.setWidth(800);stage.setHeight(500);Button button1 = new Button("我是按钮1");Button button2 = new Button("我是按钮2");Button button3 = new Button("我是按钮3");AnchorPane ap = new AnchorPane();VBox box = new VBox();box.setPrefHeight(250);box.setPrefWidth(400);//给个黄色,便于区分box.setStyle("-fx-background-color: #ffd700;");ap.getChildren().add(box);box.getChildren().addAll(button1,button2,button3);Scene scene = new Scene(ap);stage.setScene(scene);stage.show();}}
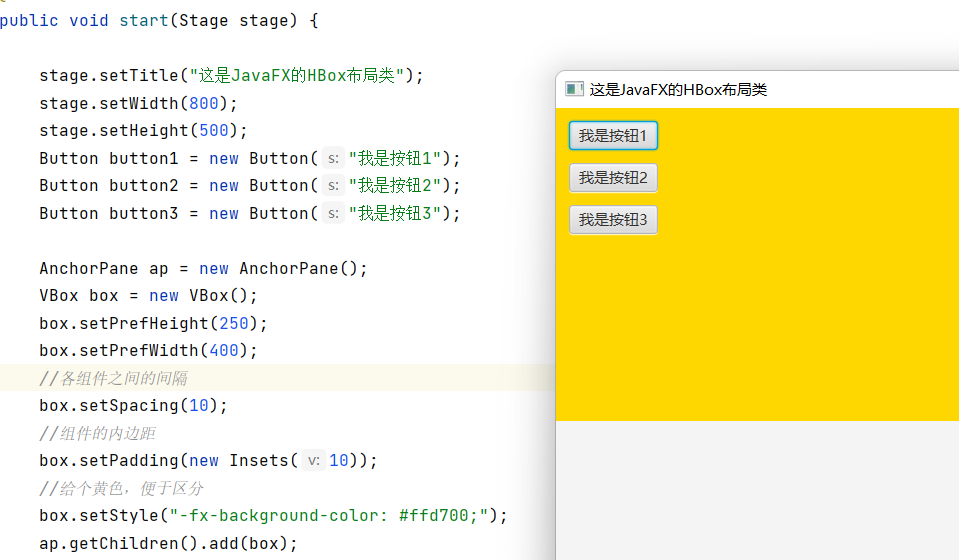
 如何设置布局内的各种组件的间隔呢?
就要用到以下的方法:
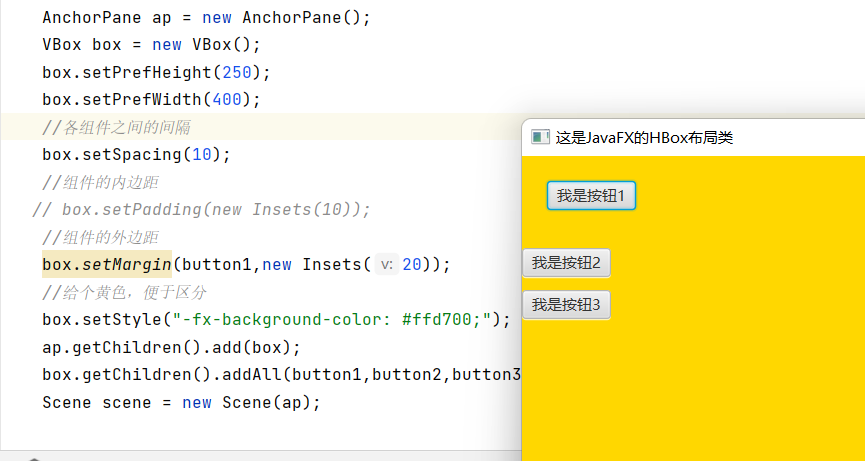
//各组件之间的间隔box.setSpacing(10);//组件的内边距box.setPadding(new Insets(10));//组件的外边距box.setMargin(button1,new Insets(20));//组件的对其方式,向下对齐box.setAlignment(Pos.BOTTOM_CENTER);
对齐方式有很多种,如下:
任选一个举例: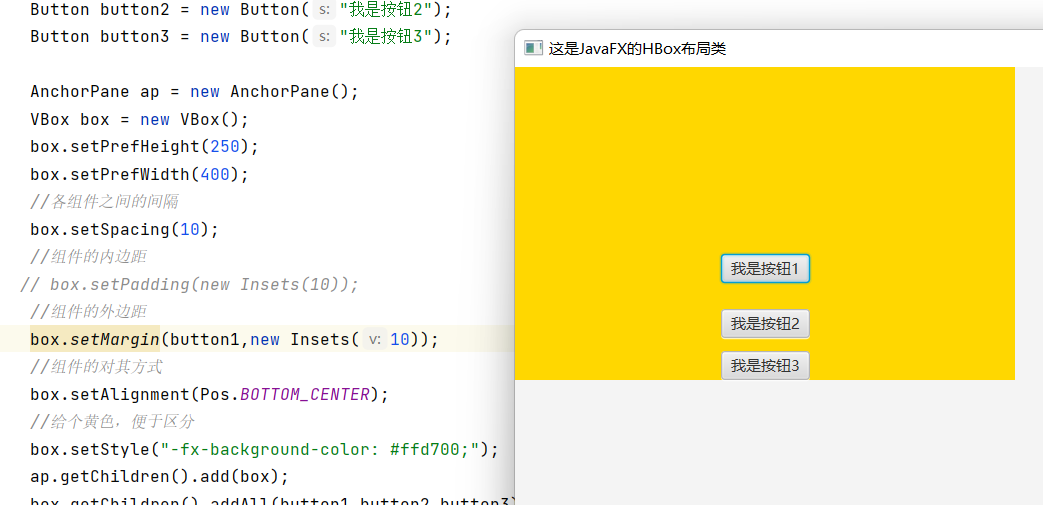

若有收获,就点个赞吧
0 人点赞
